
This guide provides a walkthrough of adding a split-screen slideshow to your theme section. This layout distinctly separates your images from additional content, allowing for clear headlines, subtext, and optional buttons that lead customers to your collection pages. Using a split slideshow, you'll create a dynamic and engaging presentation that captures visitor attention. The clear separation of images and text ensures your message is impactful. At the same time, the interactive nature of the slideshow encourages exploration, and the integrated buttons streamline navigation to product offerings.
Adding a split slideshow section
Elevate your website's appeal and user experience by adding a split slideshow section to your online store.
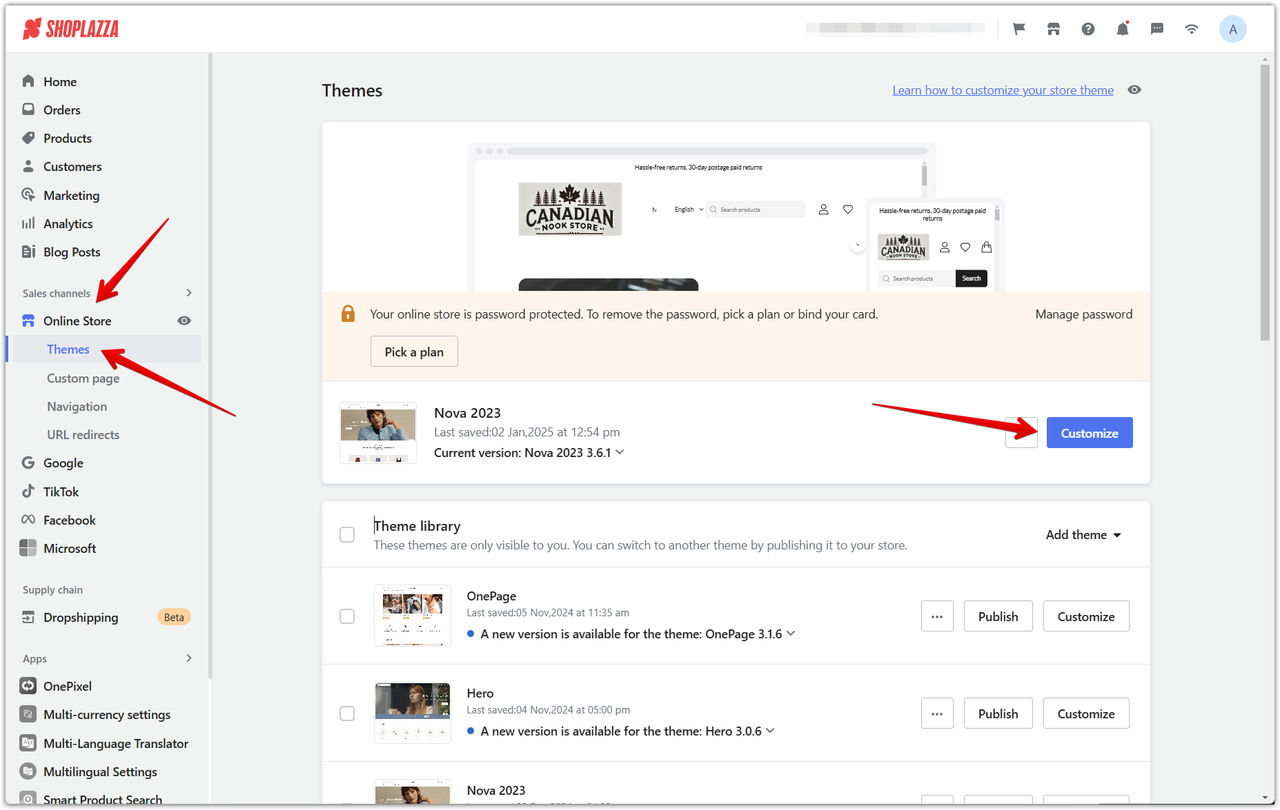
1. Access the theme editor: Navigate to your Shoplazza admin, then go to Online Store > Themes, and click on Customize.
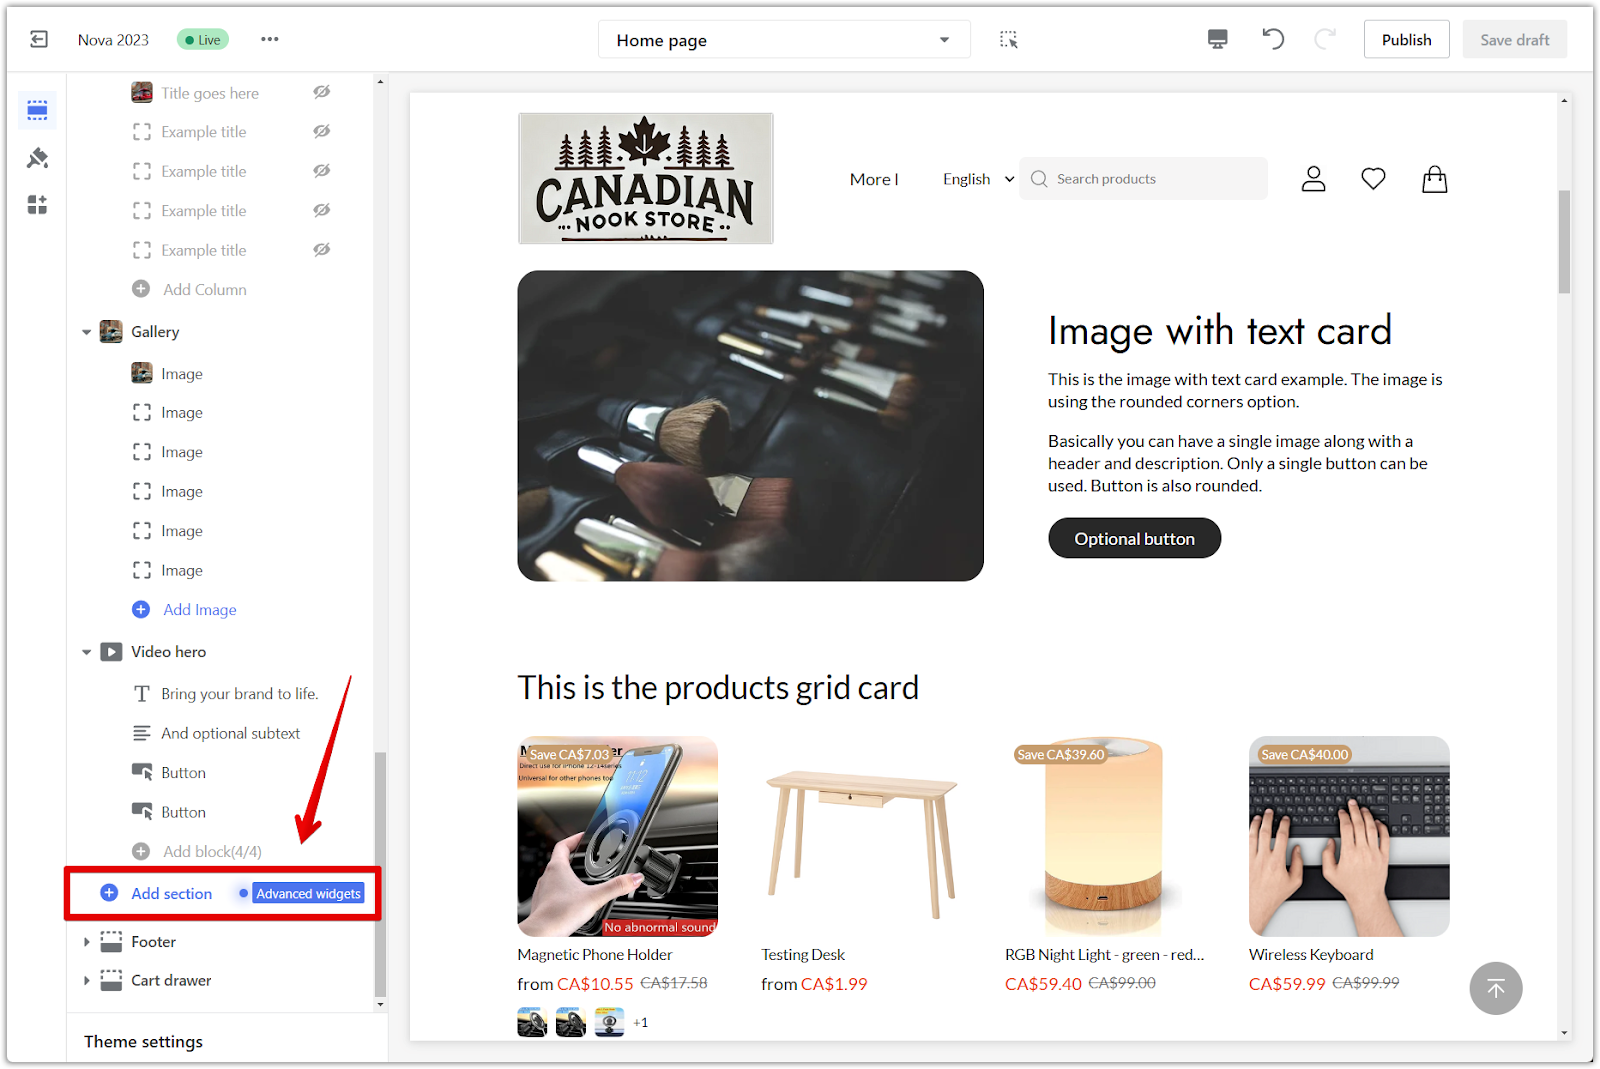
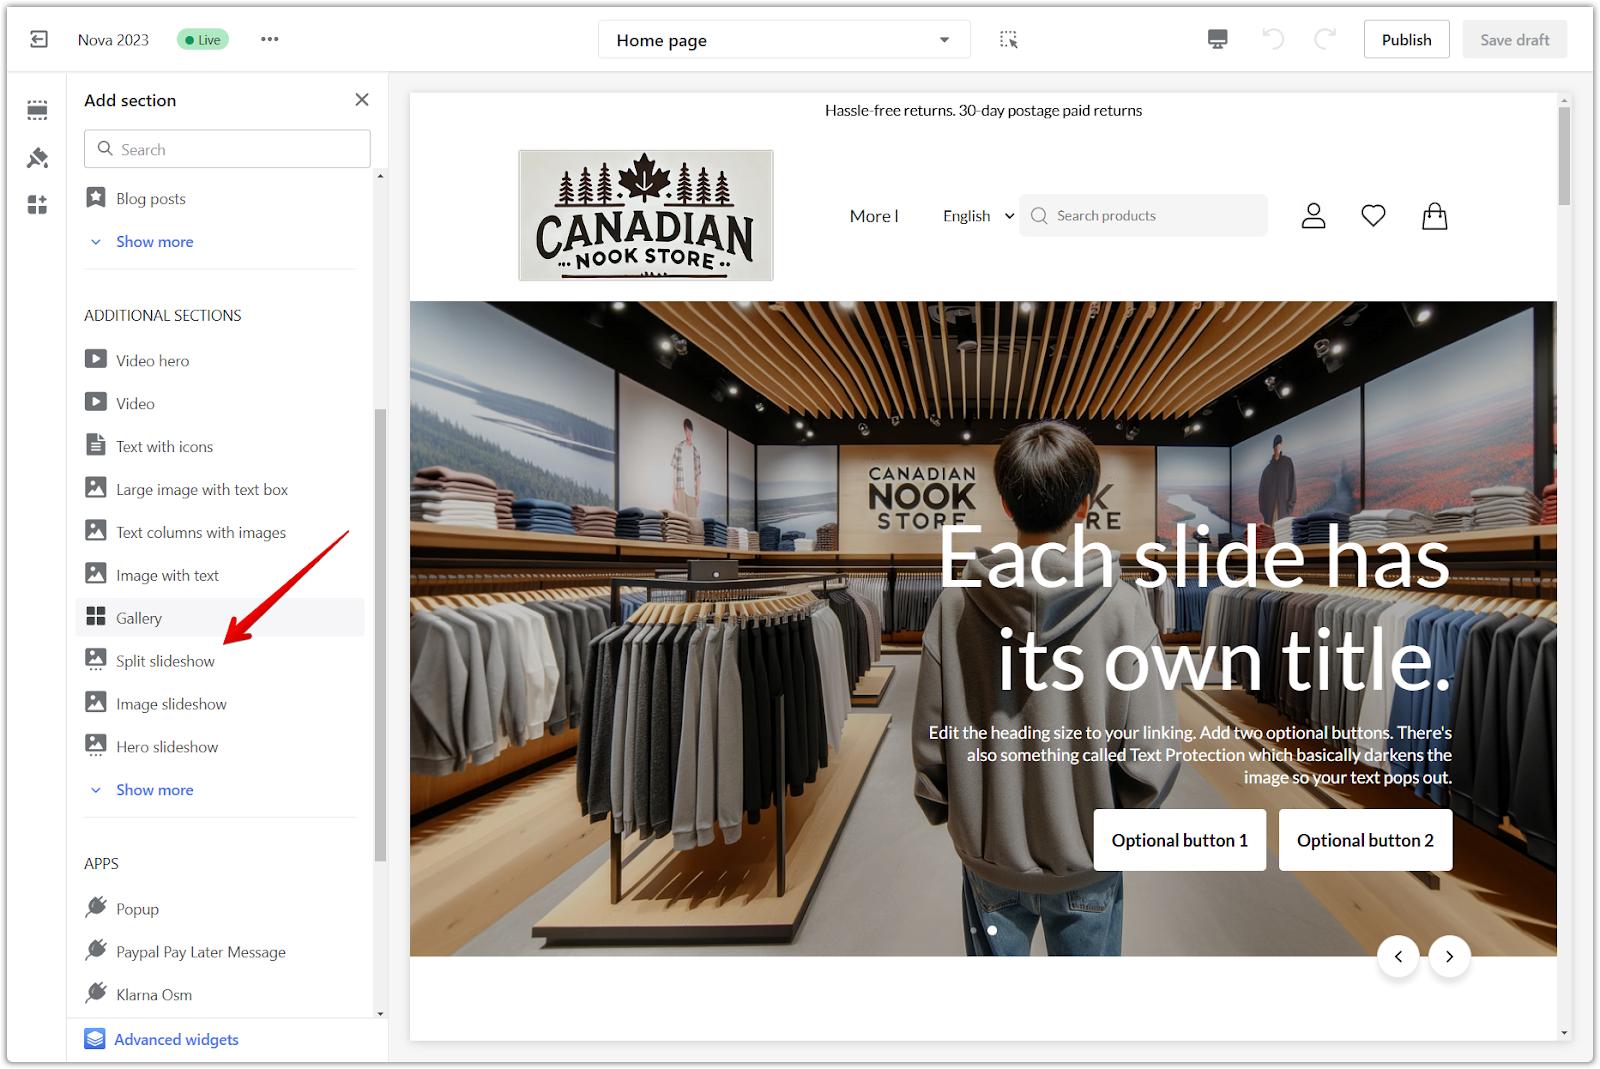
2. Add the split slideshow section: In the theme editor, scroll down and click the Add section button. This will reveal a variety of sections you can add to your store. Choose the Split slideshow section from Additional Sections.
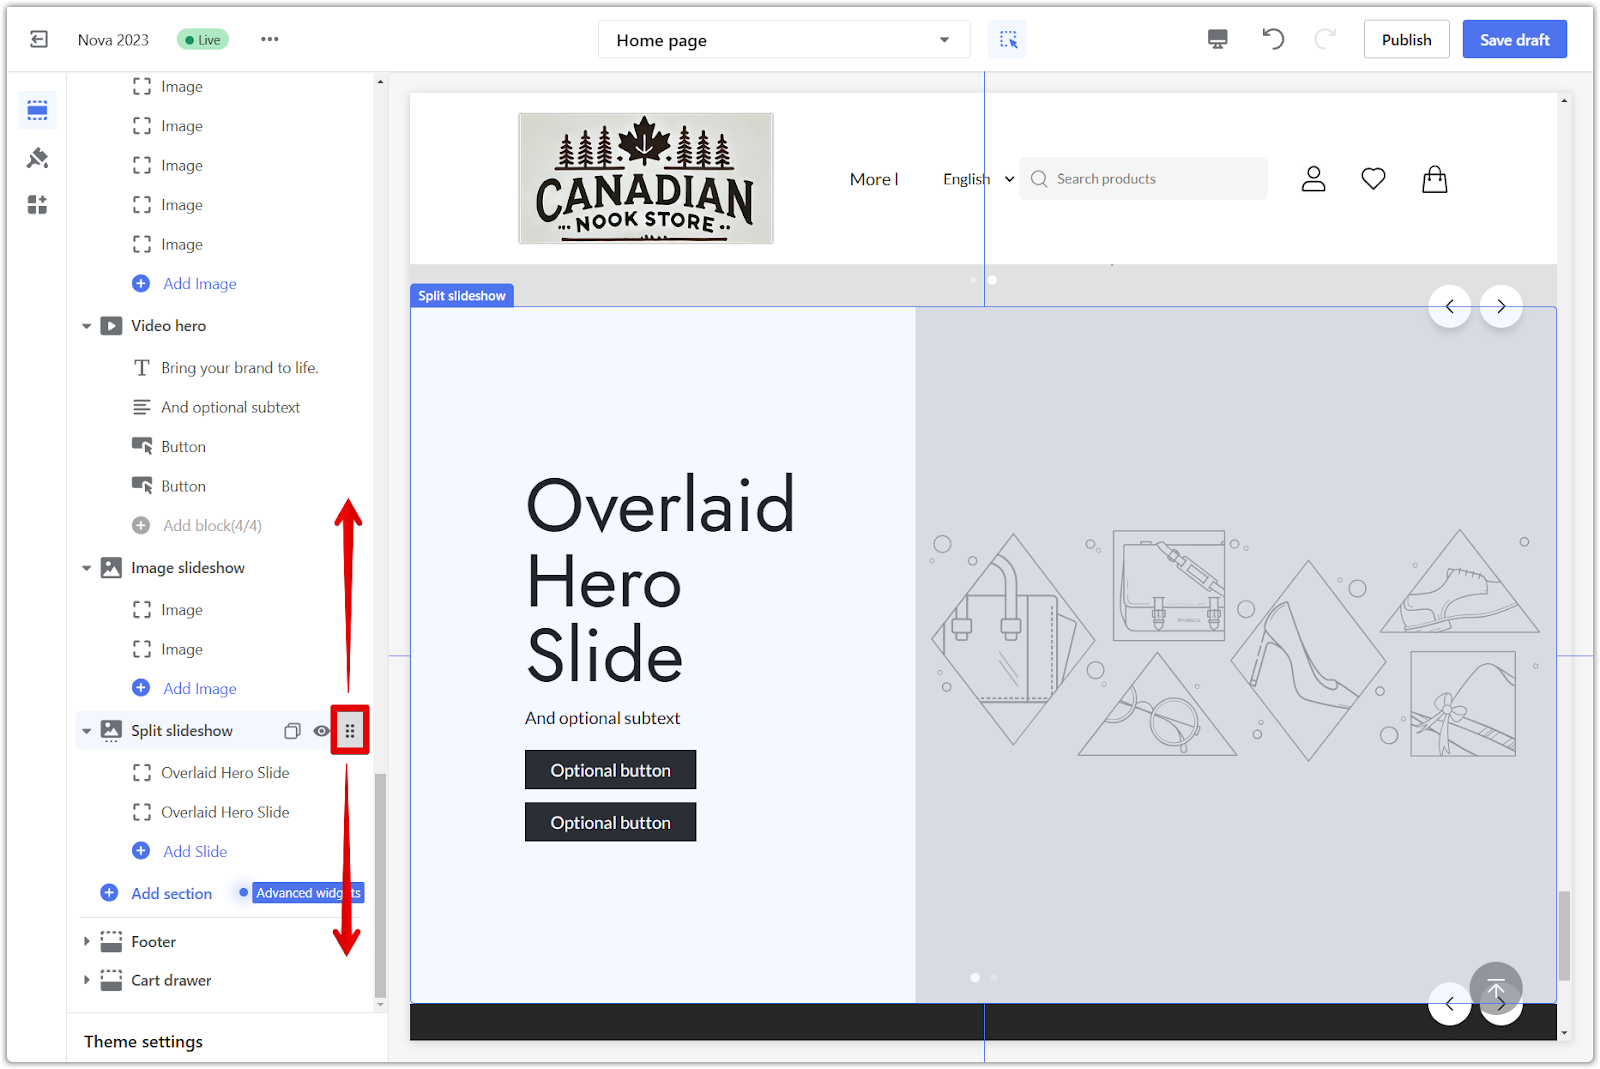
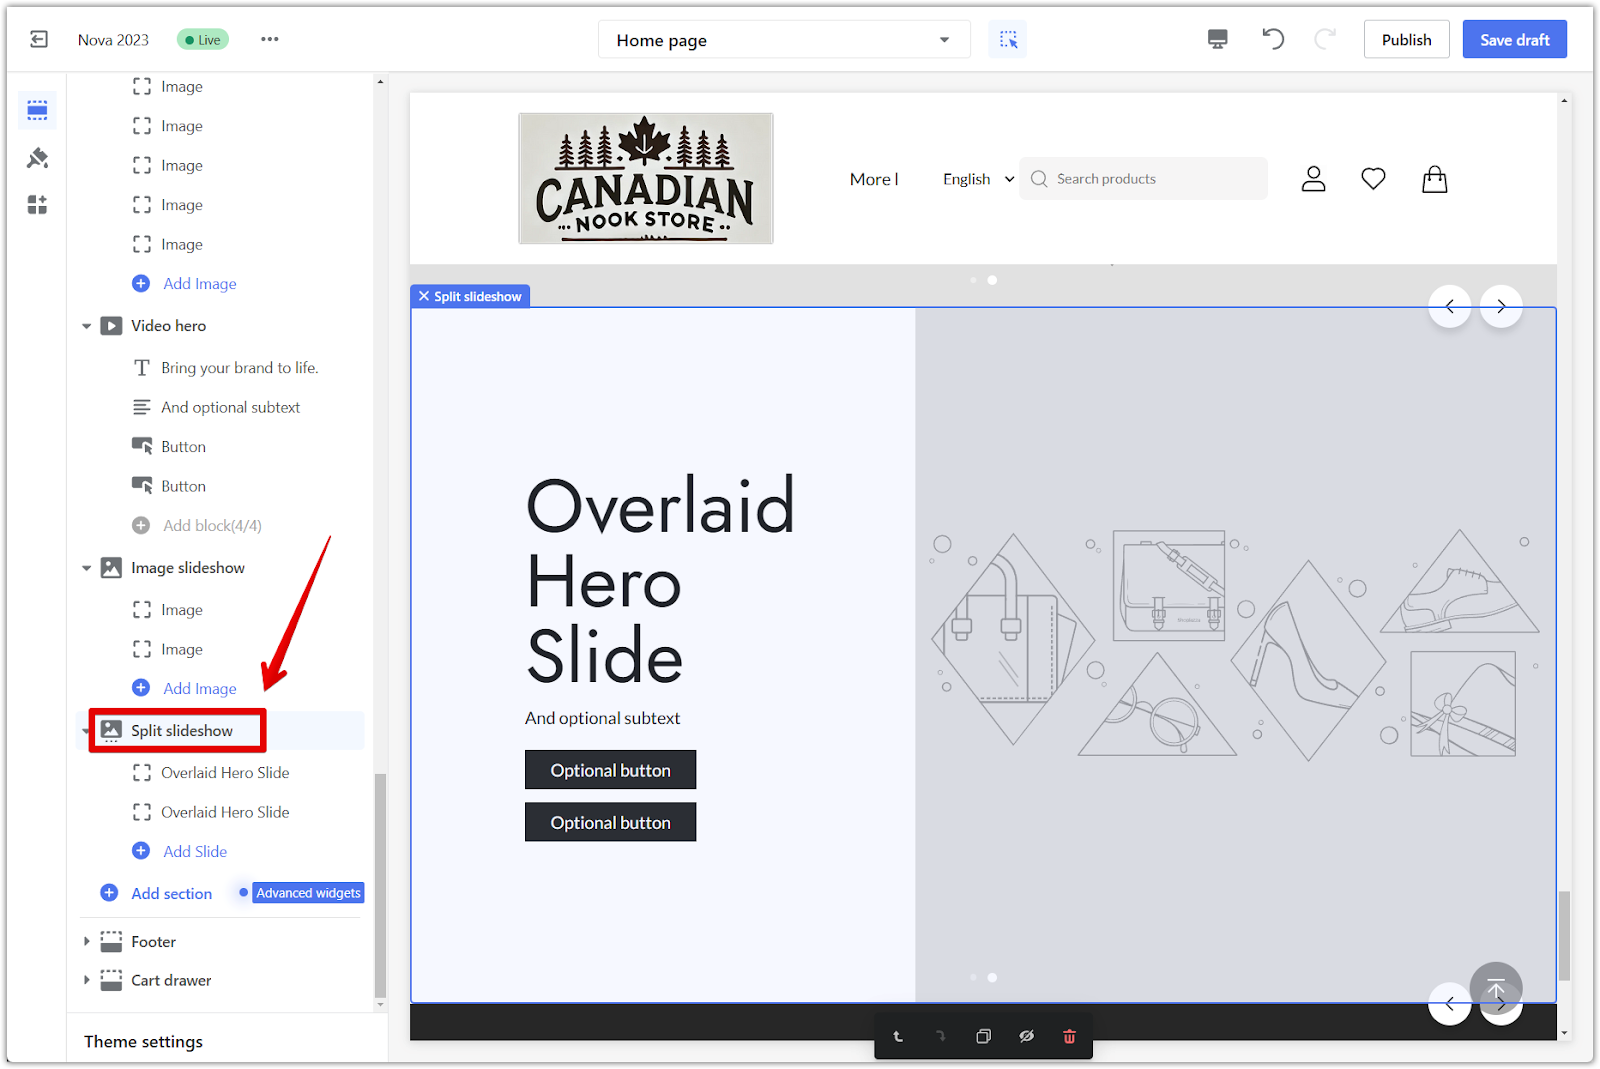
3. Reposition the section: Use the Drag indicator to move the Split slideshow section. This handy tool allows you to place the section anywhere you desire on your store's layout.
Section settings
Fine-tune the overall appearance and behavior of your split slideshow. This includes adjusting the slideshow's dimensions, controlling how slides change, and styling the images and buttons.
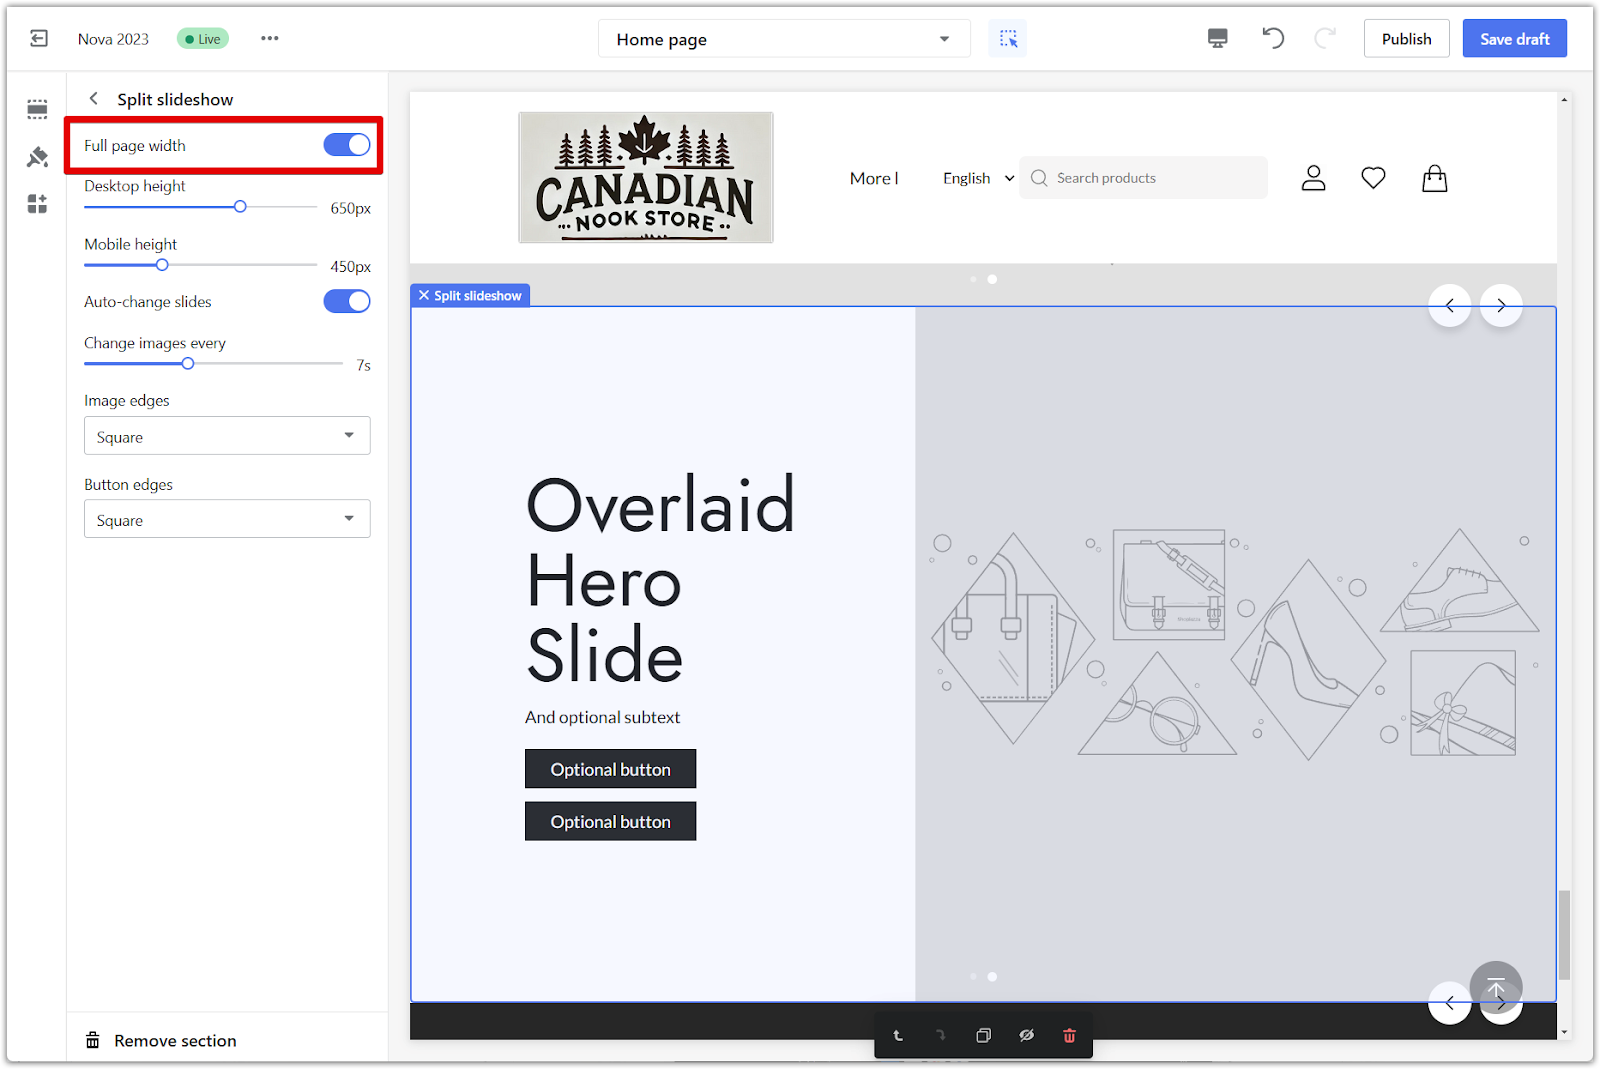
1. Configure settings: Click the section title to configure settings for the section. This opens a panel with various options to tailor the slideshow's appearance and behavior.
2. Full page width: Toggle on the Full page width option if you want your slideshow to span the entire width of the screen. This creates an immersive experience for your visitors.
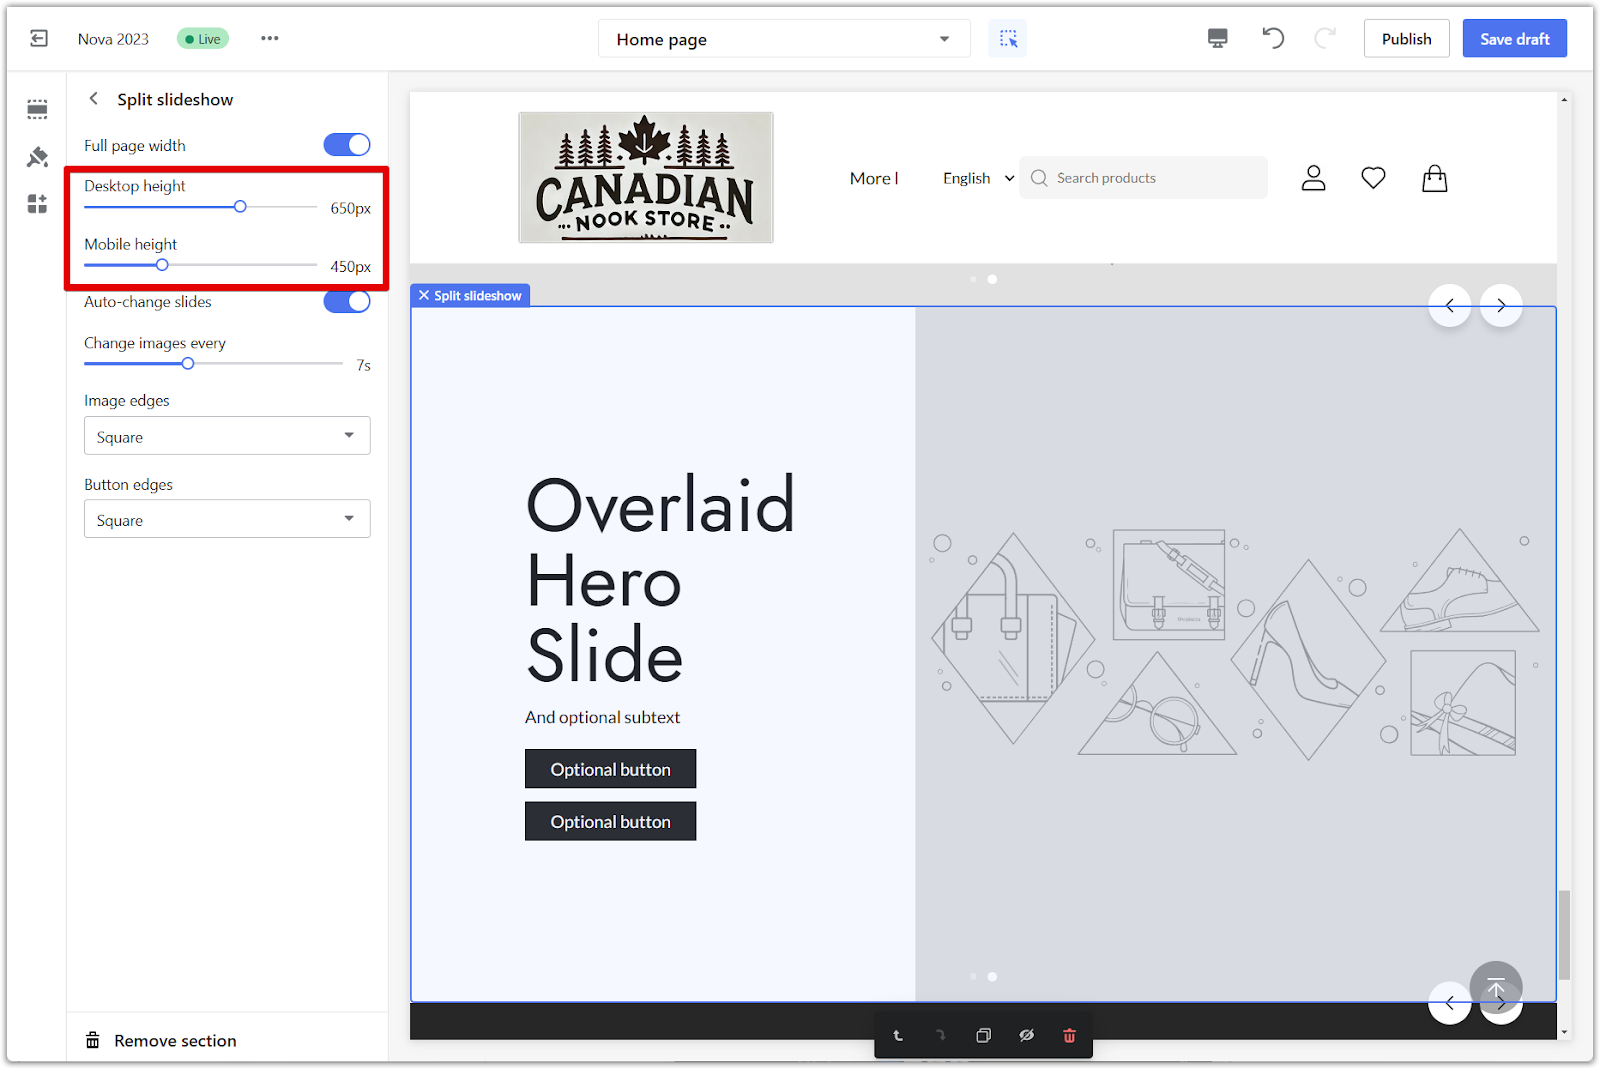
3. Height adjustment: Use the provided sliders to modify the height of your slideshow. You can adjust the height separately for desktop and mobile devices, ensuring optimal viewing on all screens. Use the preview icon in the top right corner to see how your adjustments look on a mobile device.
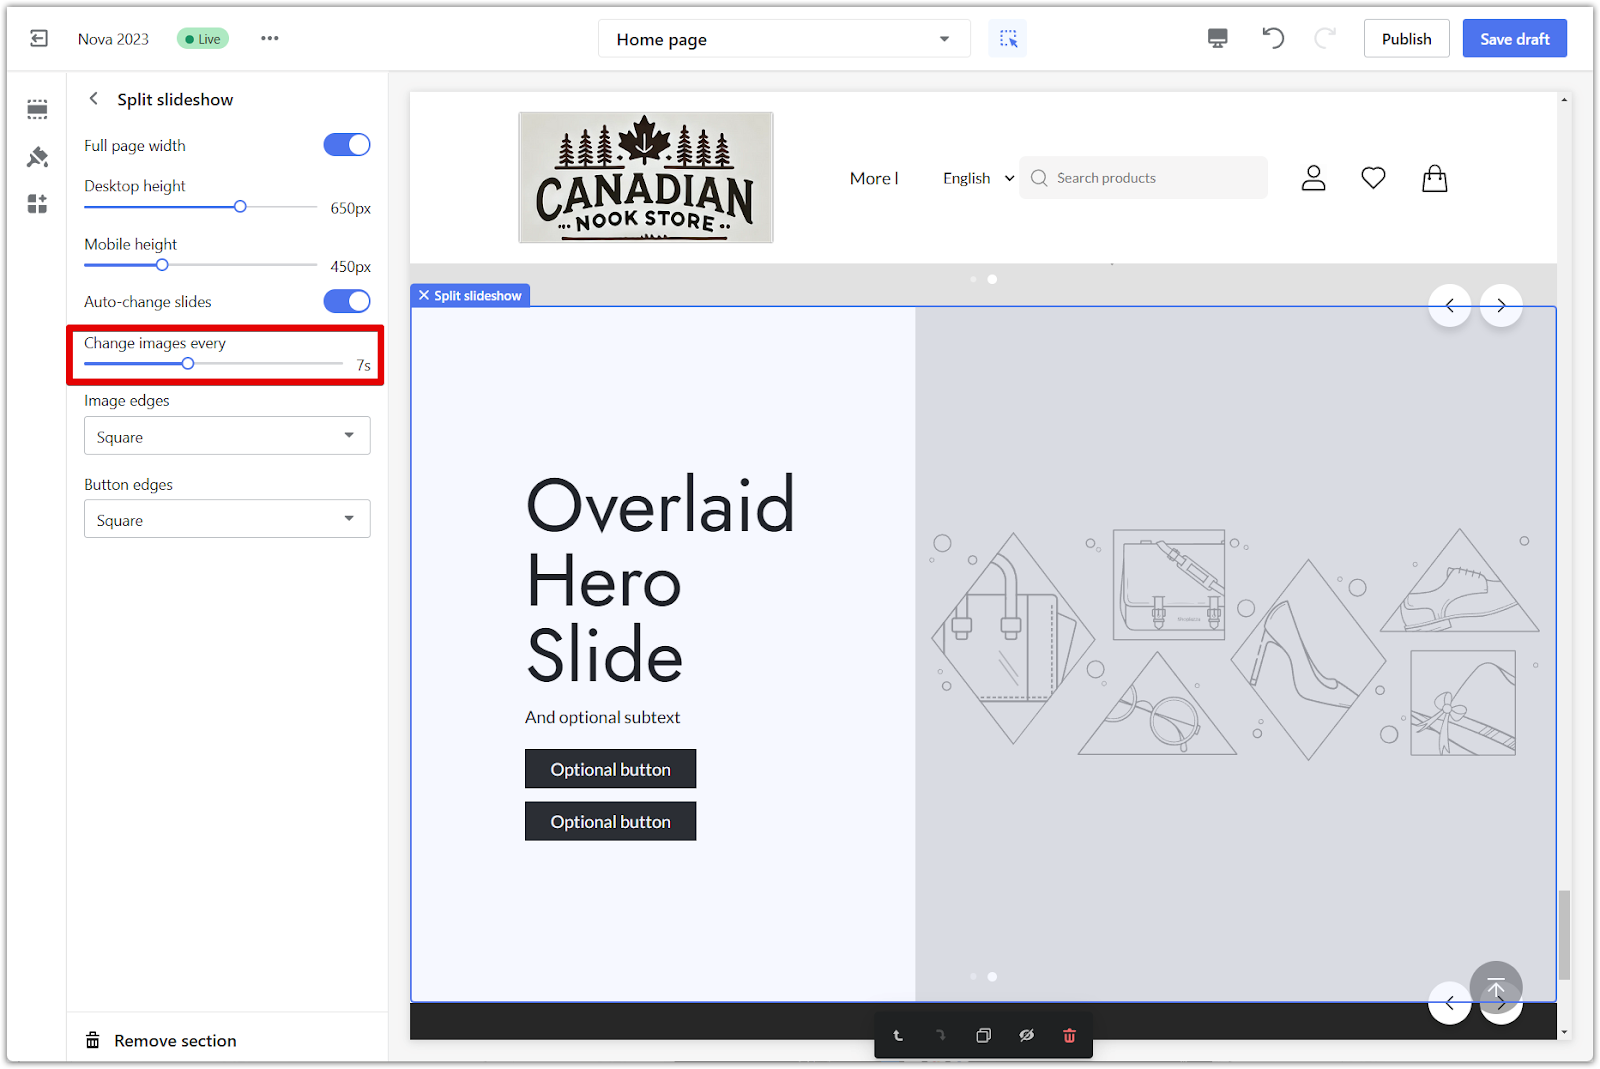
4. Auto-change slides: For a dynamic presentation, toggle on Auto-change slides. This will automatically rotate through your slides, keeping your visitors engaged. You can also manage the speed of the rotation using the slider.
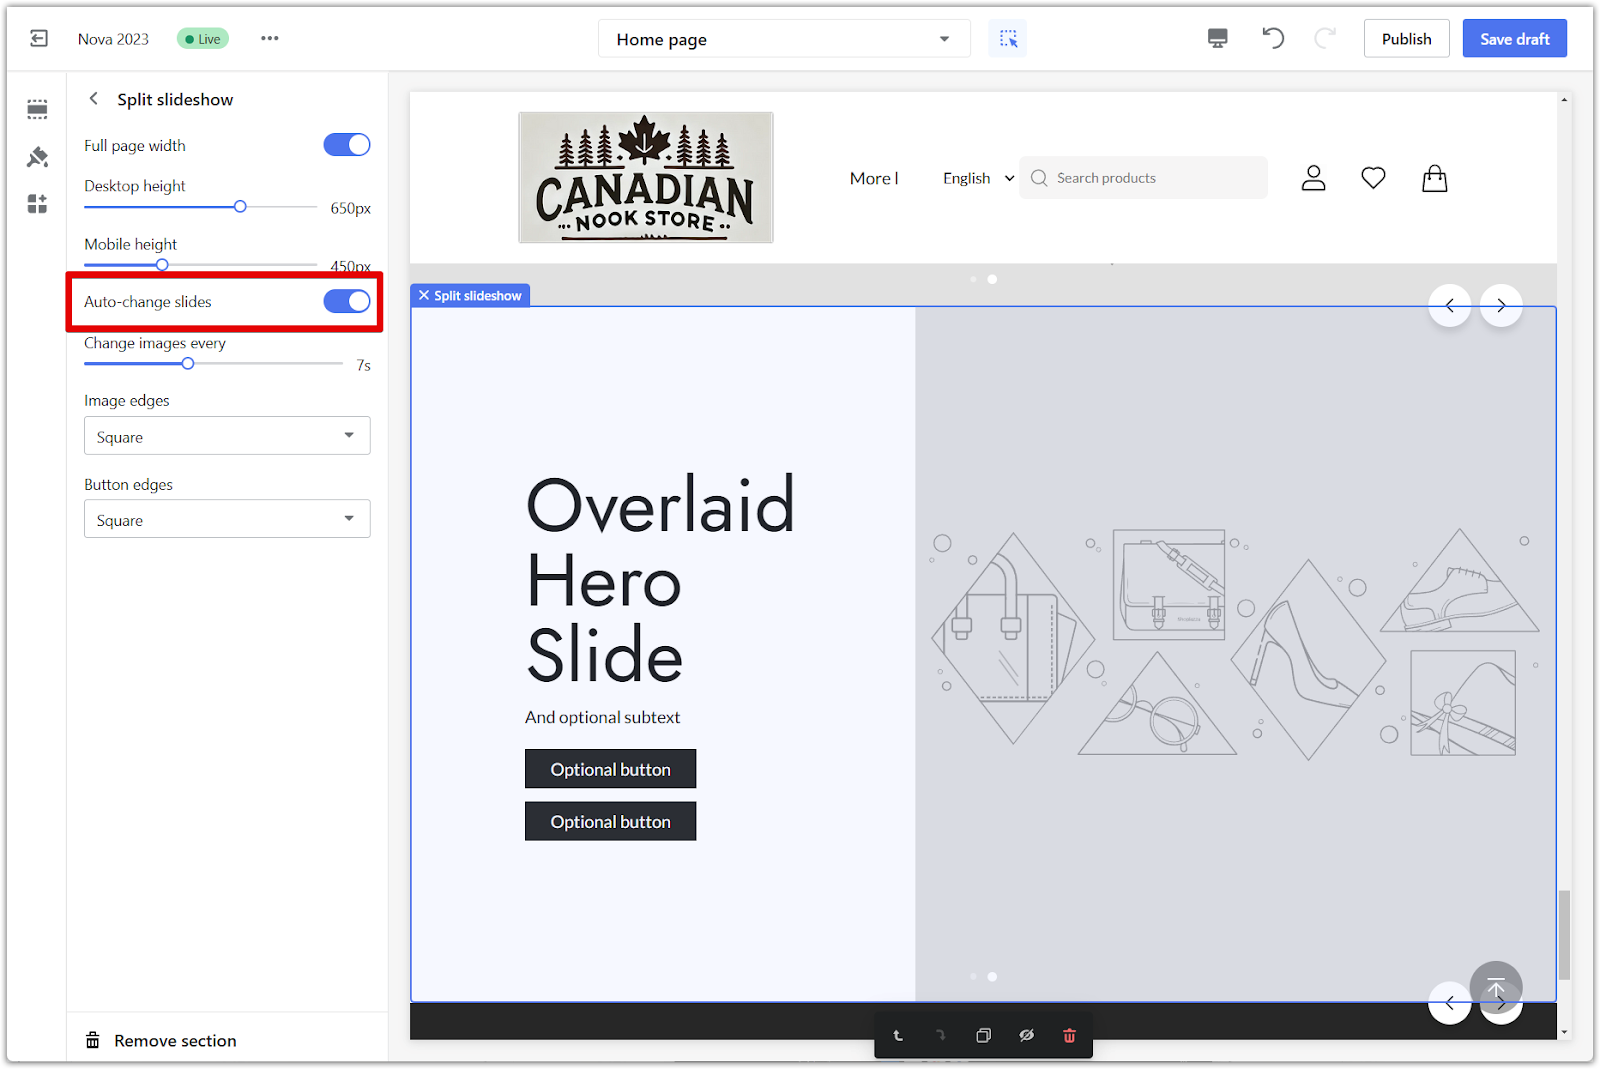
5. Slide interval: Determine how long each slide is displayed before the next one appears. Choose the desired interval in seconds to control the pace of your slideshow.
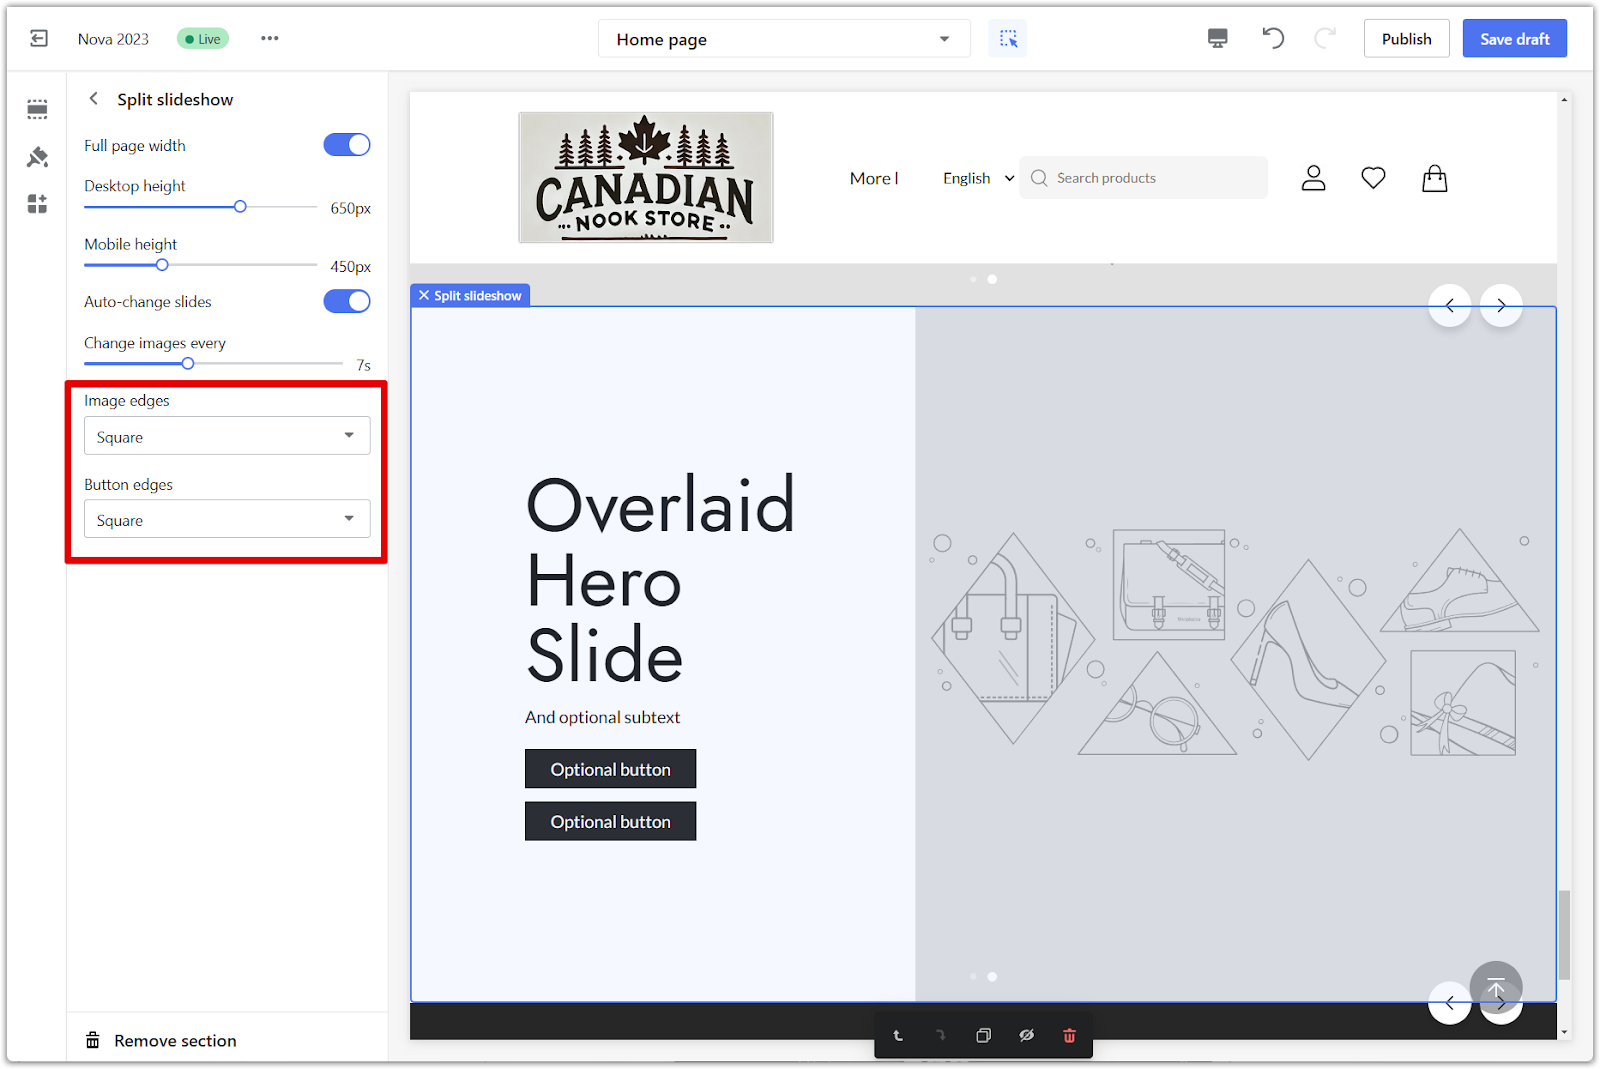
6. Image and button edges: Select your preferred style for the corners of your images and buttons. Choose between Square or Round edges to match your store's overall design.
Slide content
Populate your slideshow with compelling content. This includes setting the number of slides, crafting headlines and text, and linking buttons to relevant collections.
1. Access individual slides: Click on each image block within the slideshow to access its settings and make changes. Note: Add a minimum of 2 slides and a maximum of 5. A good balance of visuals and information is key to an effective slideshow.

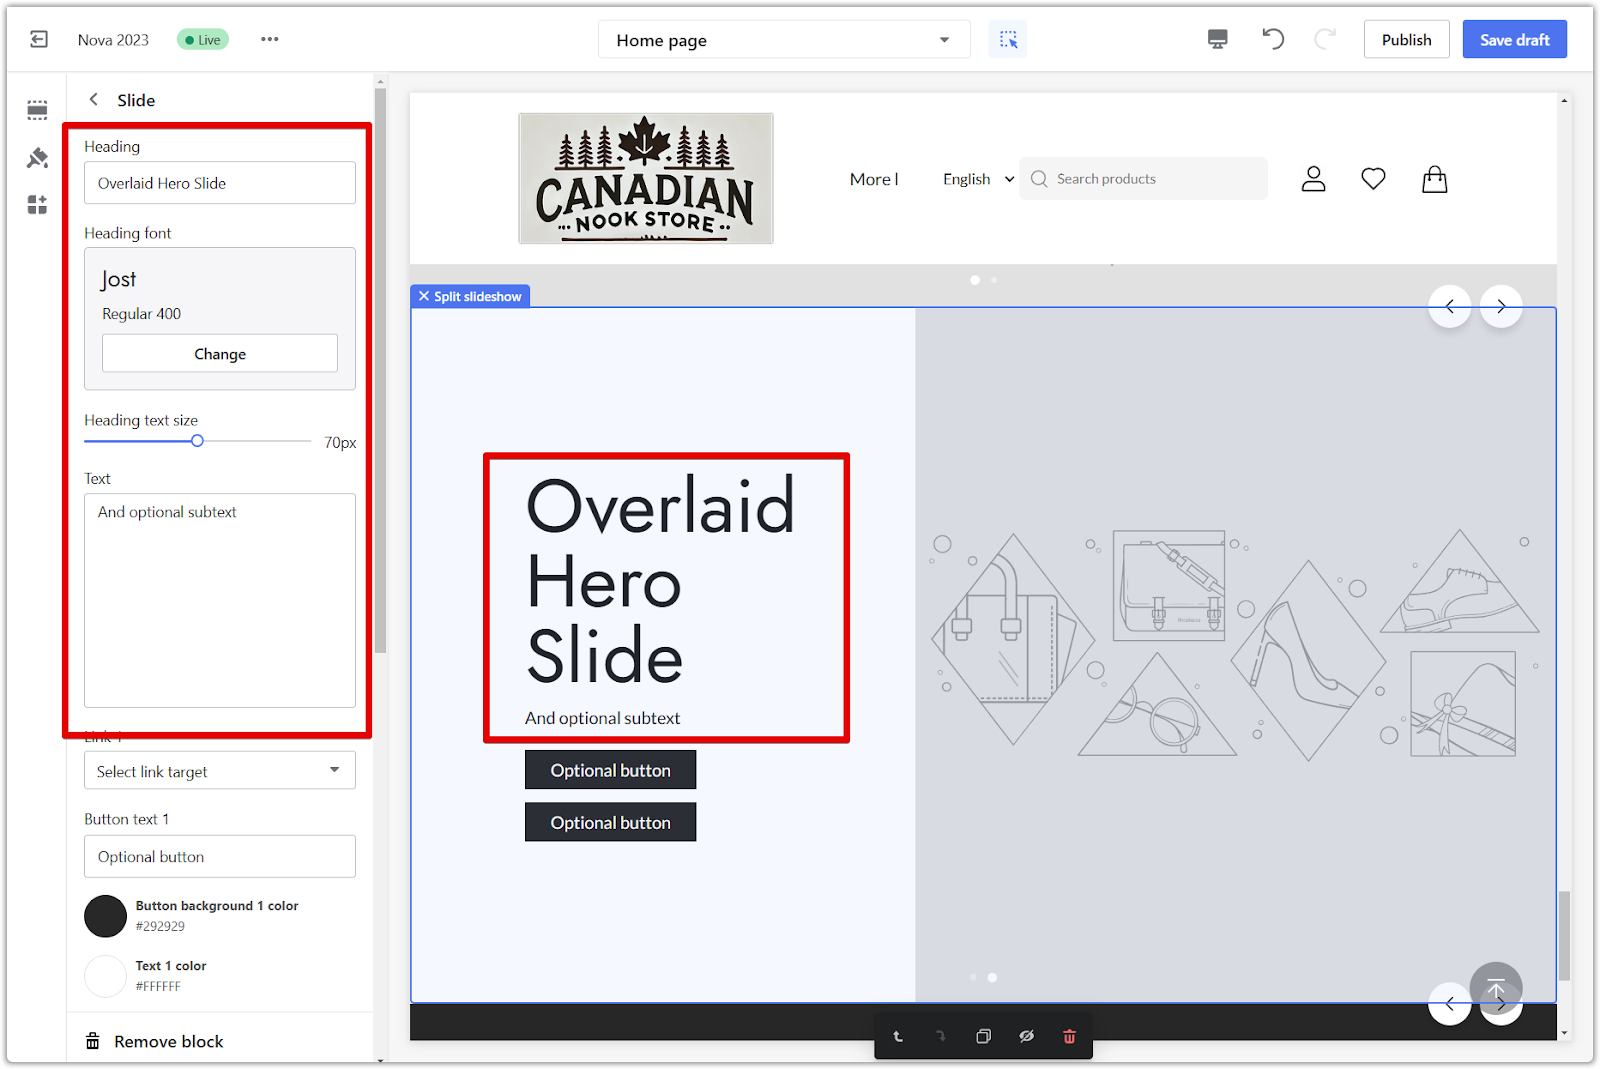
2. Heading and text: Craft compelling headlines and informative text to accompany your images. Make sure your message is clear, concise, and engaging. Change the font and size of your header.
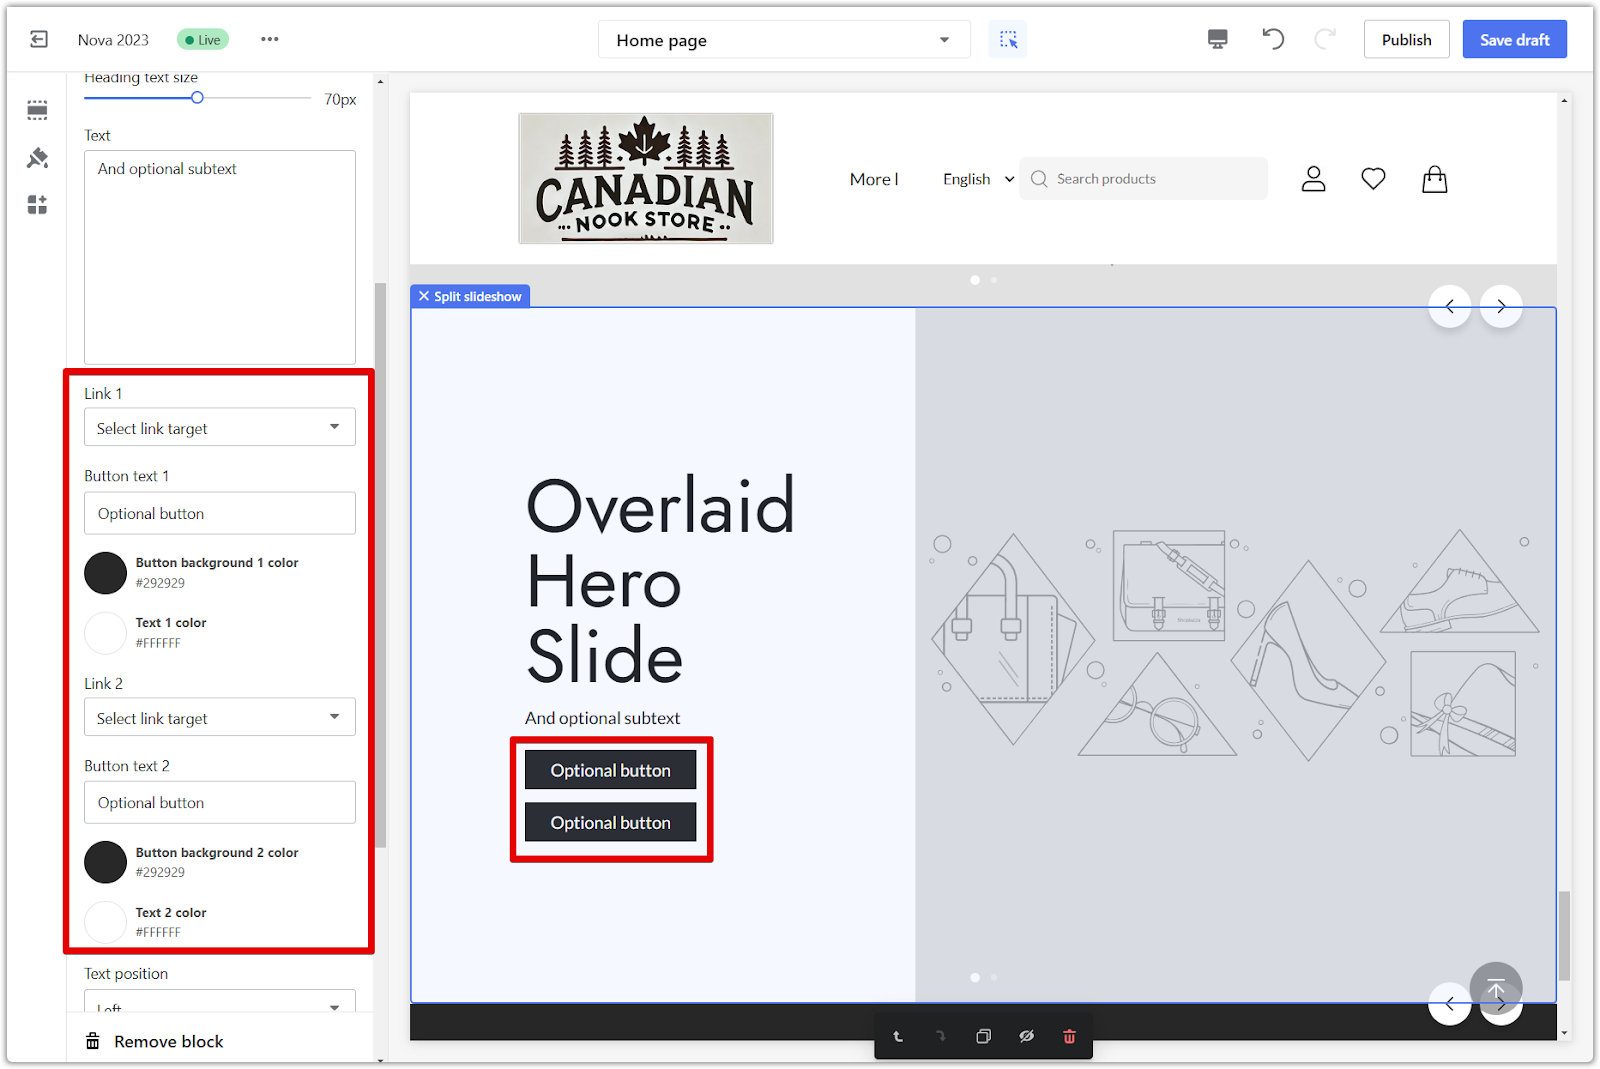
3. Button links: Link your buttons accordingly to guide your visitors to specific collections. This will make it easy for them to find and purchase the products they're interested in. Adjust the button names and colors to match your style.
4. Text alignment: Choose how you want your text to be aligned within the slideshow. Experiment with different alignments to see what looks best with your chosen images and layout. Upload your image here for your slide.
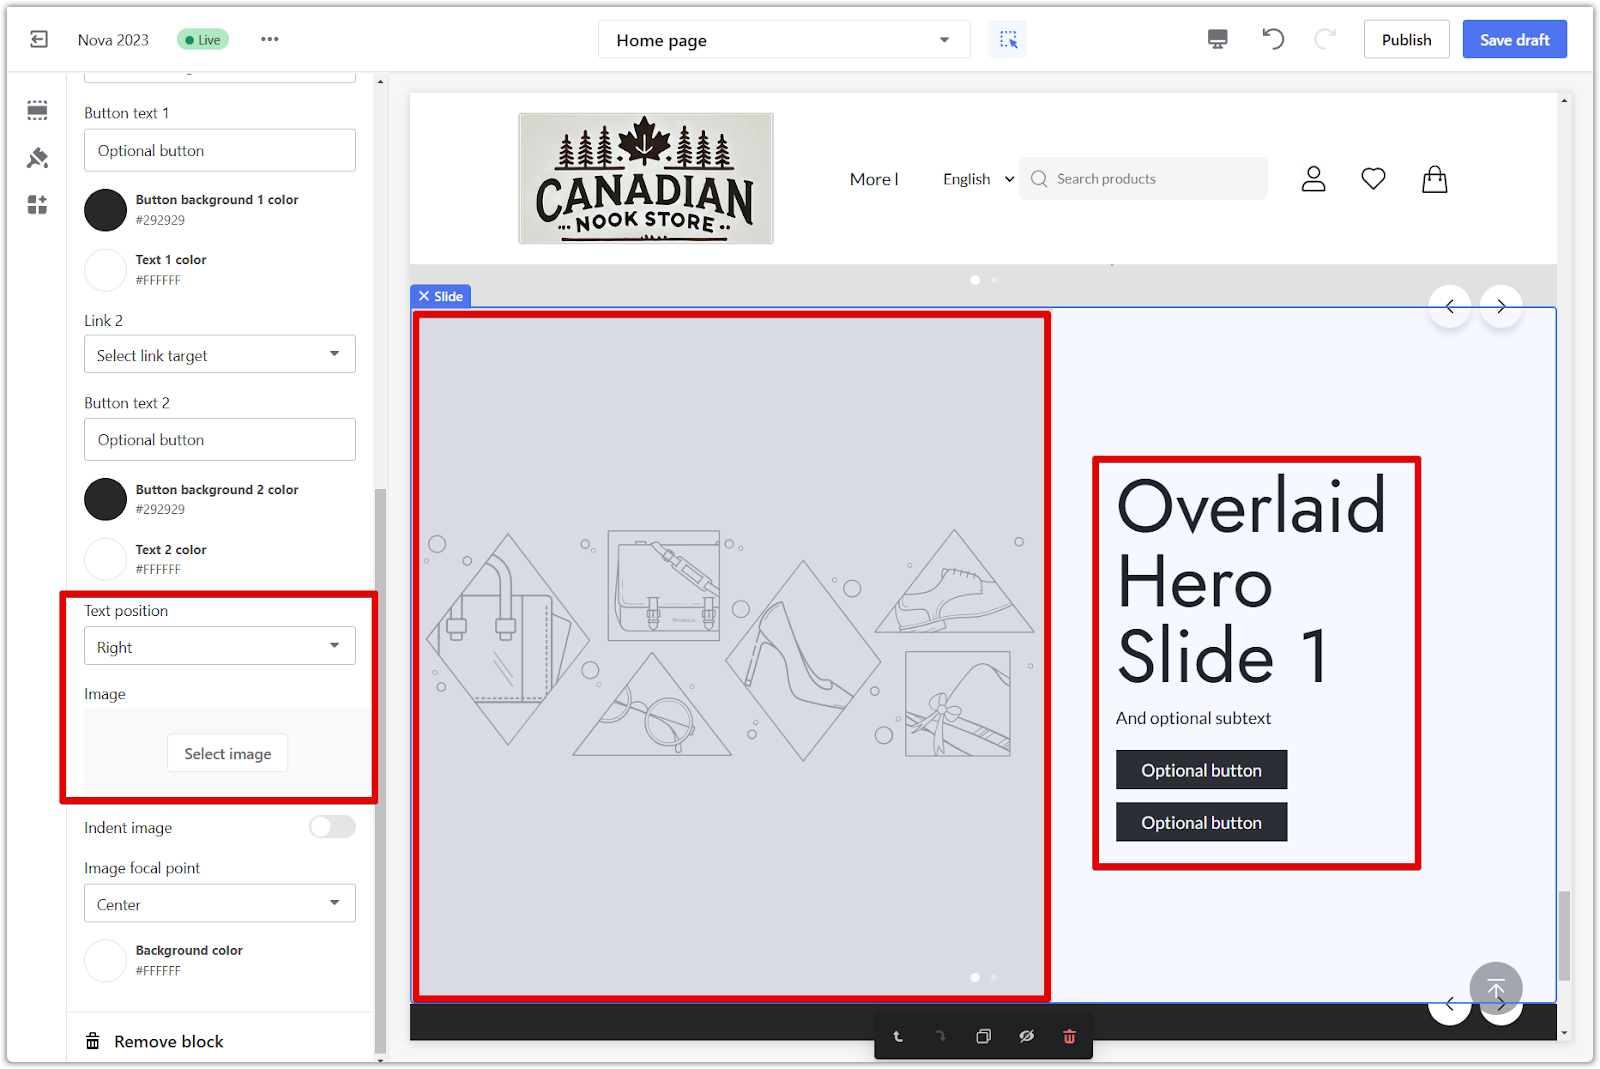
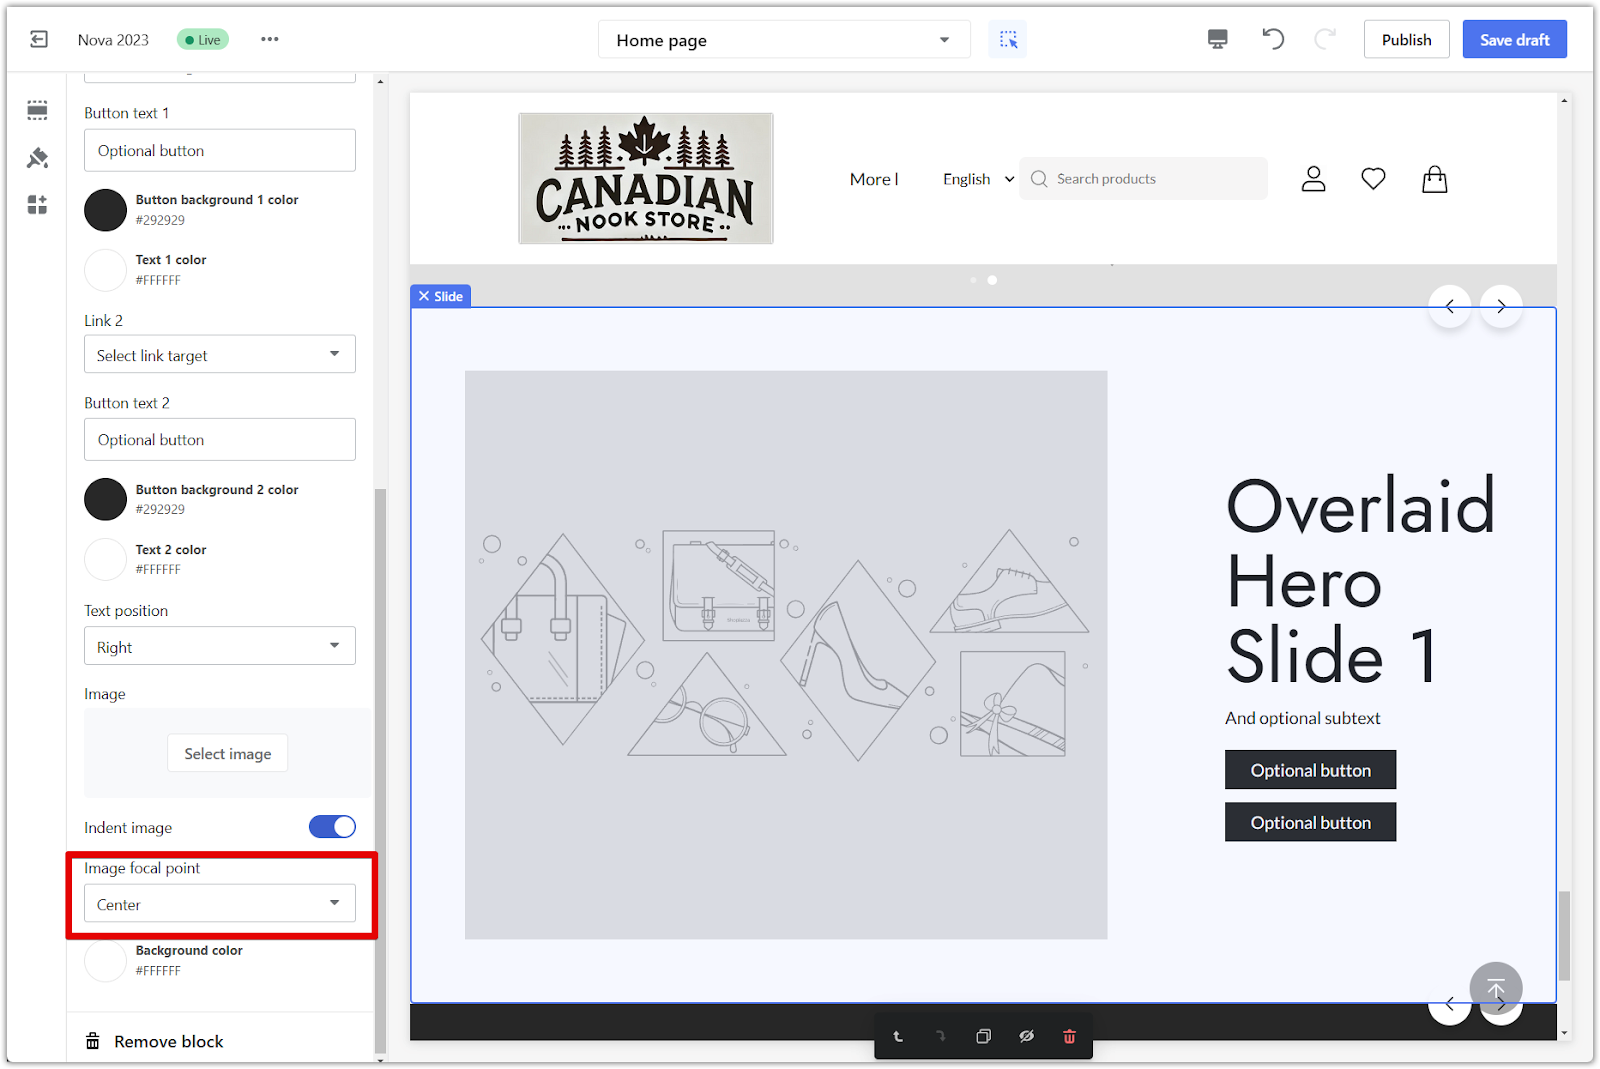
5. Image indentation: If you need more space for your text, toggle on Image indentation. This will automatically resize the image, ensuring your text is visible and easily read.

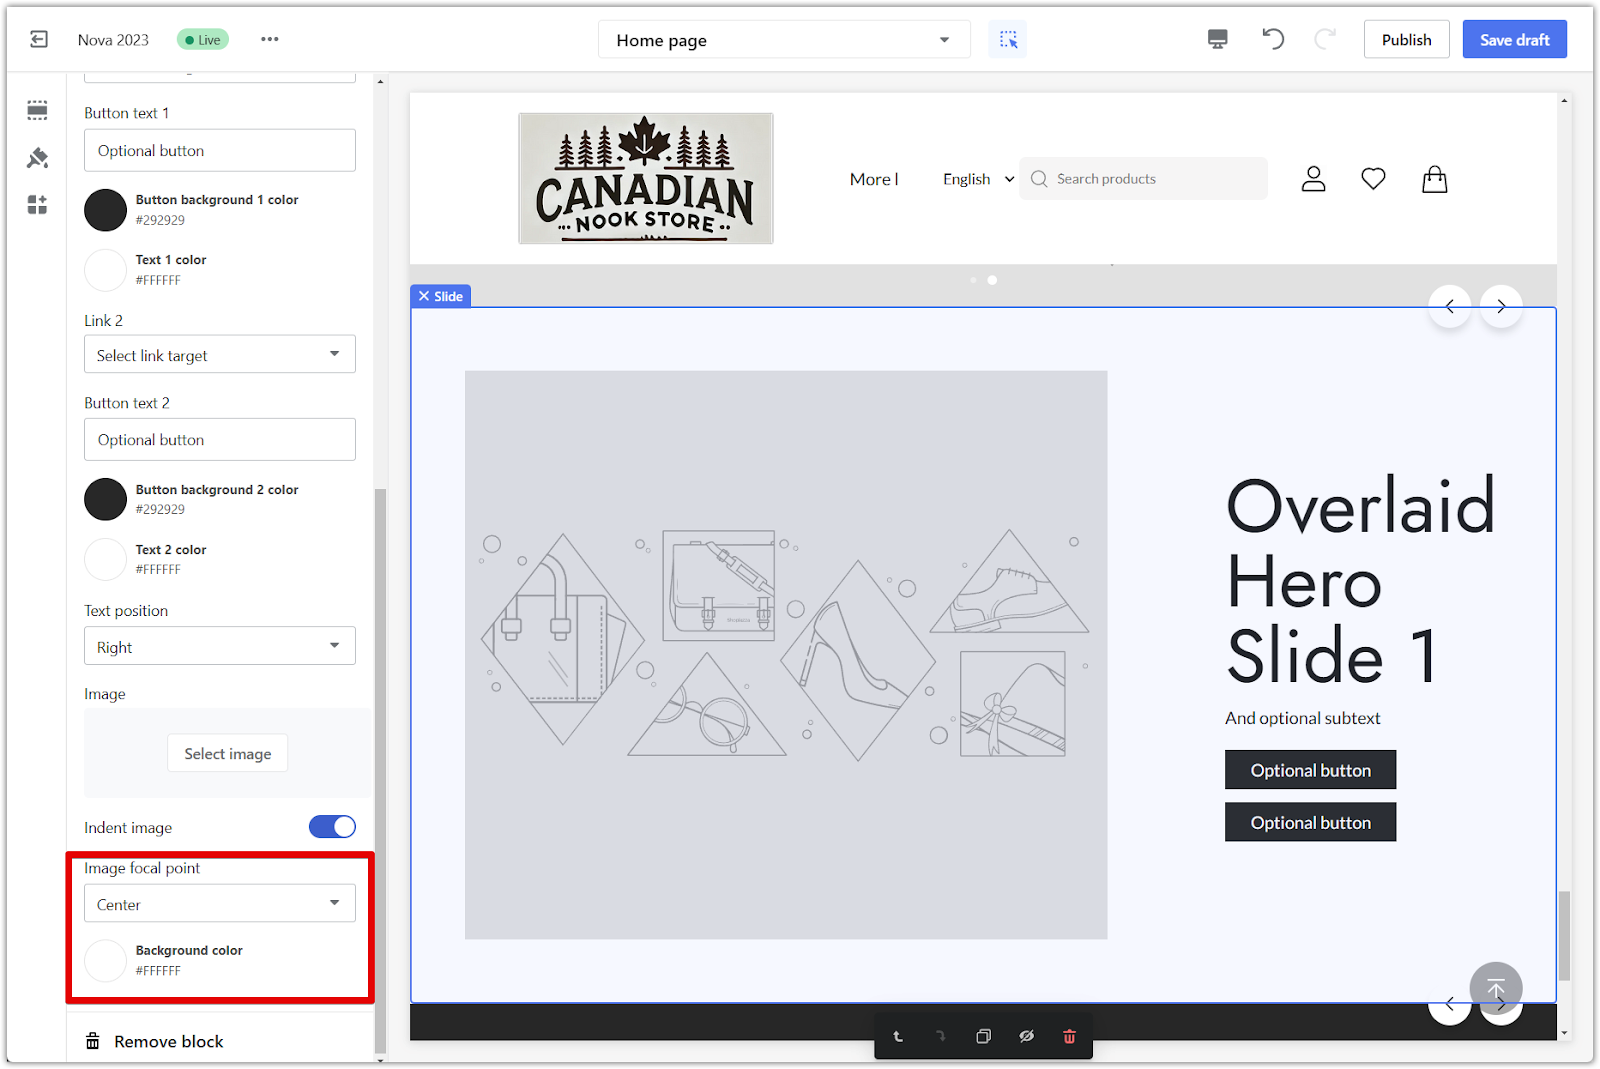
6. Image focal point: Set an image focal point to prevent important parts of your images from being cropped. This ensures that the key elements of your visuals are always displayed prominently.
7. Background color: Choose a background color that complements your store's overall color scheme and branding. Note: Ensure sufficient contrast between your background color and the text and images in your slideshow. This will make your content easy to read and visually appealing.
By incorporating a dynamic split-screen slideshow into your website, you will enhance its visual appeal and improve user engagement. The split layout ensures your content is presented clearly and attractively, making it easier for customers to navigate to key areas like your collection pages. With this new feature, your site will offer visitors a more interactive and visually compelling experience.


Comments
Please sign in to leave a comment.