
This section allows you to greet customers and showcase products effectively. Combining photos and text strengthens brand awareness and encourages customer interaction. This is especially valuable for reinforcing product details with compelling text and vivid imagery and highlighting your best products.
Adding the section
Easily incorporate a visually engaging Large image with text box into your store:
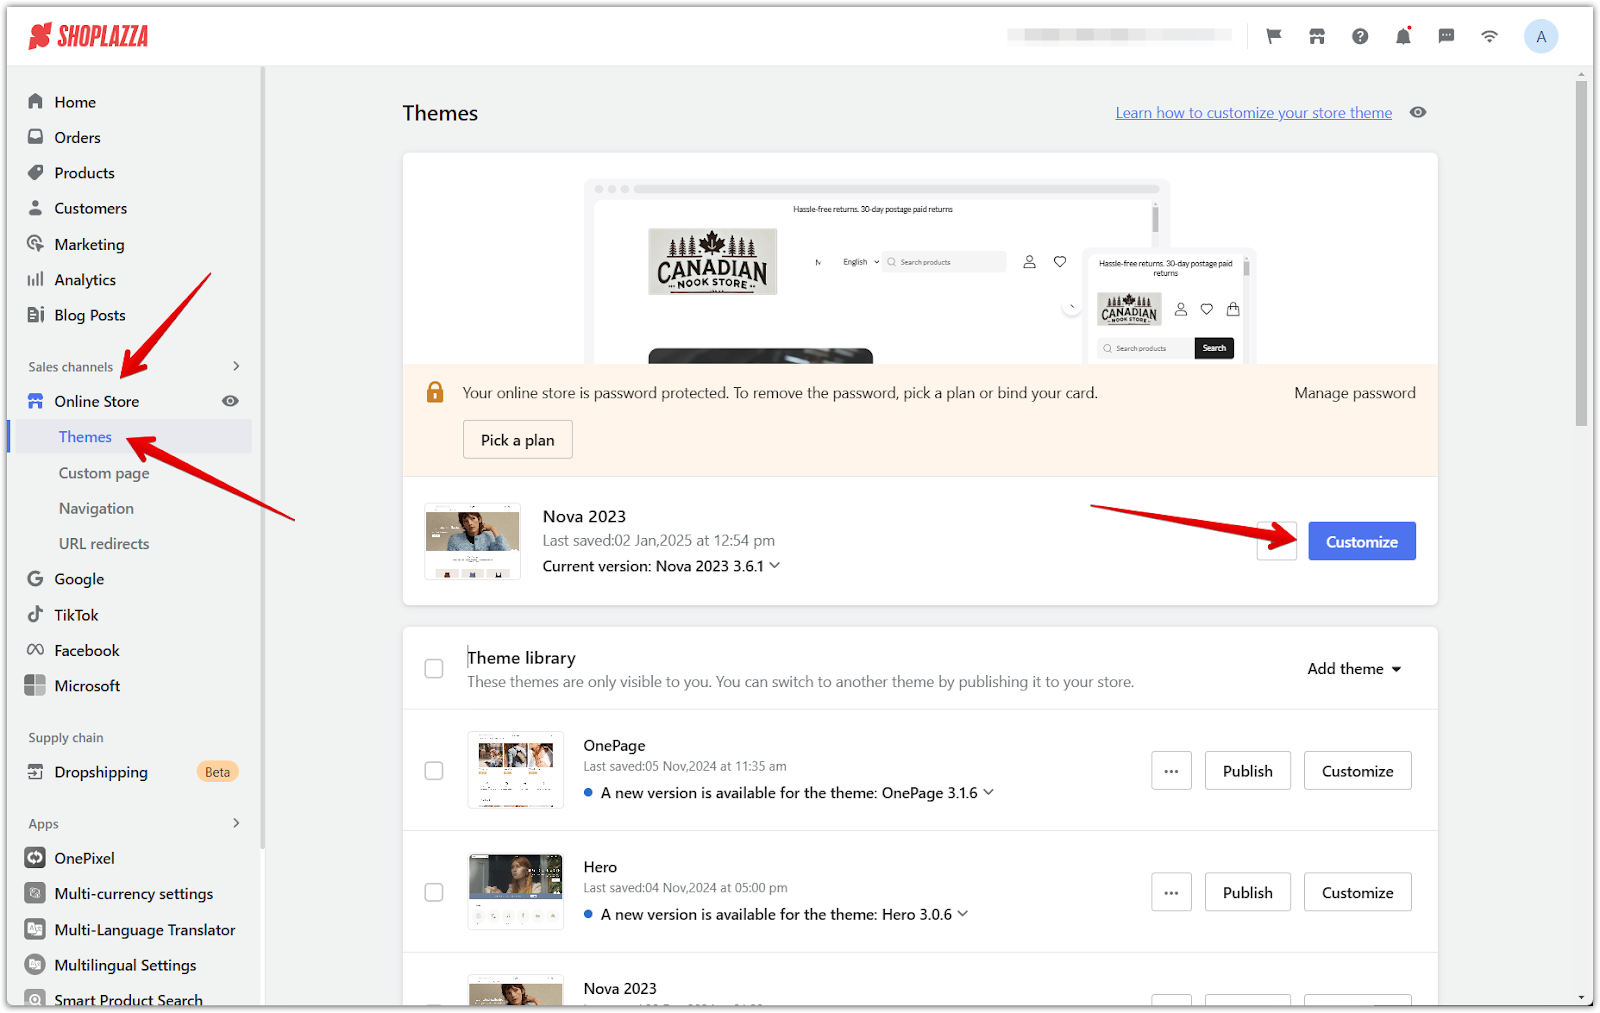
1. Access the theme editor: Navigate to your Shoplazza Admin > Online Store > Themes and click the Customize button next to the theme you want to modify.
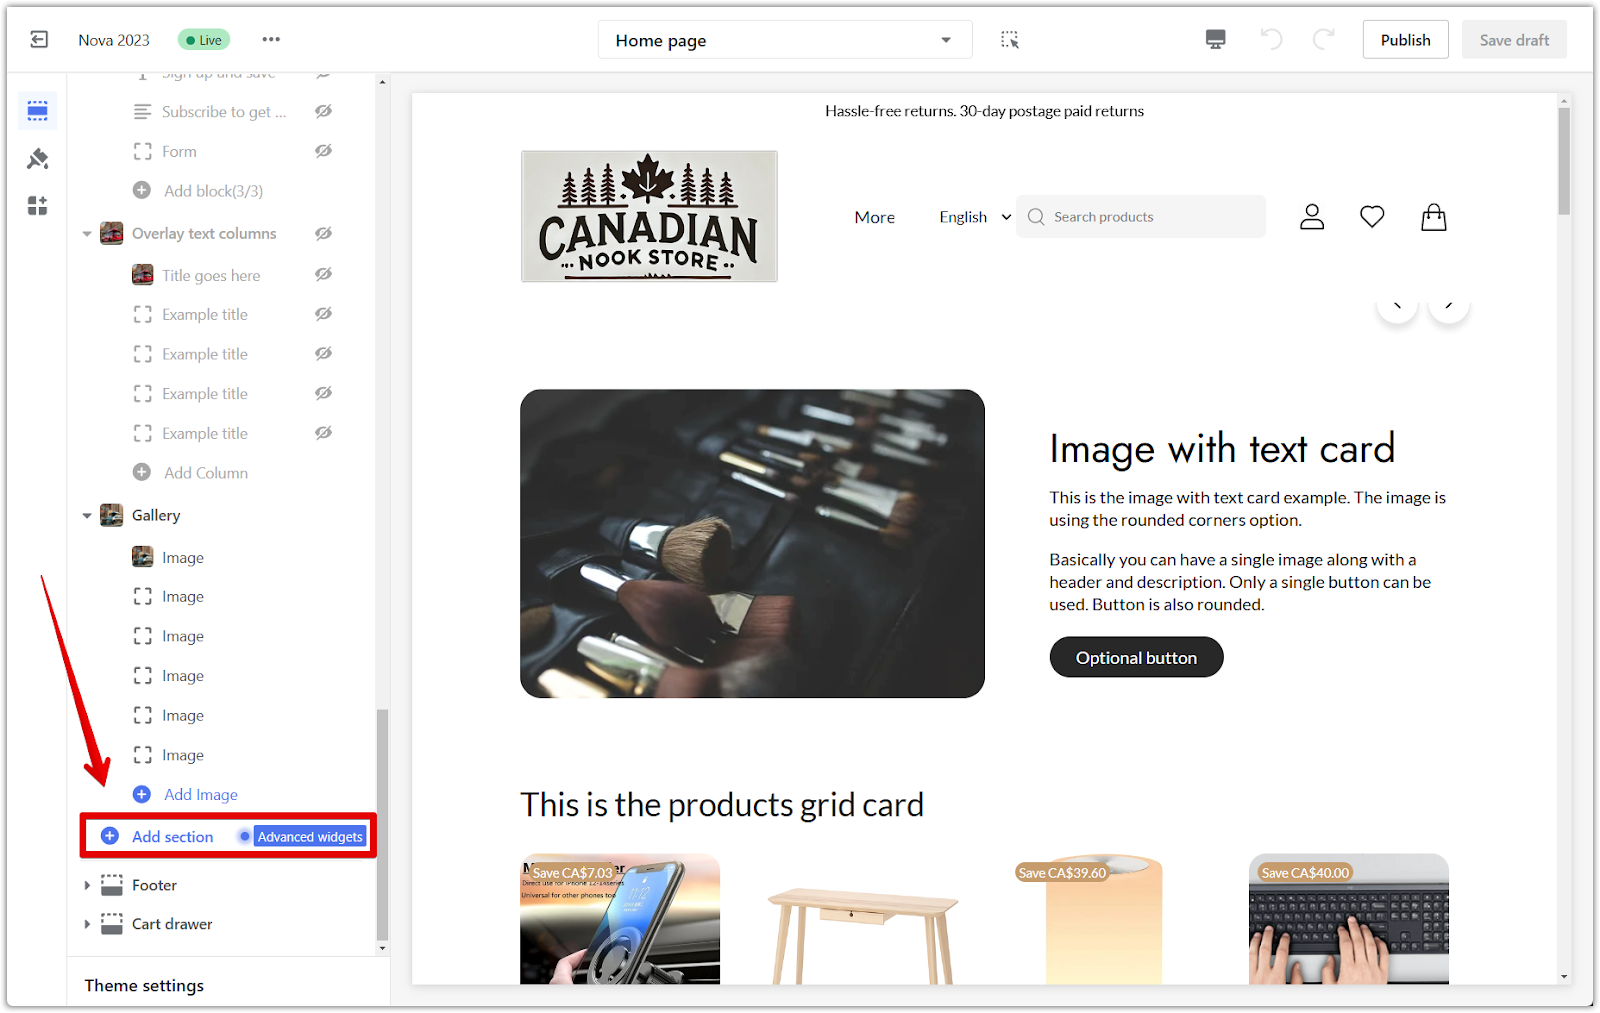
2. Add the section: In the theme editor, scroll down and click the Add section to view the different sections available for your chosen theme. Each section offers unique functionalities and design elements to enhance your store.
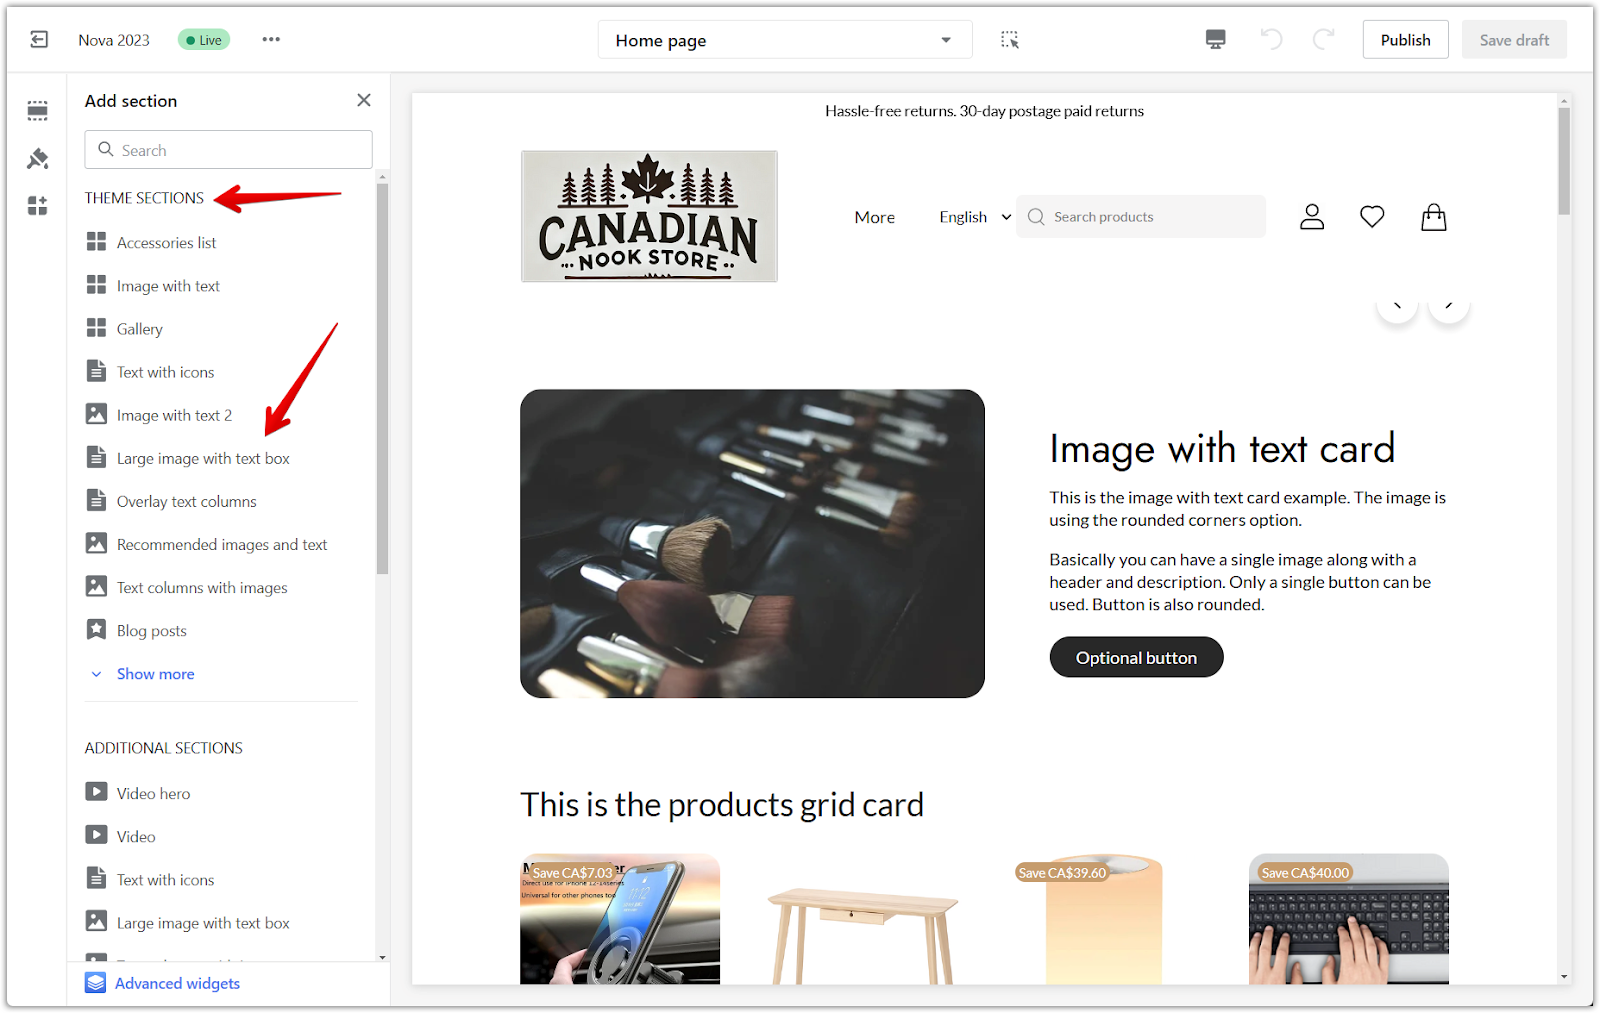
3. Incorporate the section: Under Theme Sections, locate the Large image with text section and add it to your page. Customize the various settings and configurations to match your preferences and brand aesthetic.
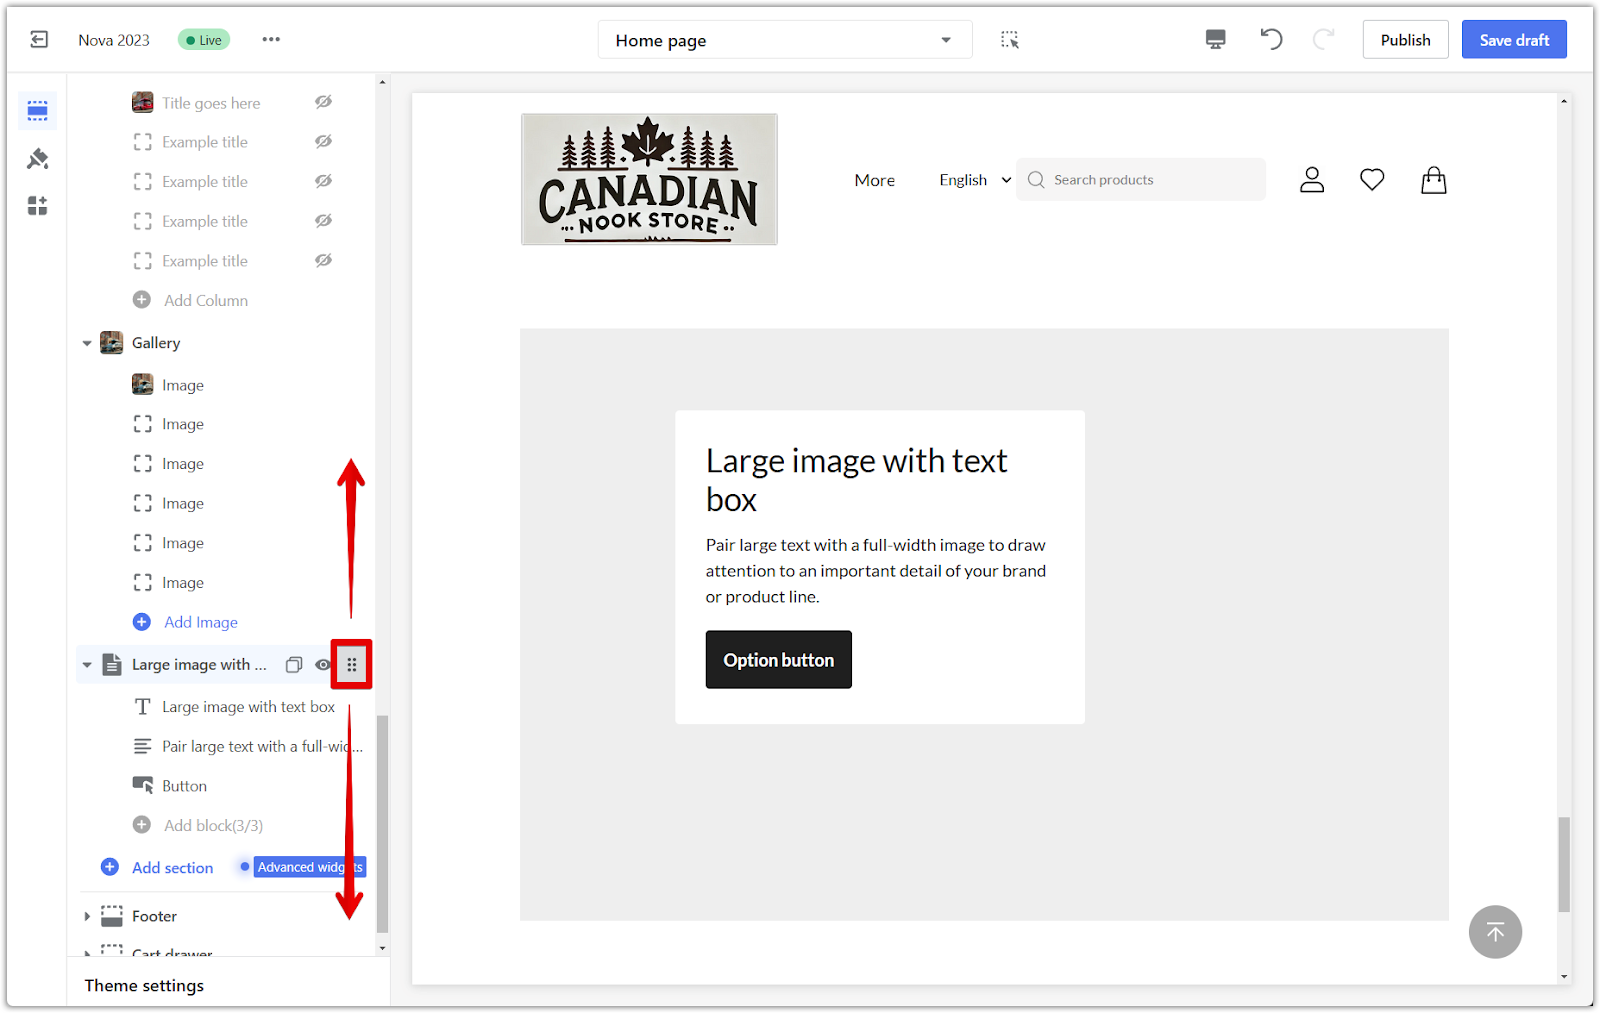
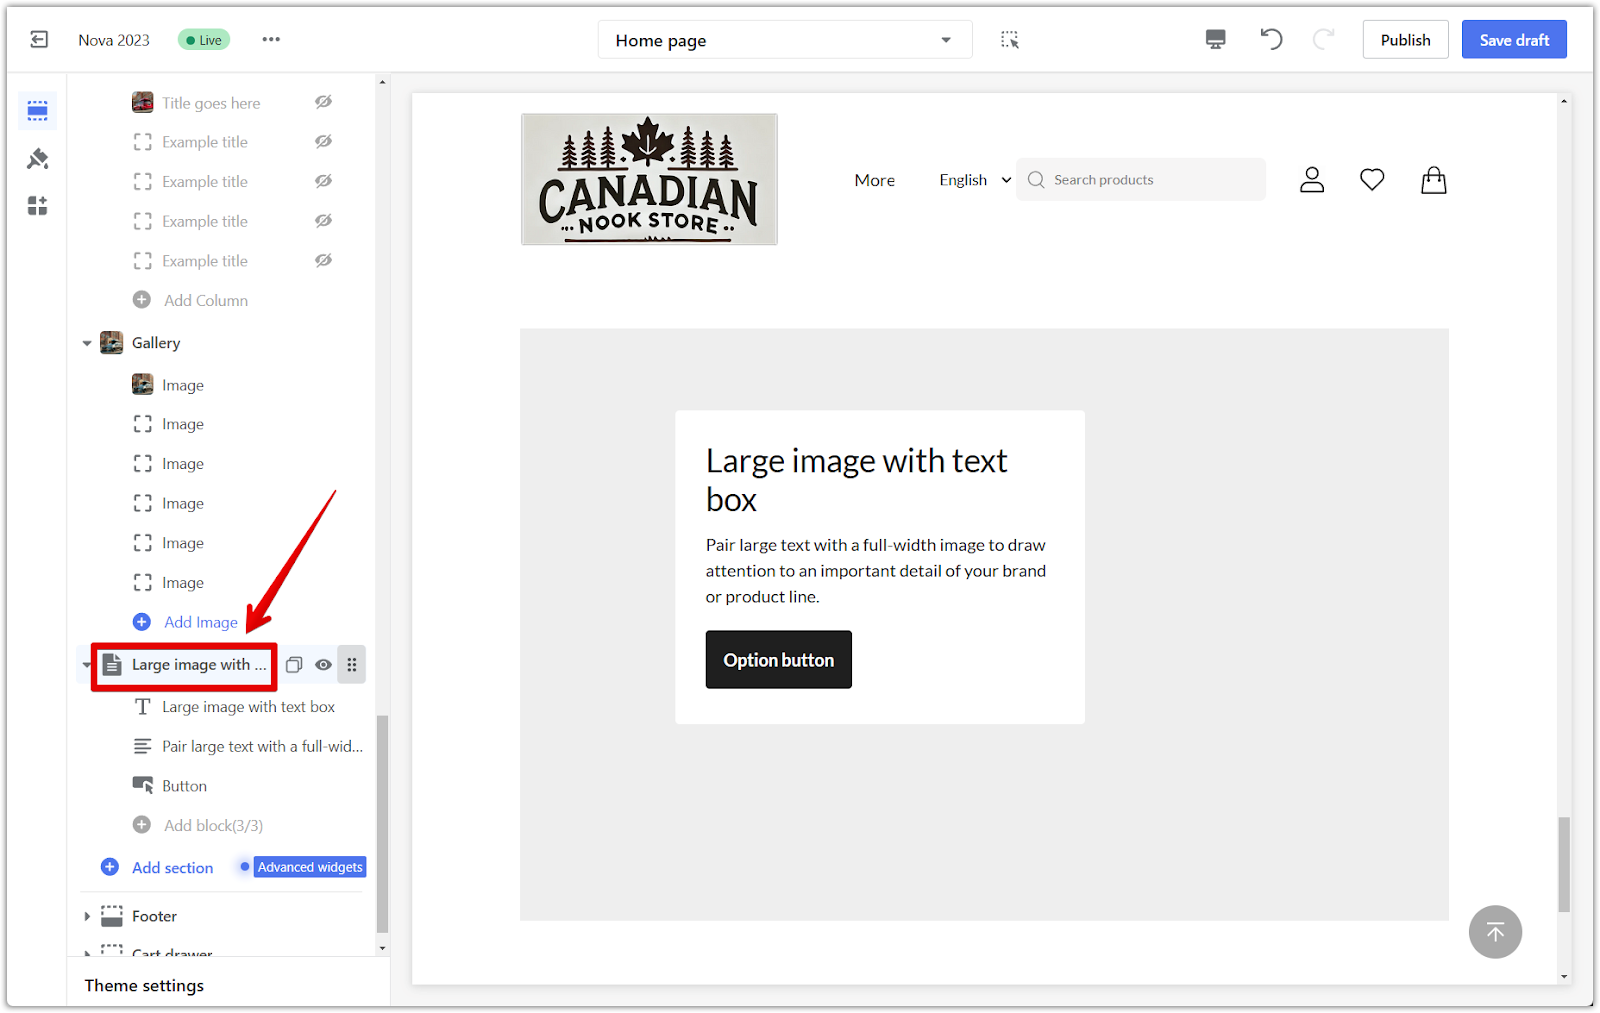
4. Reorder the section: To change the position of the Large image with text box on your page, click and drag the drop icon to move it up or down. This allows you to create a page layout that flows naturally and effectively and guides your customers' attention.
Setting up the section
Configure your Large image with text box for maximum impact:
1. Modify settings: To adjust this section's various settings and options, click on the Large image with text title. This opens a panel where you can fine-tune its appearance and functionality.
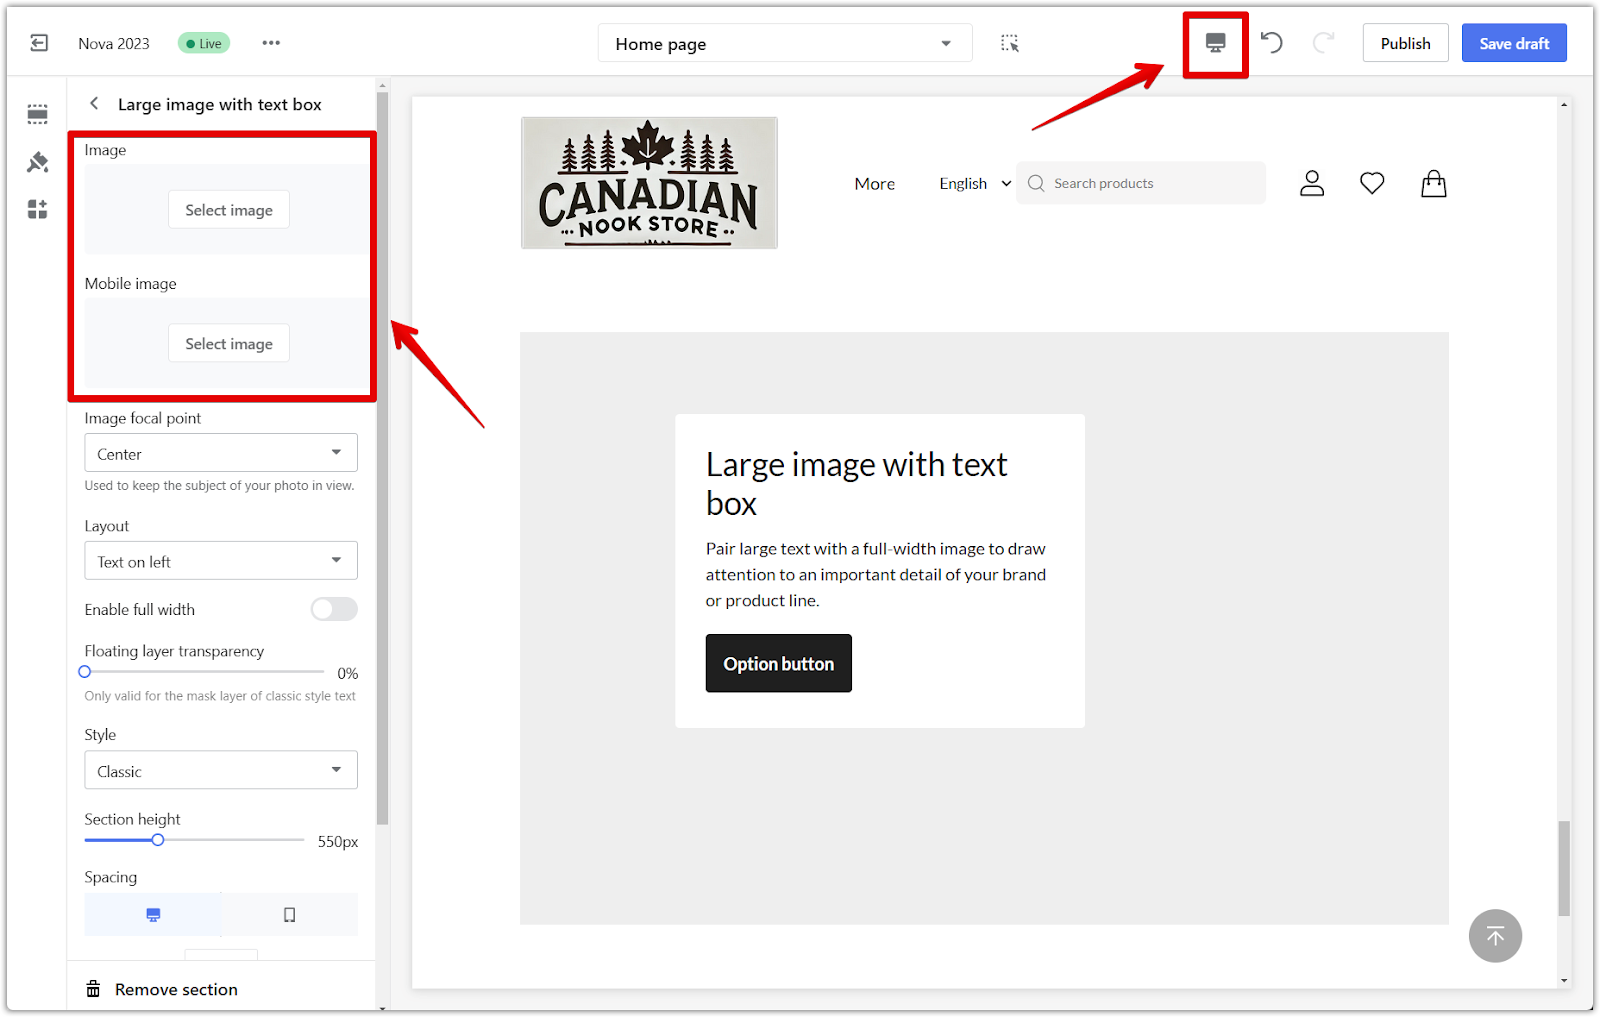
2. Add a background image: Select an engaging image from your library to serve as the backdrop for this section. A high-quality image that resonates with your brand and products can significantly enhance your store's visual appeal. Use the preview icon at the top right corner to see how the image will look on mobile devices.
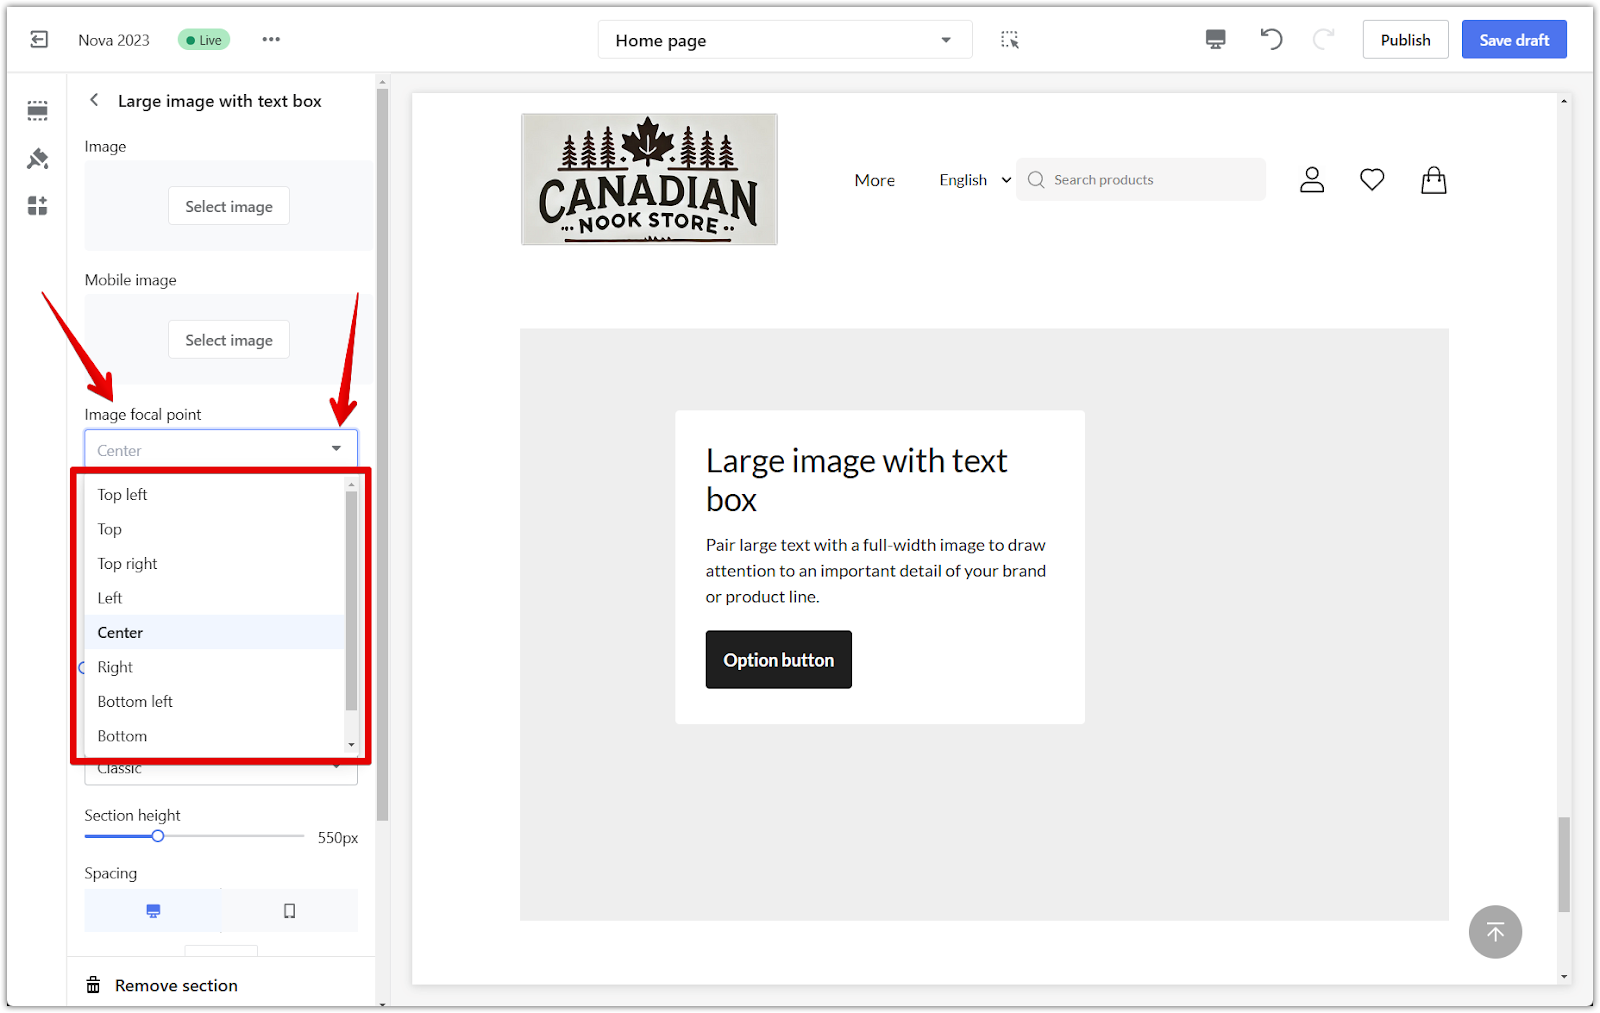
3. Set a focal point: To ensure the most important part of your image always remains in view, set a focal point. This is particularly helpful for preventing key elements from being cropped when the image is displayed on different screen sizes or devices.
Adjusting the layout
Achieve the perfect balance between your image and text:
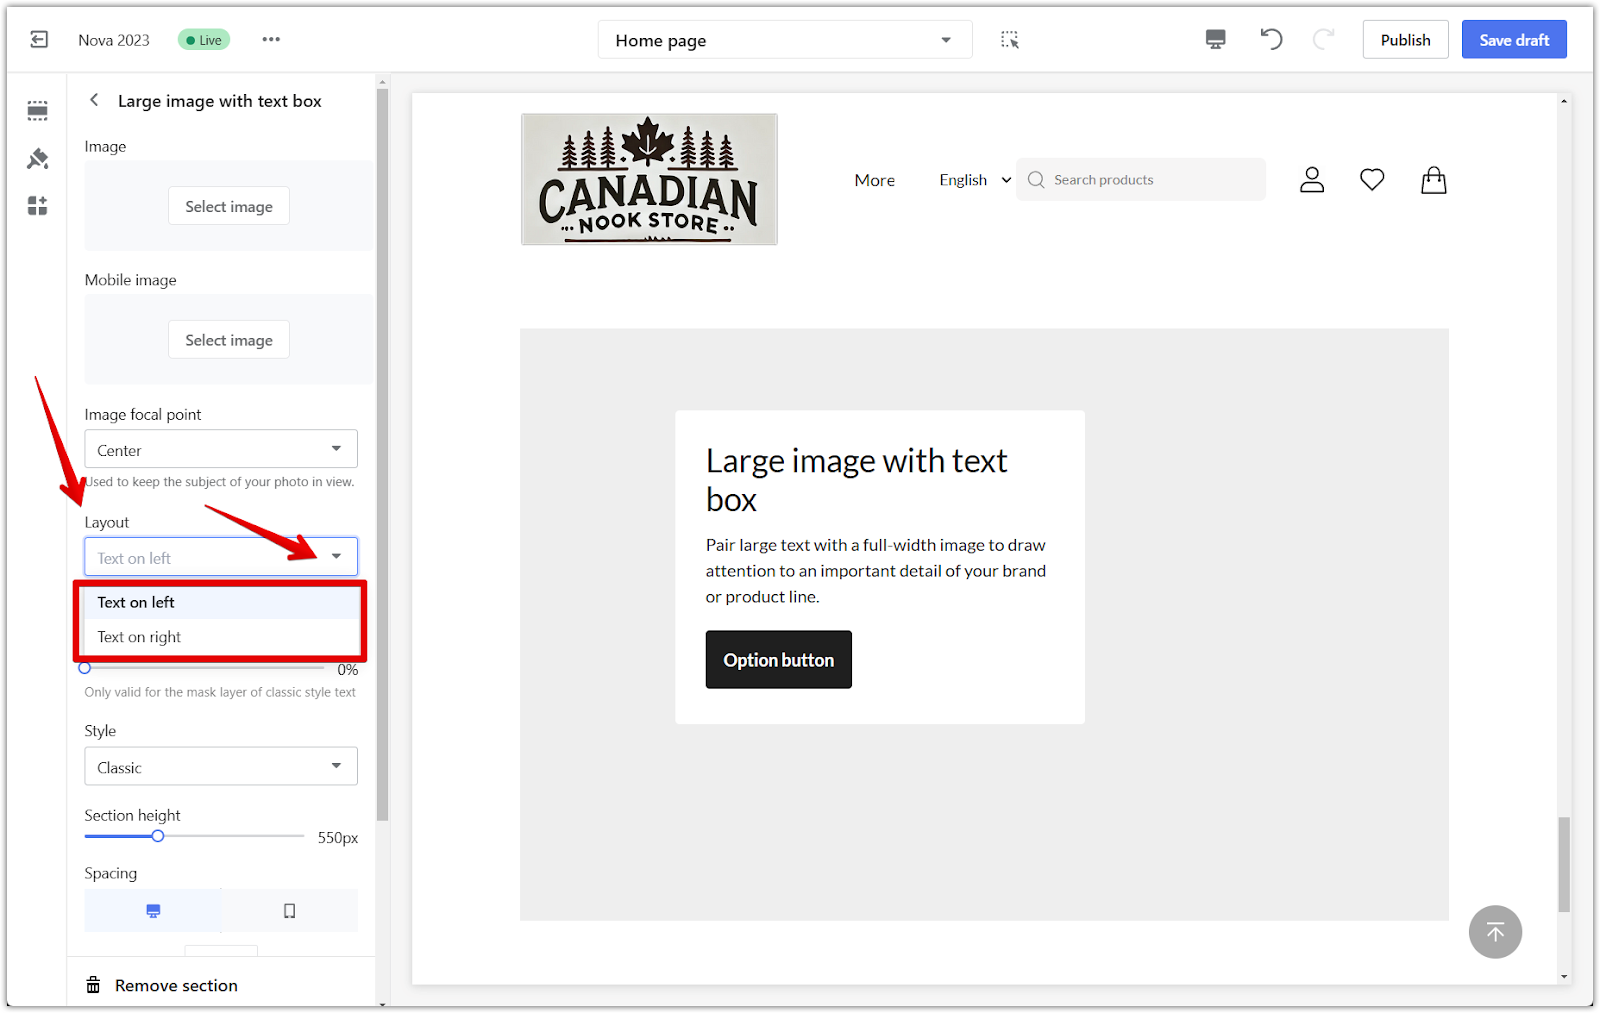
1. Reposition the text box: The drop-down layout menu provides a simple way to reposition your text box within the section. Experiment with different positions to find the one that best complements your image and creates a visually harmonious design.
2. Enable full width: This option allows you to expand your image to cover the full width of the section, creating a more immersive visual experience. This can be particularly effective for showcasing striking imagery or creating bold designs.

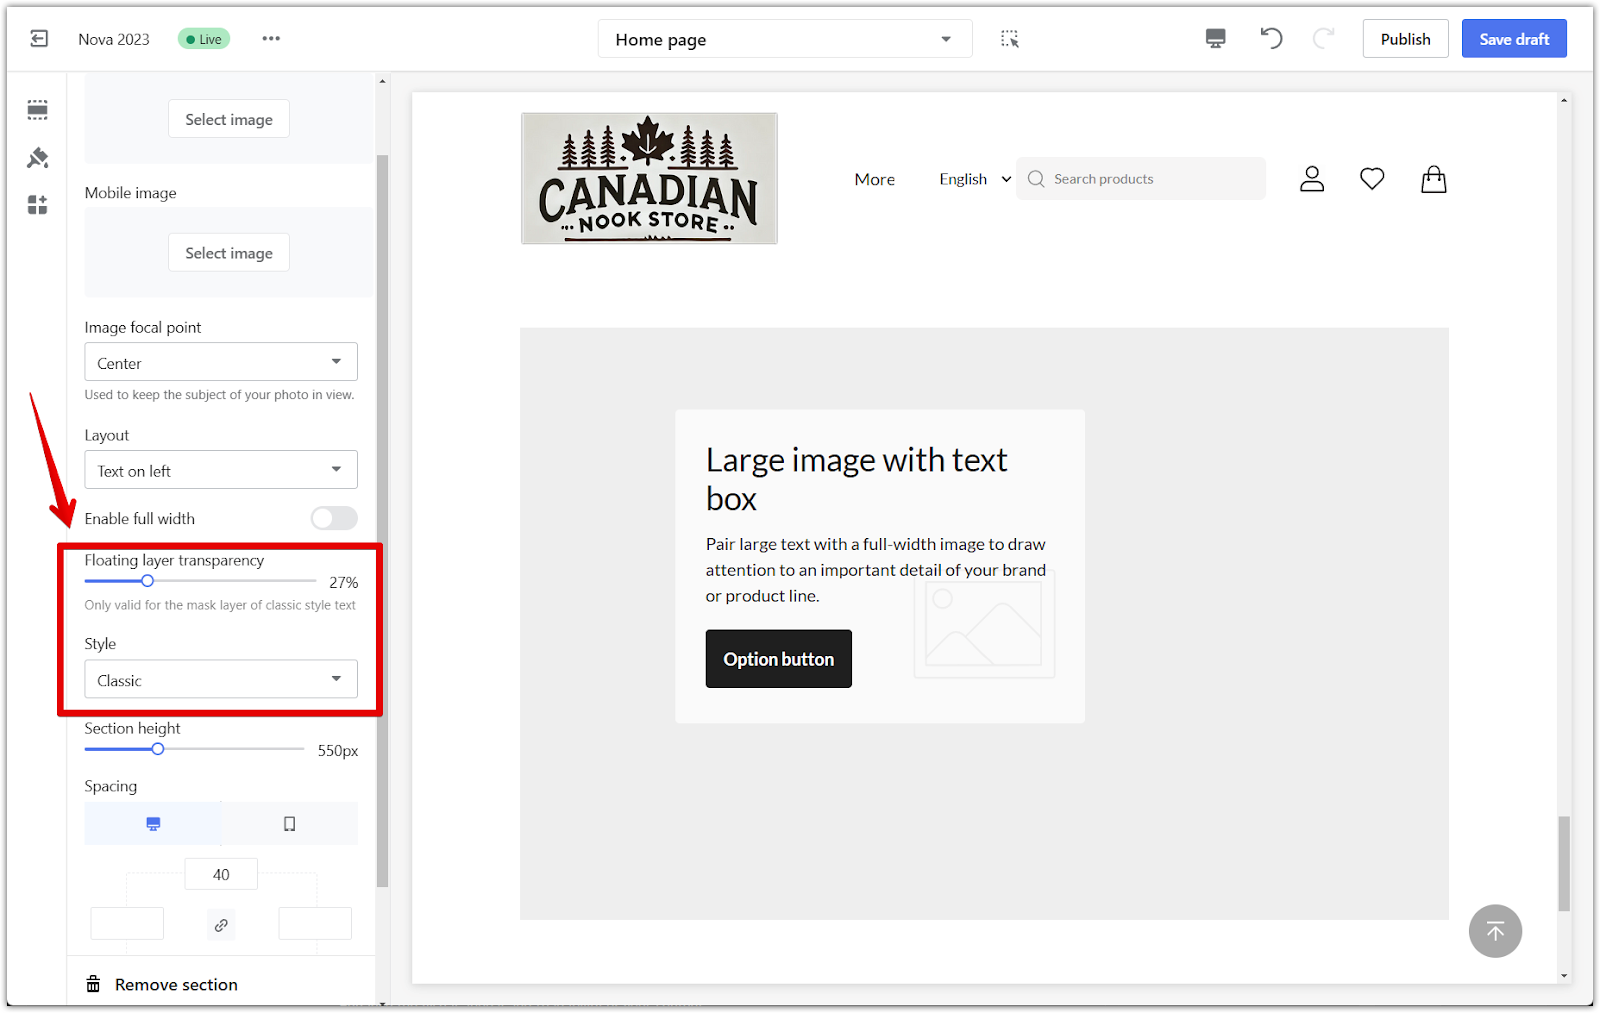
3. Adjust floating layer transparency: If you've chosen a layout with a text overlay, you can adjust the transparency of the floating layer to fine-tune the visual balance between your image and text. This allows you to ensure your text remains legible while still allowing the image to shine through.
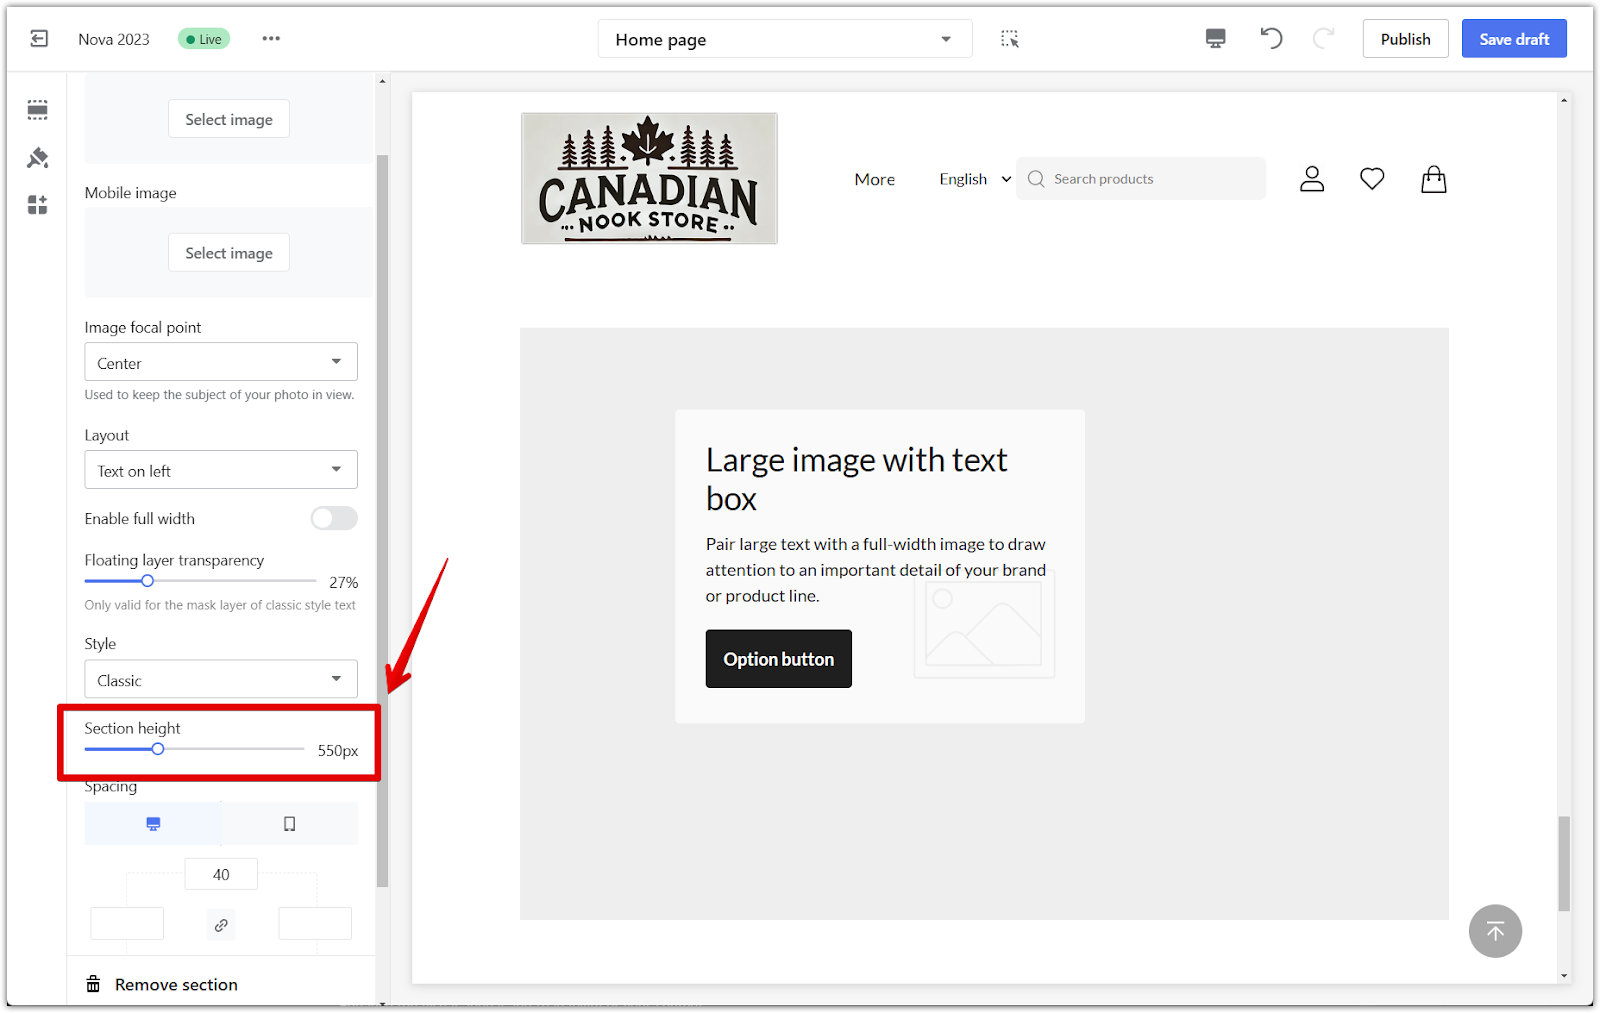
4. Adjust section height: Use the section height slider to modify the Section's overall height. This allows you to control the section's visual impact and how it fits within your page's overall layout.
Managing section padding
Enhance the visual appeal and readability of your content:
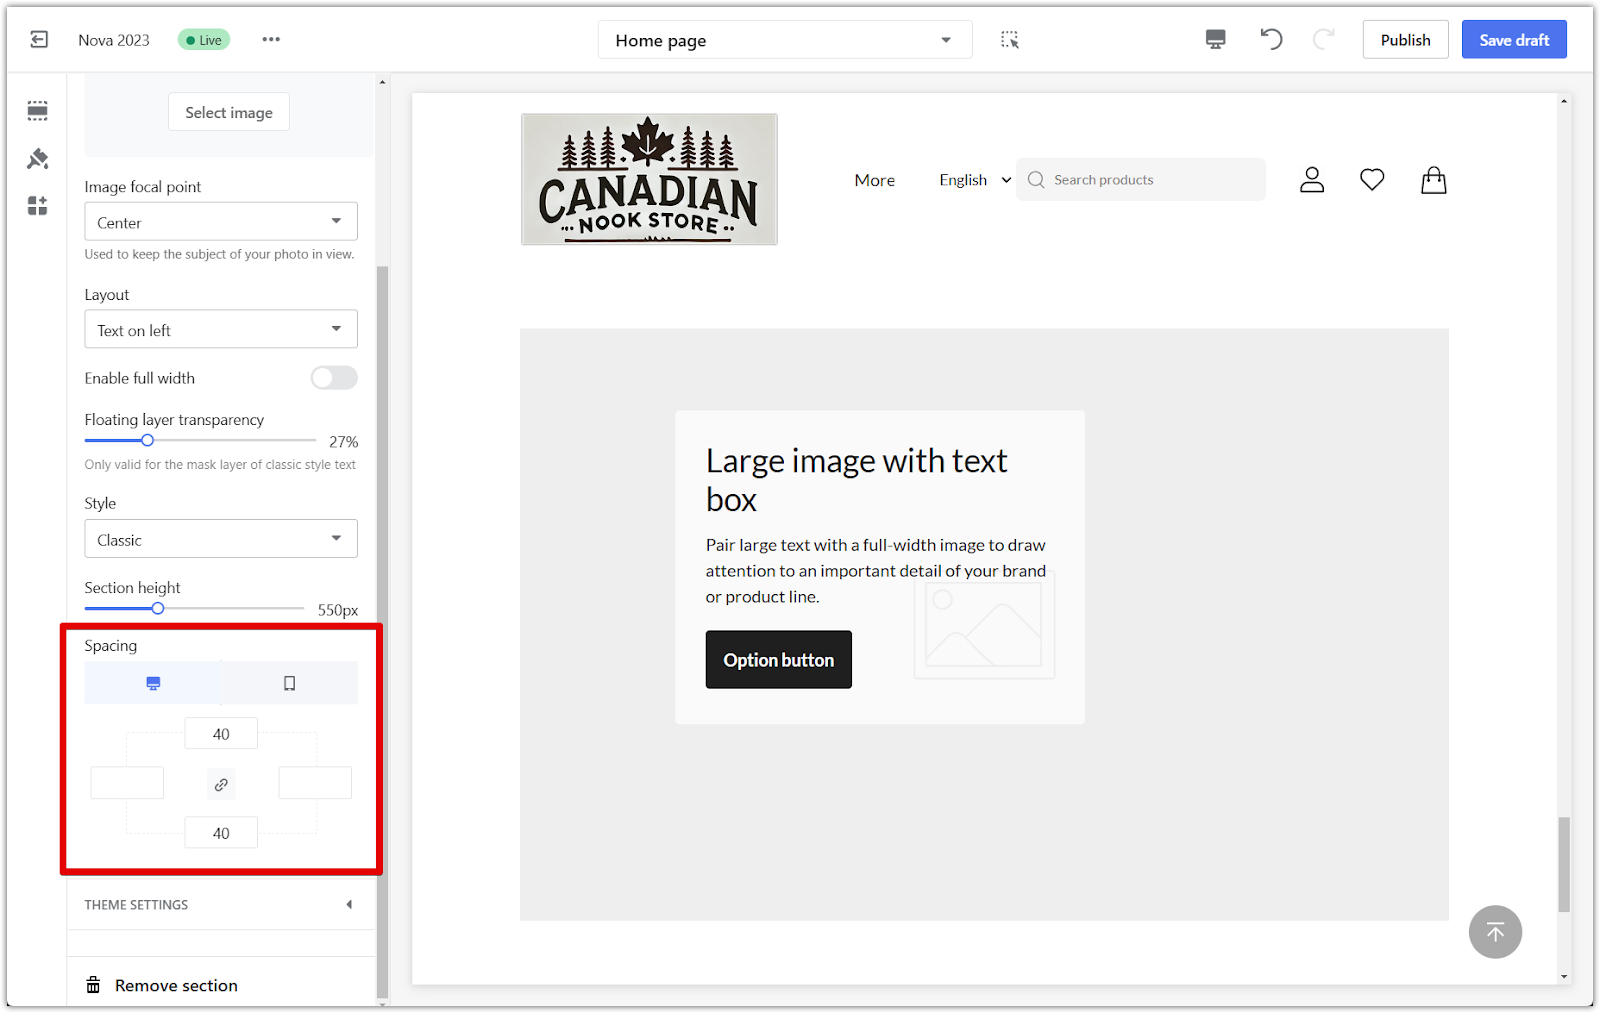
1. Add padding: The padding editor adds extra space around the section. To add uniform padding to all sides, activate the linkage icon and enter your desired pixel value in any of the four columns. To customize the padding for each side individually, disable the linkage icon and adjust the values as needed.
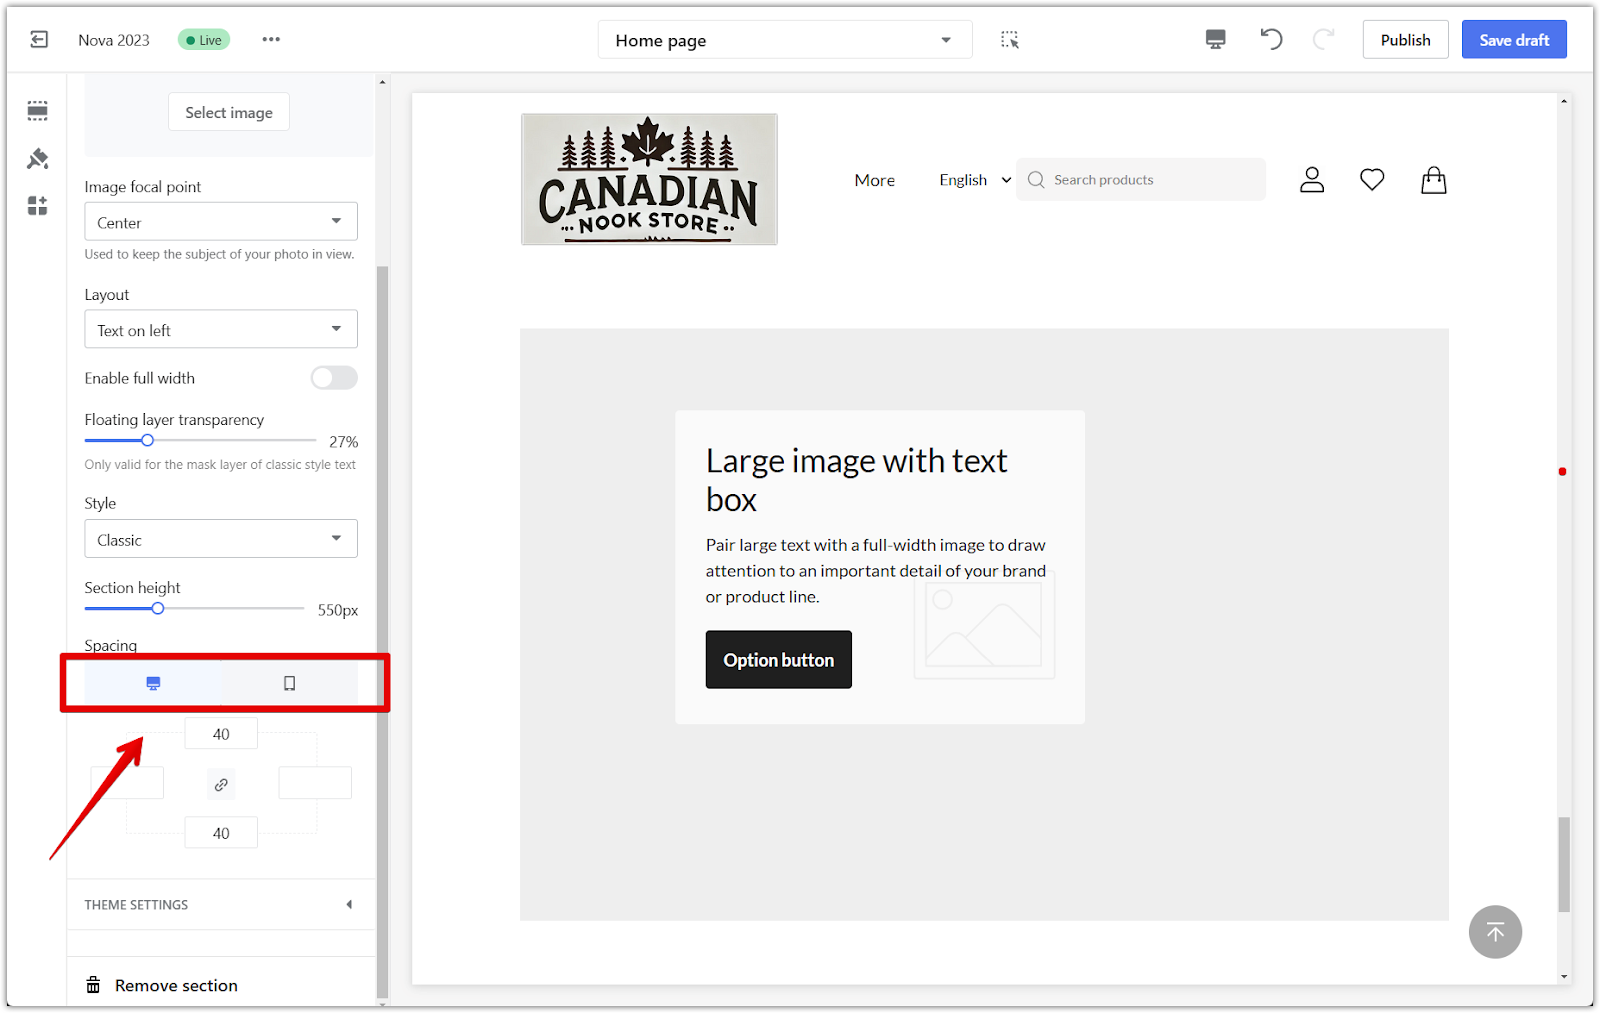
2. Preview padding: Preview the section on both desktop and mobile devices to see how your padding adjustments affect its appearance. This ensures that your design looks polished and professional across all platforms.
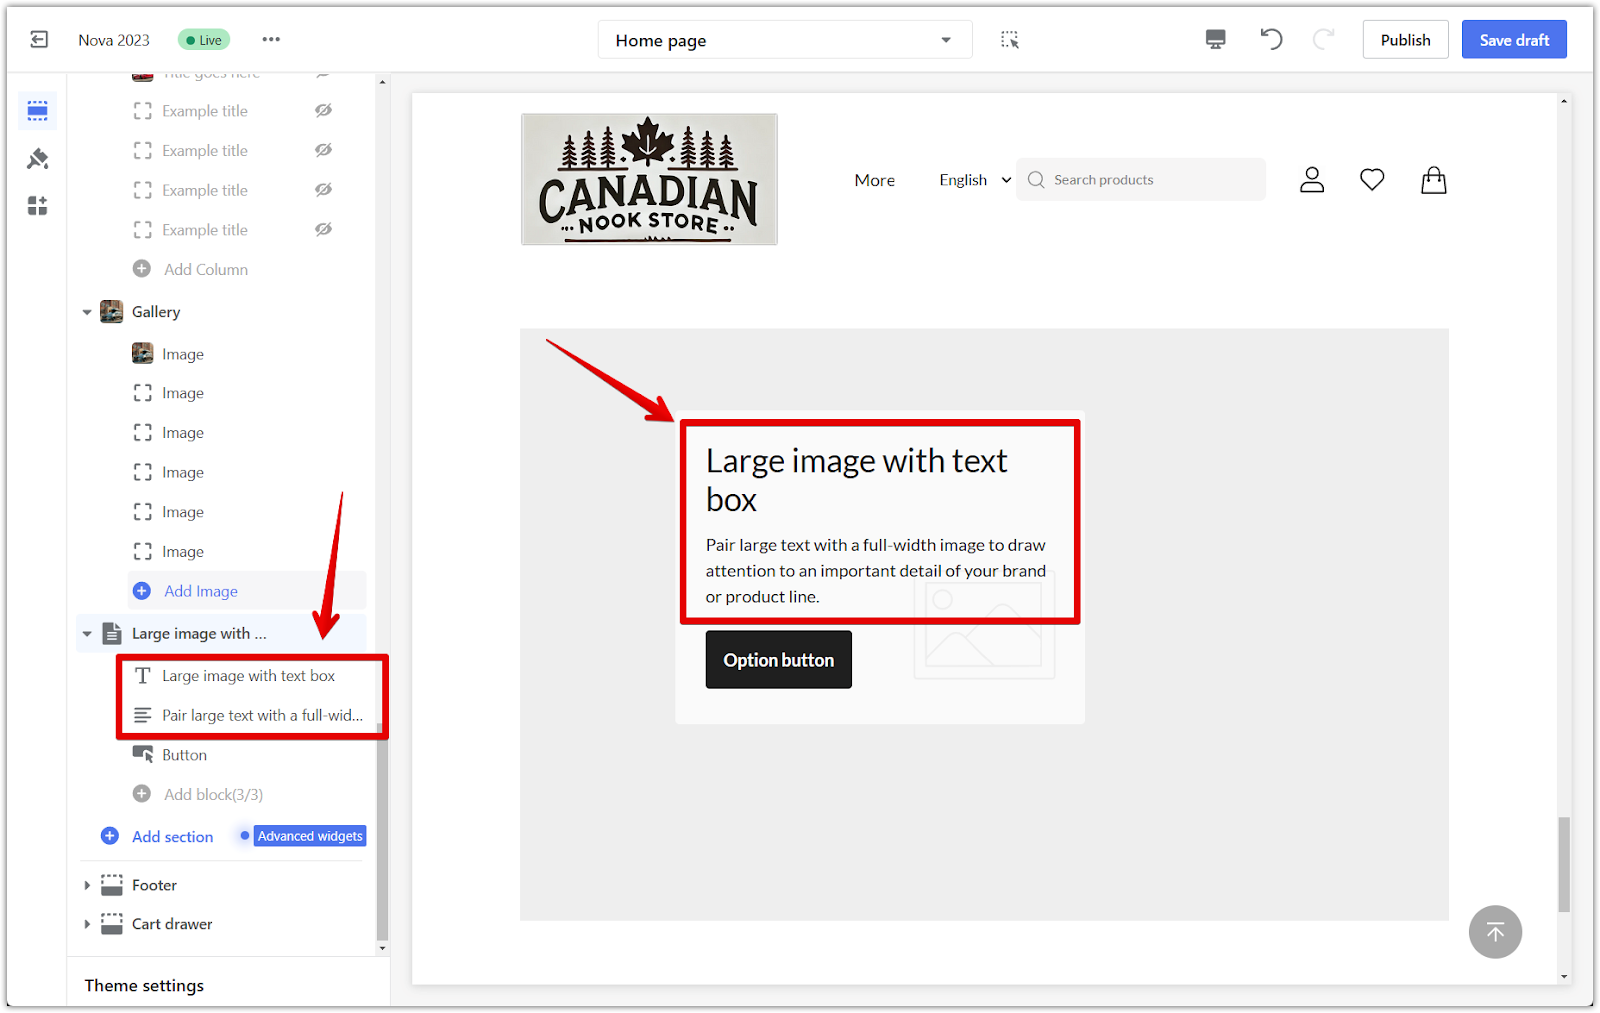
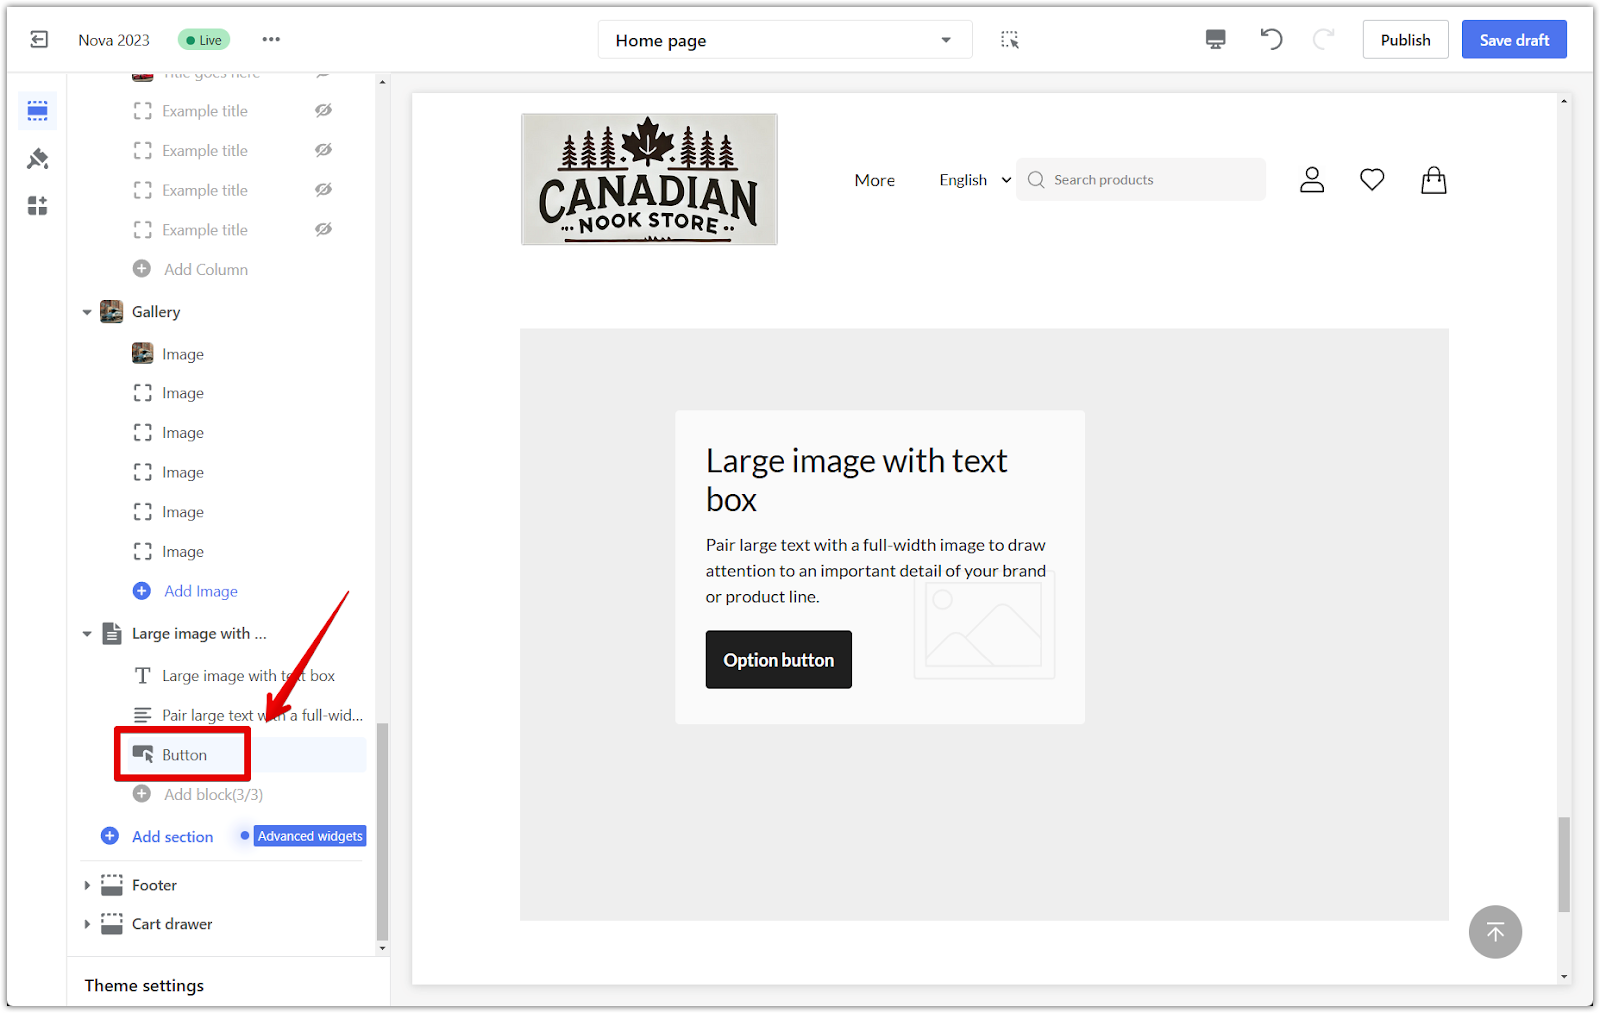
Customizing blocks within the section
Refine the individual elements within your Large image with text box:
1. Headings and text: Craft clear and engaging messaging by entering a subtitle, title, and description in the appropriate fields. These elements communicate your message effectively and capture your customers' attention.
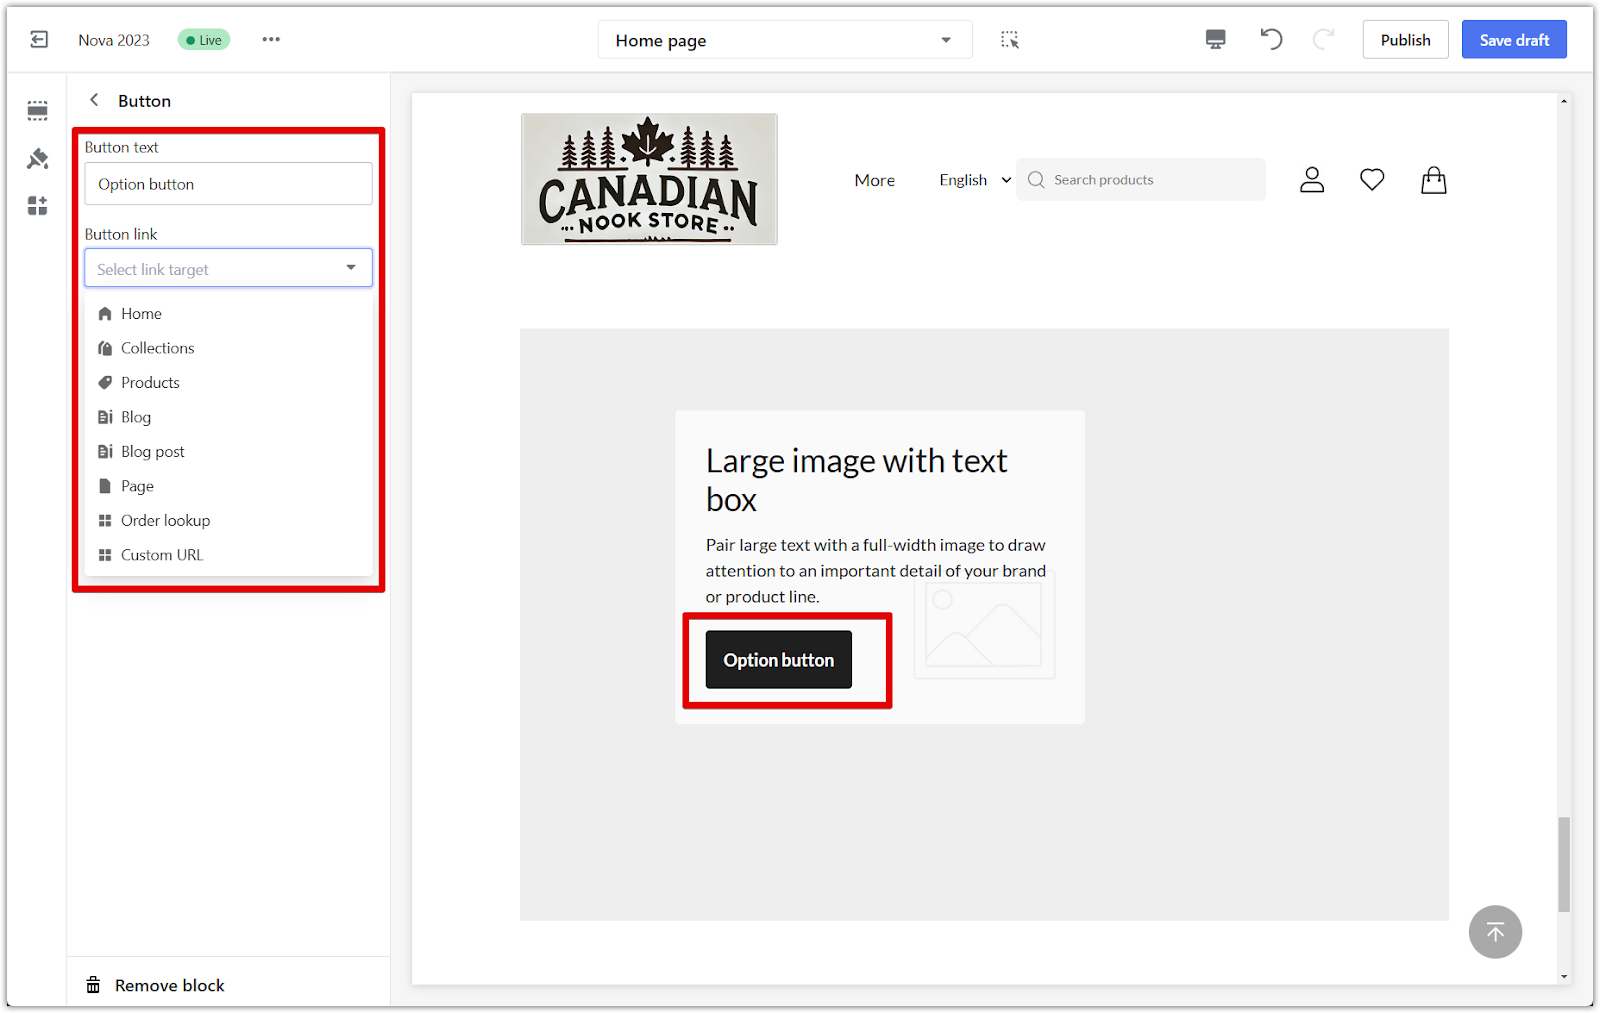
2. Buttons: Create a clear and enticing button name to guide your customers toward desired actions. Use the drop-down menu to link this button to any of your listed pages, directing traffic to specific products, collections, or other important areas of your store.
By seamlessly blending compelling visuals with informative and engaging text, you create a shopping experience that is both captivating and user-friendly. The Large image with text box section empowers you to showcase your products visually appealingly, highlight key features, and guide customers towards desired actions. This thoughtful approach to design elevates your online store's aesthetic and fosters a deeper connection with your brand, ultimately encouraging exploration, engagement, and conversion.


Comments
Please sign in to leave a comment.