
Promotional images help you highlight featured products and boost visibility across your Shoplazza storefront. The Boost theme includes a built-in promotional image section designed for high-impact banners, product highlights, and homepage campaigns. Leverage it to guide shoppers to key pages, highlight seasonal items, and increase engagement. This guide explains how to add and customize the section using the Shoplazza theme editor.
Creating a promotional images section
Start by adding the Promotional images card to your Boost theme layout. This section helps you feature products or campaigns using large visuals and call-to-action links.
Start by adding the Promotional Images card to your Boost theme layout to feature products or campaigns with high-impact visuals.
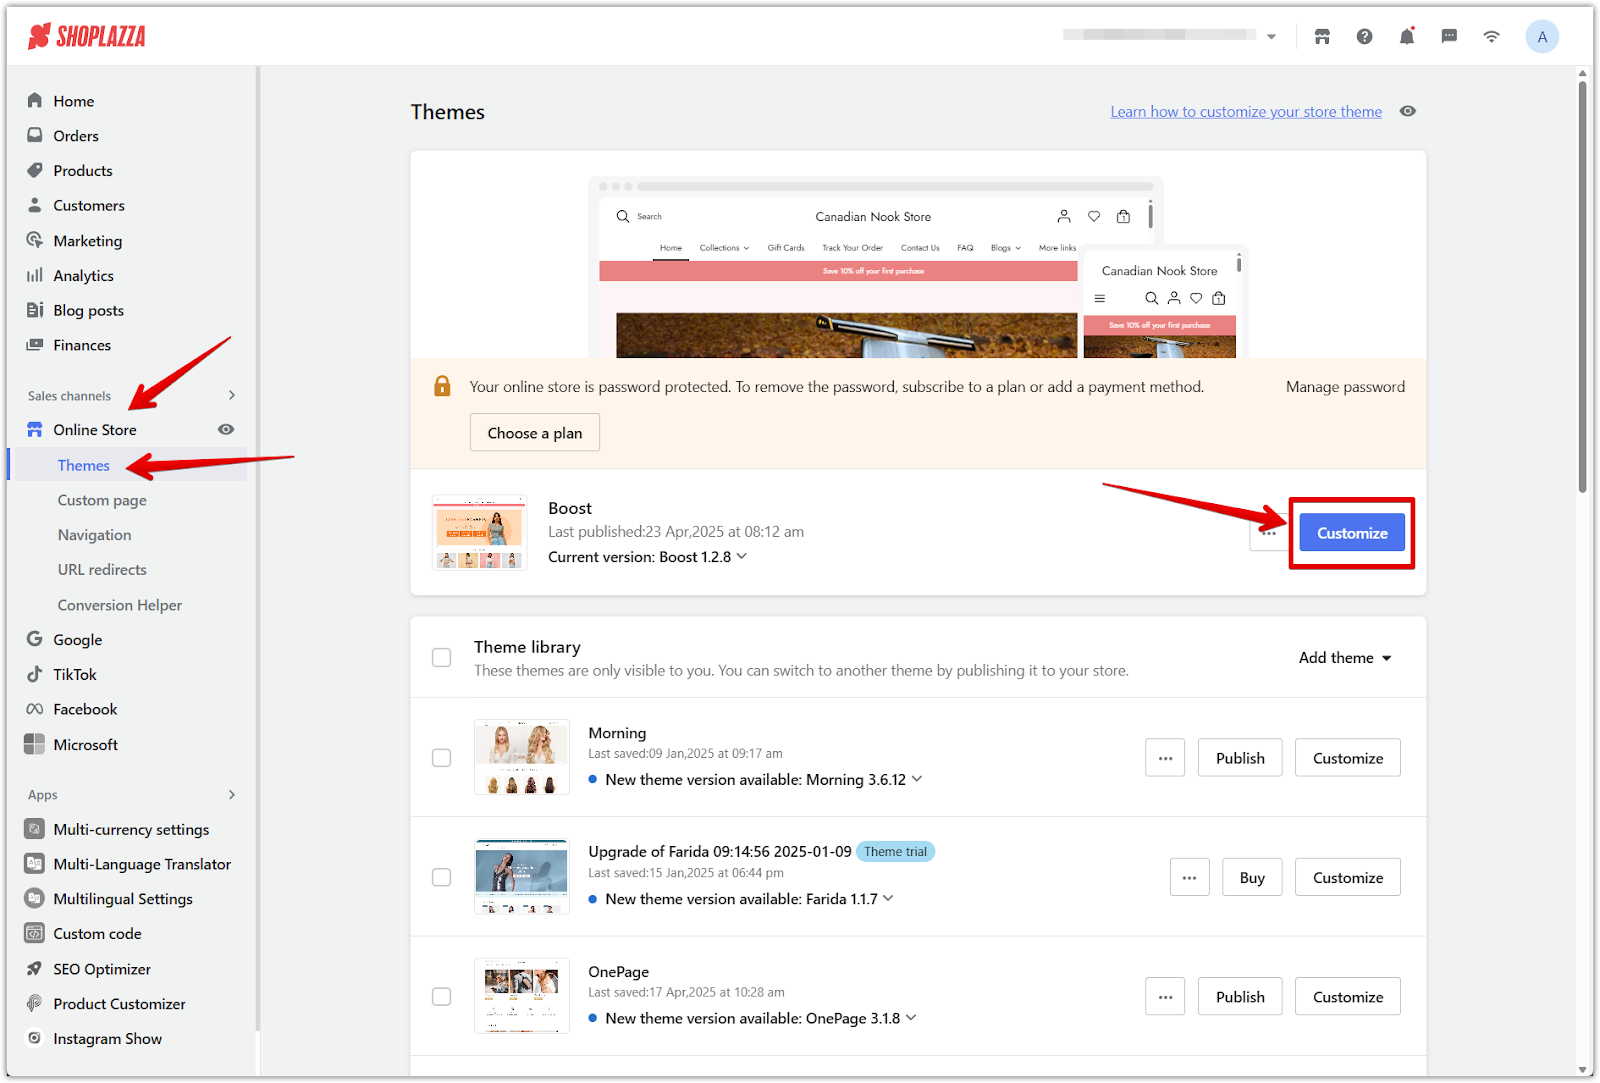
1. Access the theme editor: Go to your Shoplazza admin, select the Boost theme, then click Customize.
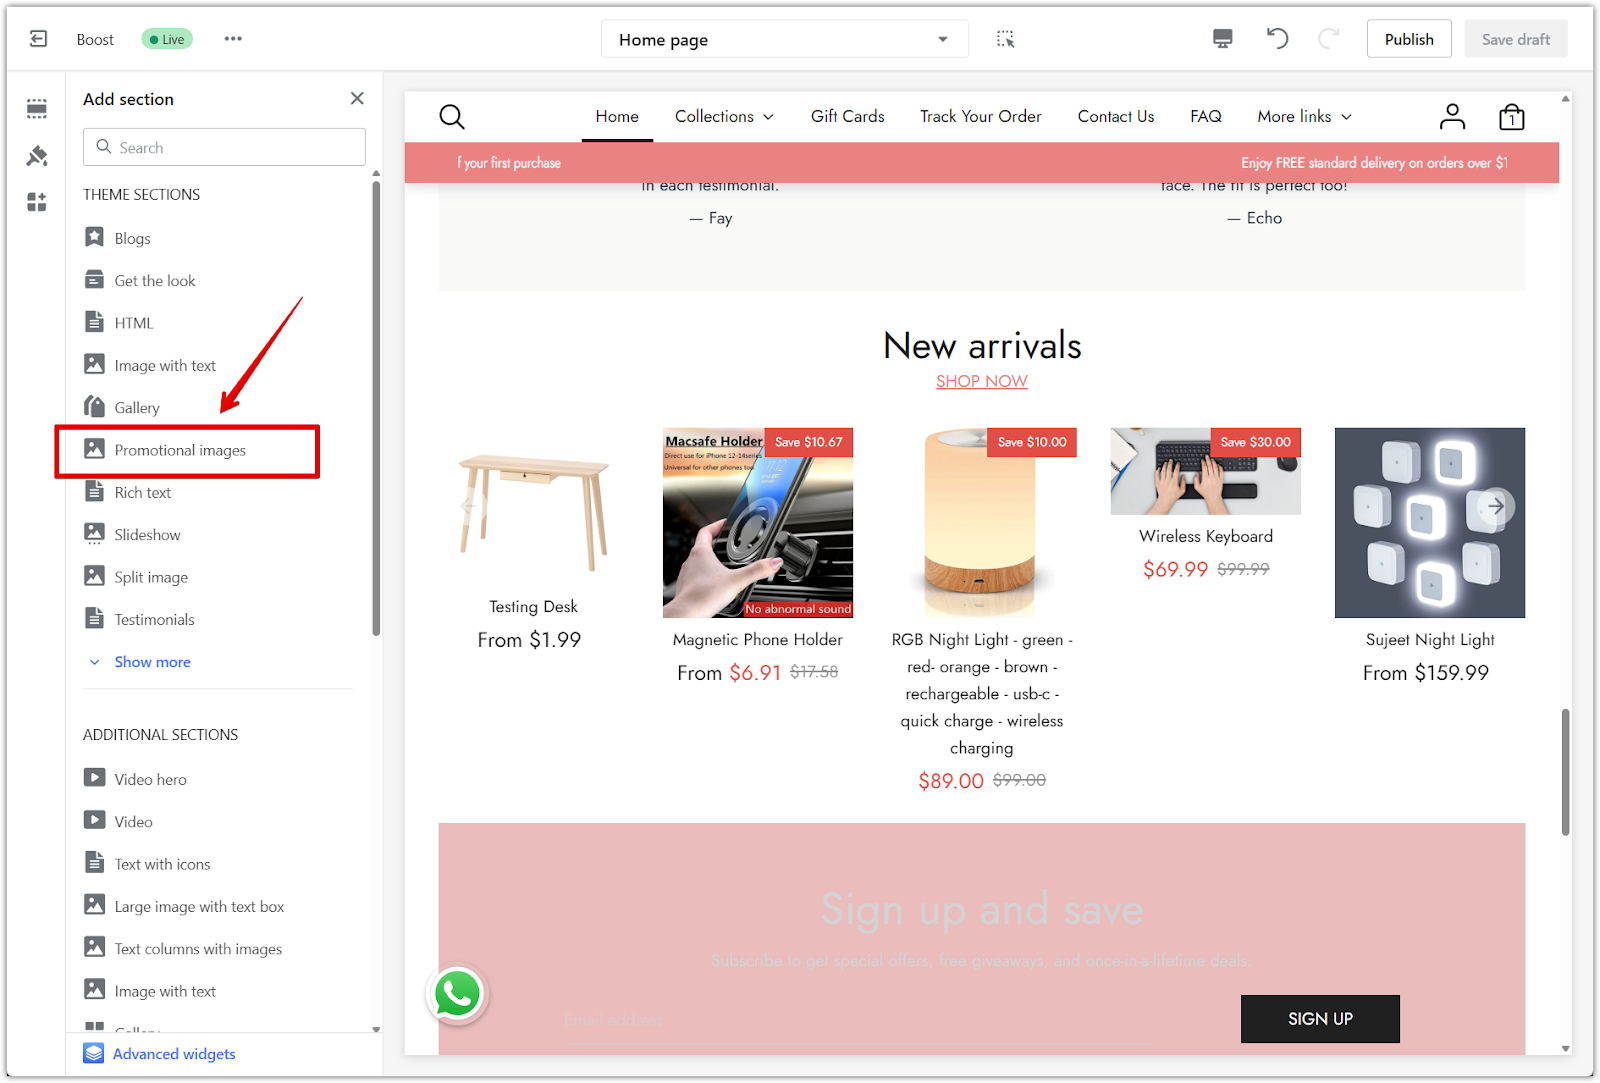
2. Add the section: Scroll down and click Add section.
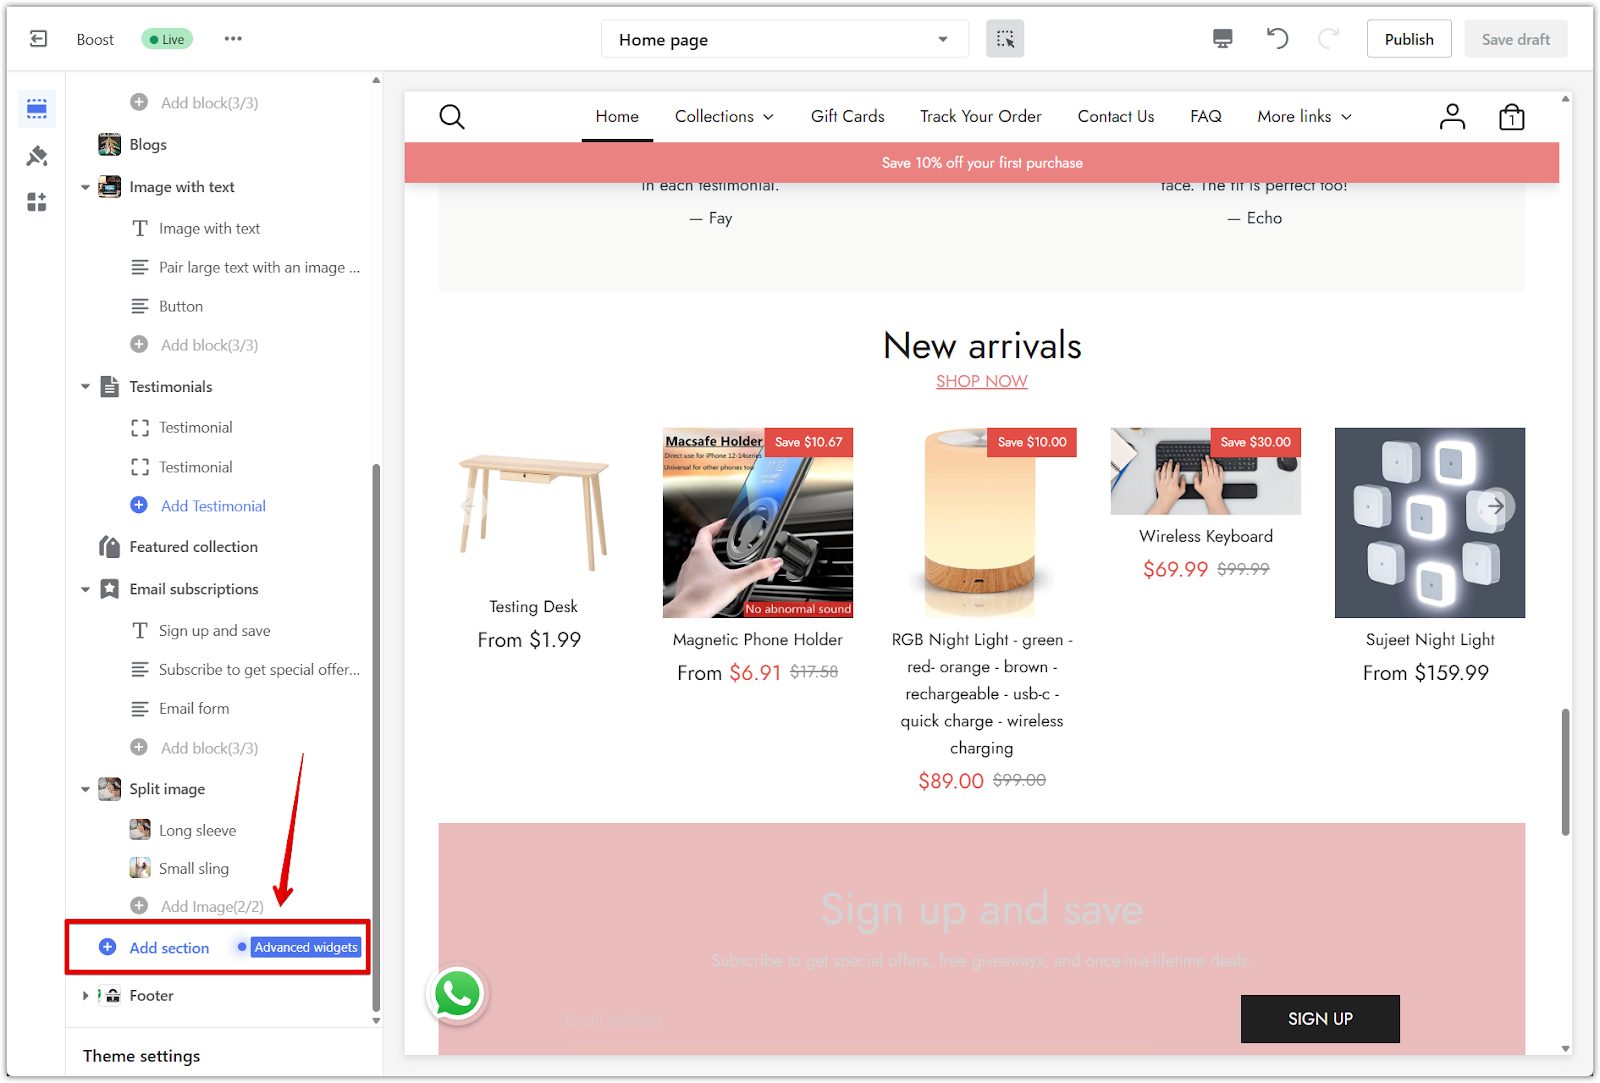
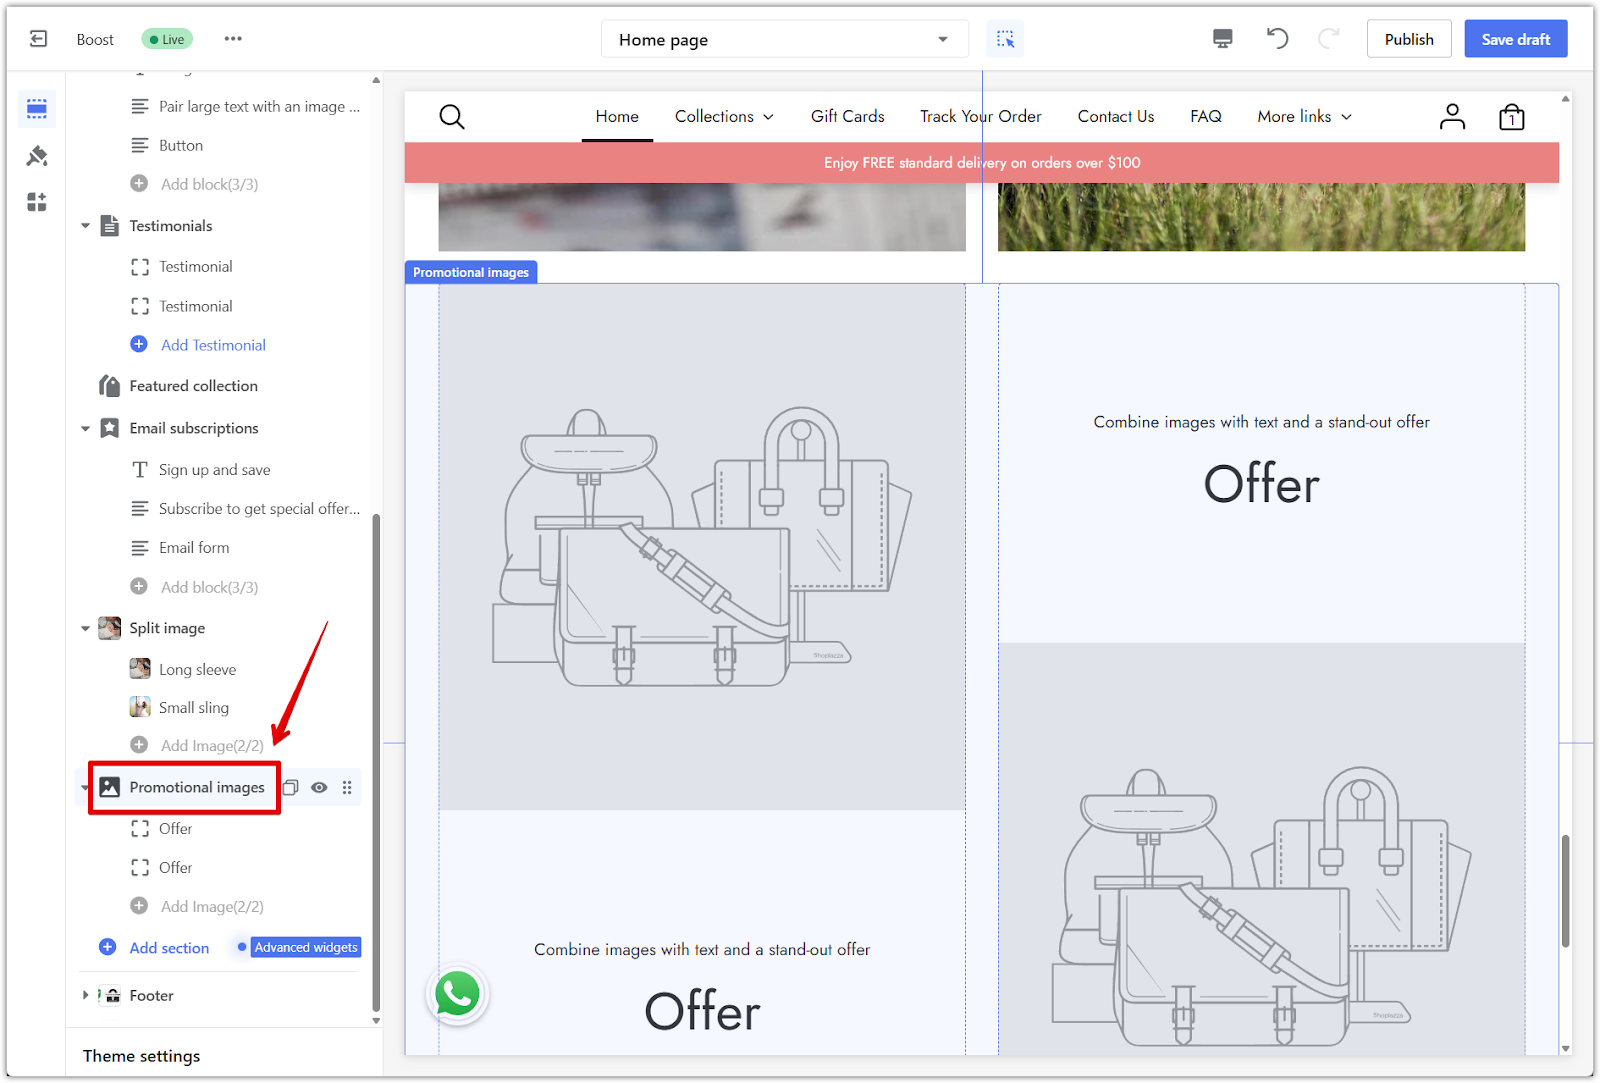
3. Select the section: Find and select Promotional images from the list of available sections.
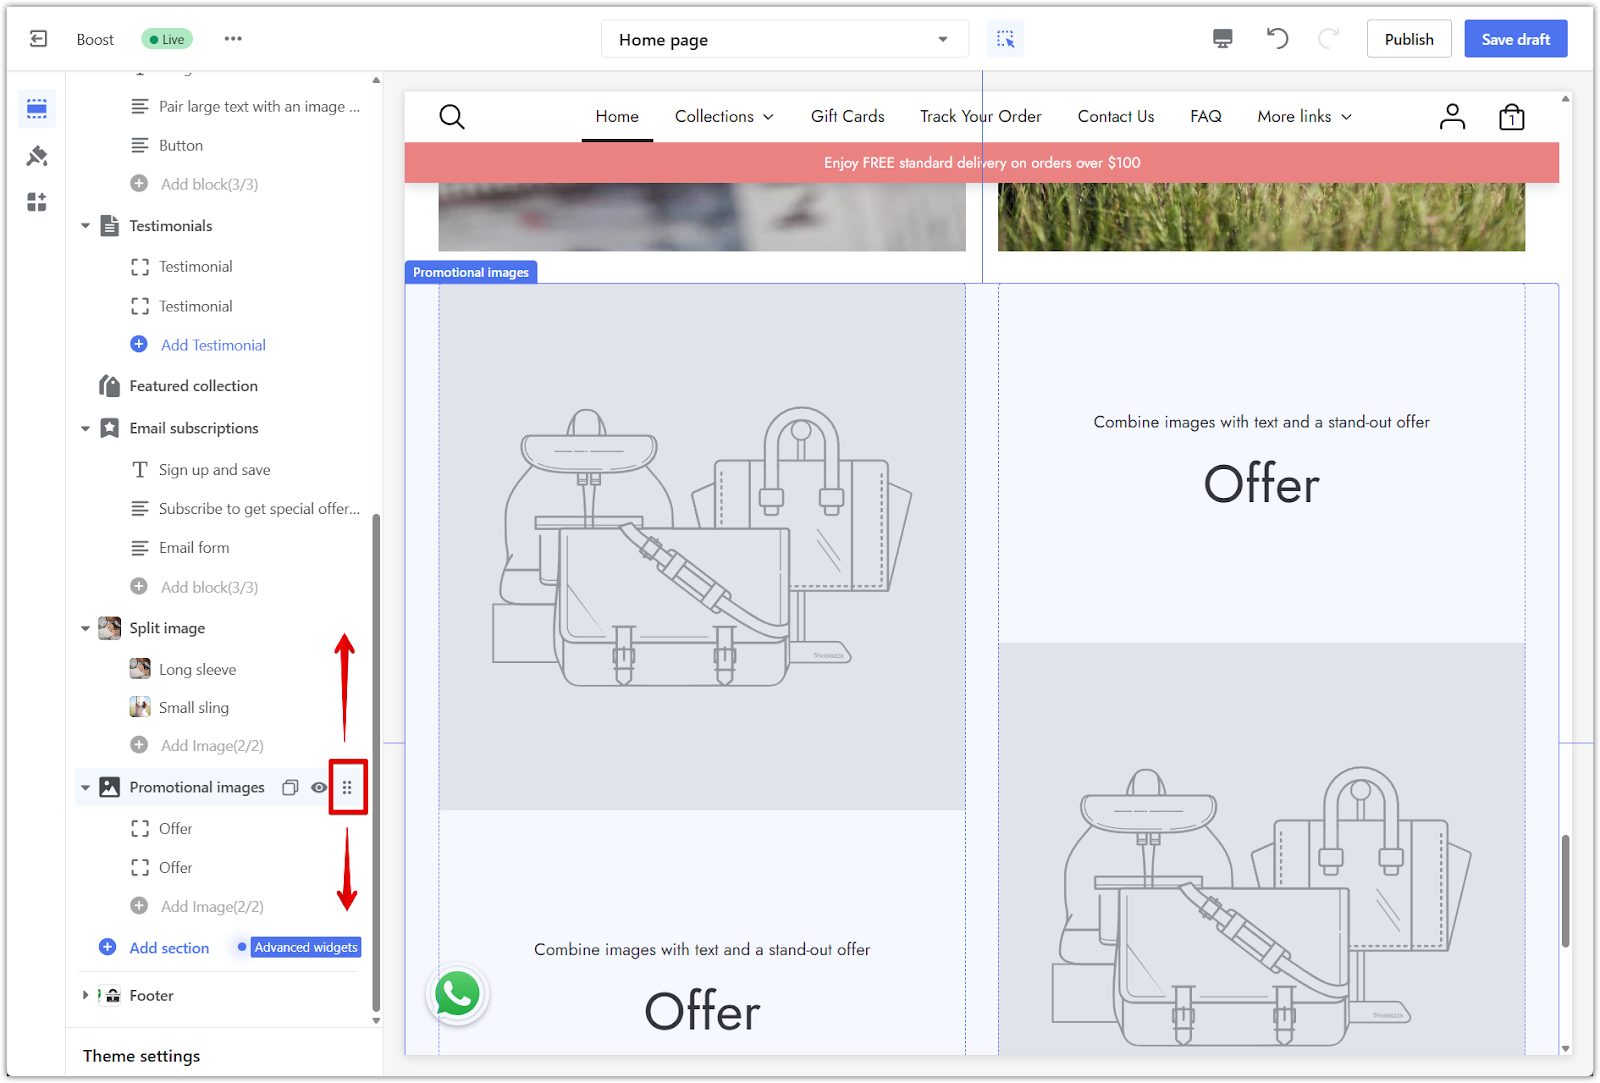
4. Reposition the section: Use the drag handle to move the section anywhere in the layout.
5. Open section settings: Click the section title to access and adjust its settings.
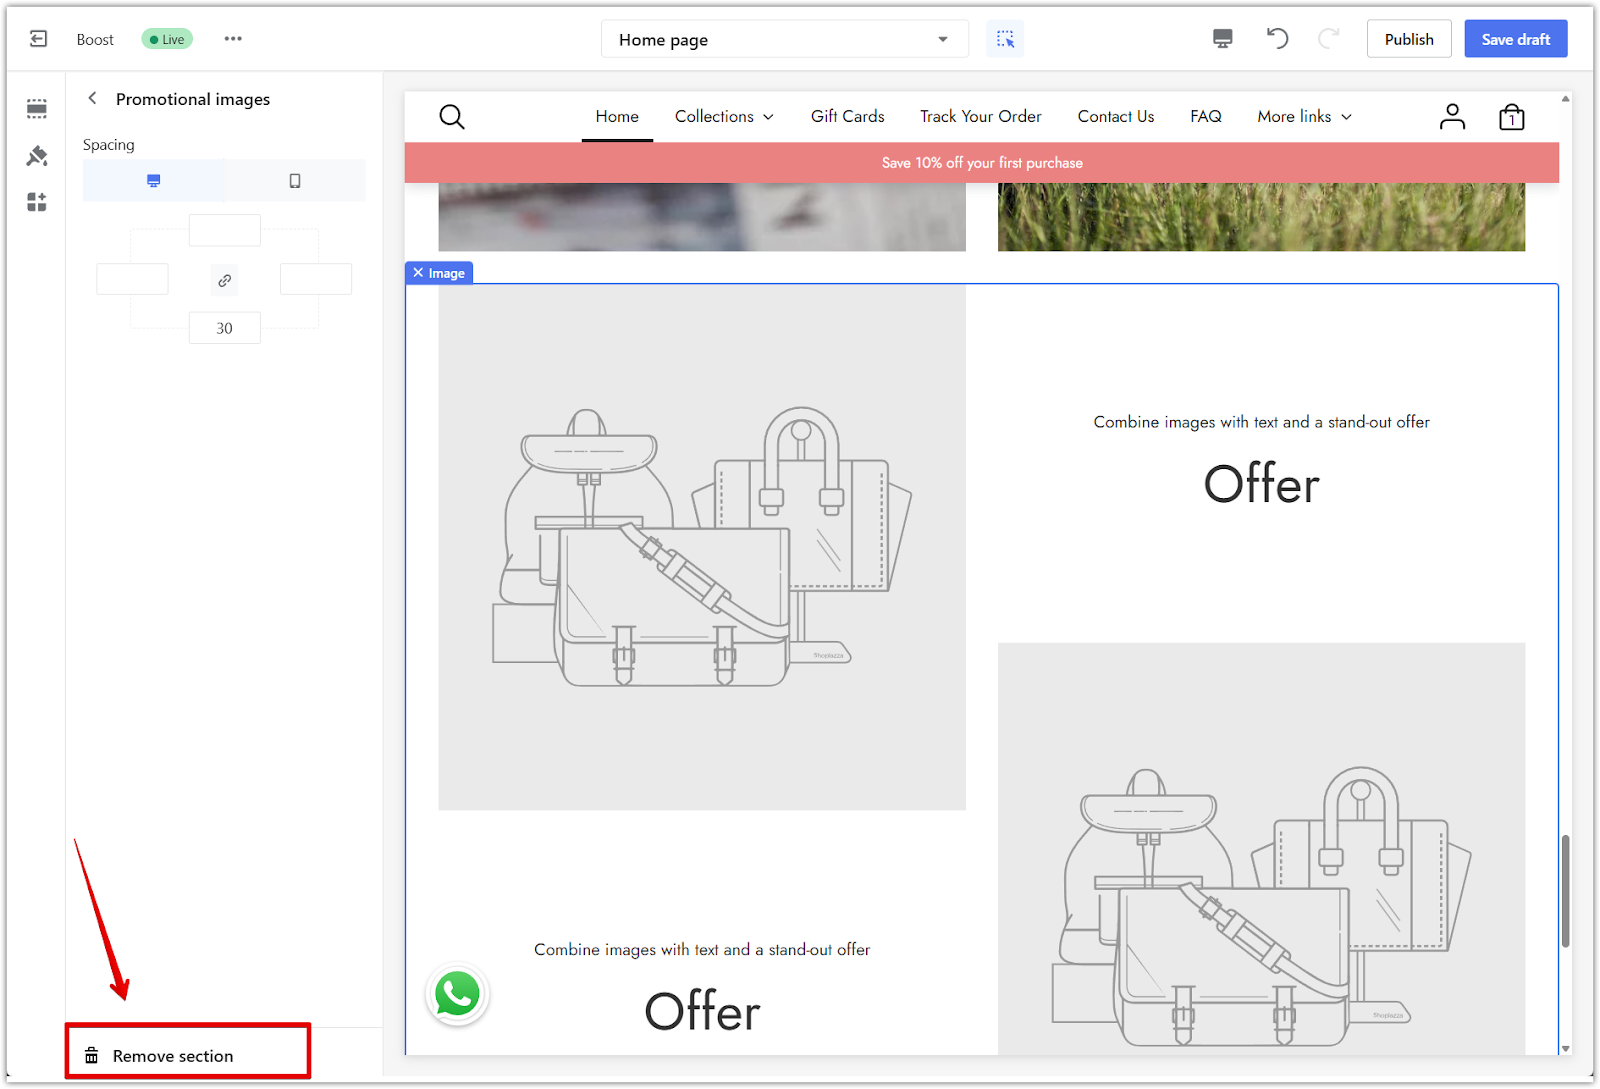
- Remove the section: Click the section title, then select Remove section to delete it from your layout.
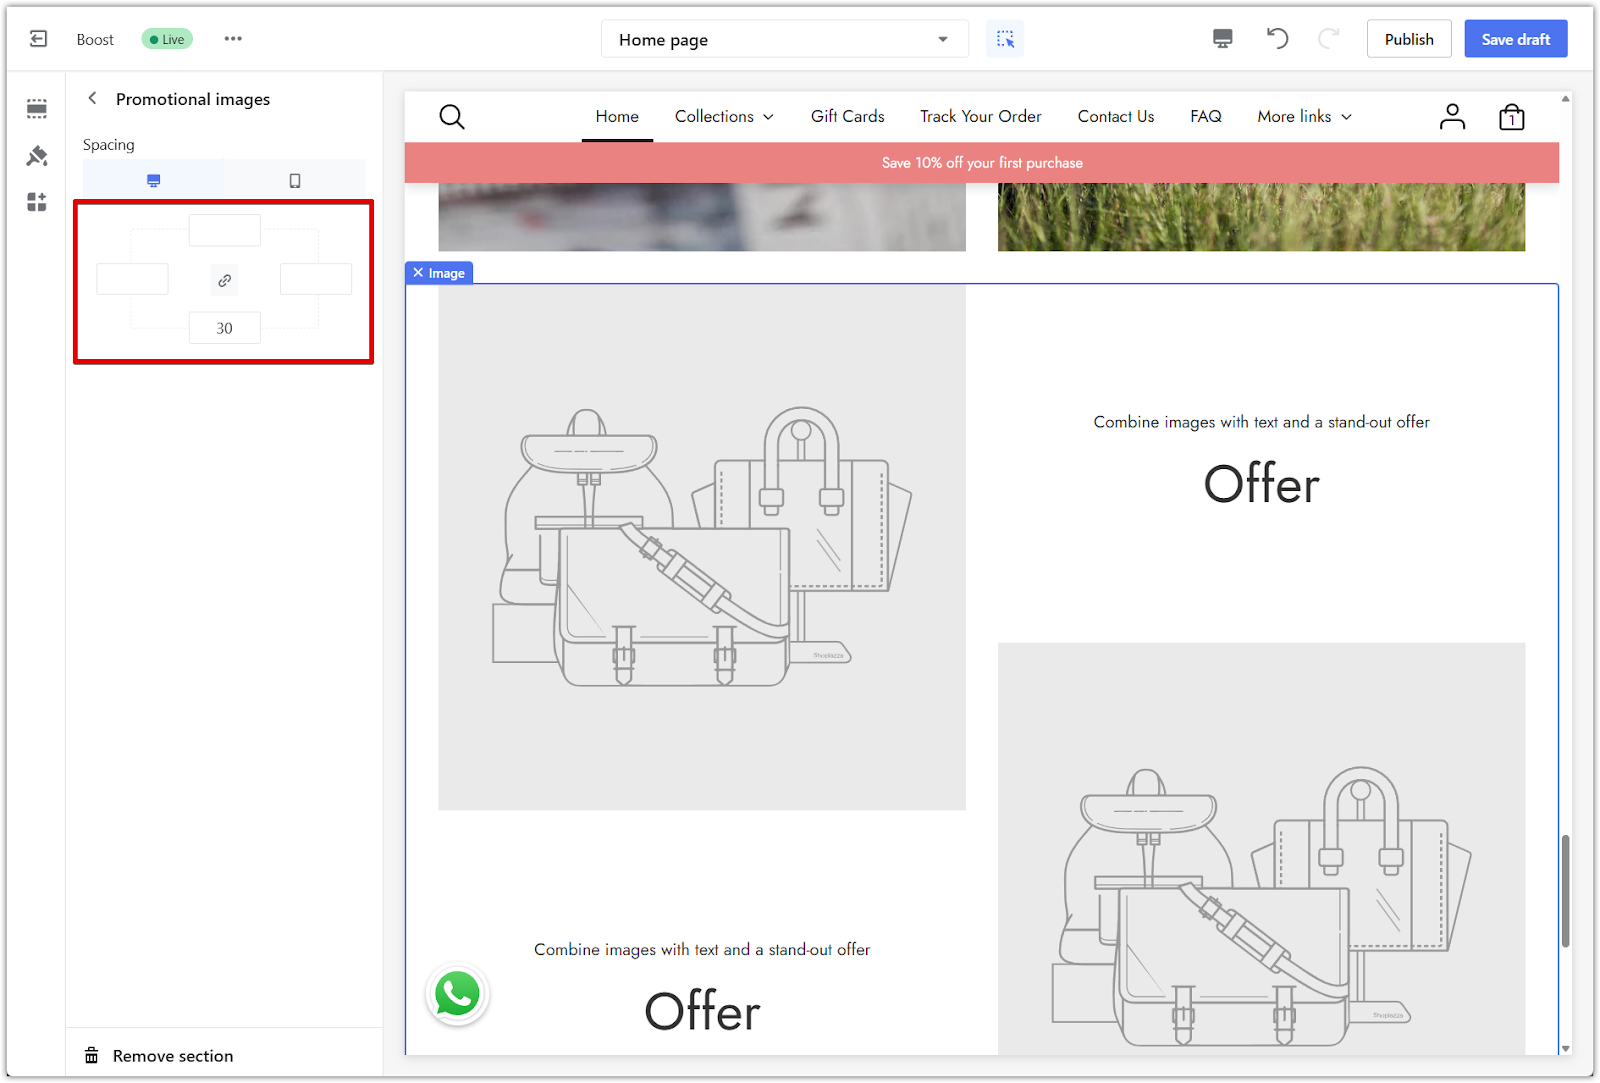
Section paddings
Use padding settings to create breathing room around your content. This improves readability and helps the section stand out.
1. Edit padding: Use the padding editor to add space around the section. Click the linkage icon to apply the same value to all sides, or unlink it to set each side individually.
2. Apply spacing example: Set 50px on each side for consistent spacing.
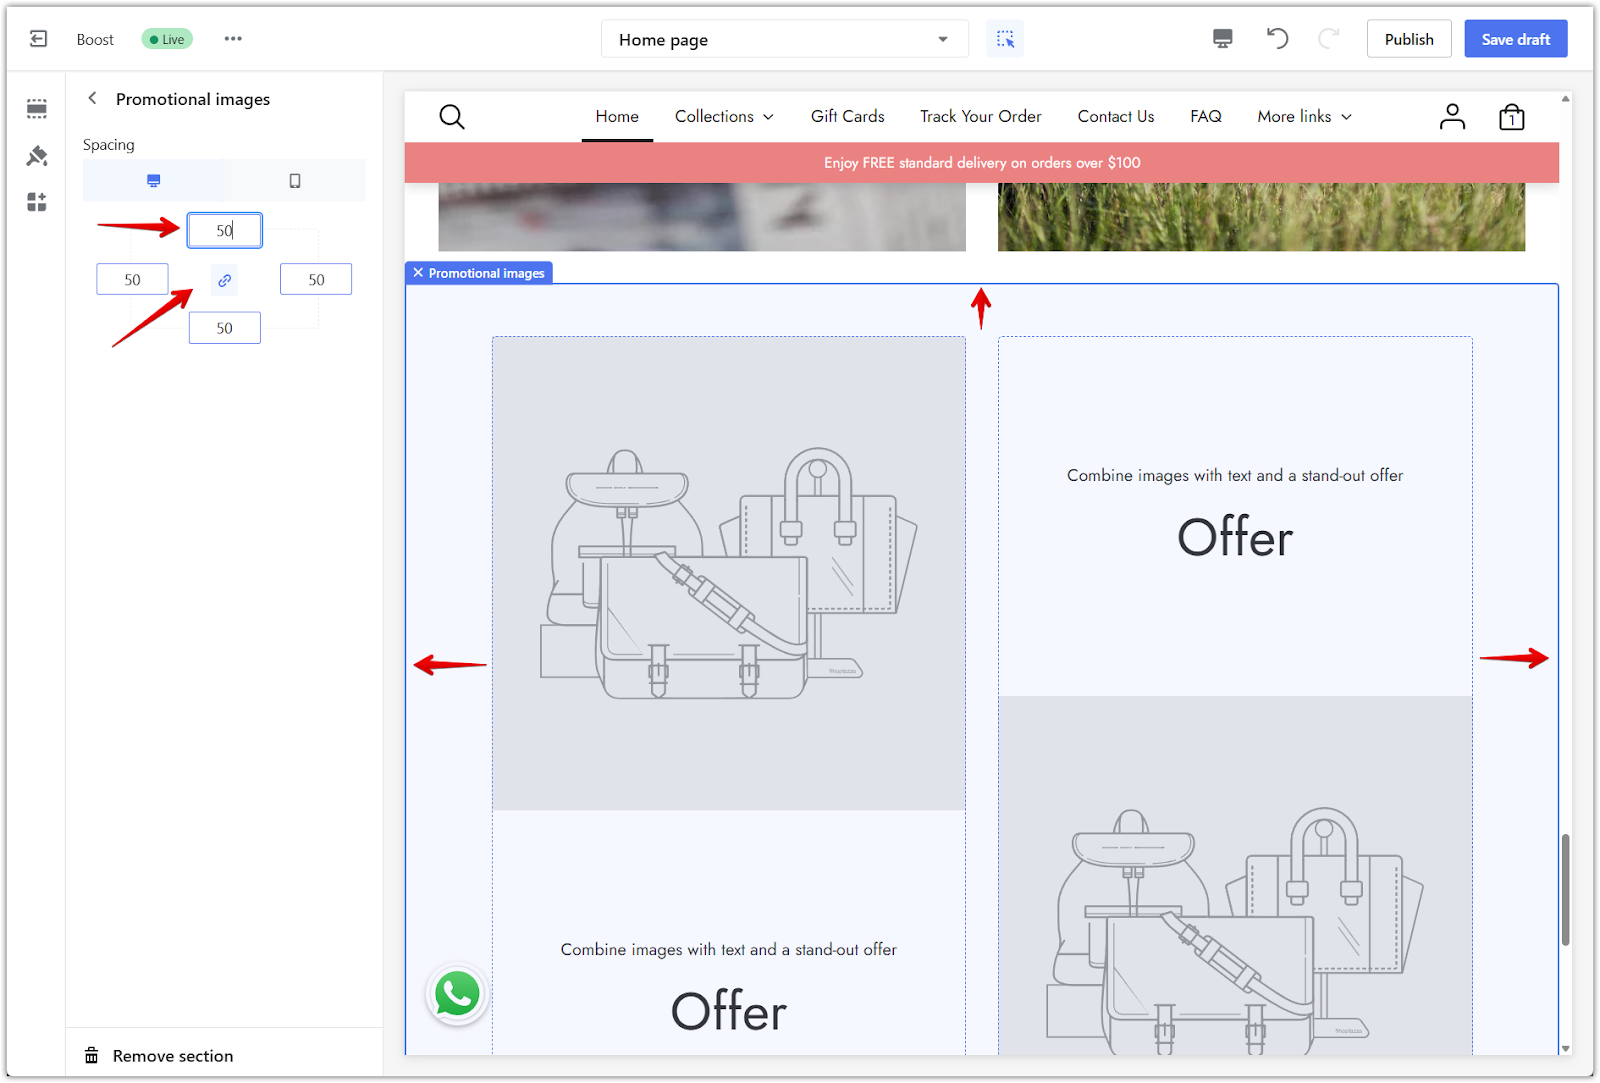
3. Preview spacing: Use the preview tool to check the layout on desktop or mobile.

Setting up the promotional image section
Once the section is added, customize each block with your own images, layout, and links.
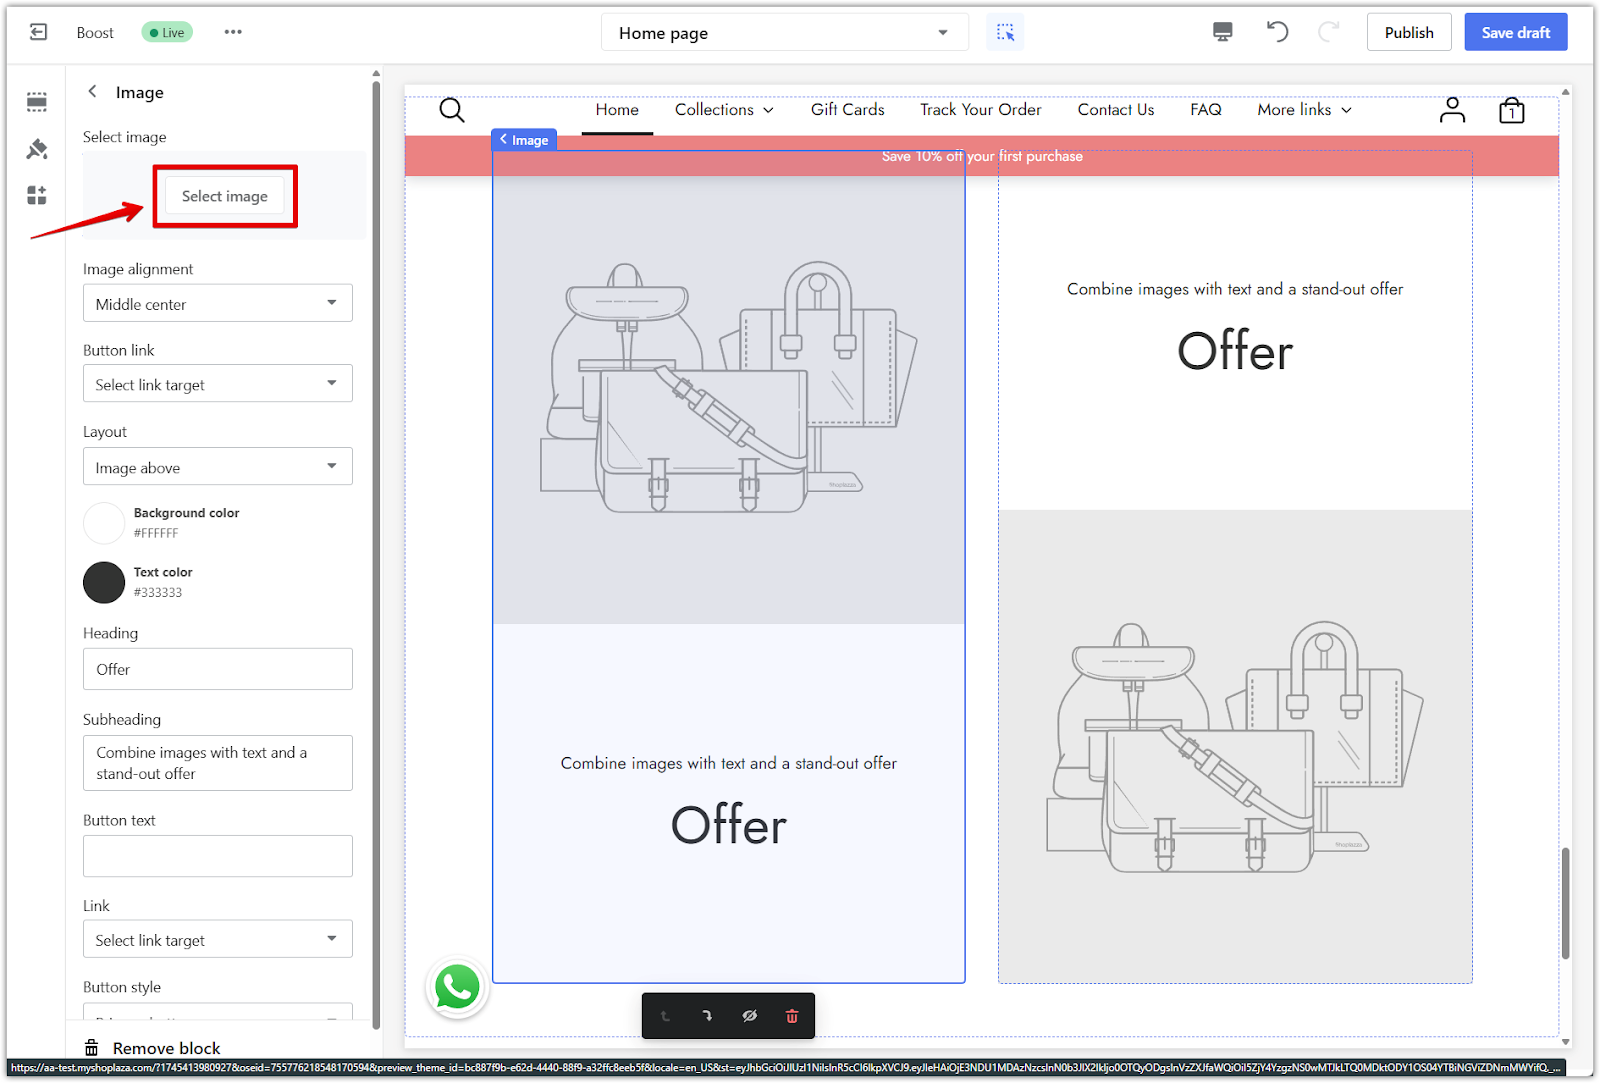
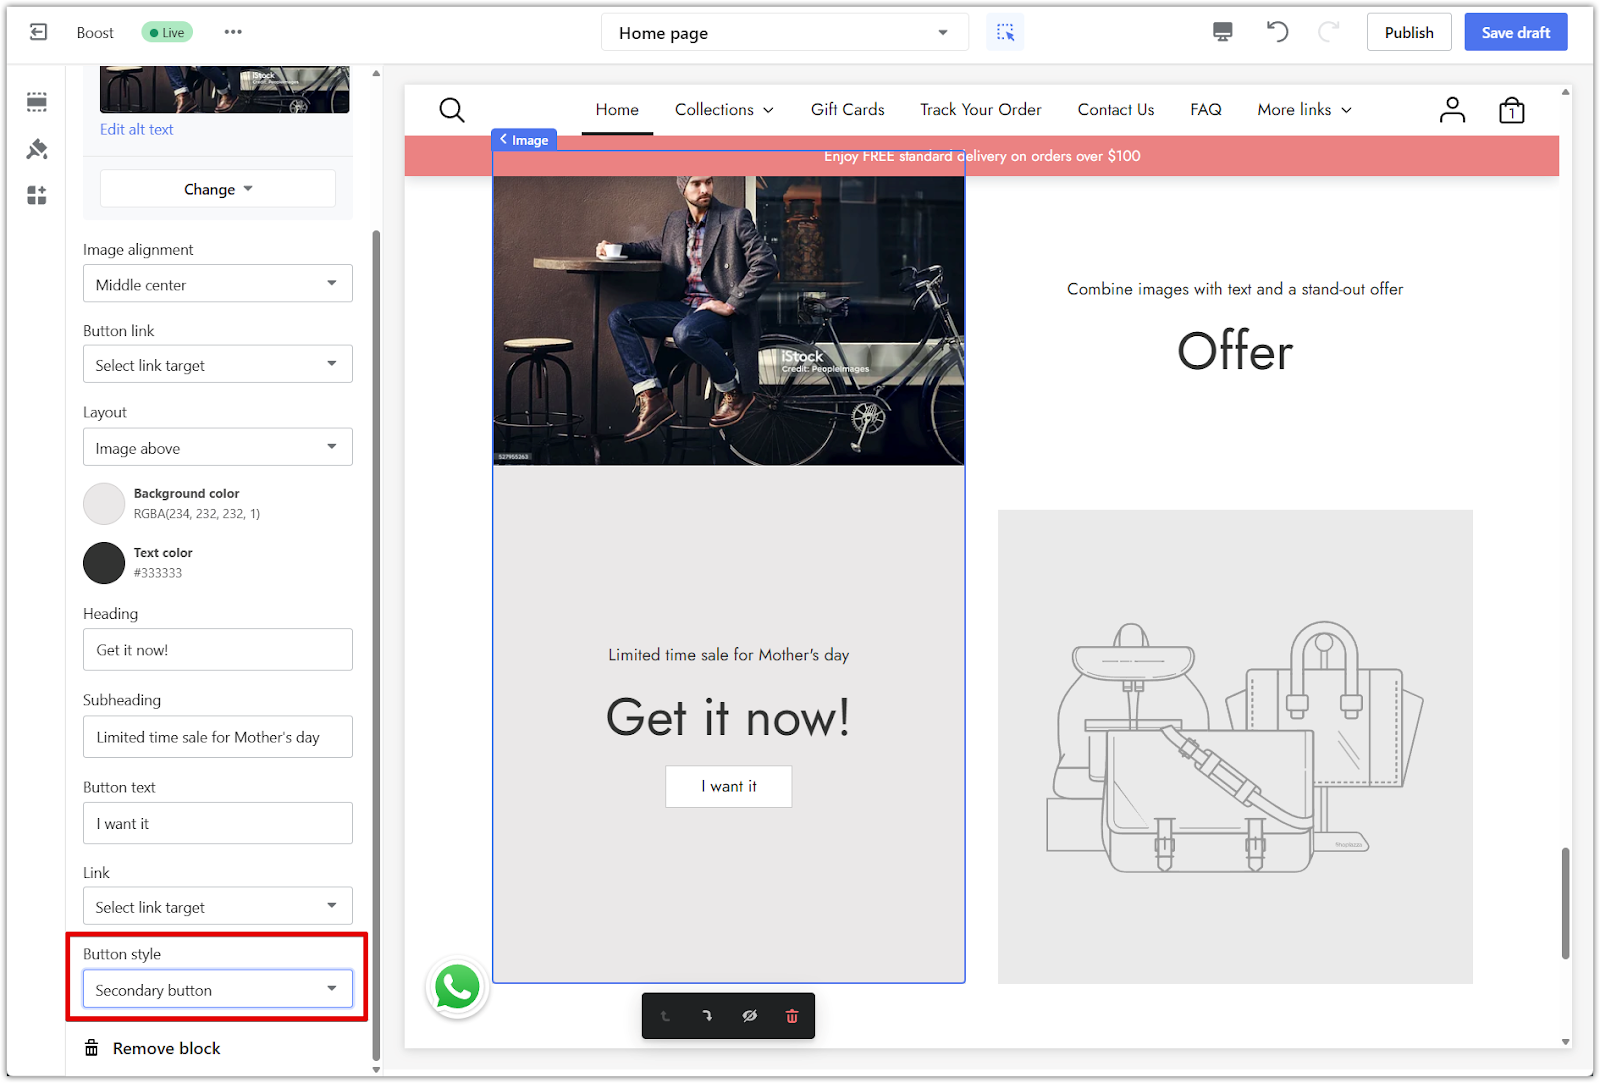
1. Open block settings: Click the block title to open the editing panel. The section includes two blocks by default.

2. Upload images: Upload an image to each block and preview the result.
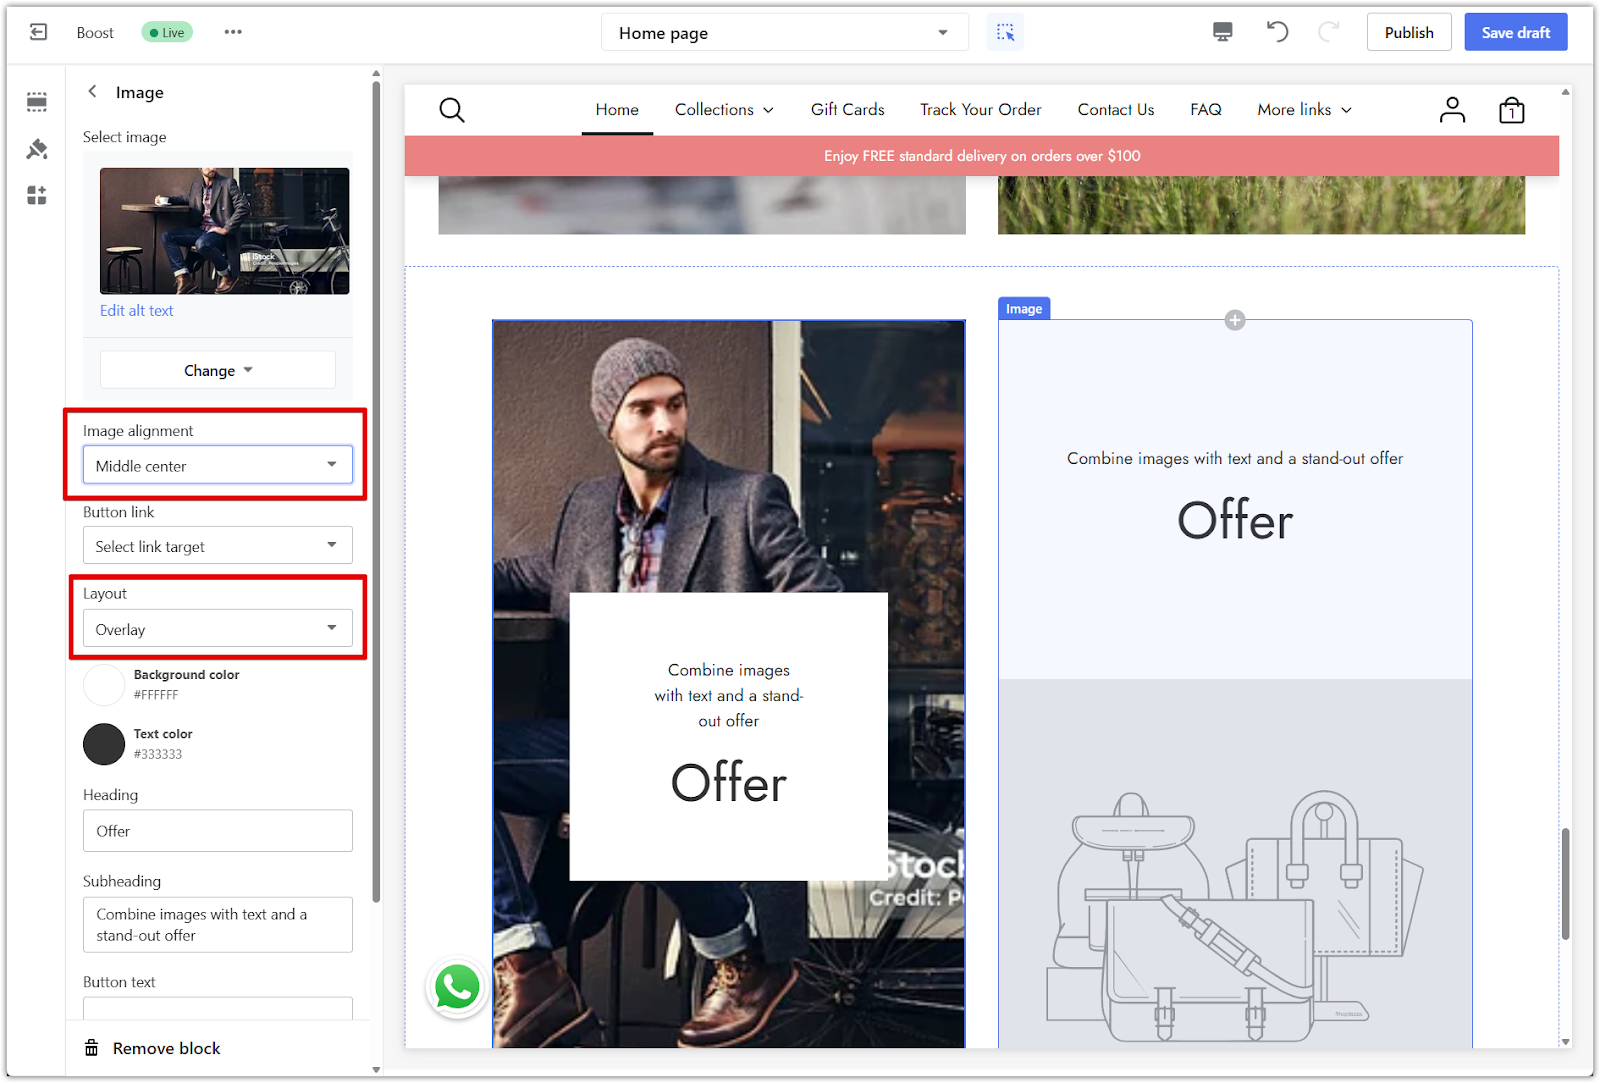
3. Adjust image alignment: Use the Image alignment menu to reposition your photo for better visual fit. Image alignment is only available when the layout is set to Overlay.
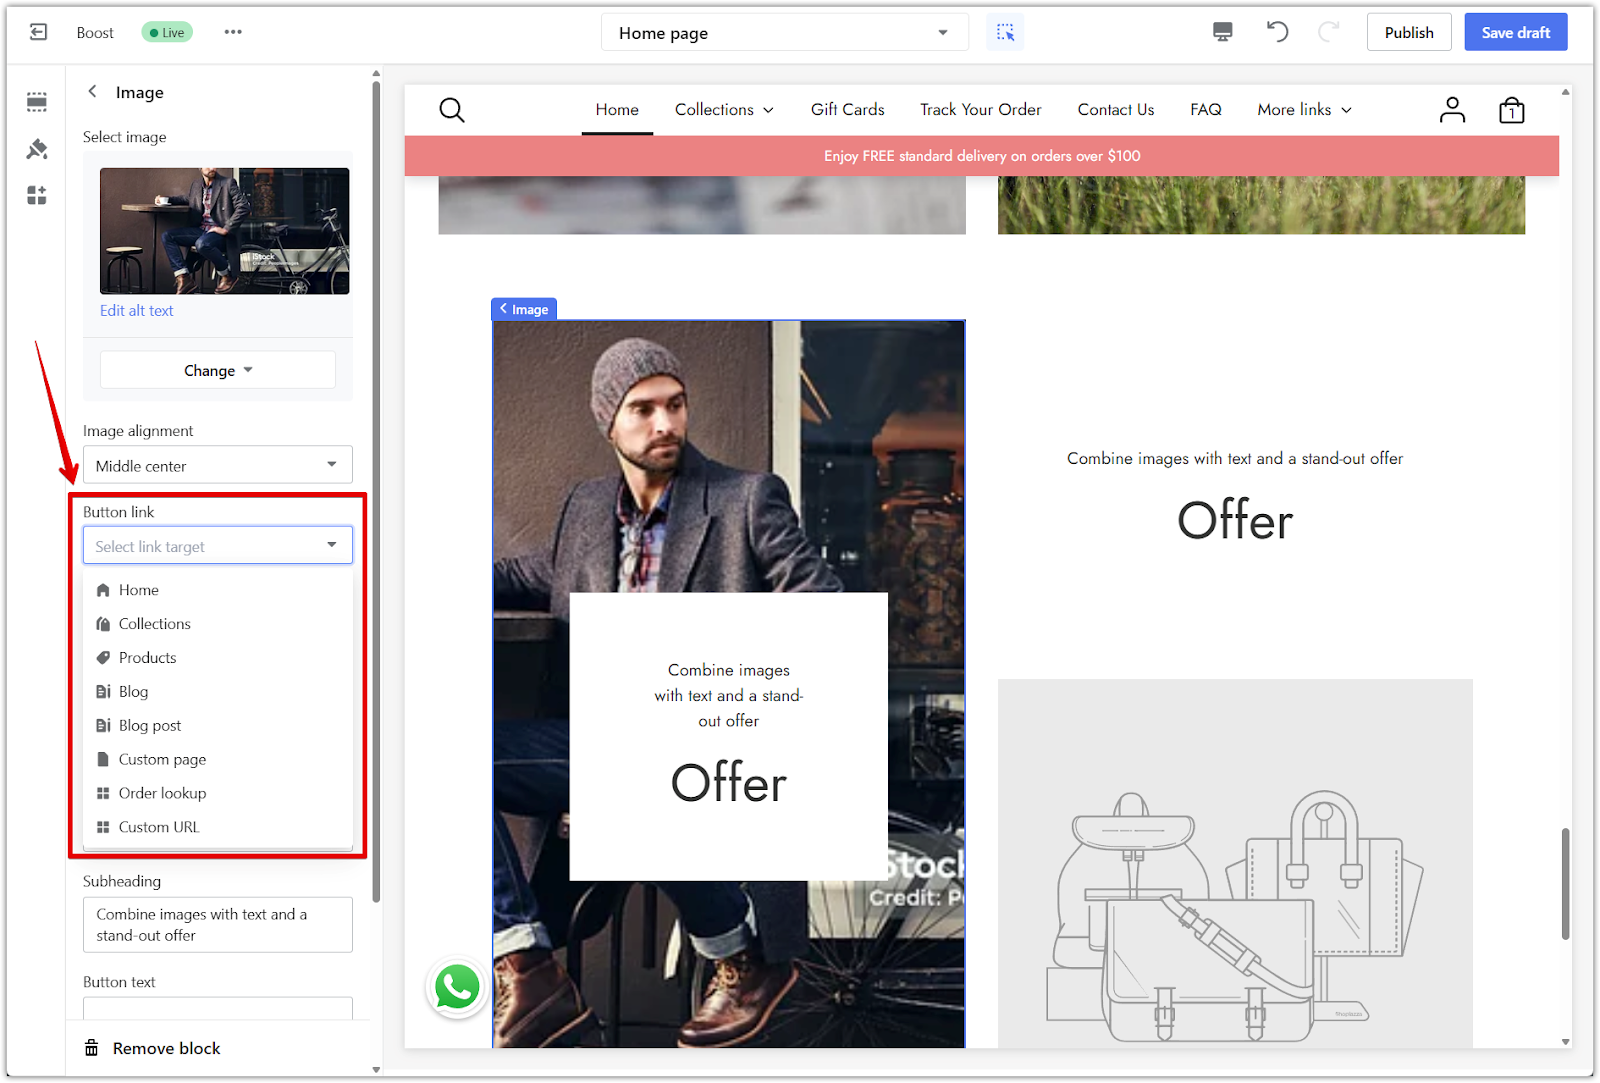
4. Add button link: Use the Button link menu to guide customers to products, collections, or custom pages.
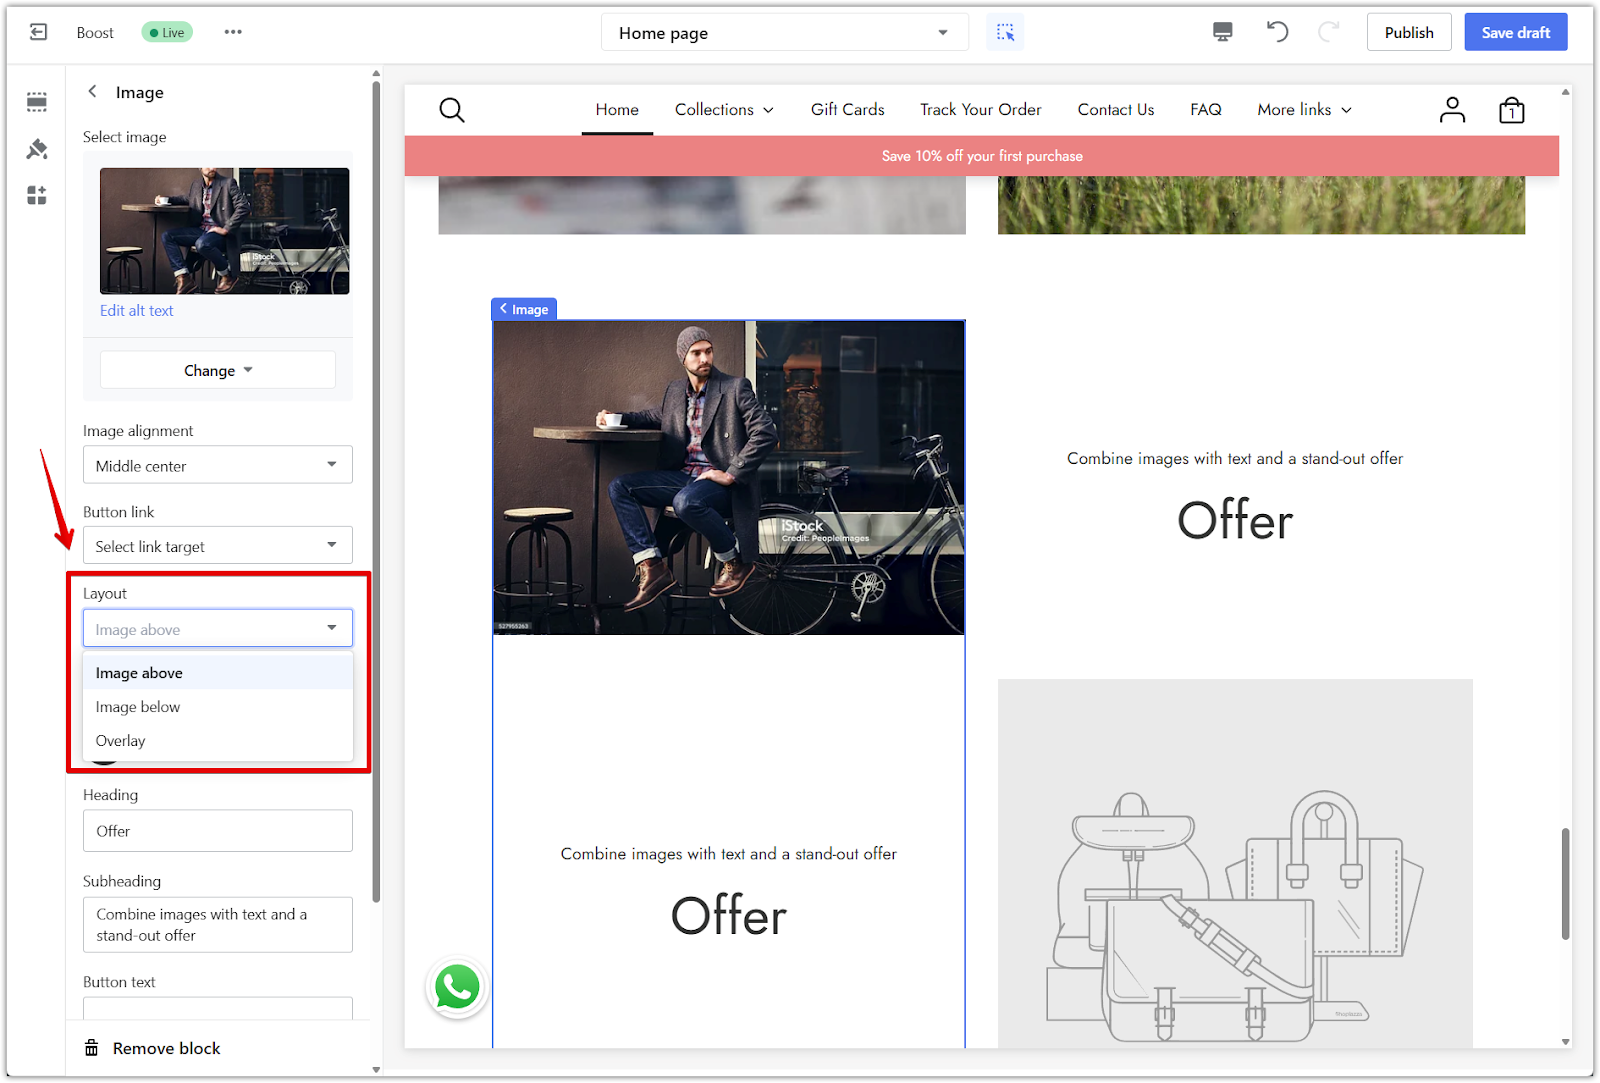
5. Choose layout style: Select between Image above, Image below, or Overlay from the Layout menu.
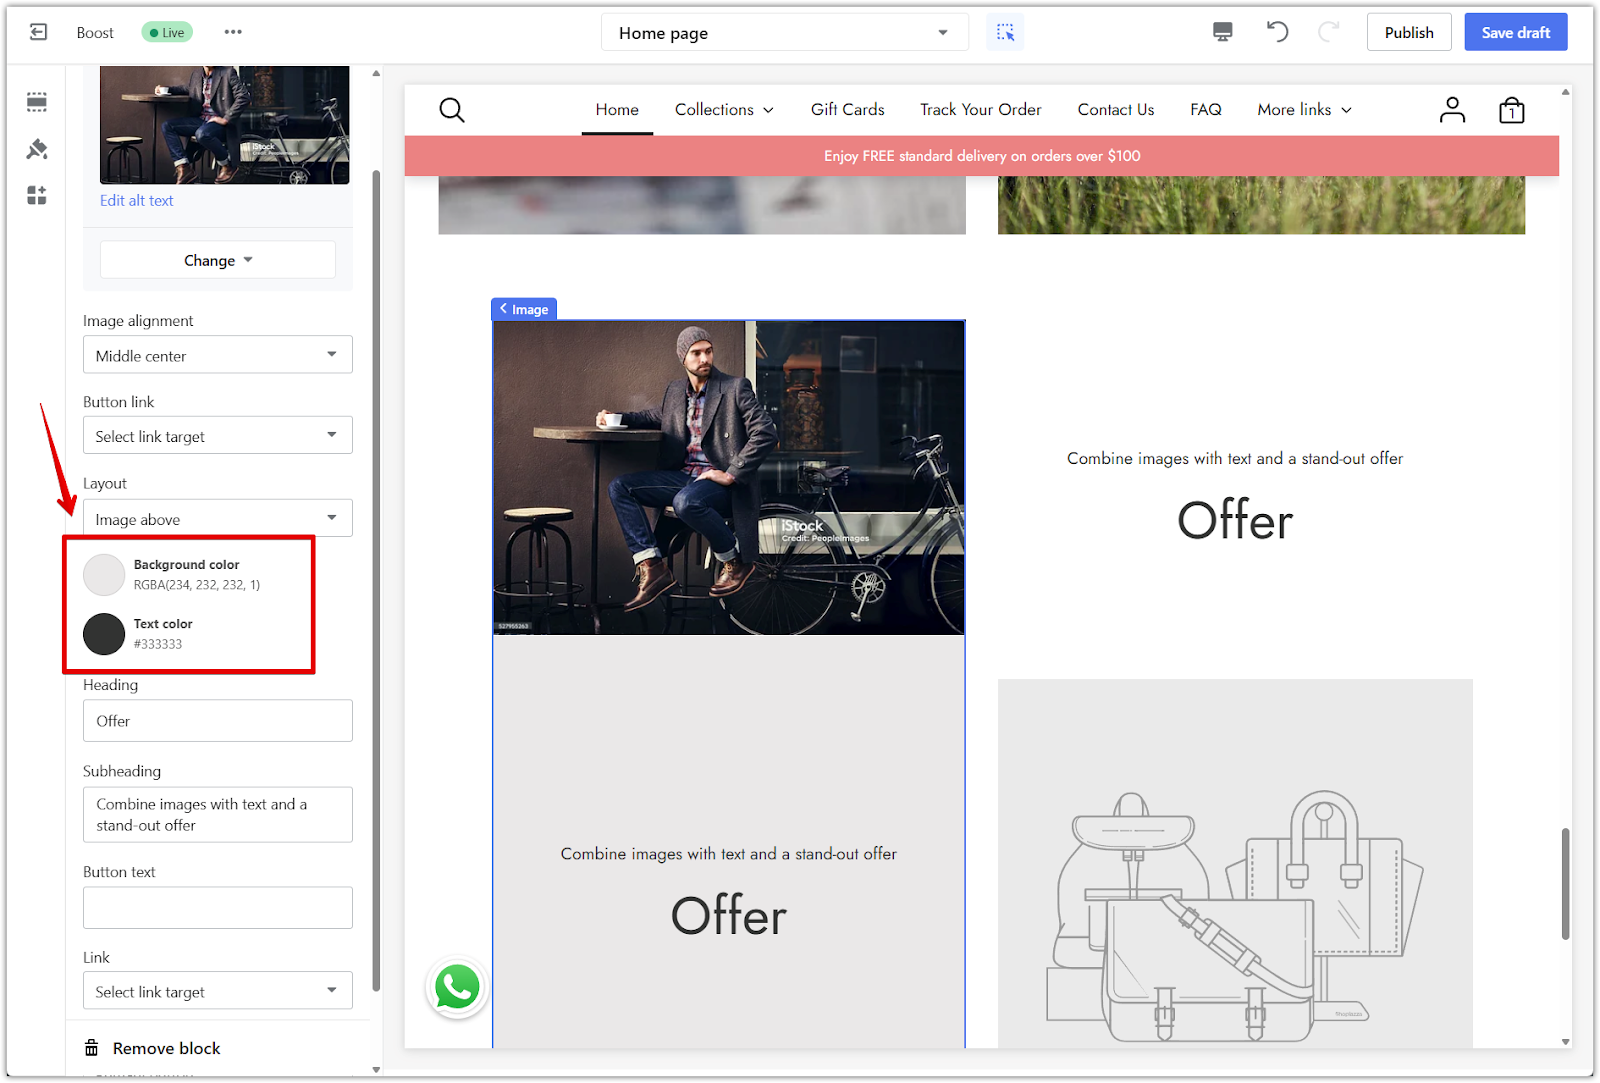
6. Customize background: Use color options to enhance contrast and personalize the section’s appearance.
Headings
Add meaningful text to help customers understand what’s being promoted.
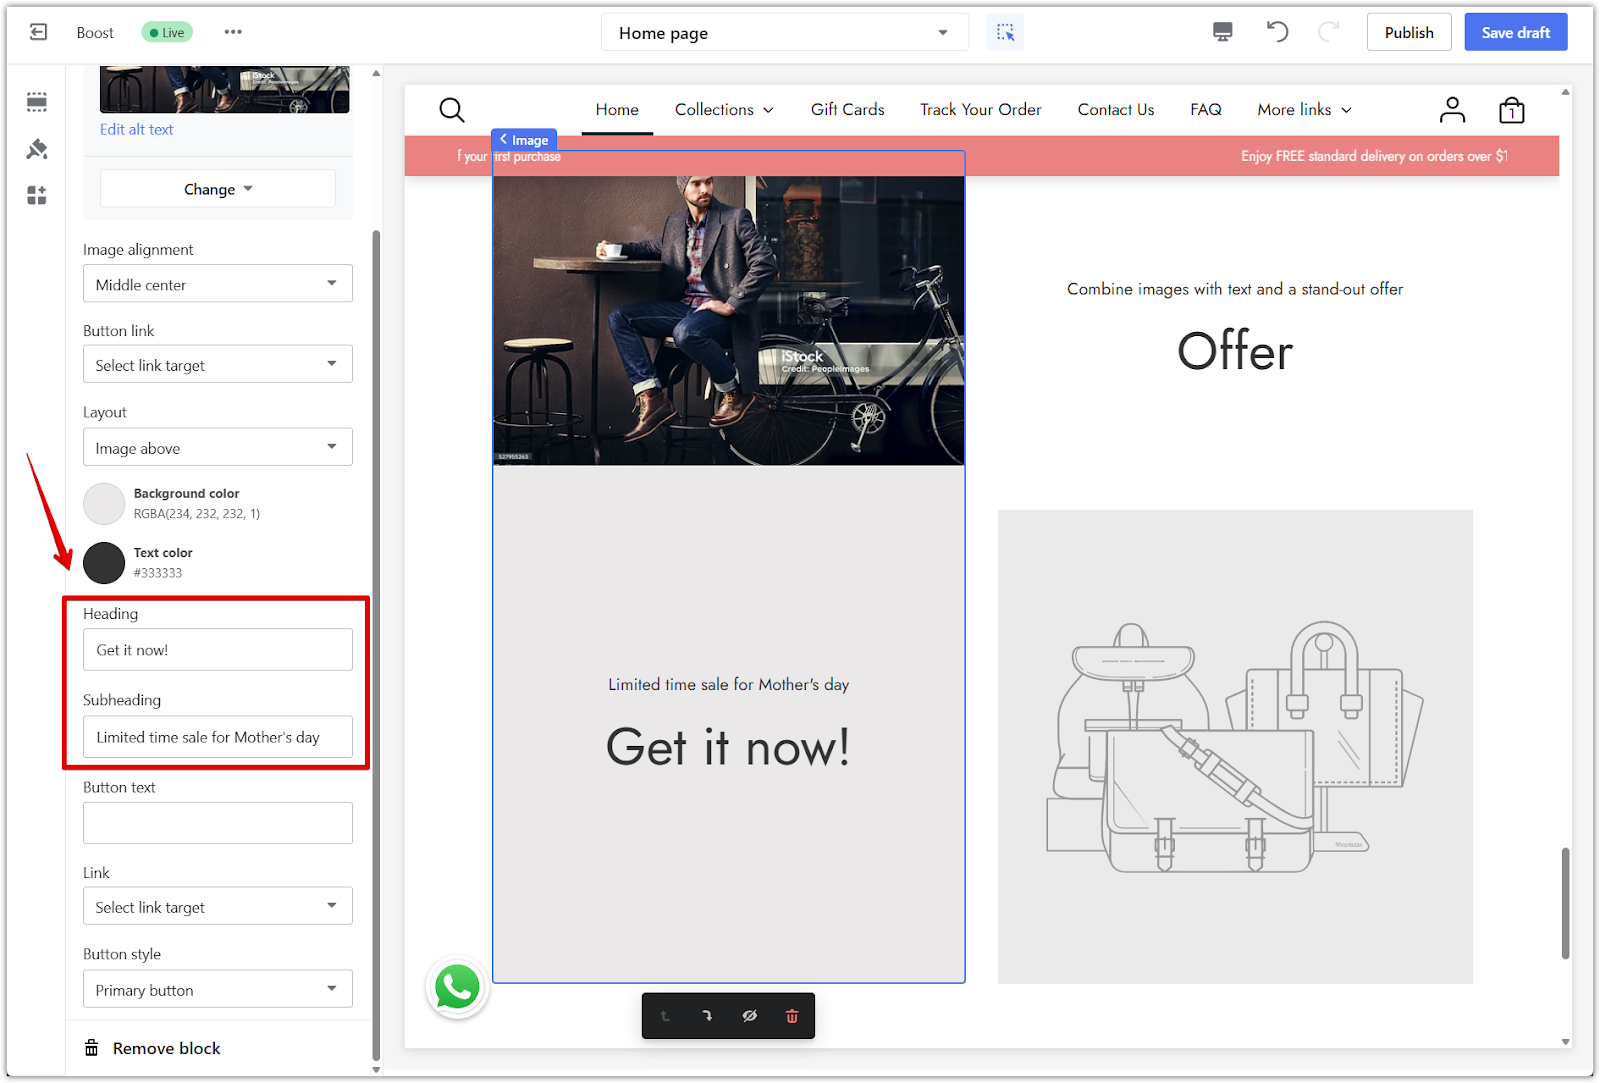
1. Edit heading text: Enter content in the Heading and Subheading fields for each image block.
Buttons
Buttons help drive action by linking directly to key content on your store.
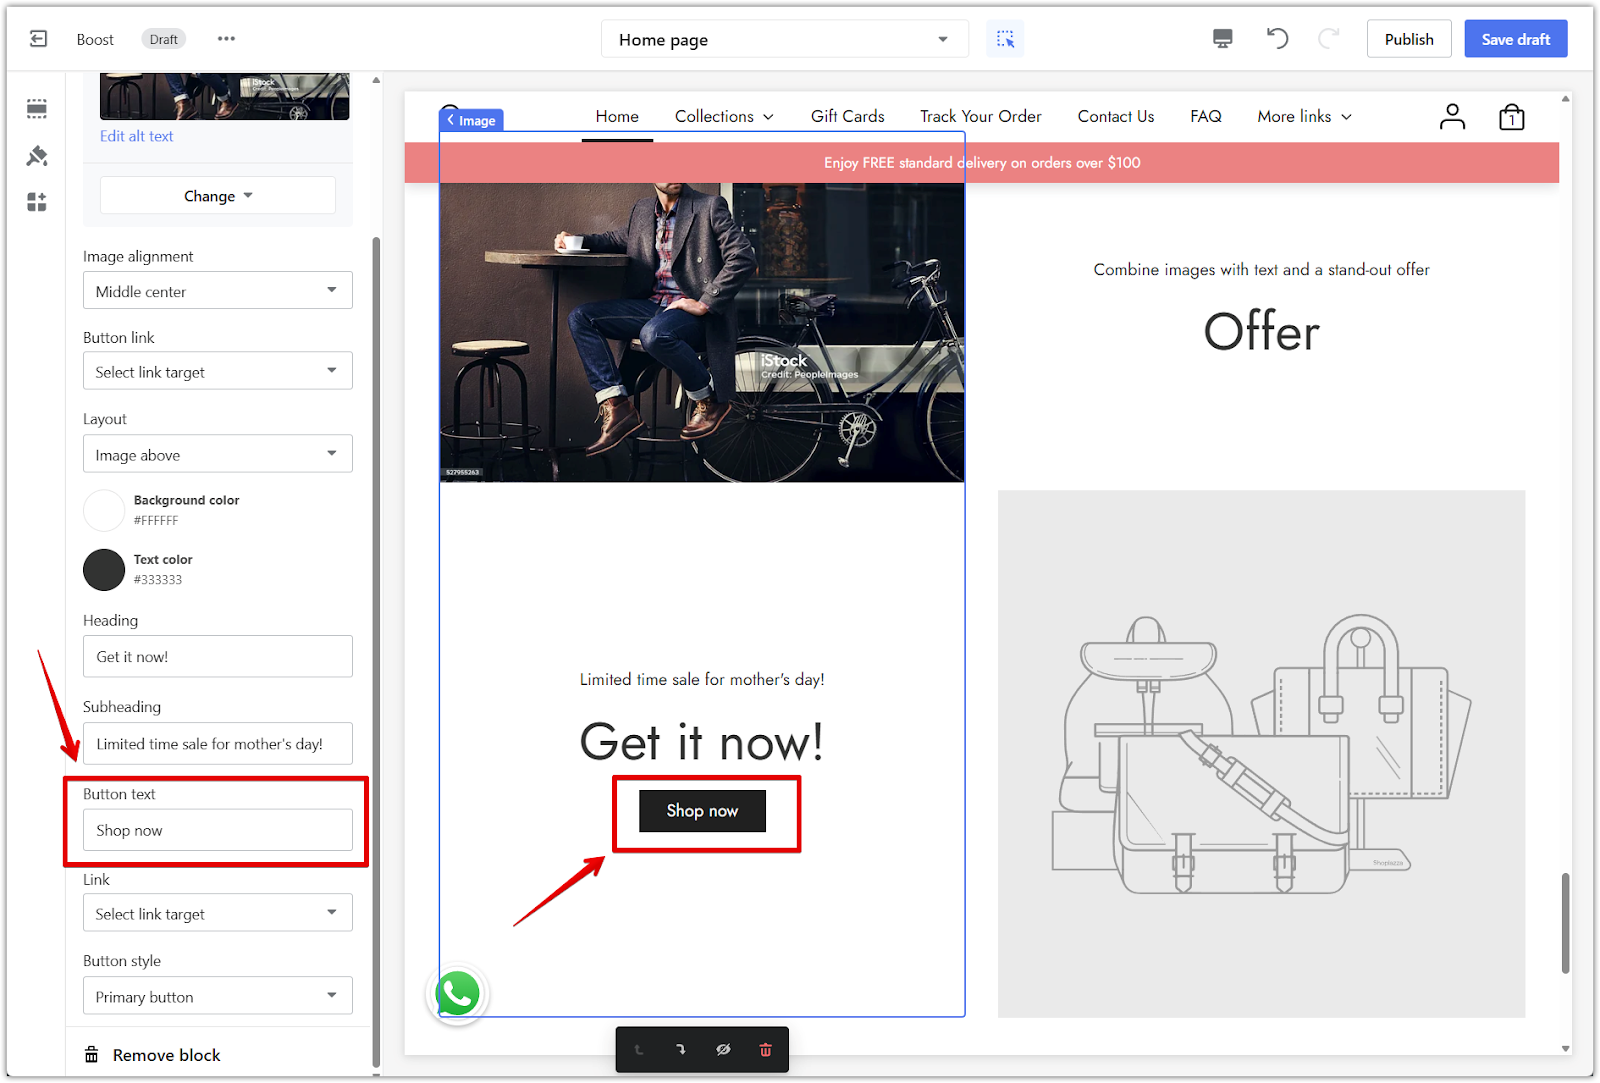
1. Enable button: Add text to the Button text field to enable the button.
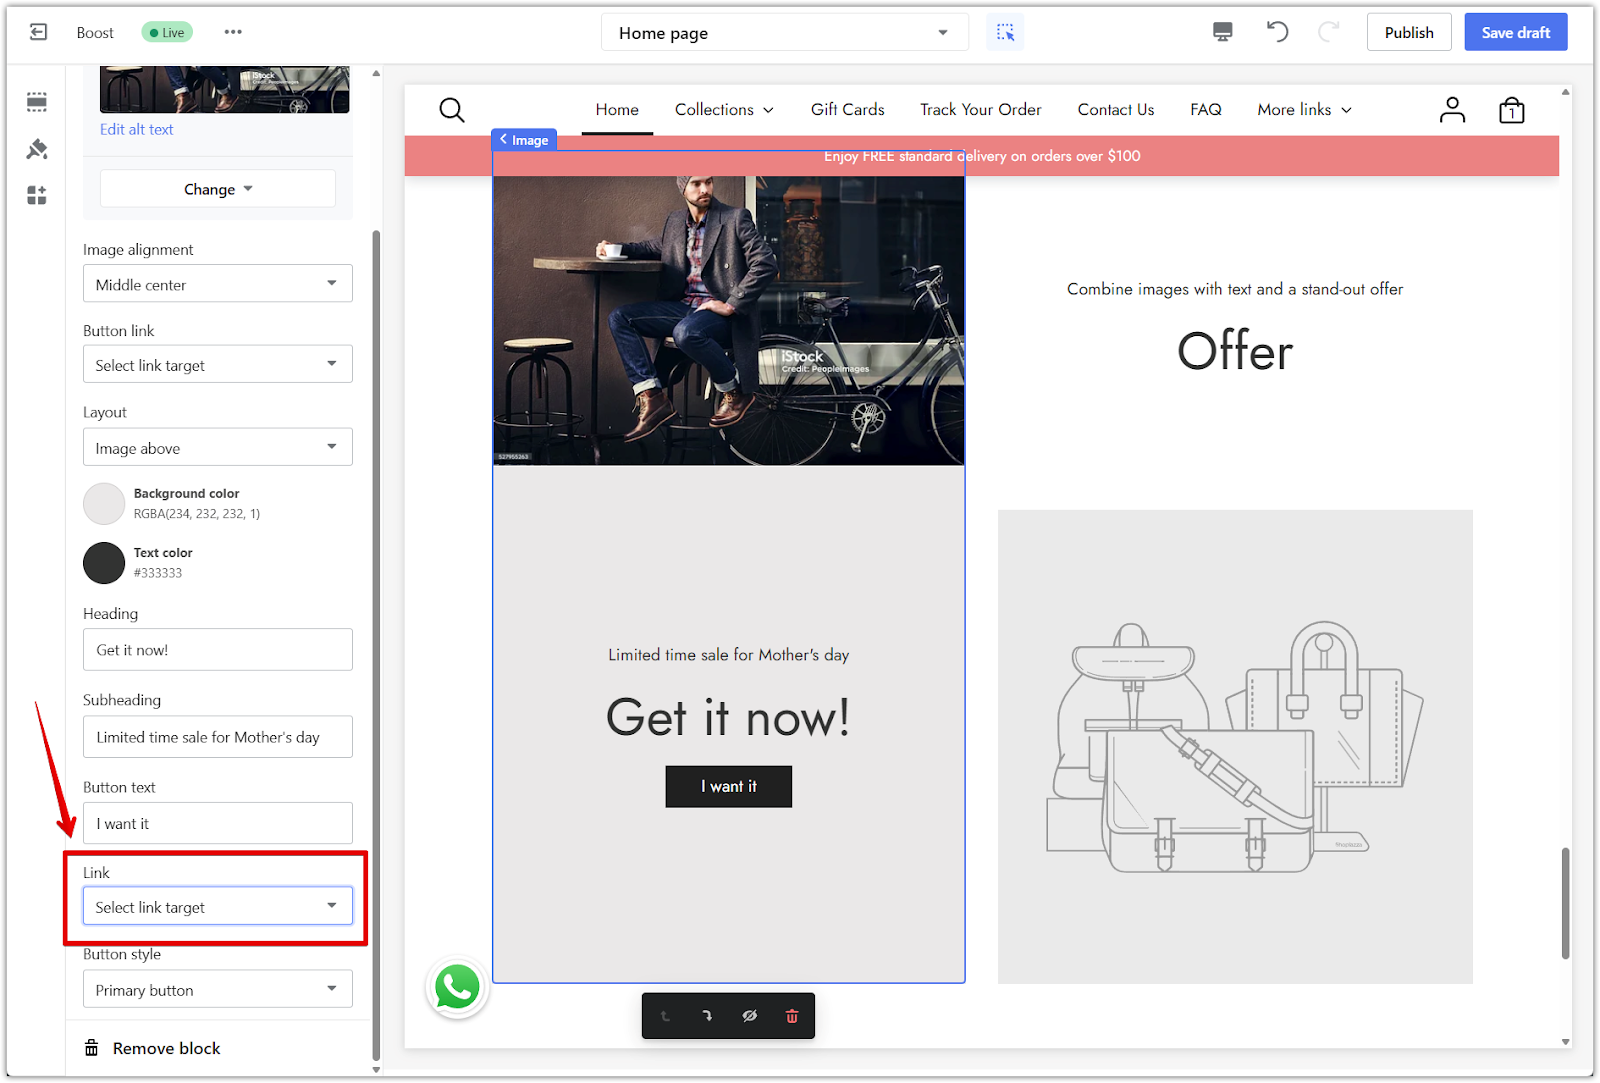
2. Set button link: Assign a destination link to guide customers to a specific page.
3. Adjust button layout: Choose from three button layout styles to control the appearance.
The Promotional images card is a quick and effective way to spotlight featured products or sales. With customizable layout options and visual flexibility, this section helps guide attention without overwhelming your homepage.


Comments
Please sign in to leave a comment.