
The Large Image with Text Box section is a customizable homepage element in the Shoplazza Hero theme series, including Hero, Halloween, and Modern. It displays a full-width image with overlay text and a call-to-action button, ideal for showcasing high-resolution visuals, announcing promotions, or highlighting featured collections.
Similar to the Image with Text section, it allows you to add a heading, supporting text, and a link to another page—perfect for creating impactful homepage banners that drive engagement and guide customer flow.
Adding a Large image with text box section
To start using the Large image with text box section, add it to your homepage layout.
1. Open the theme editor: Go to Shoplazza admin > Online store > Themes and click Customize to access the theme editor.
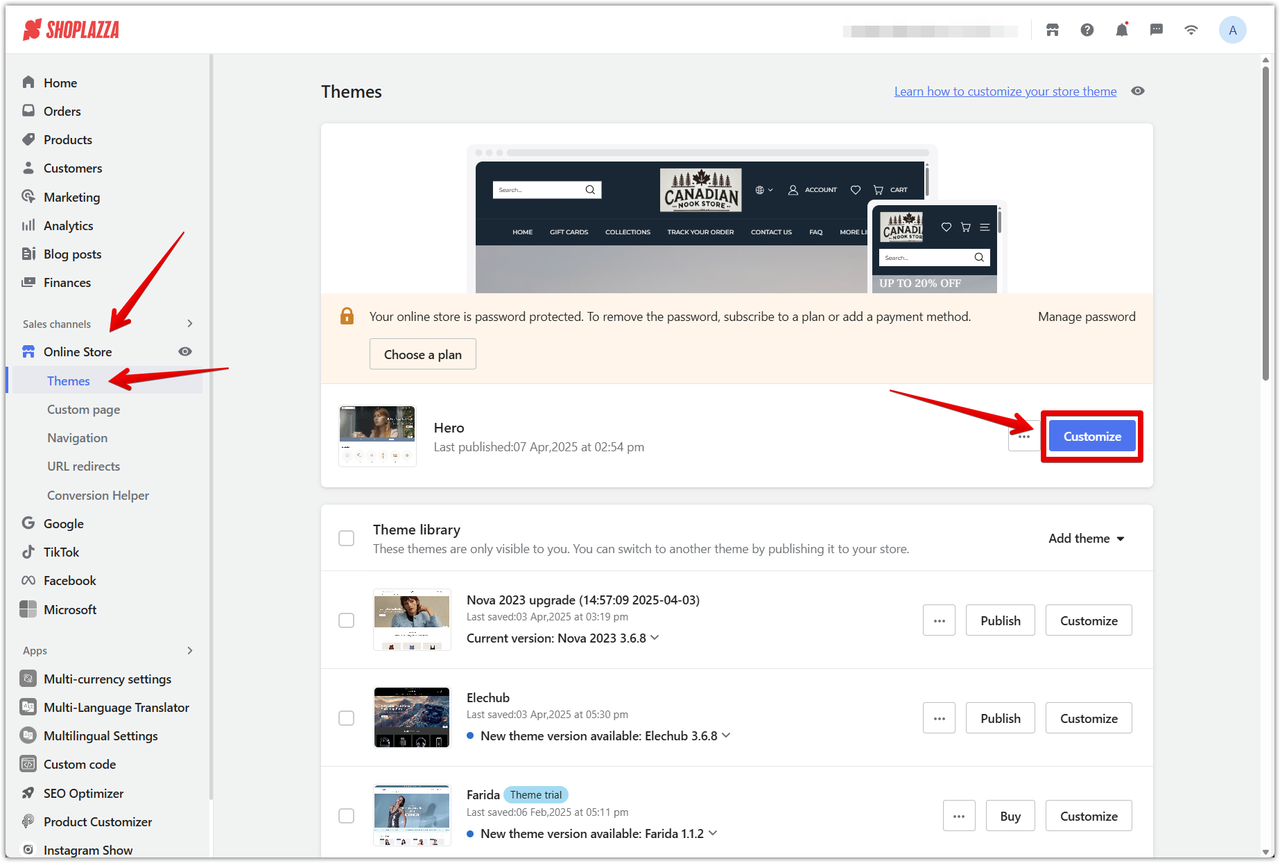
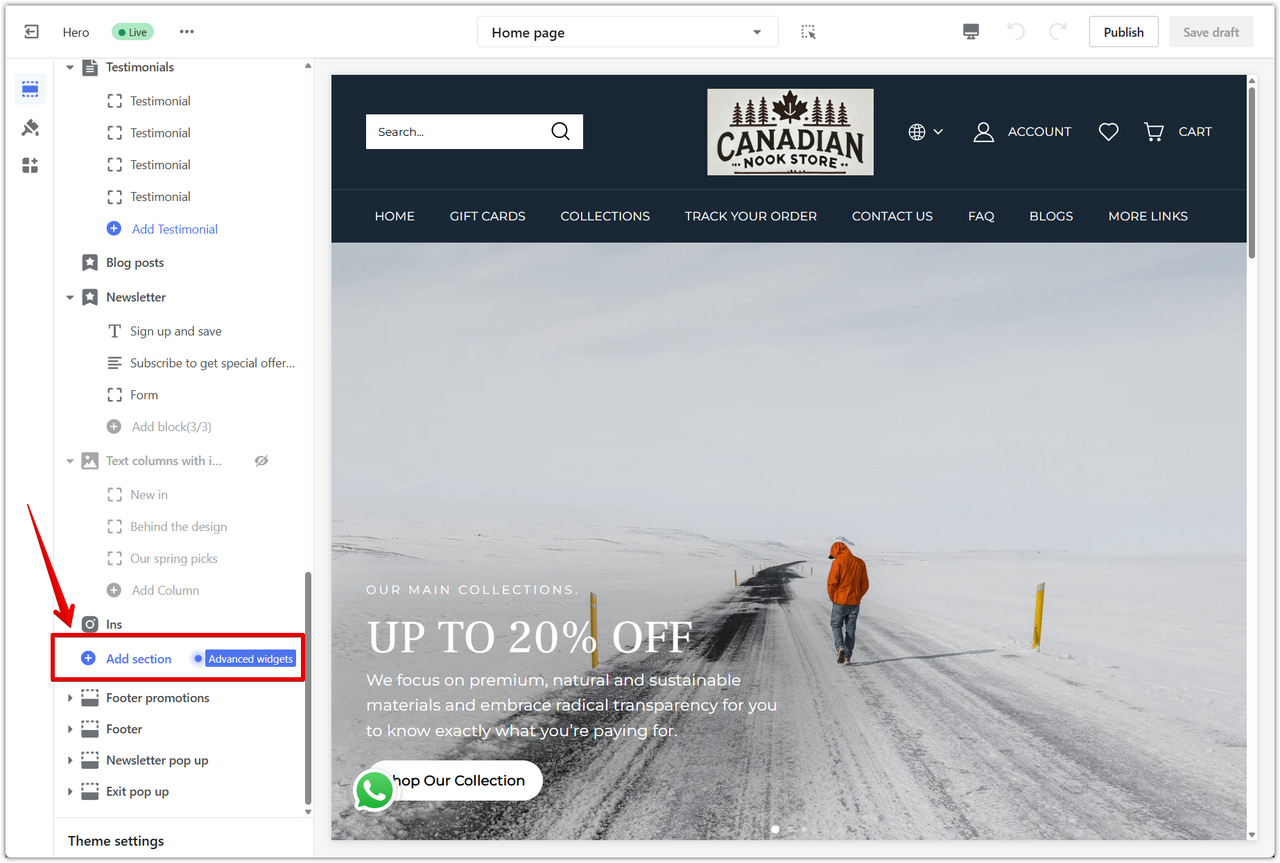
2. Click Add section: This button is located in the left-hand panel, where you can browse all available sections.
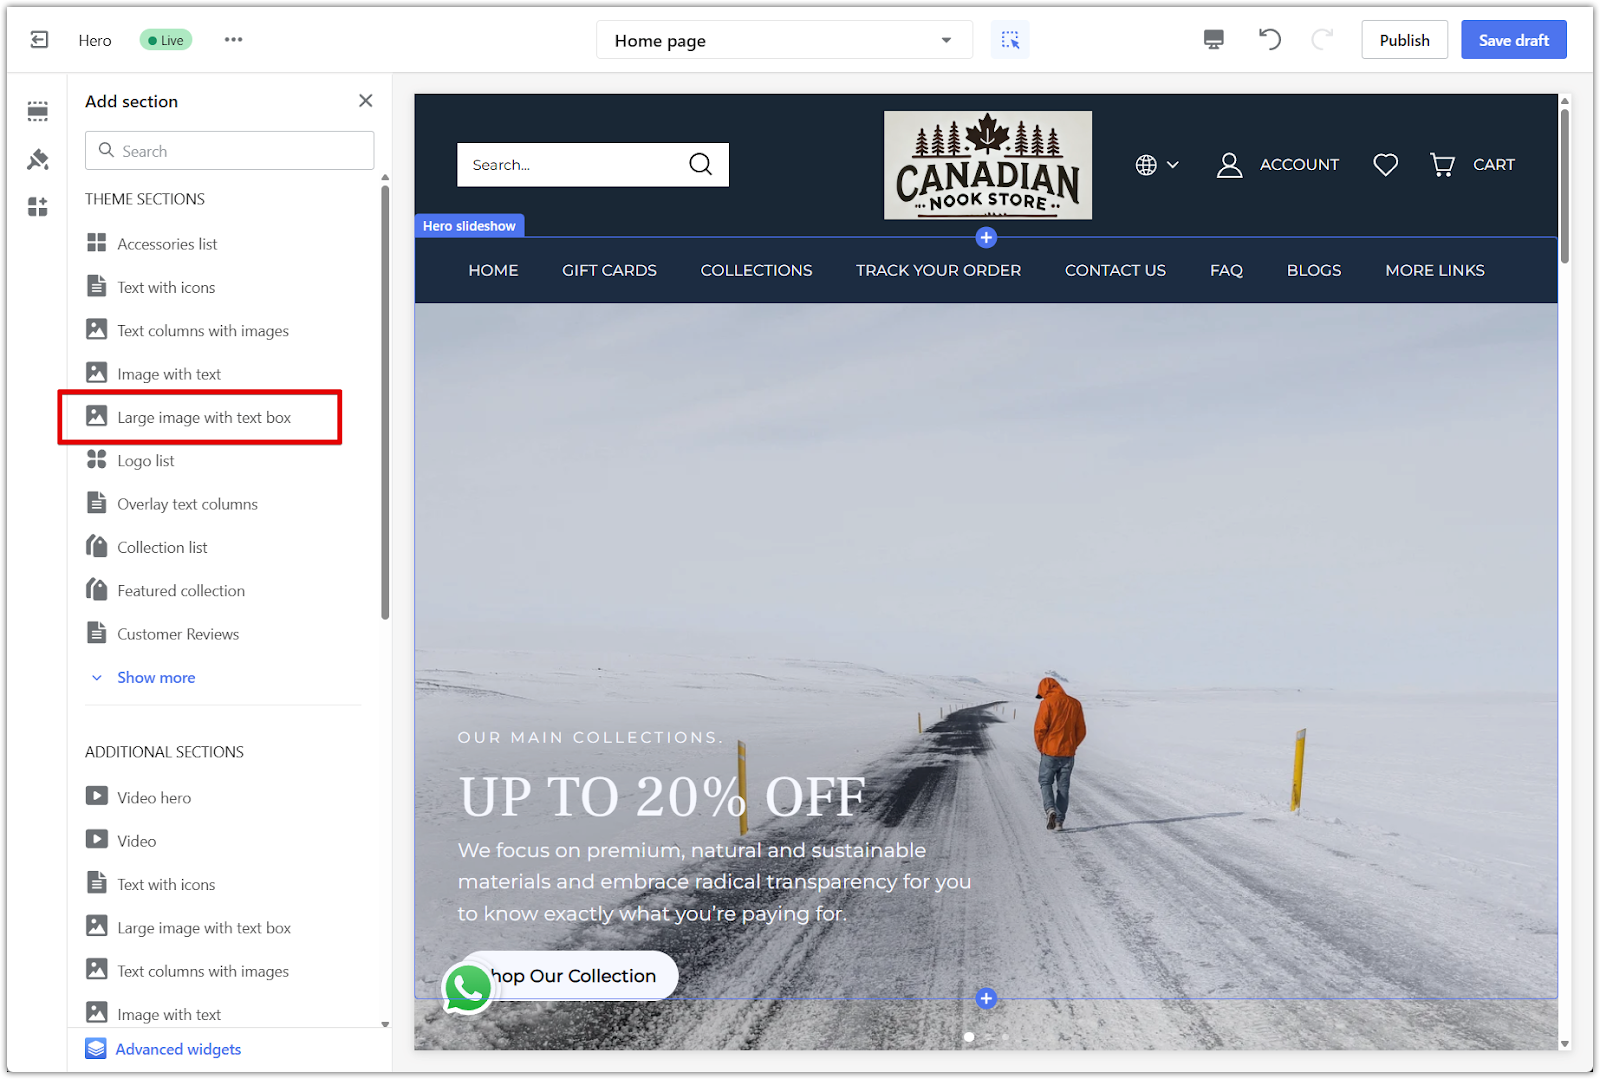
3. Find the Large image with text box section: Scroll through the list under Theme sections to locate and select it.
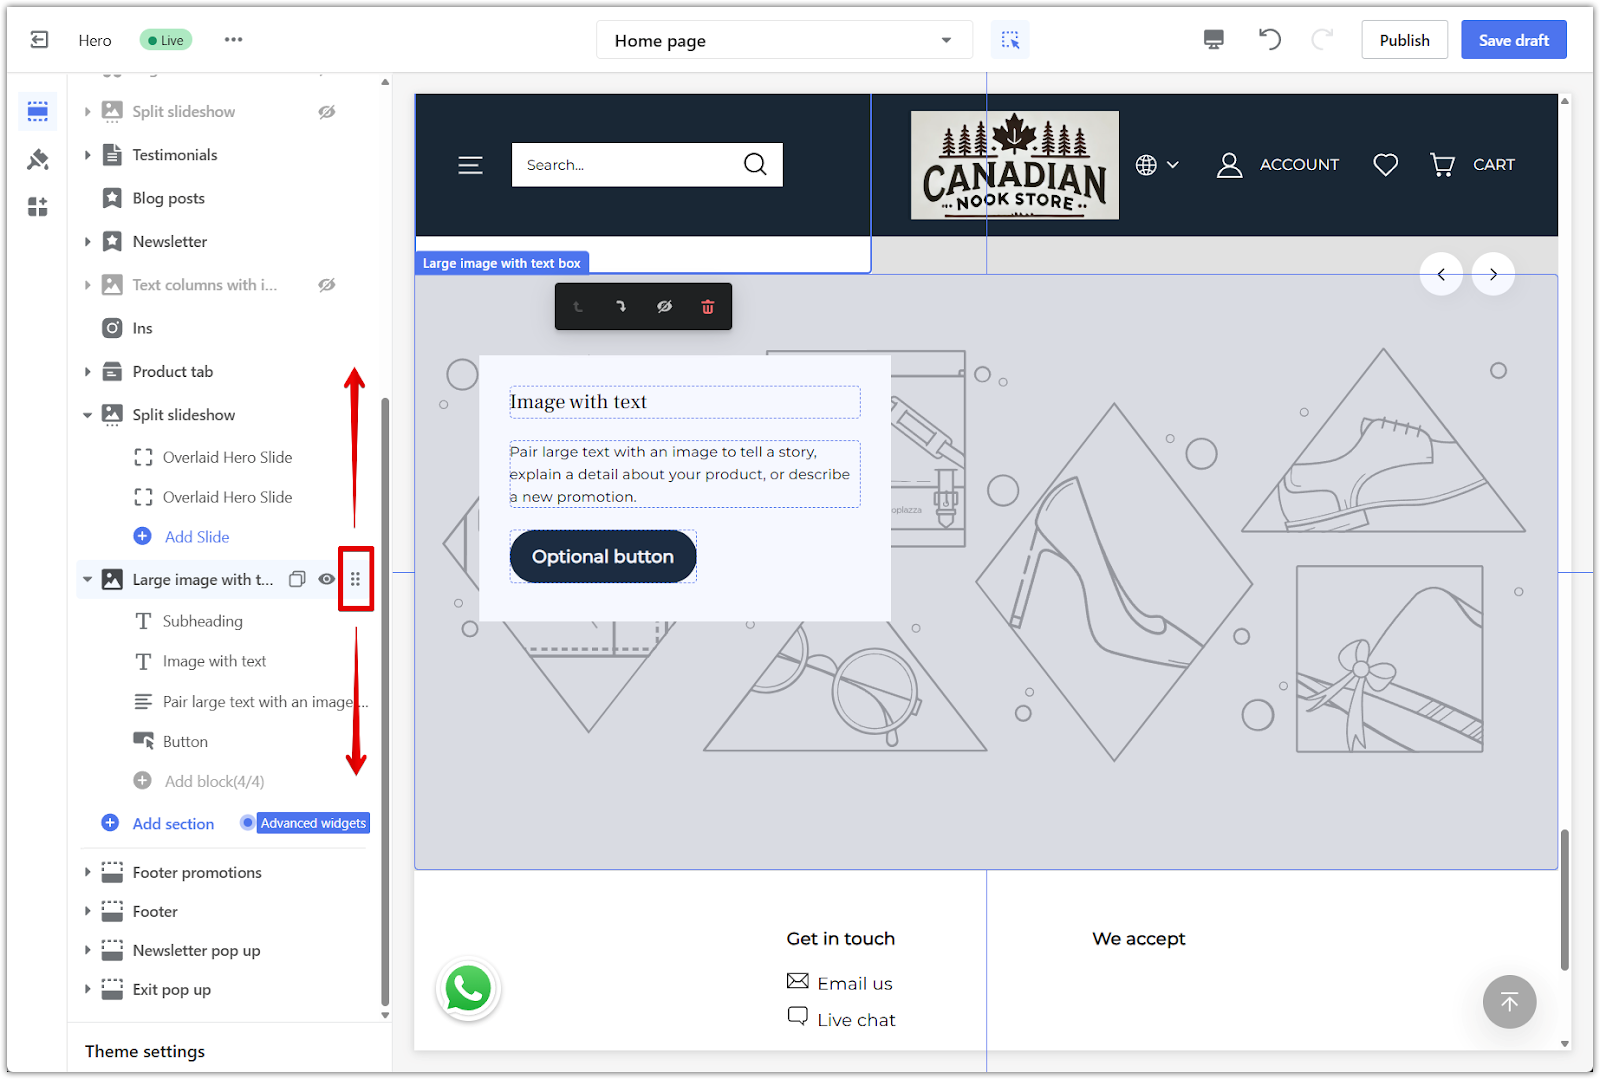
4. Reposition the section: Use the drag indicator to place the section wherever you want on the page.
Managing content blocks
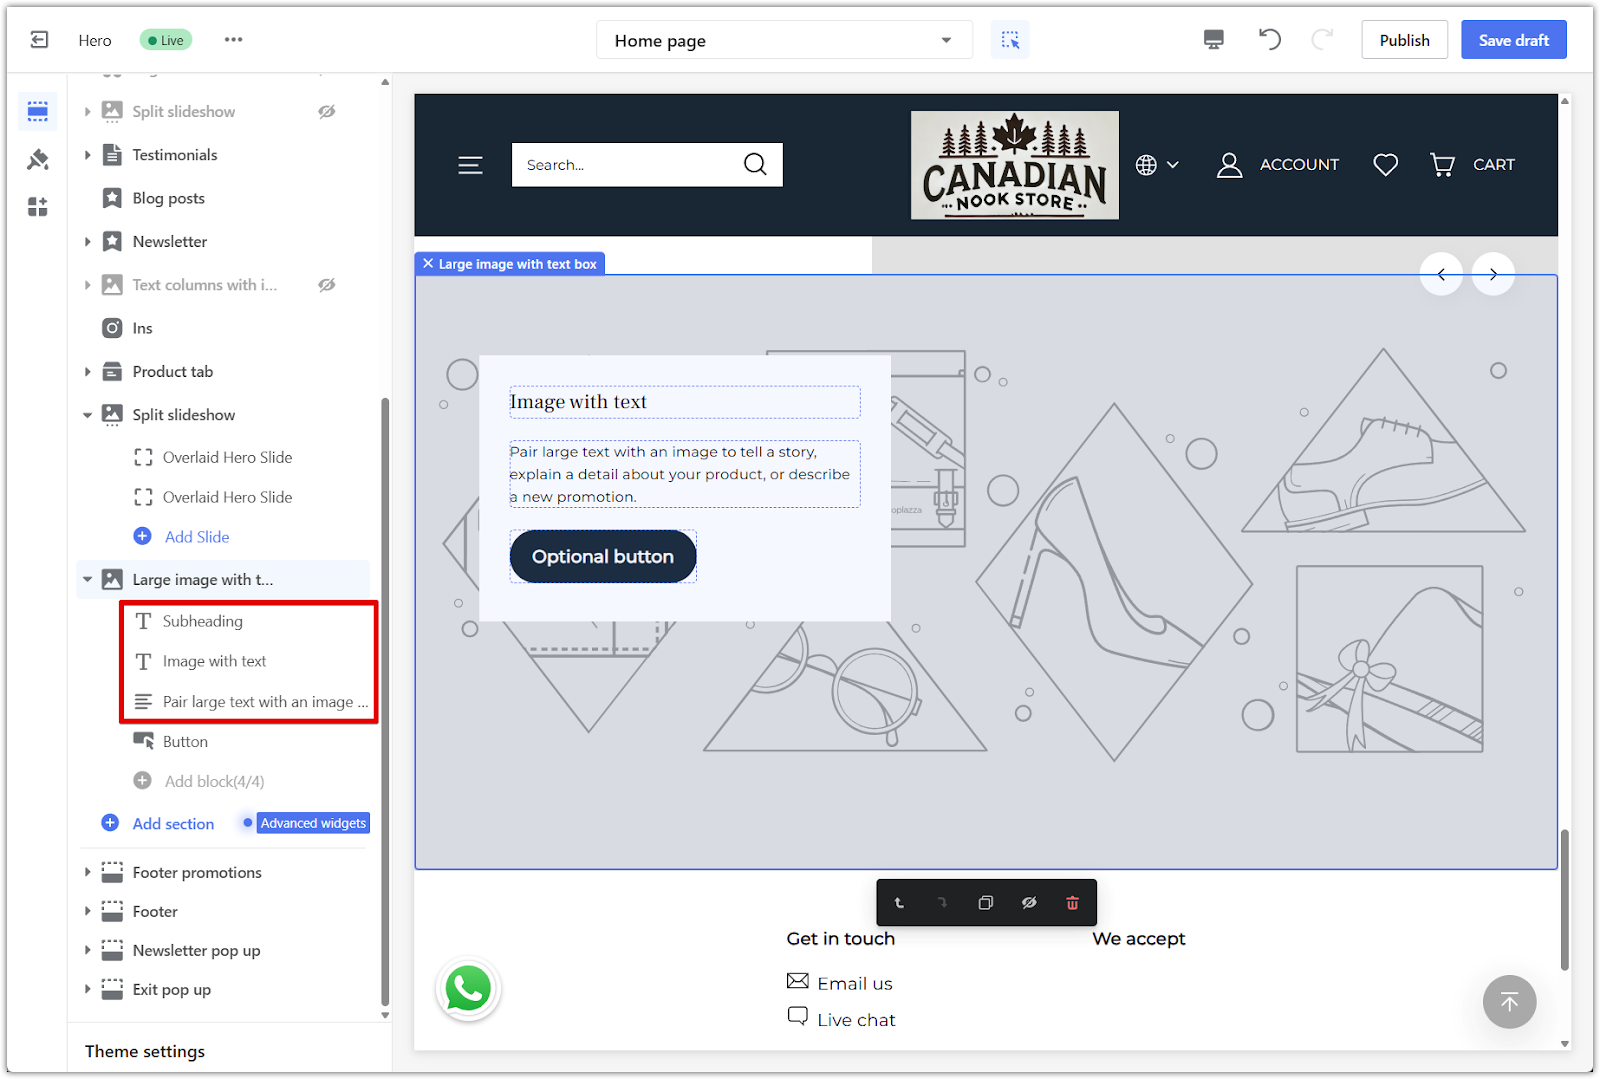
The Large image with text box section includes four built-in blocks that you can use to organize your content. These blocks allow you to control the layout of your text and button elements.
1. Click on a block to edit: This section includes four block types: Subheading, Image with Text, Large Text with Image, and Button. Click on any block in the left-hand panel to start editing.
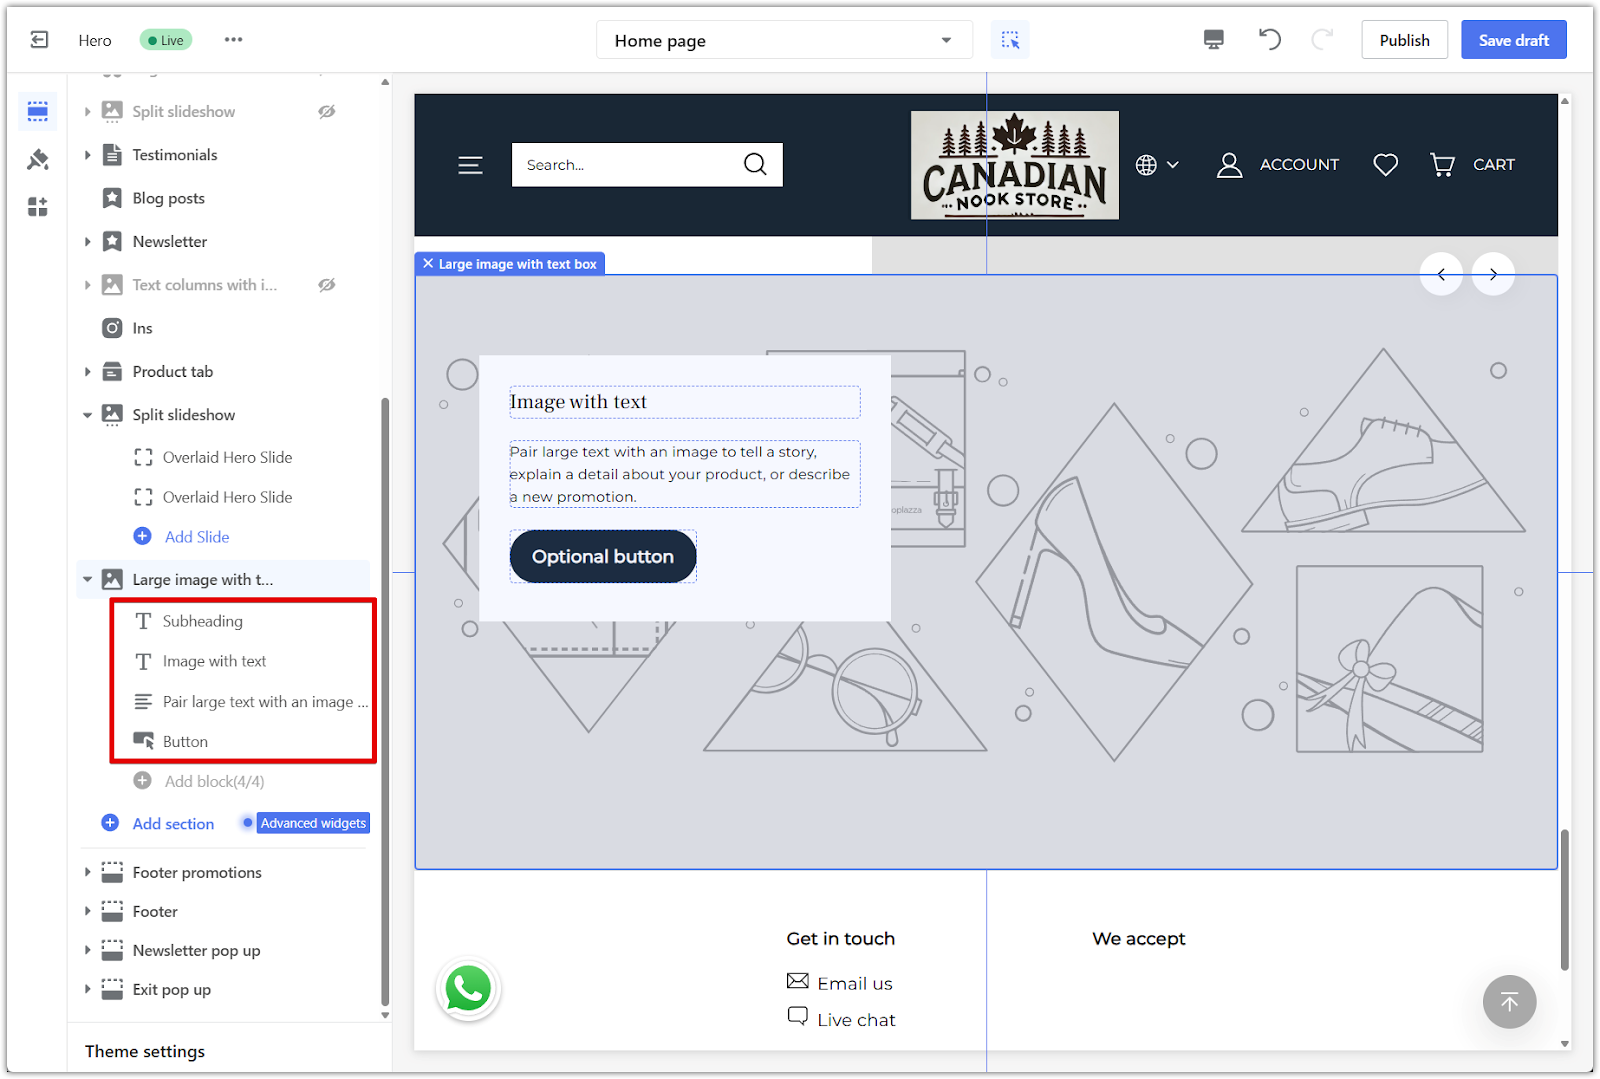
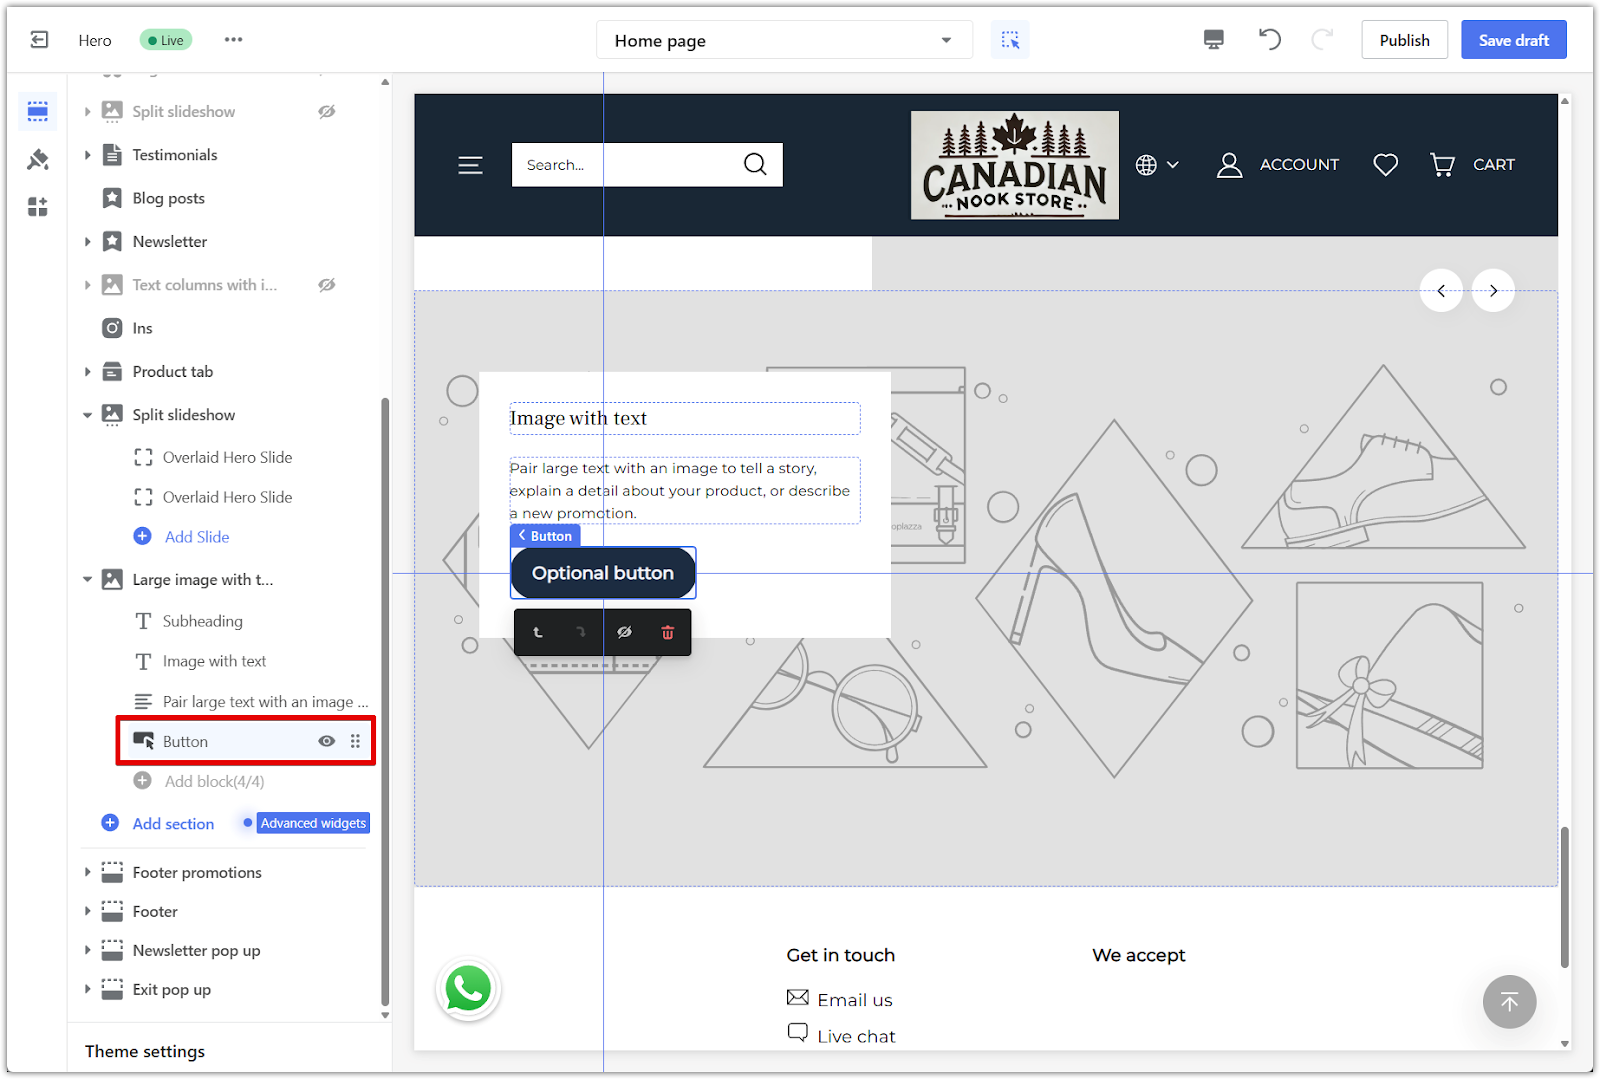
2. Reorder or remove blocks: Use the drag handle to change the order of the blocks. To remove a block, click on it and scroll to the bottom to select Remove block.

3. Block limit: You can add up to four blocks in this section. Once the limit is reached, the Add block button will be disabled.

Configuring image and layout settings
After adding the section, you can customize how the image, text, and spacing appear. These settings help you adjust the layout for both desktop and mobile views.
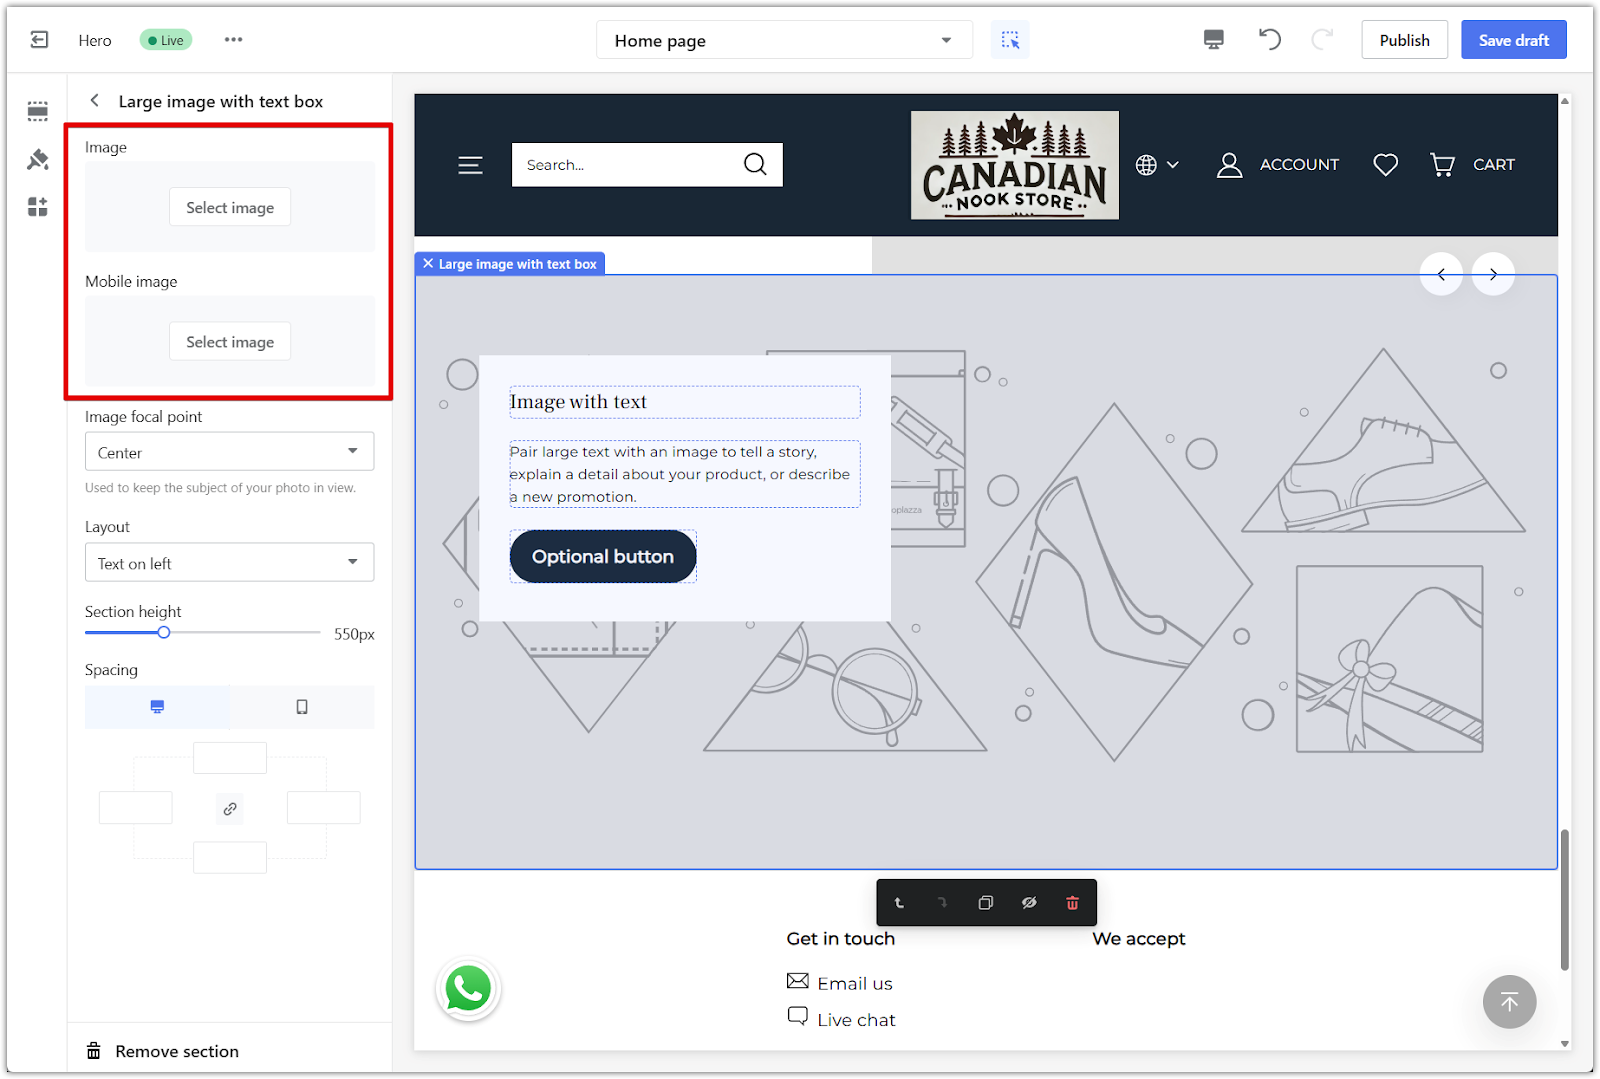
1. Click the section title to access settings: In the left-hand panel, click on the Large image with text box section title to open the settings panel.

2. Upload an image: Click the Image field to add a background image. You can also upload a separate Mobile image if you want the layout to look different on smaller screens.
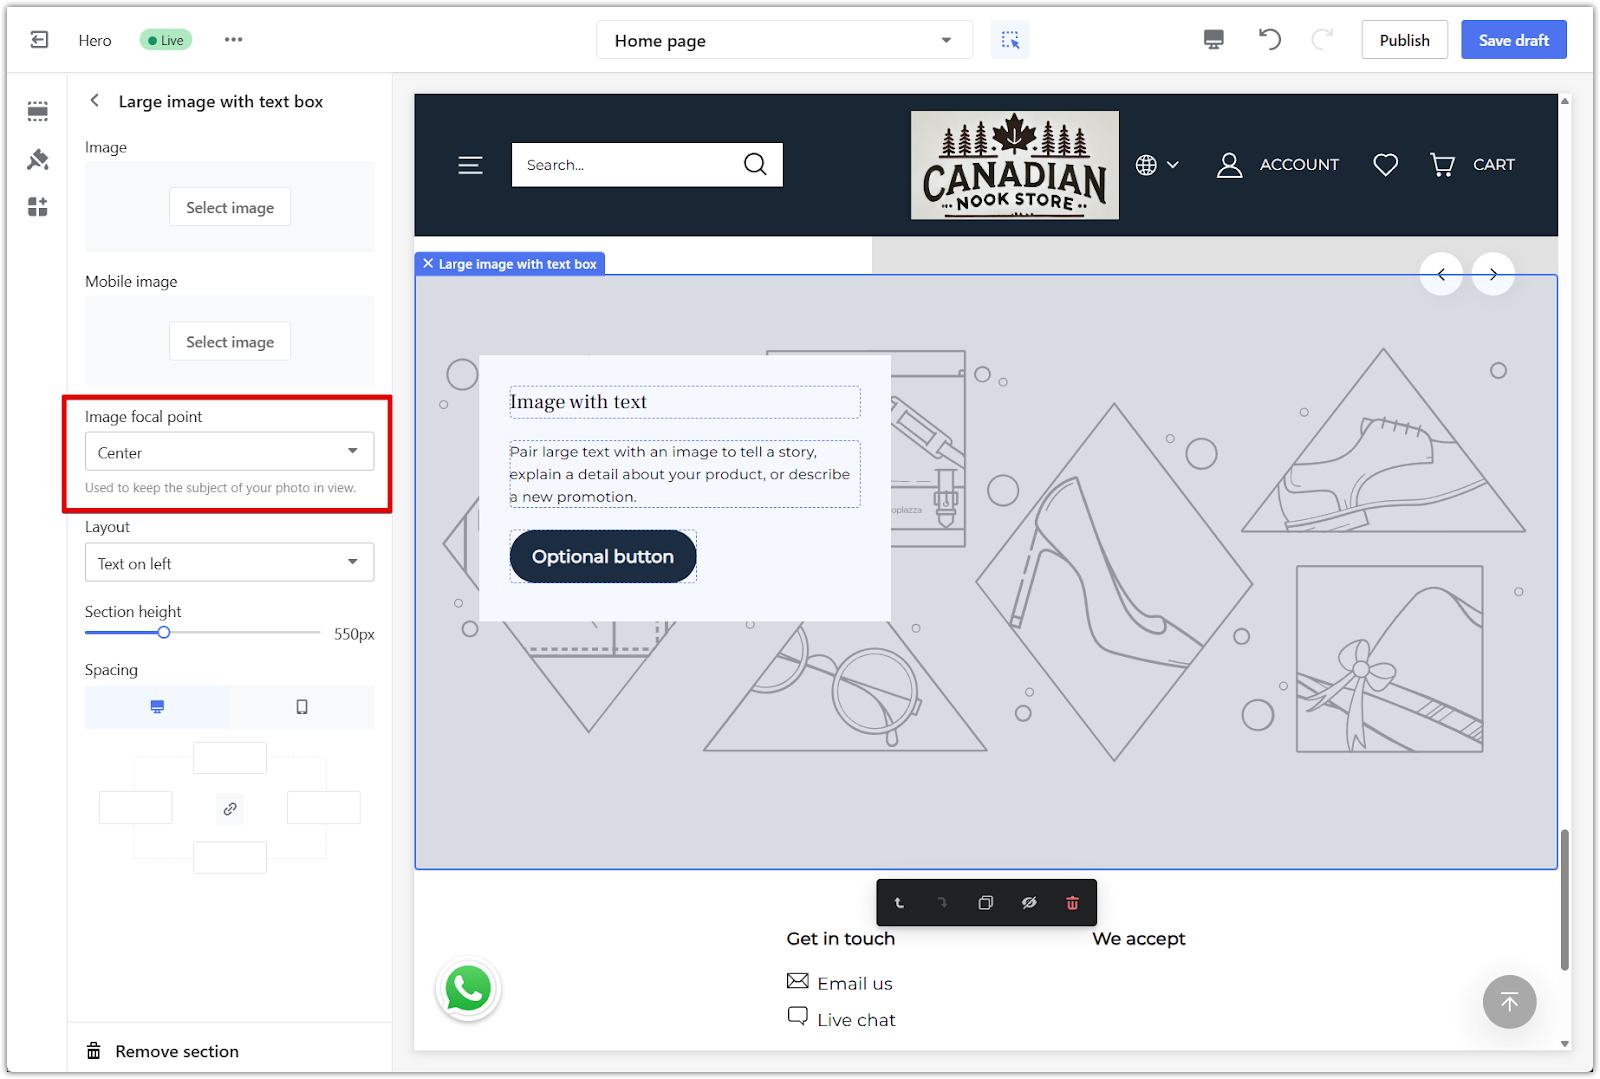
3. Set a focal point: Select a focal point to make sure the key part of your image stays visible, especially on smaller screens.
4. Change text layout: Use the Layout dropdown to choose whether the text appears on the left or right side.
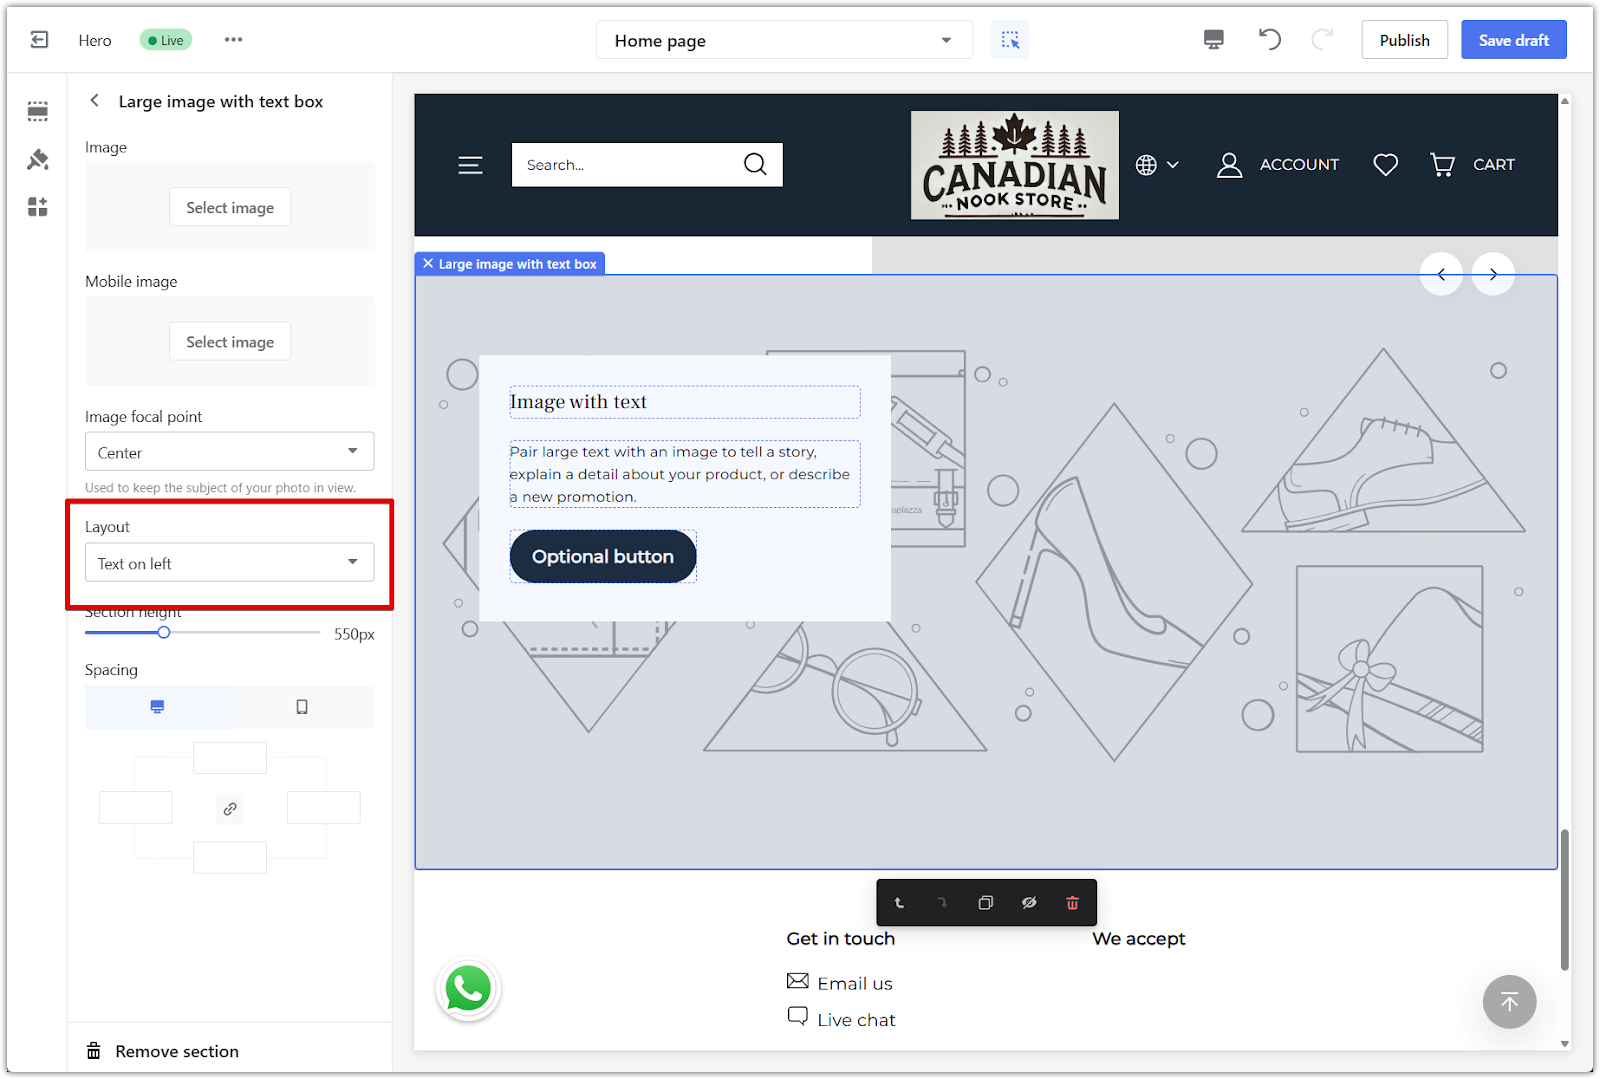
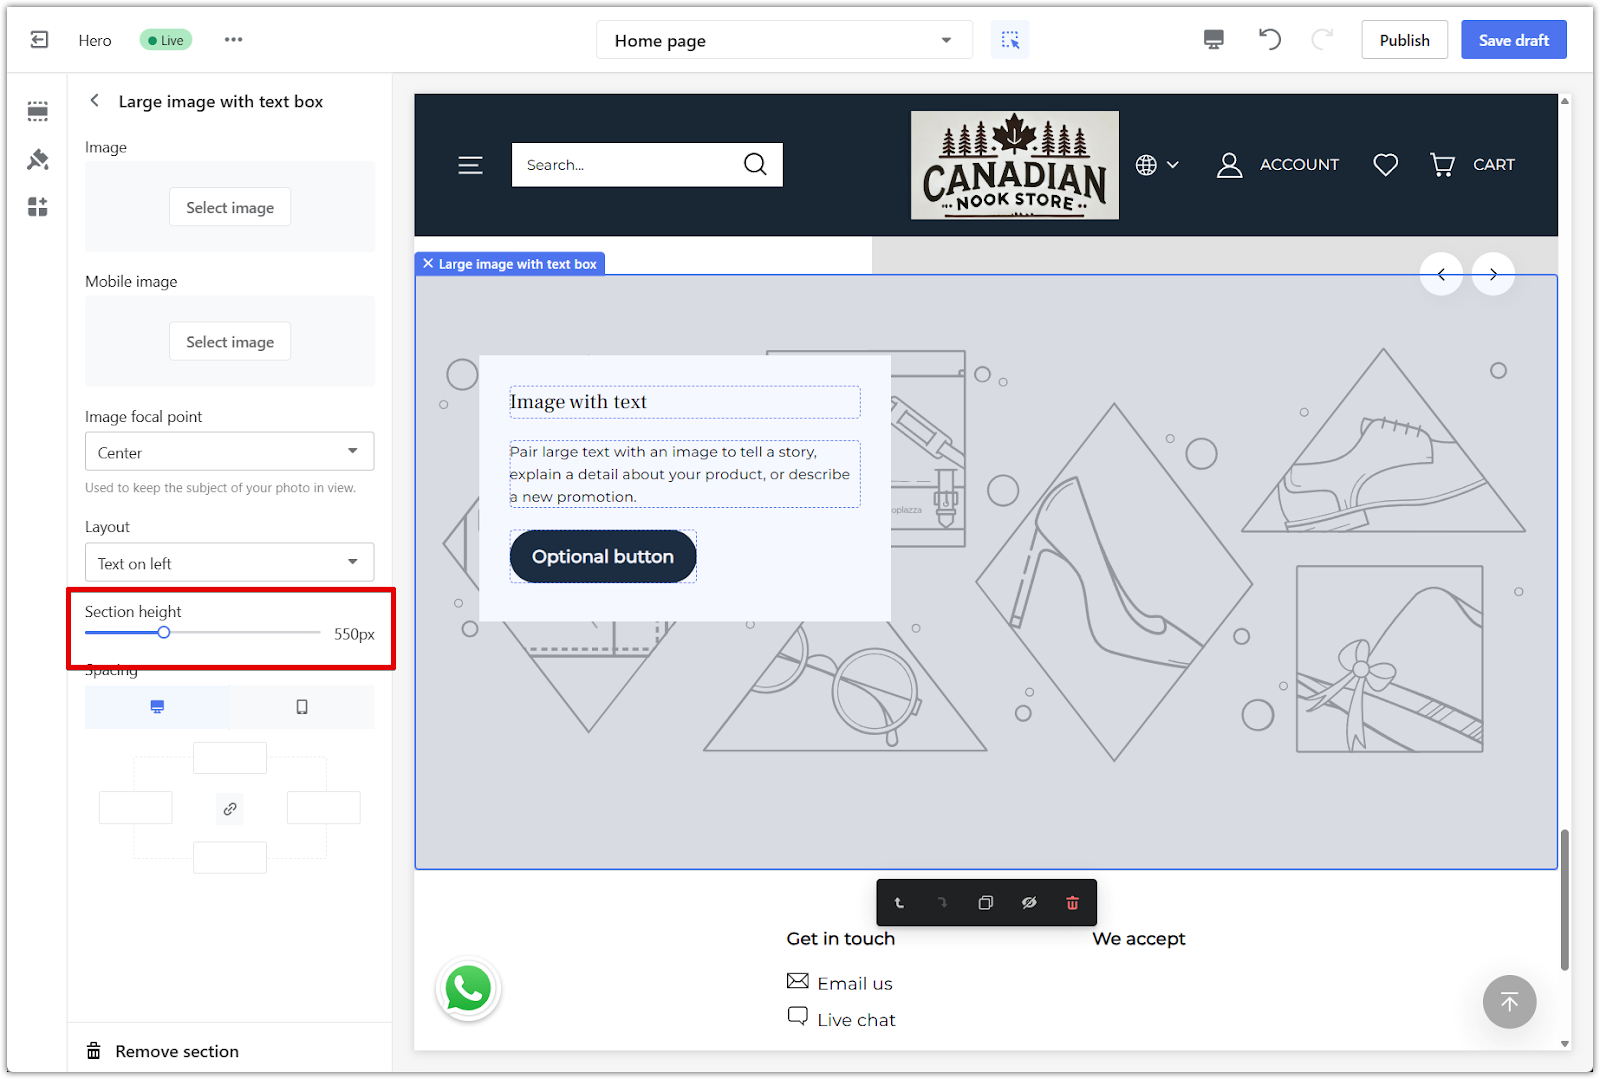
5. Adjust section height: Drag the Section height slider to control how tall the section appears.
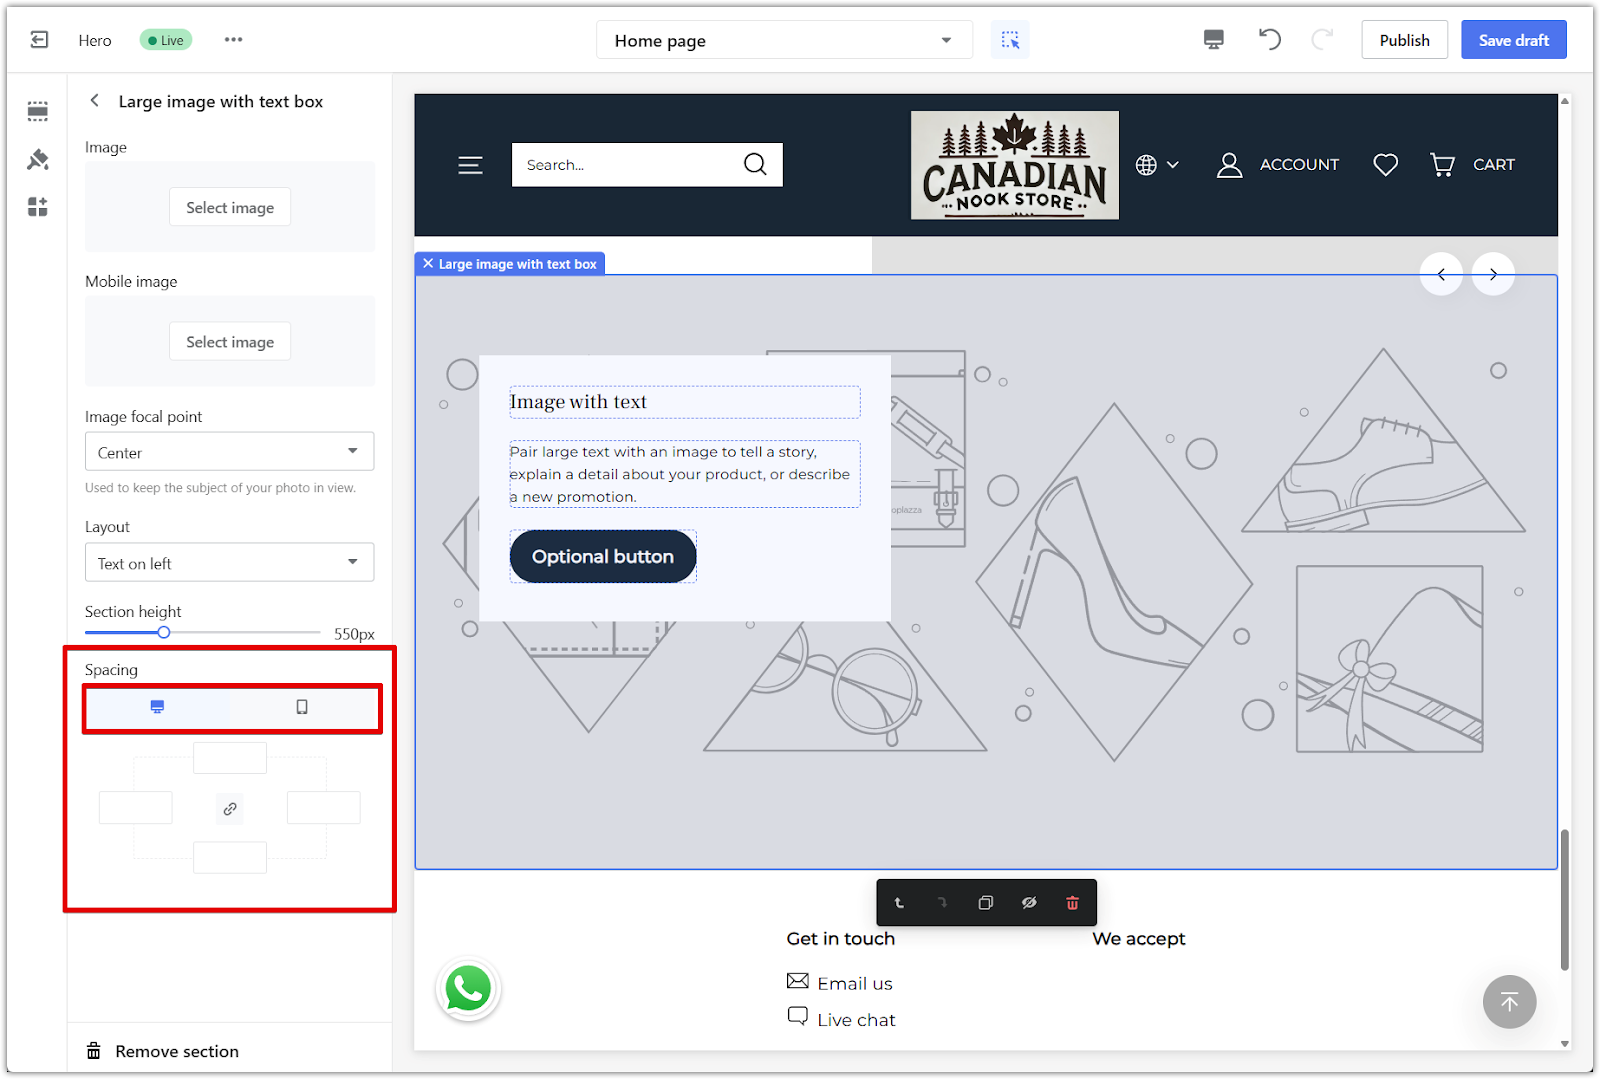
6. Set spacing: Use the Spacing panel to add padding around the section. You can apply spacing evenly or adjust each side individually by unlinking the values. Use the device icons to preview how spacing looks on desktop and mobile.
Editing your Large image with text box section
After uploading your image and adjusting layout settings, you can edit the content and buttons in the section.
1. Edit headings and text: In the left-hand panel, enter your heading and supporting text to match your promotion or brand message.
2. Add a button: Name your button and choose a destination page from the dropdown menu. This helps guide traffic to featured collections, products, or other store pages. This section supports only one button.

The Large image with text box section helps you make the most of bold visuals while giving customers a clear next step. Use it to draw attention to promotions, collections, or brand moments with a layout that balances impact and clarity.


Comments
Please sign in to leave a comment.