
The Split slideshow section is a versatile feature in the Shoplazza Hero theme series, including Hero, Halloween, and Modern. It displays product images and promotional text side by side, helping you feature new items, share your brand story, or highlight a seasonal promotion. With support for headings, subtext, and call-to-action buttons, this homepage layout keeps your storefront visually engaging while reinforcing your brand identity.
Adding a split slideshow section
To start using the Split slideshow section, add it to your homepage layout.
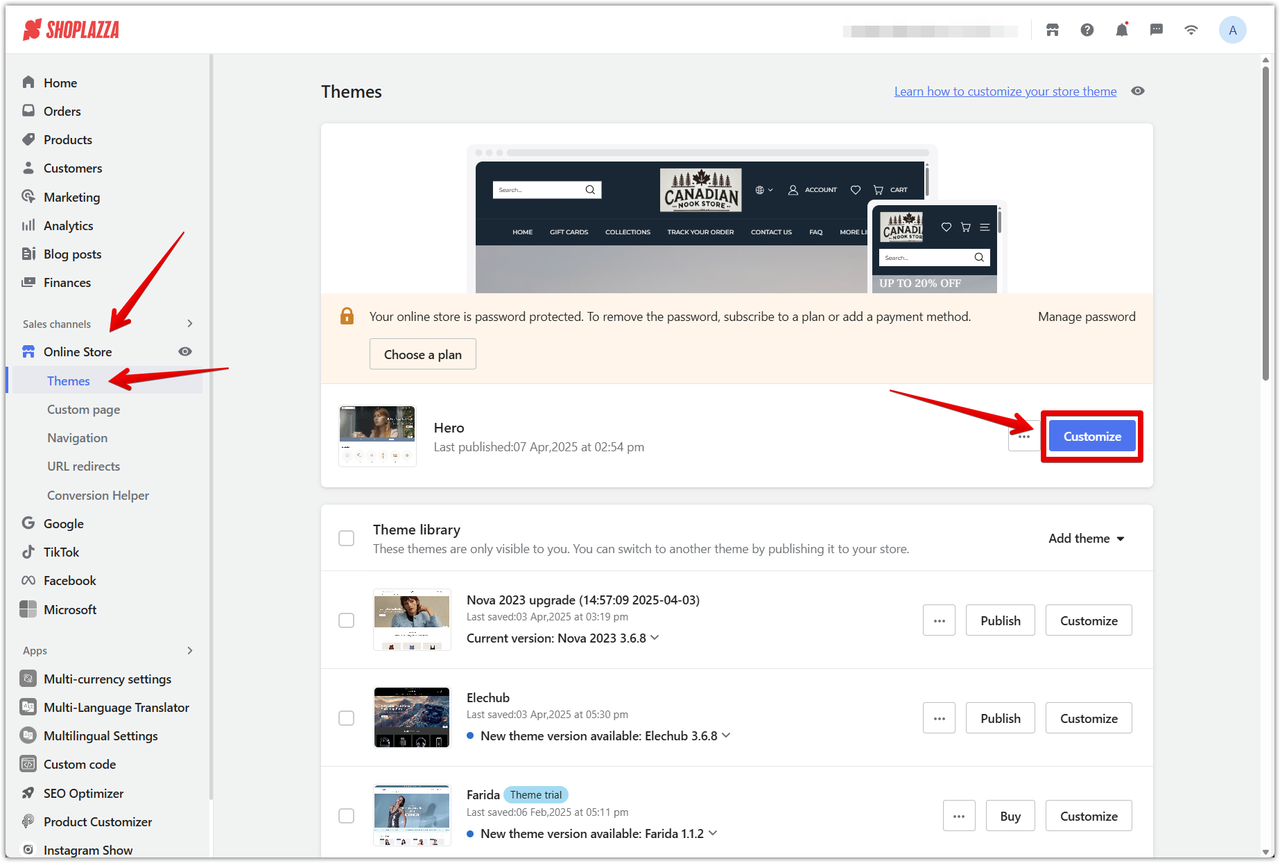
1. Open the theme editor: Go to Shoplazza admin > Online store > Themes and click Customize to access the theme editor.
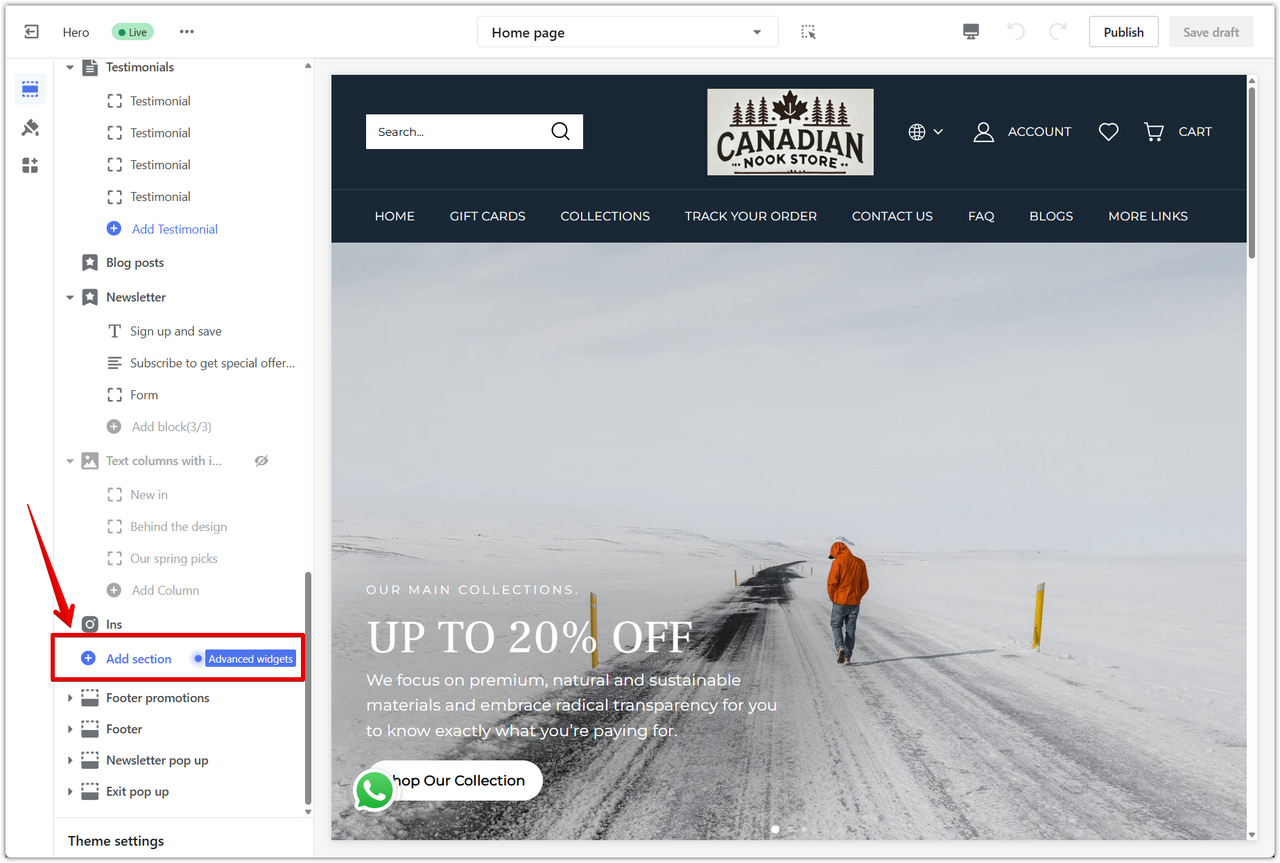
2. Click Add section: This button is located in the left-hand panel, where you can browse all available sections.
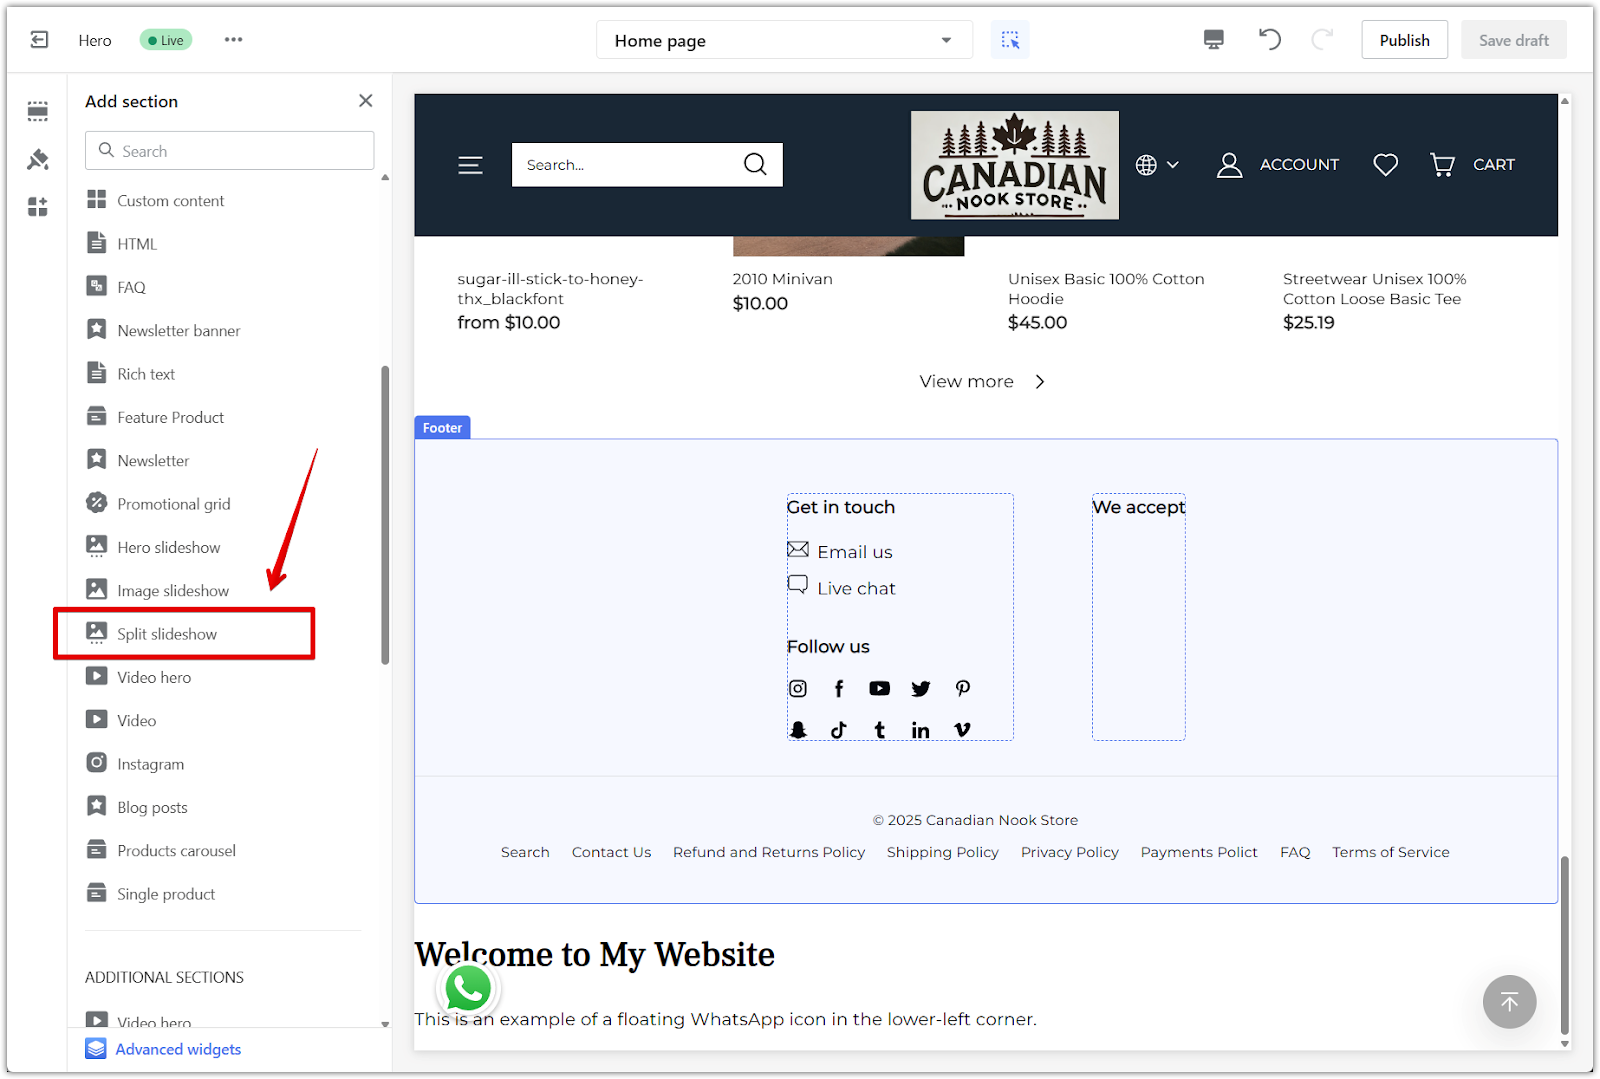
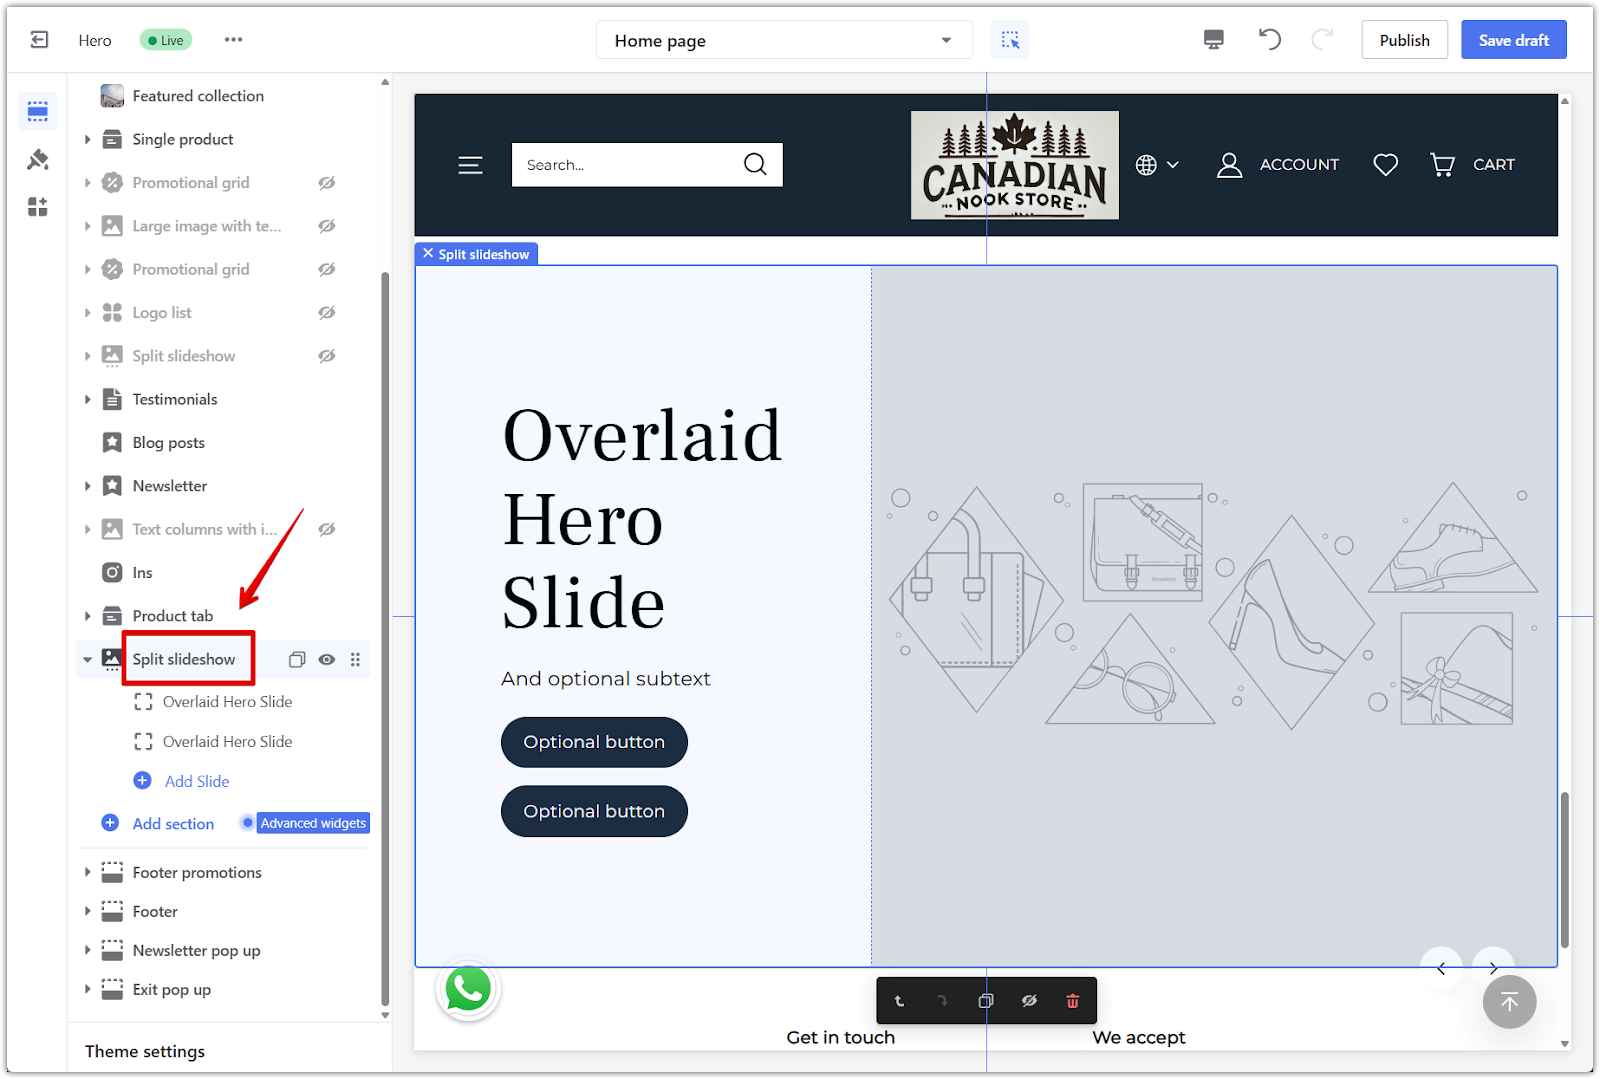
3. Find the Split slideshow section: Scroll through the list under Theme sections or click Show more to locate and select it.
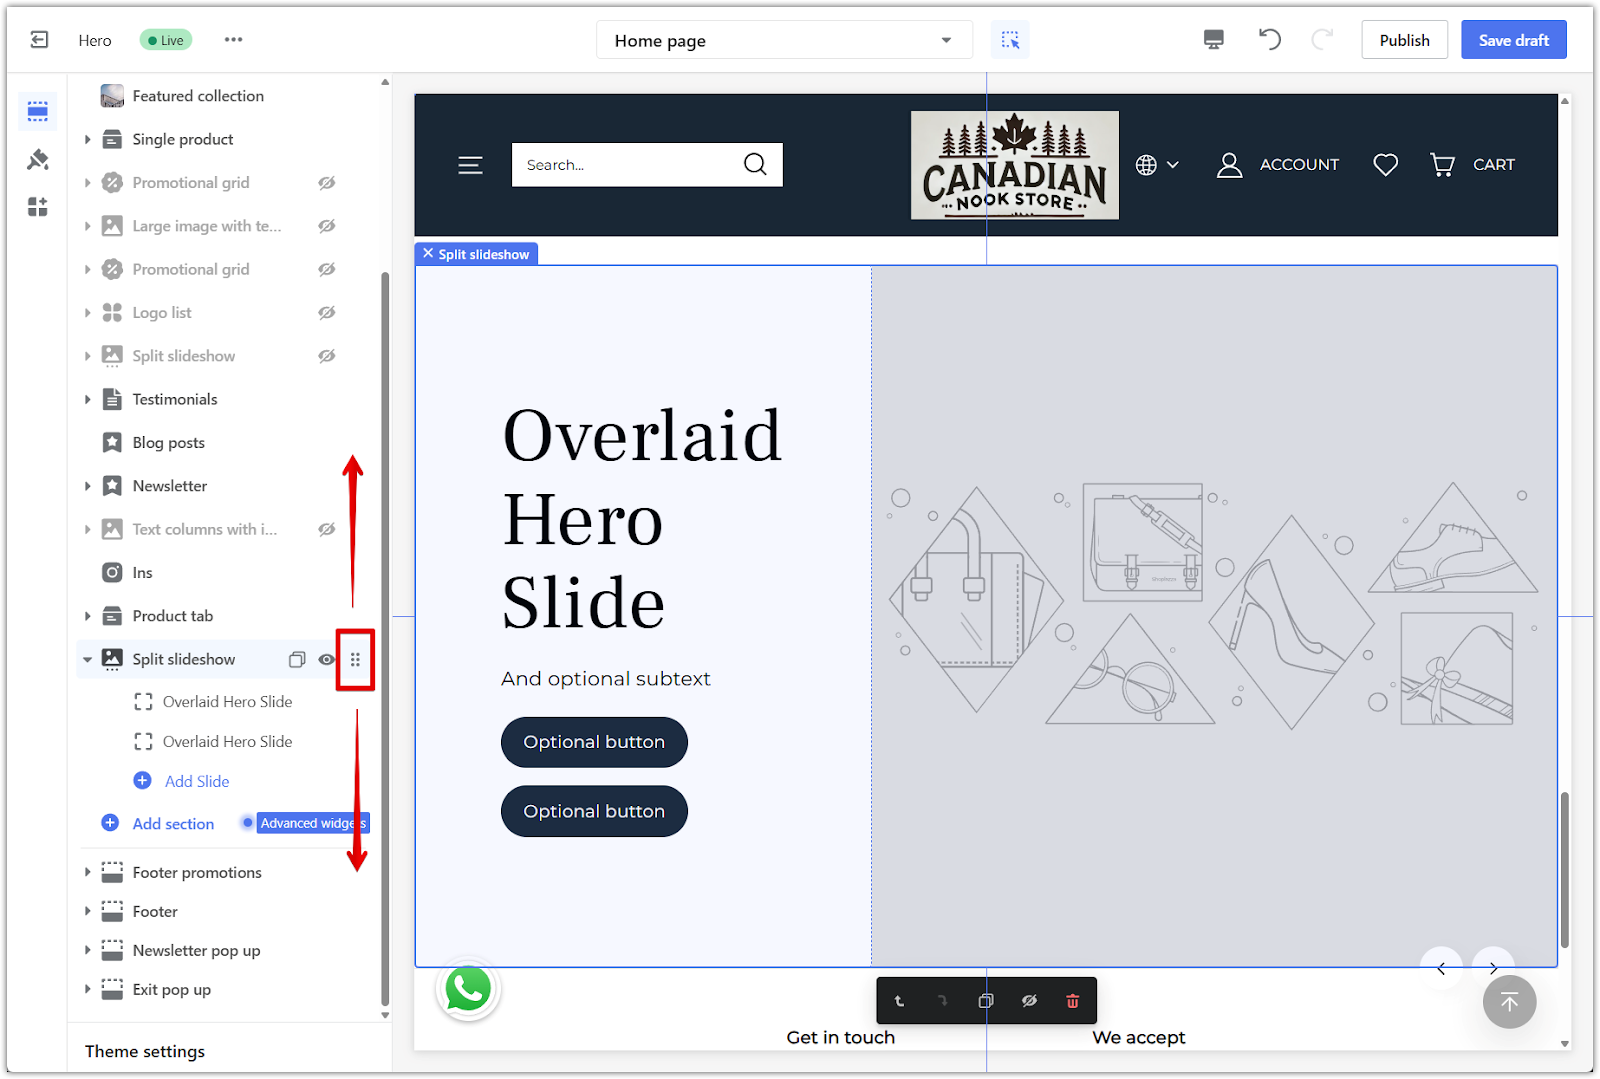
4. Reposition the section: Use the drag indicator to place the section wherever you want on the page.
Customizing section layout settings
After adding the Split slideshow section, click on the section title to open the settings panel.
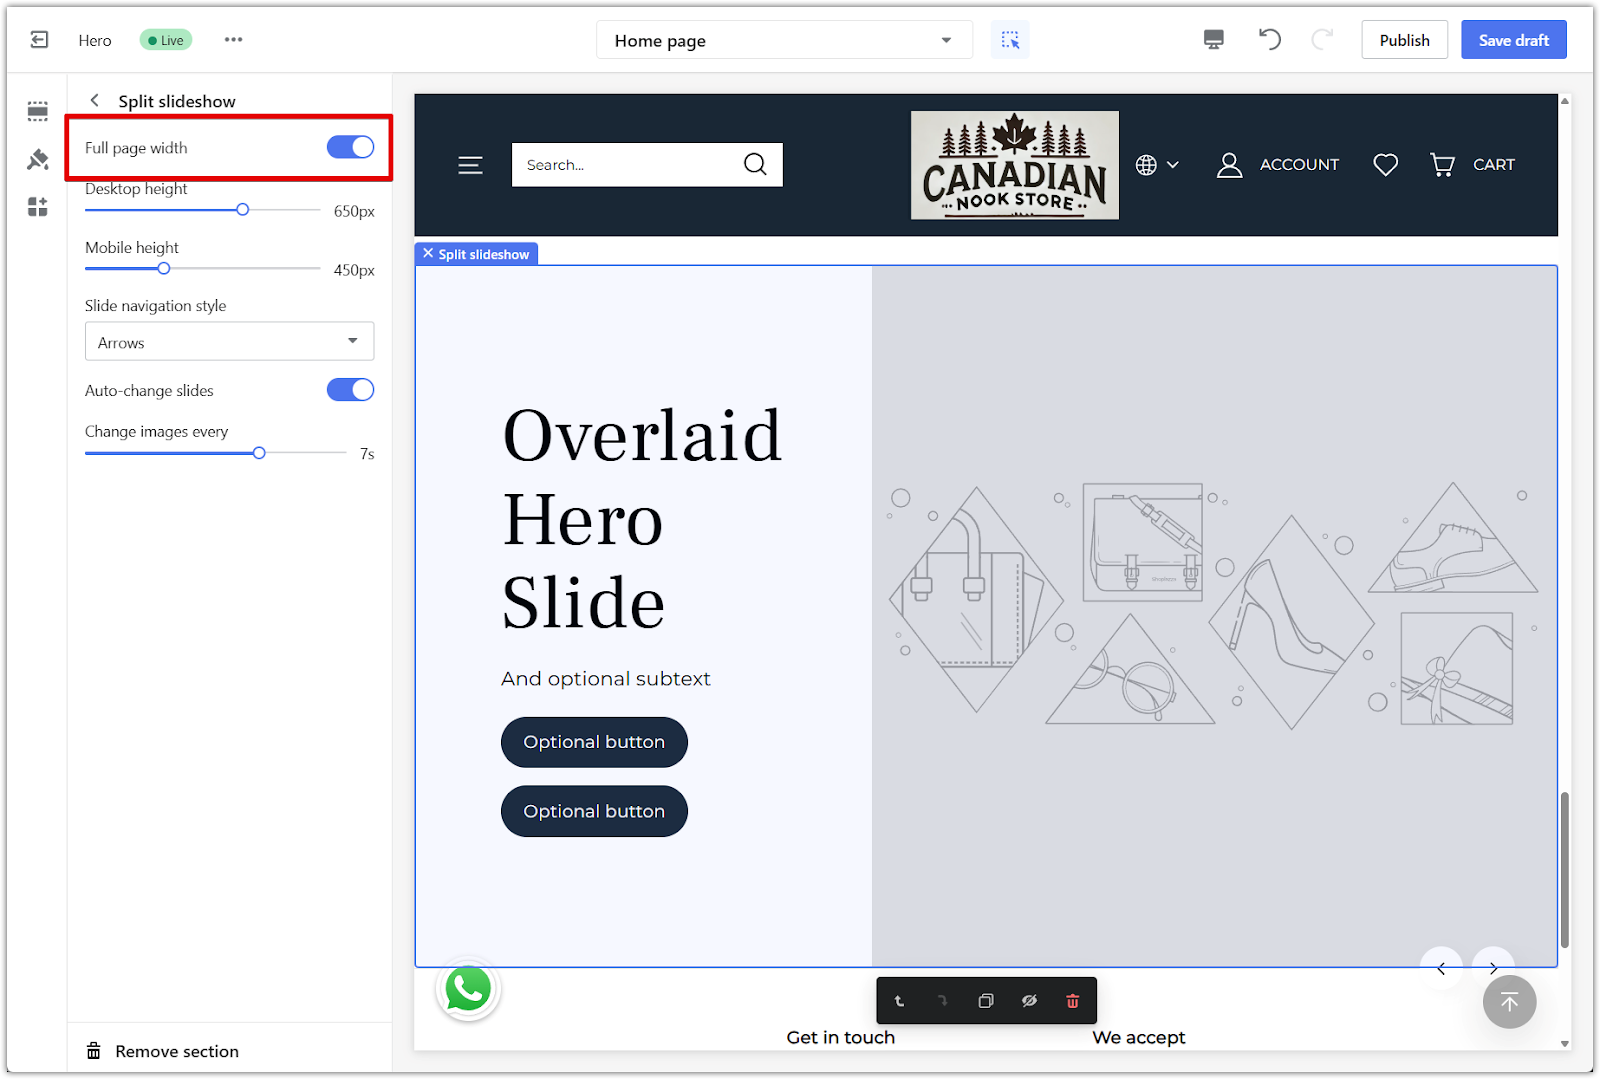
1. Open section settings: Click the Split slideshow section title in the left-hand panel to access layout options.
2. Full page width: Toggle this on to display the section across the entire width of the page.
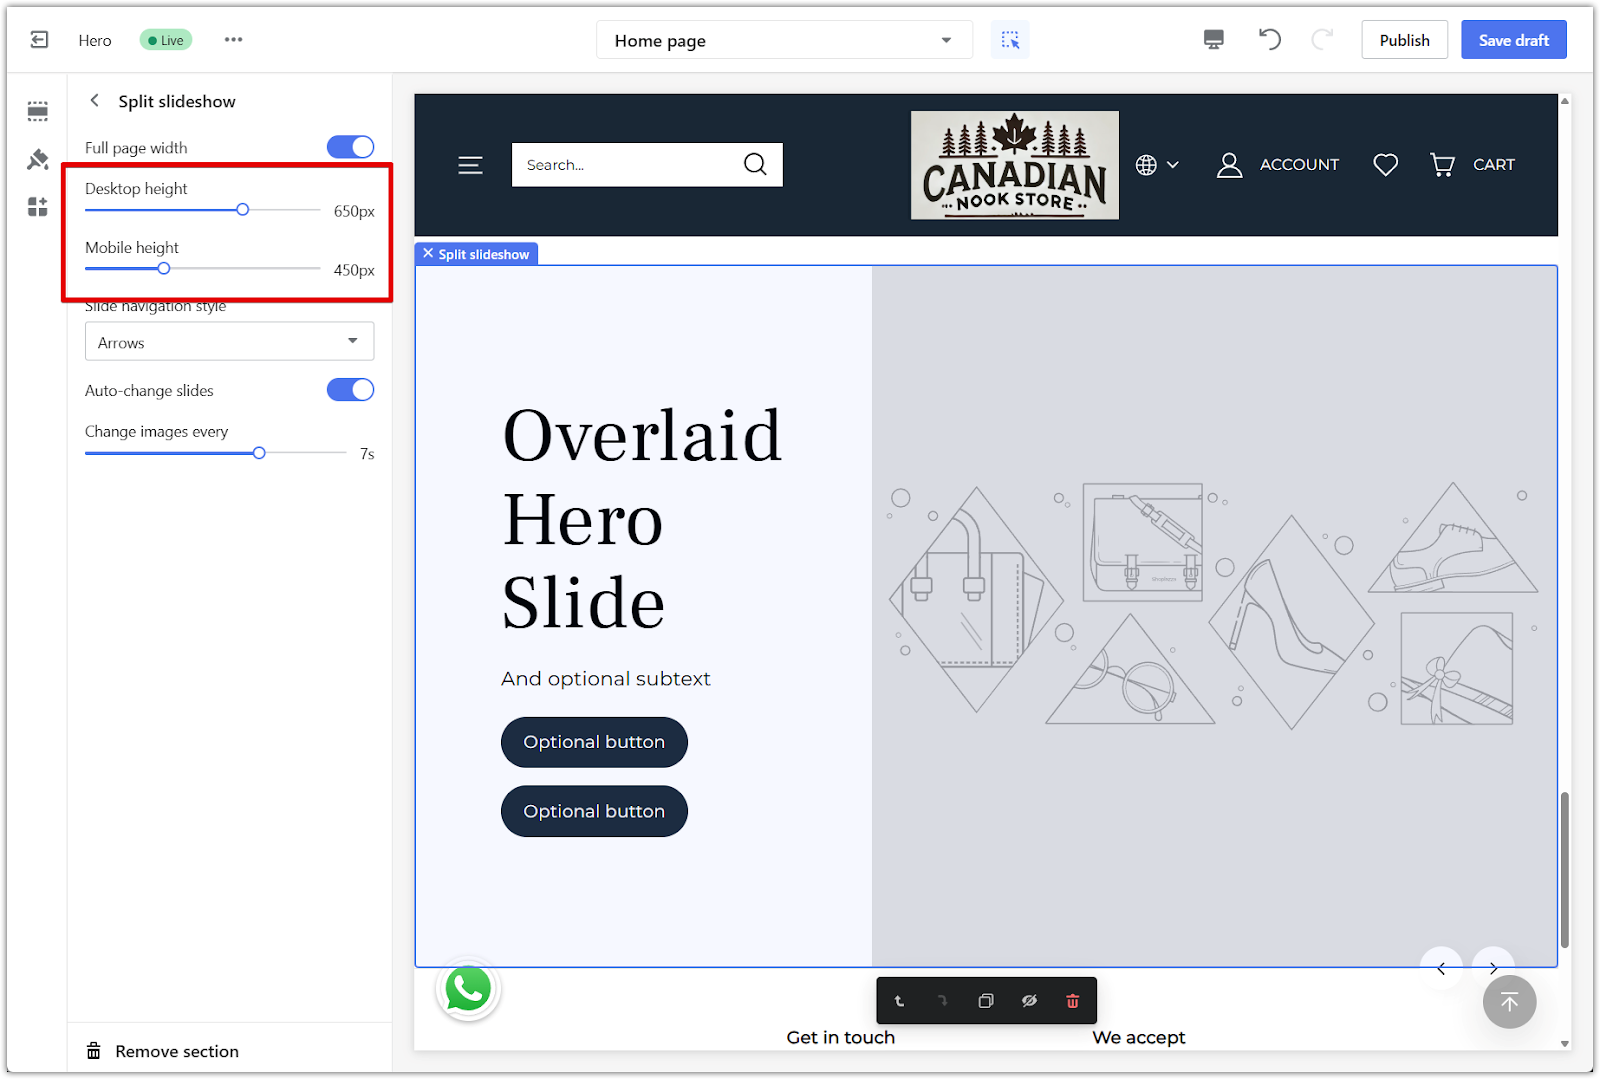
3. Desktop and mobile height: Use the sliders to adjust the height separately for desktop and mobile. Click the preview icons in the top right corner to see how it appears on each device.
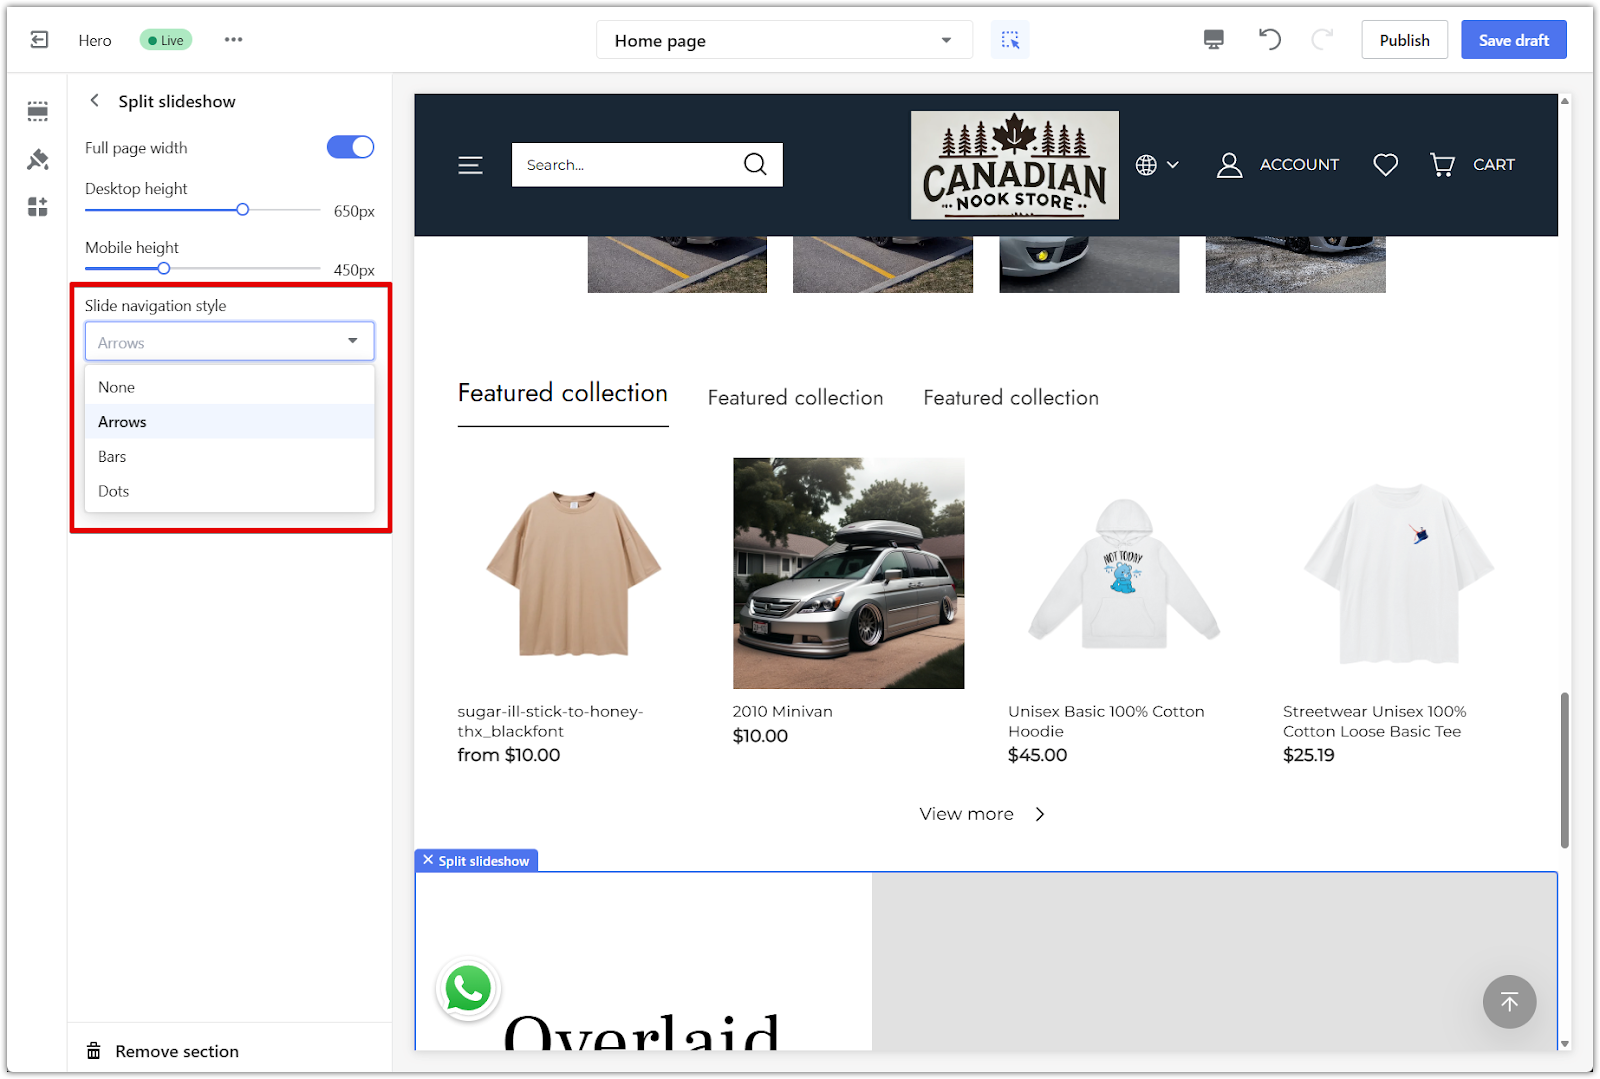
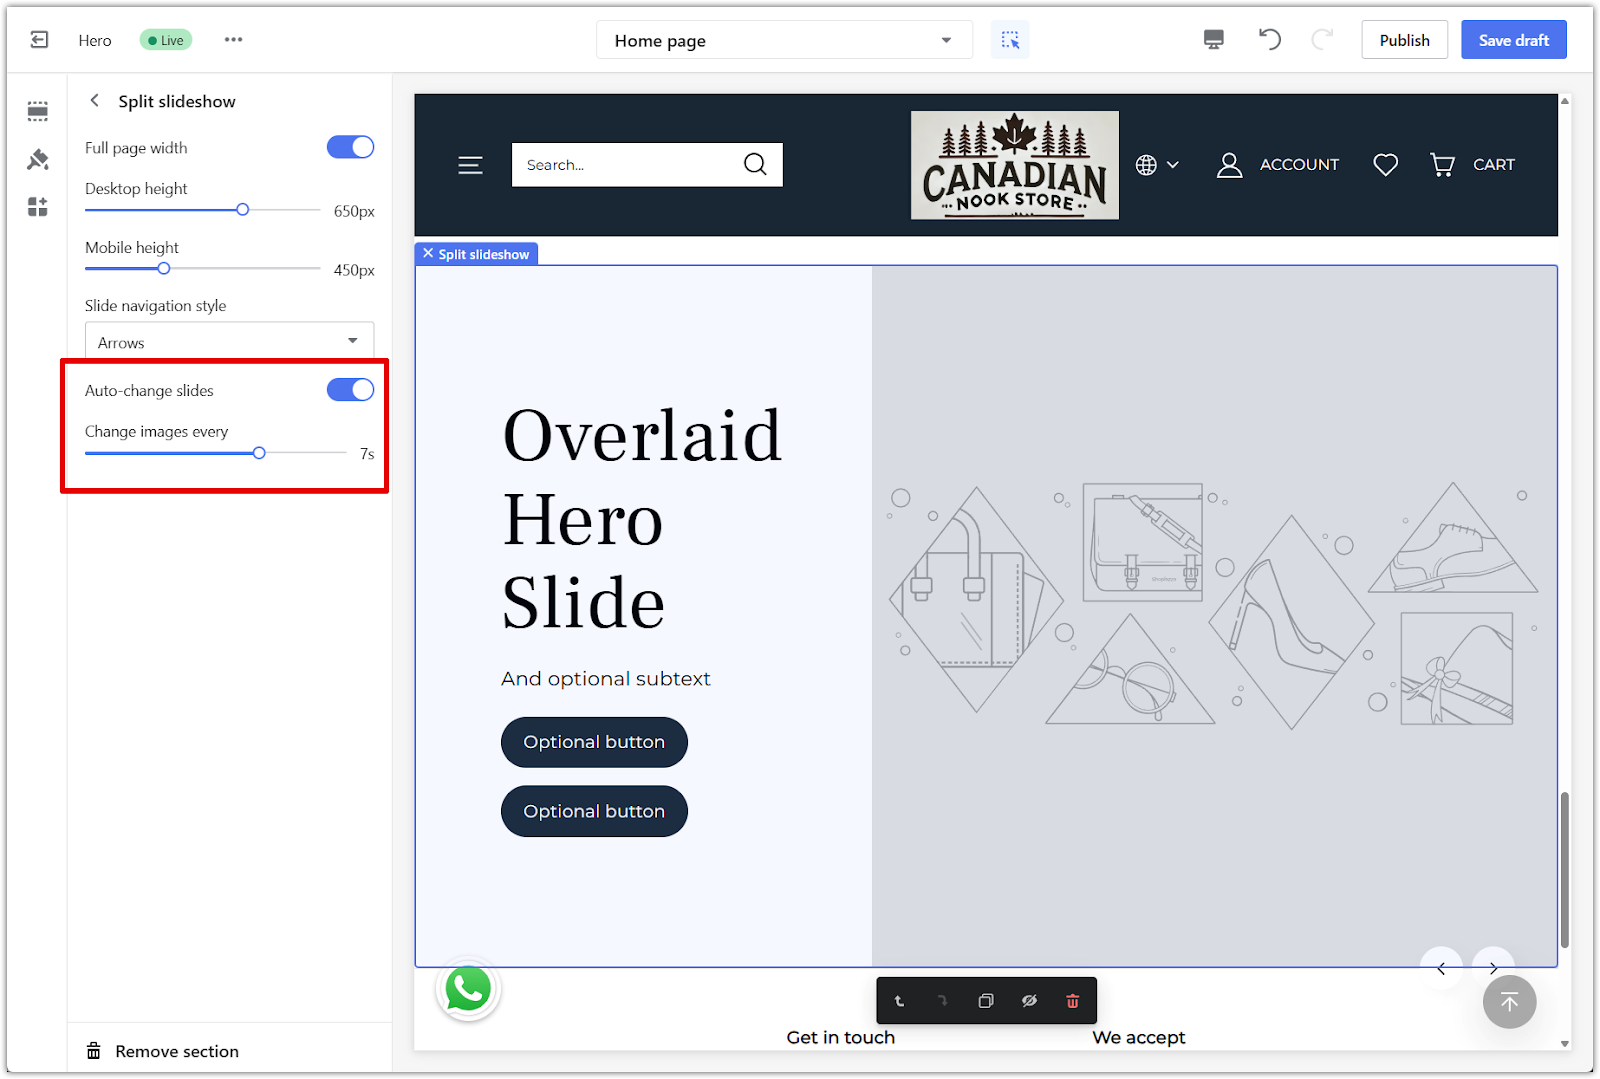
4. Slide navigation style: Choose how customers move between slides. Options include Arrows, Bars, Dots, or None.
5. Auto-change slides: Toggle this on to rotate slides automatically. Use the slider to set the rotation time.
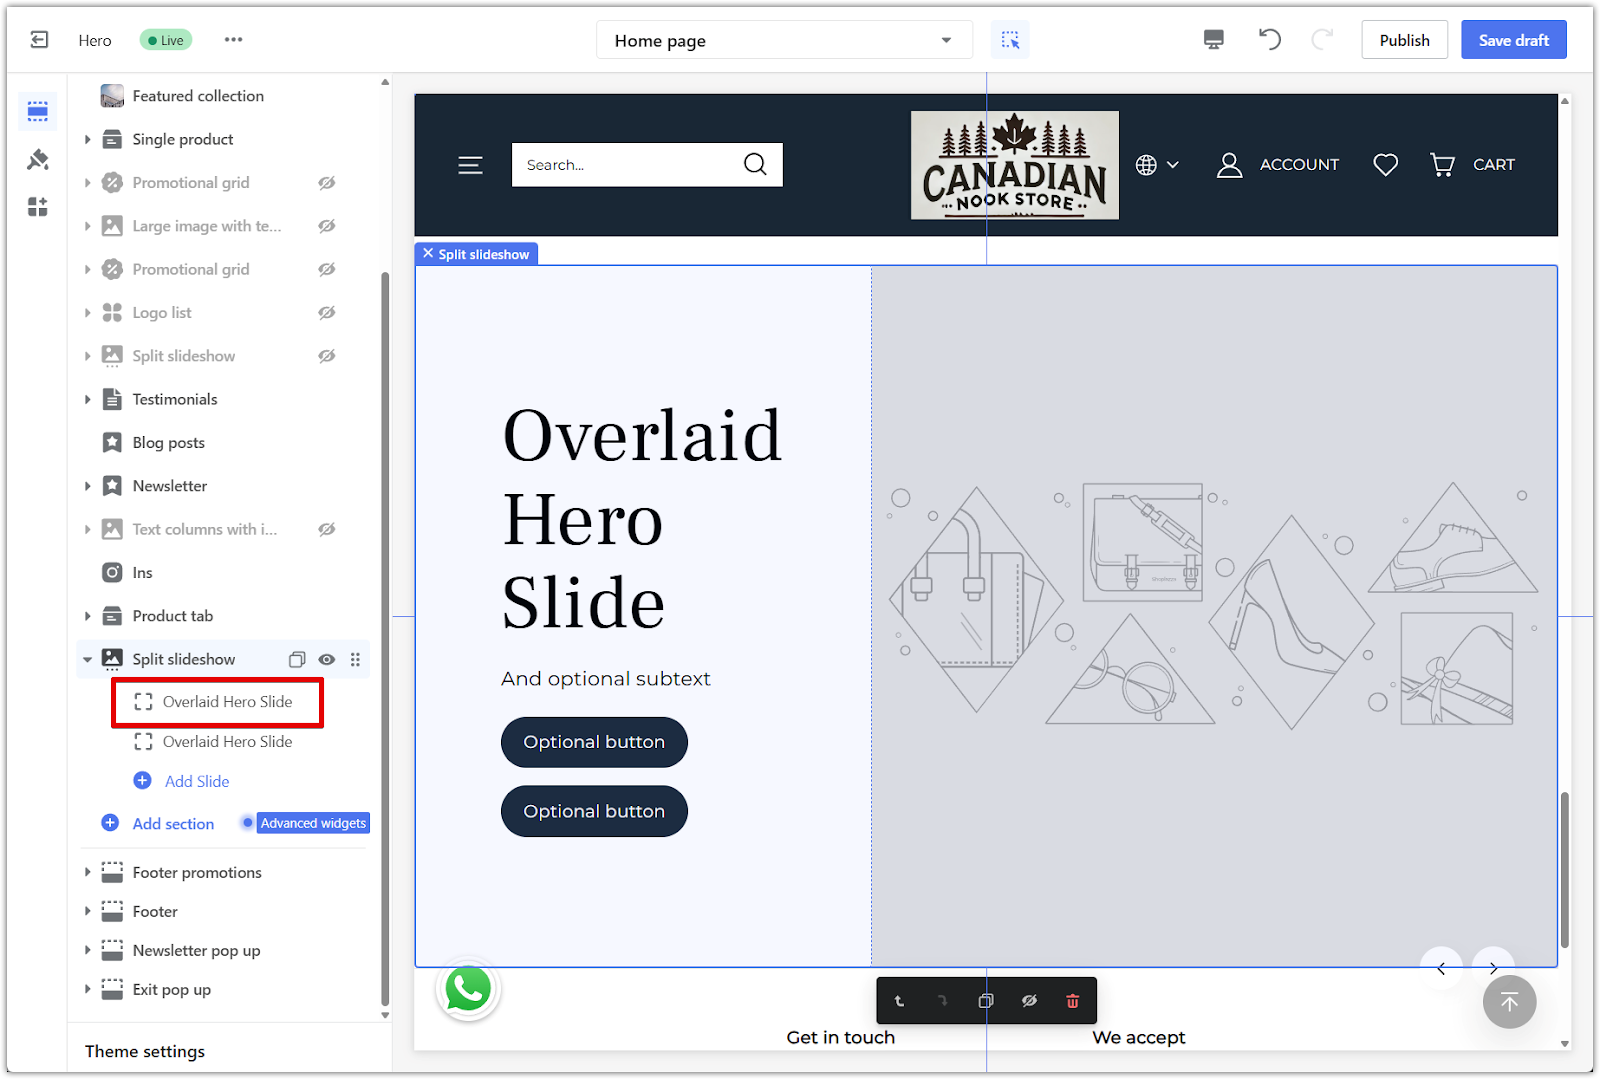
Adding and managing slides
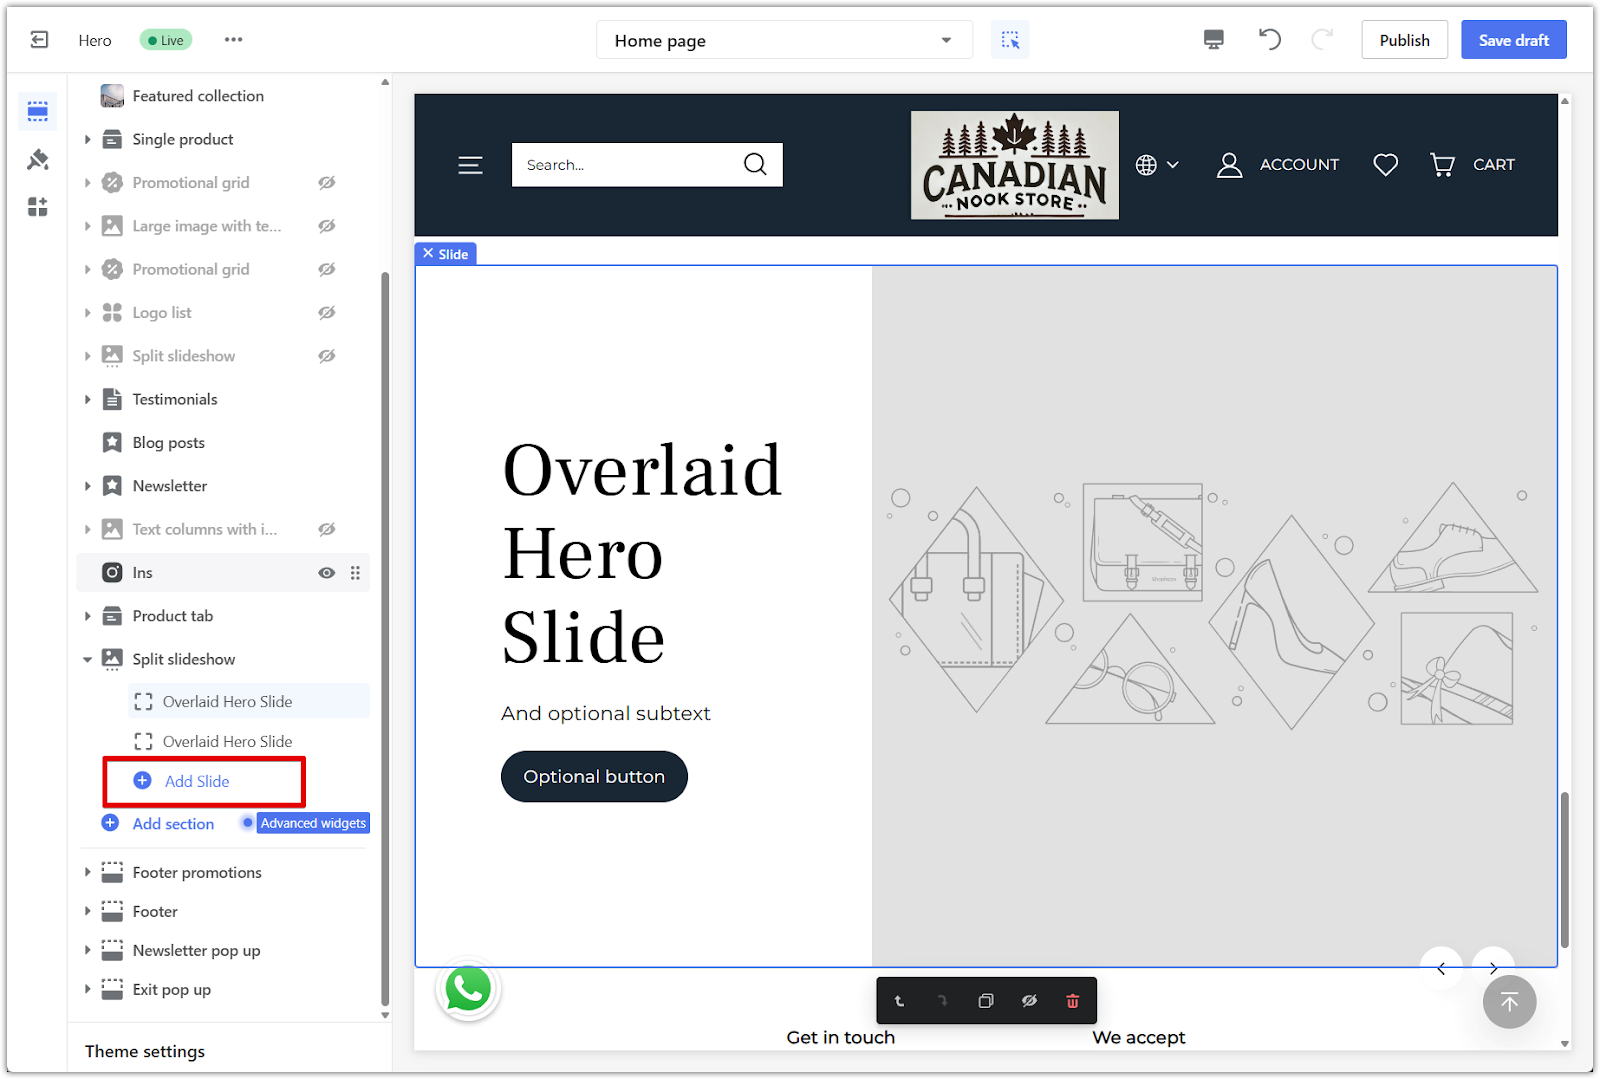
The Split slideshow section requires at least 2 slides and supports up to 5 in total. Each slide contains editable content blocks you can adjust individually.
1. Add slides: Click Add Slide under the Split slideshow section to insert a new slide.
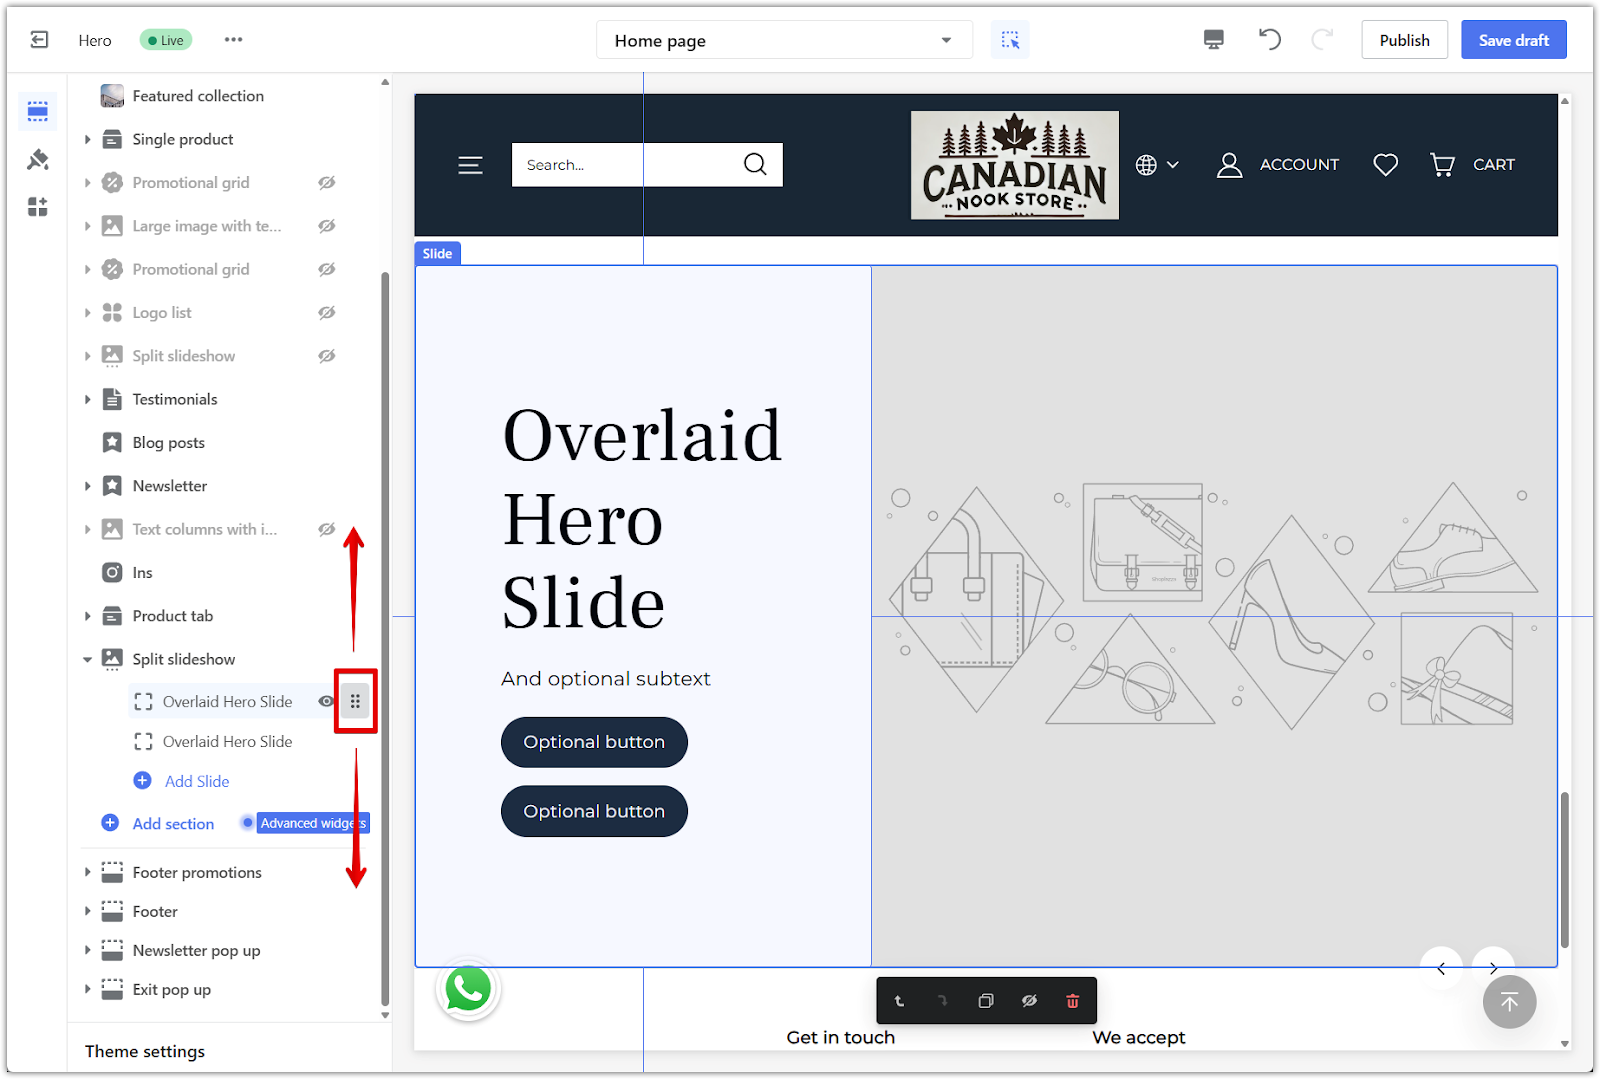
2. Manage slide order: Use the drag handle beside each slide block to rearrange them in your desired order.
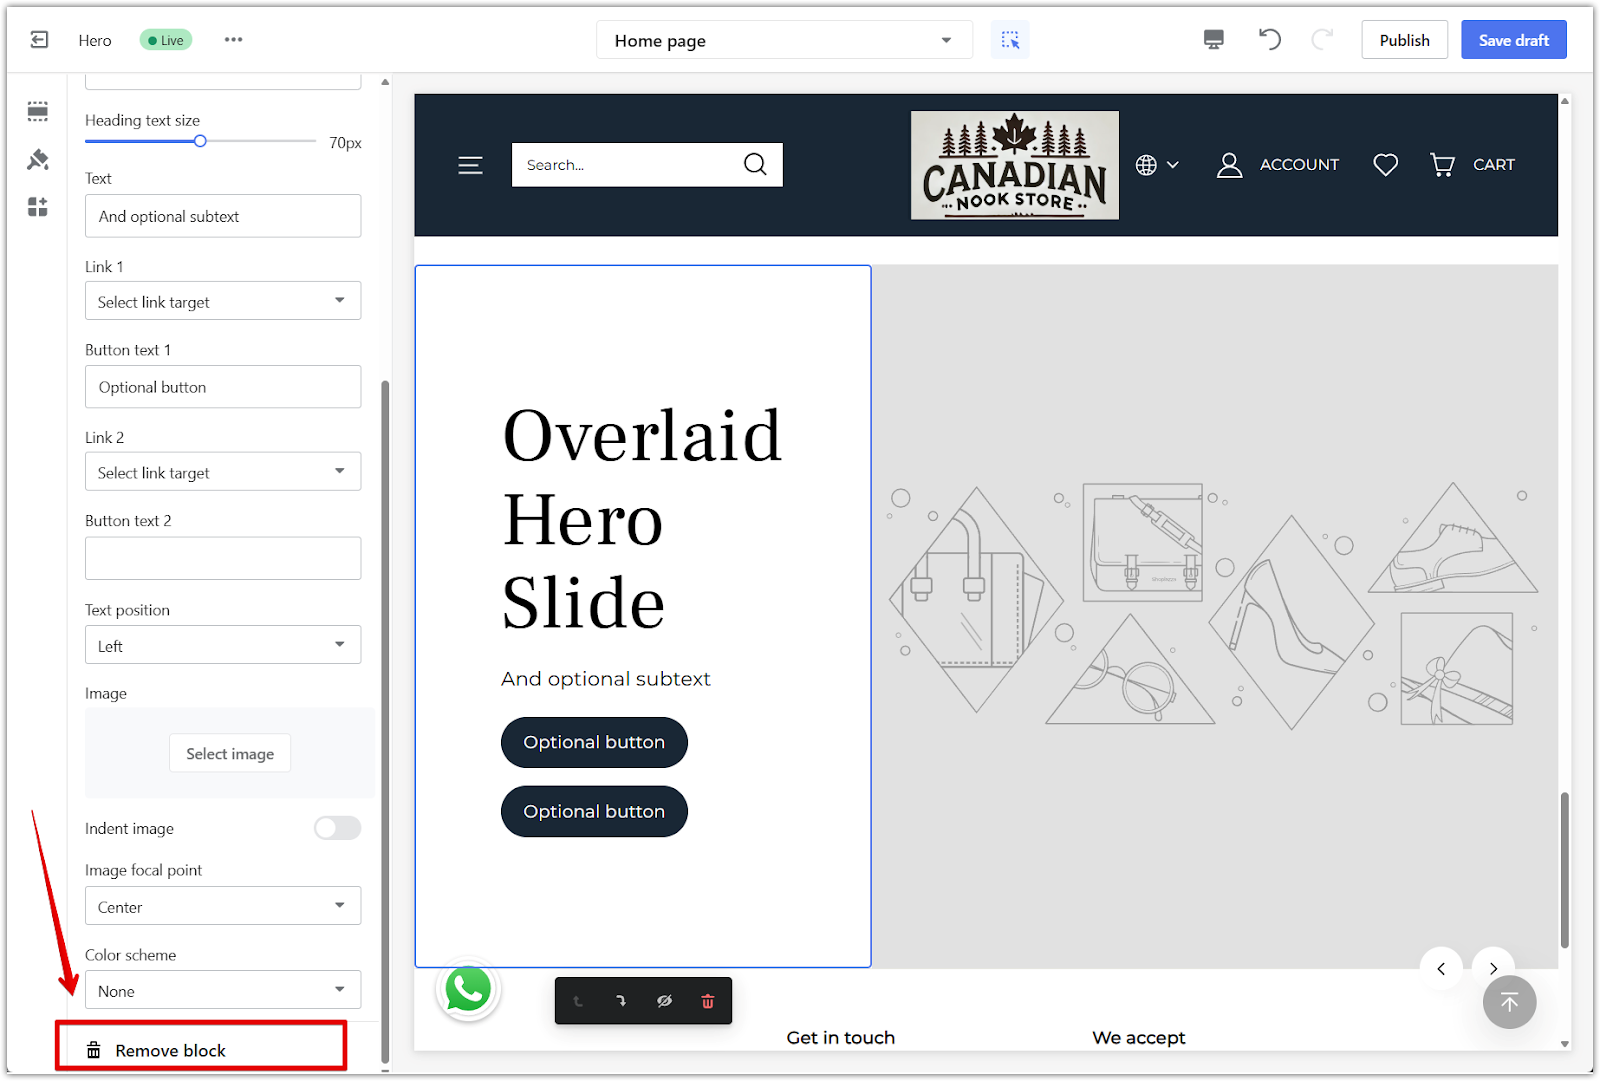
3. Remove slides: Click on a slide block, then select Remove block at the bottom to delete it.
Editing your Split slideshow section
Once you've added the section and adjusted the layout settings, you can start adding and customizing each slide.
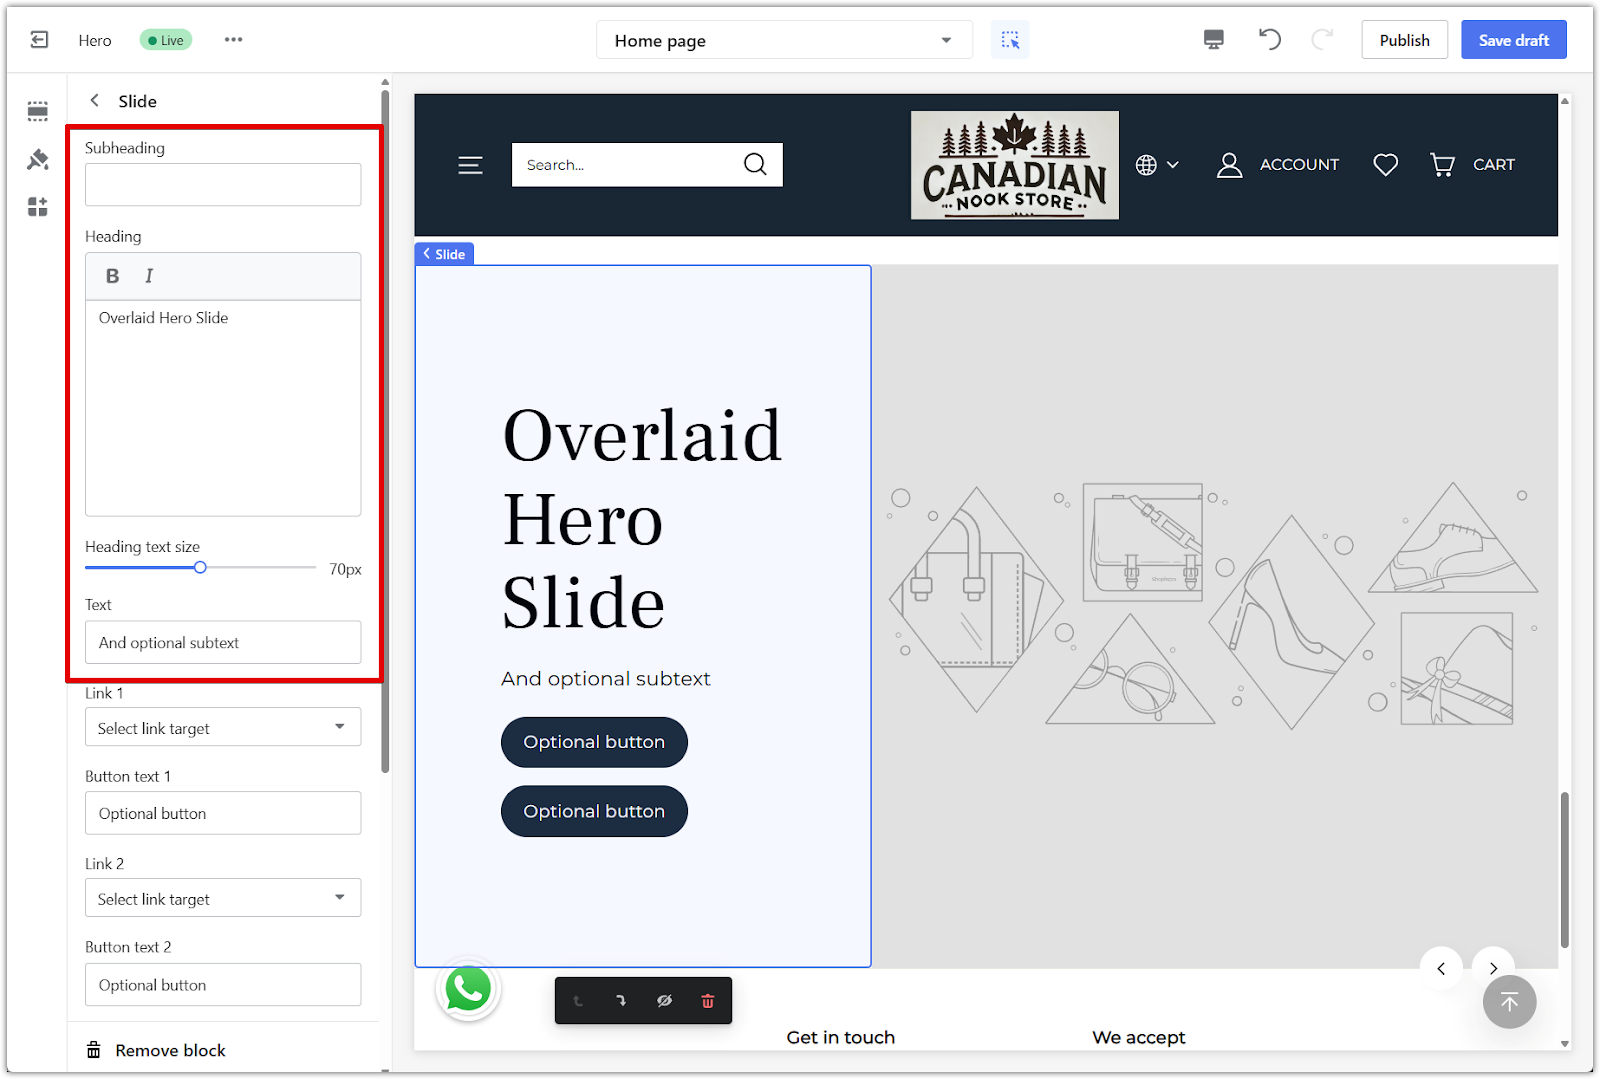
1. Click a slide block to edit: In the left-hand panel, click on a slide block under the Split slideshow section to open its settings.
2. Edit slide content: For each slide, enter your Subheading, Heading and Text body to share product highlights, promotions, or brand messages.
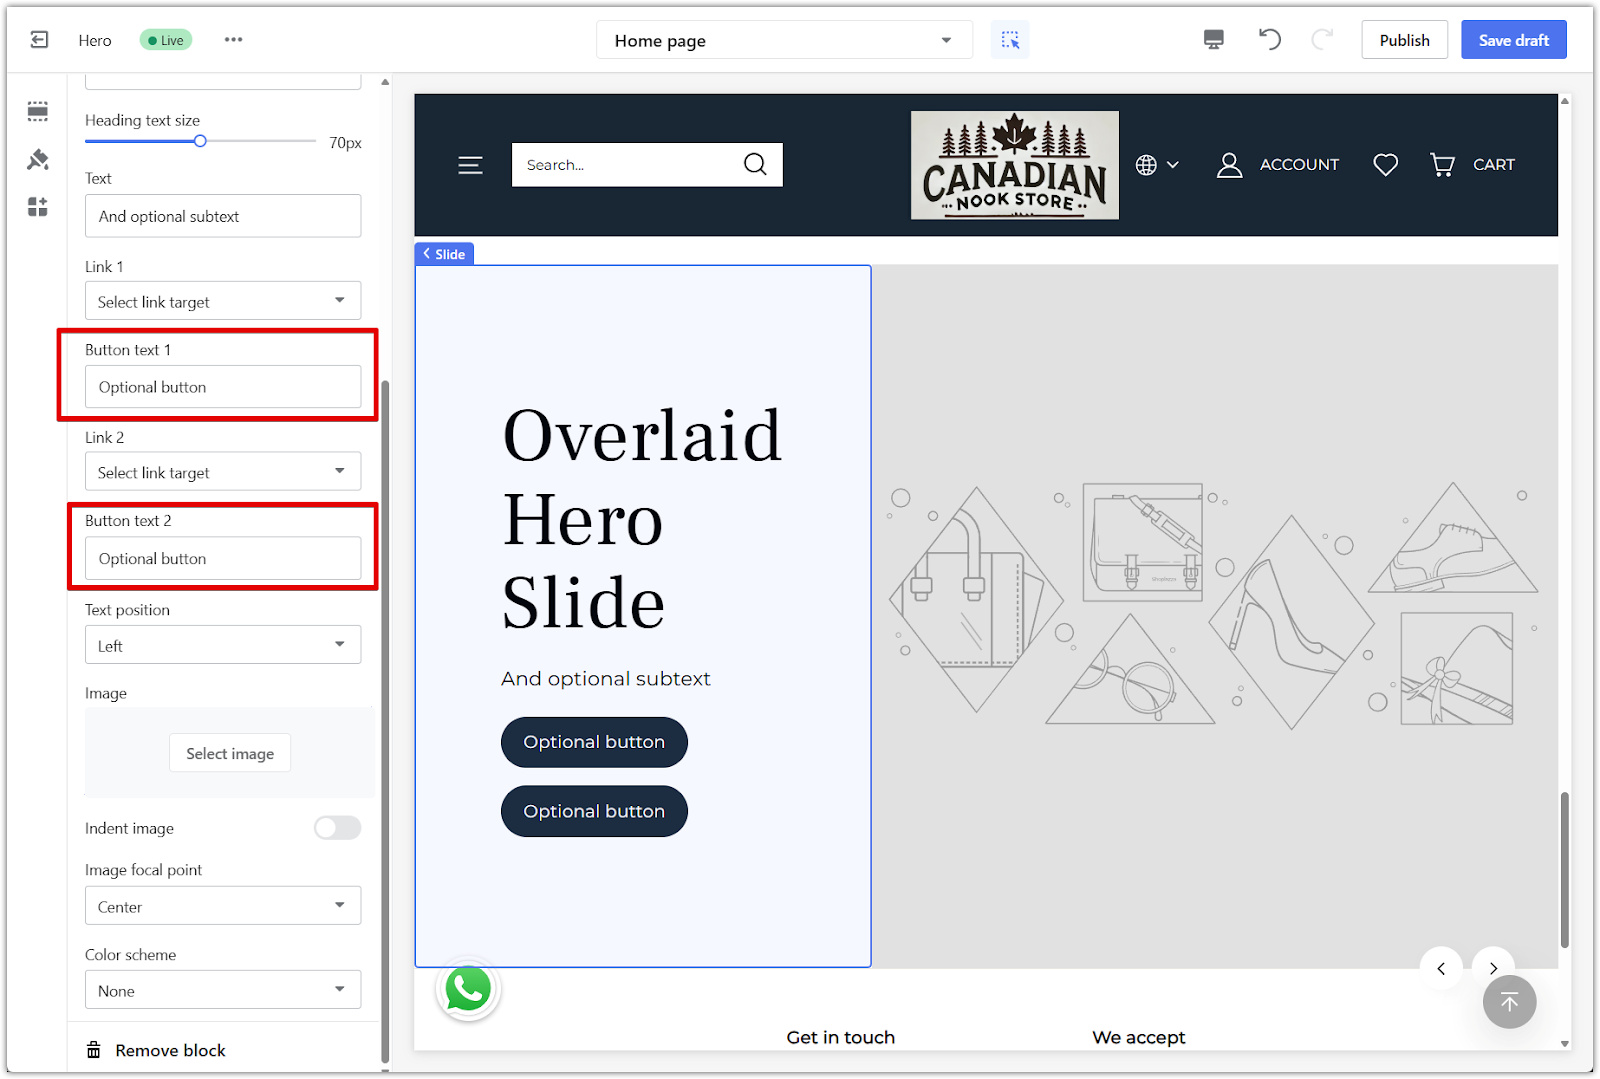
3. Customize button links: Each slide supports up to 2 buttons. Select a destination for each button such as a collection, product, or another page.

4. Edit button text: Customize the label for each button to match your call to action.
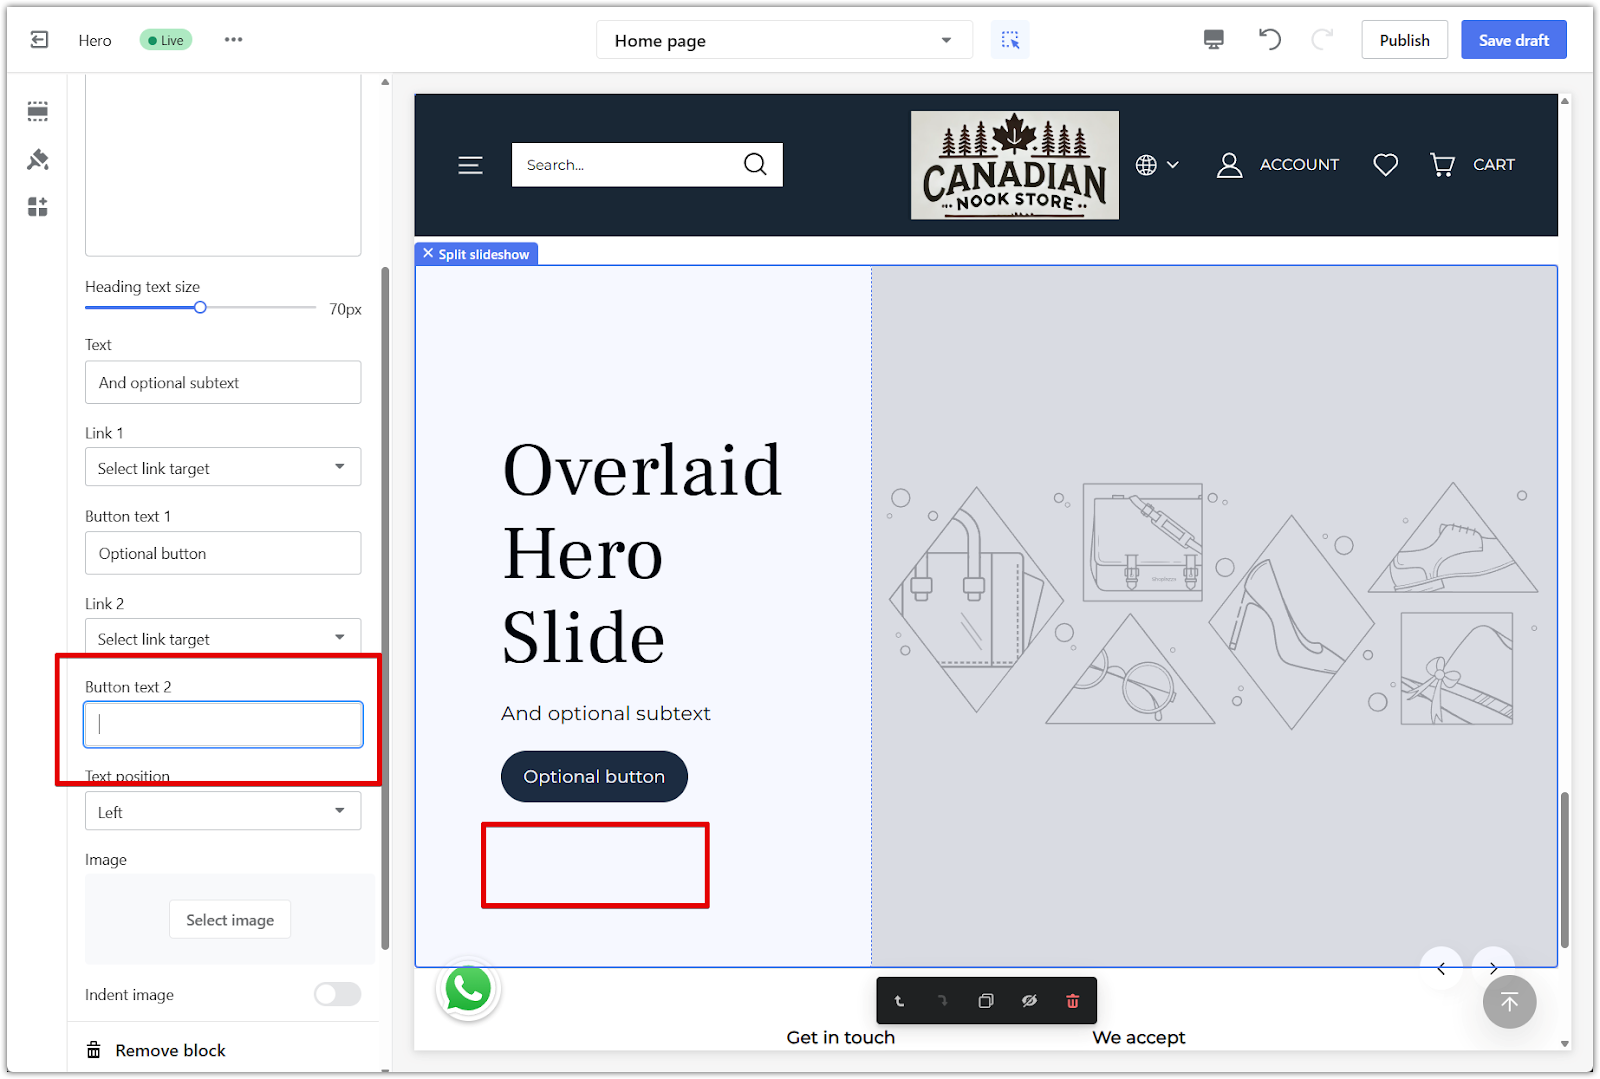
5. Use one or two buttons: To show just one button, simply leave the second text field blank.
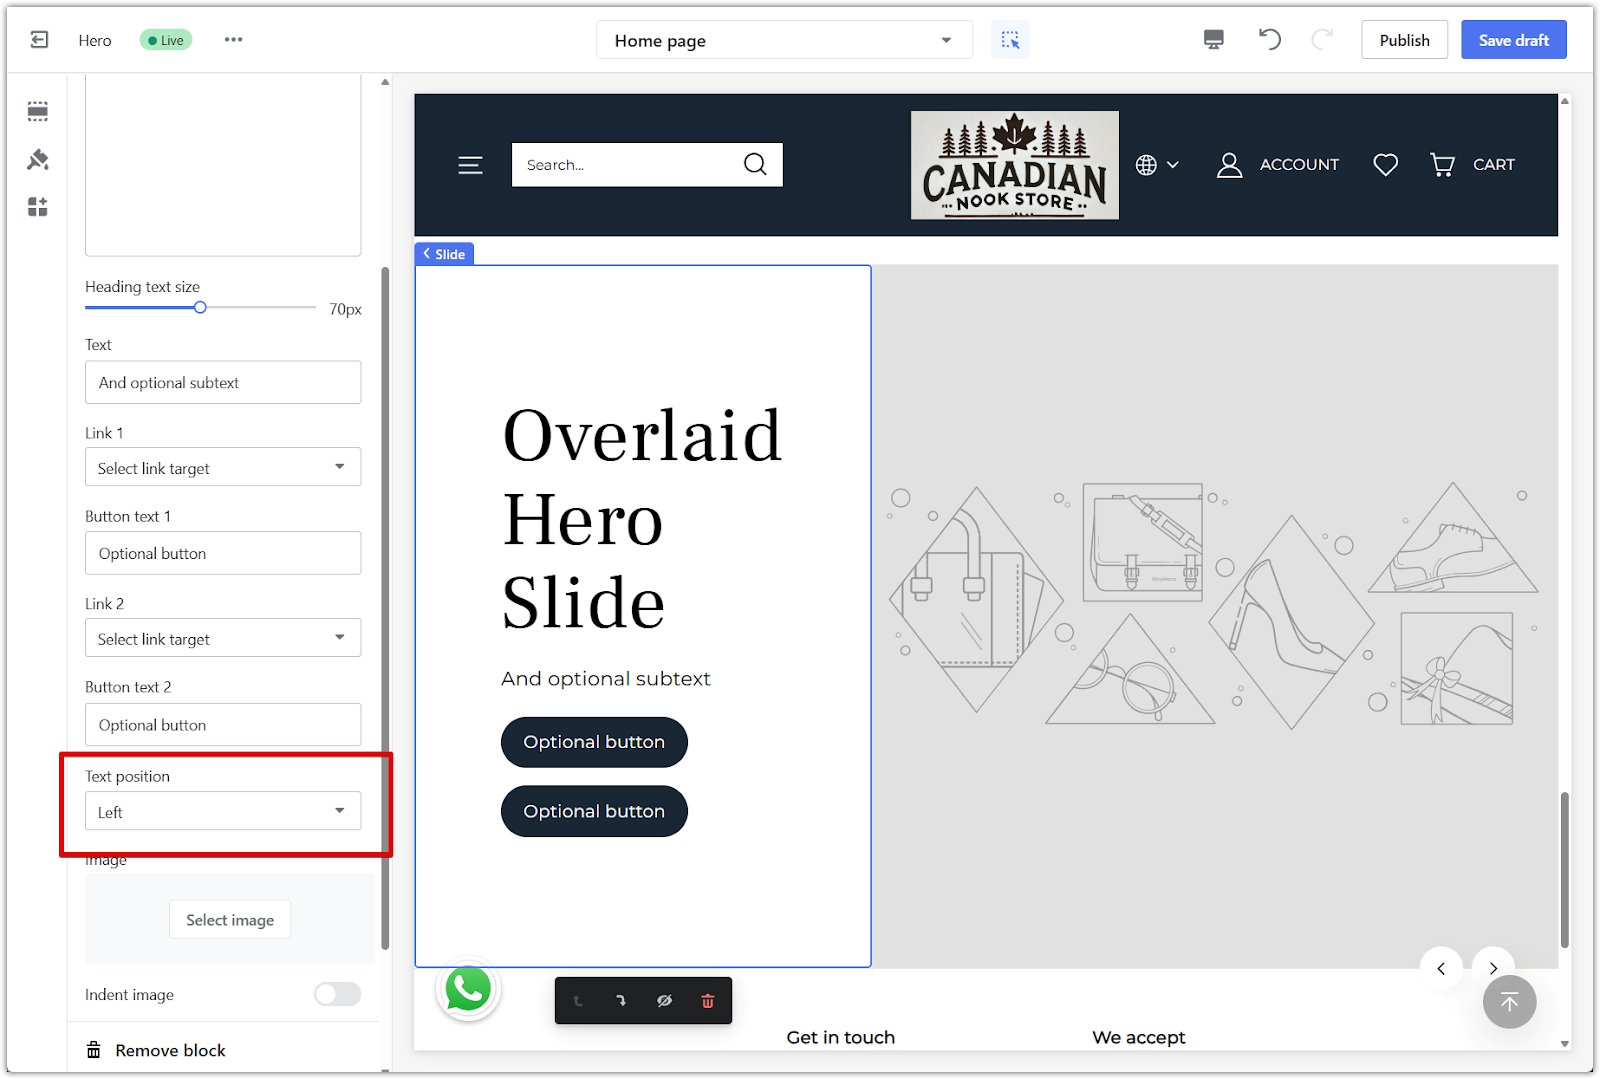
6. Set text alignment: Choose where the text appears in the section, such as left or right.
Configuring image and background settings
After setting up your text and links, you can fine-tune the visual appearance of each slide.
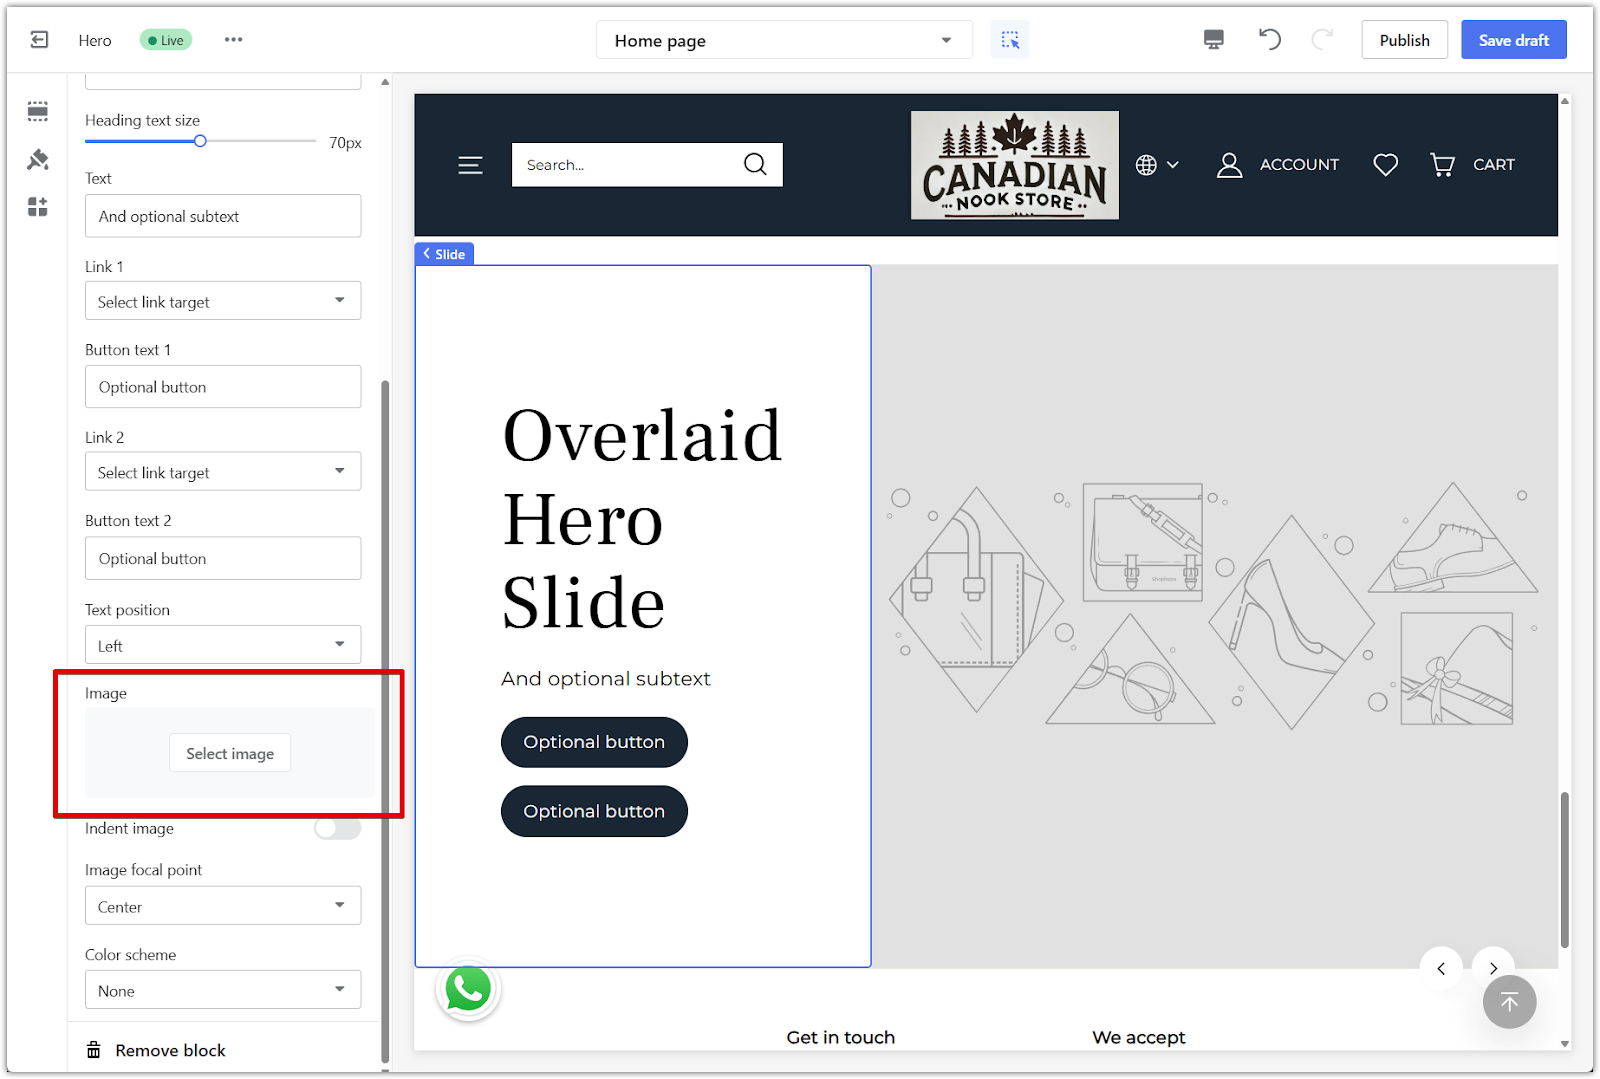
1. Upload your image: Click the image area in the slide block to upload a cover image for the slide.
2. Indent image: Toggle this on to auto-resize the image and leave more space for your text.

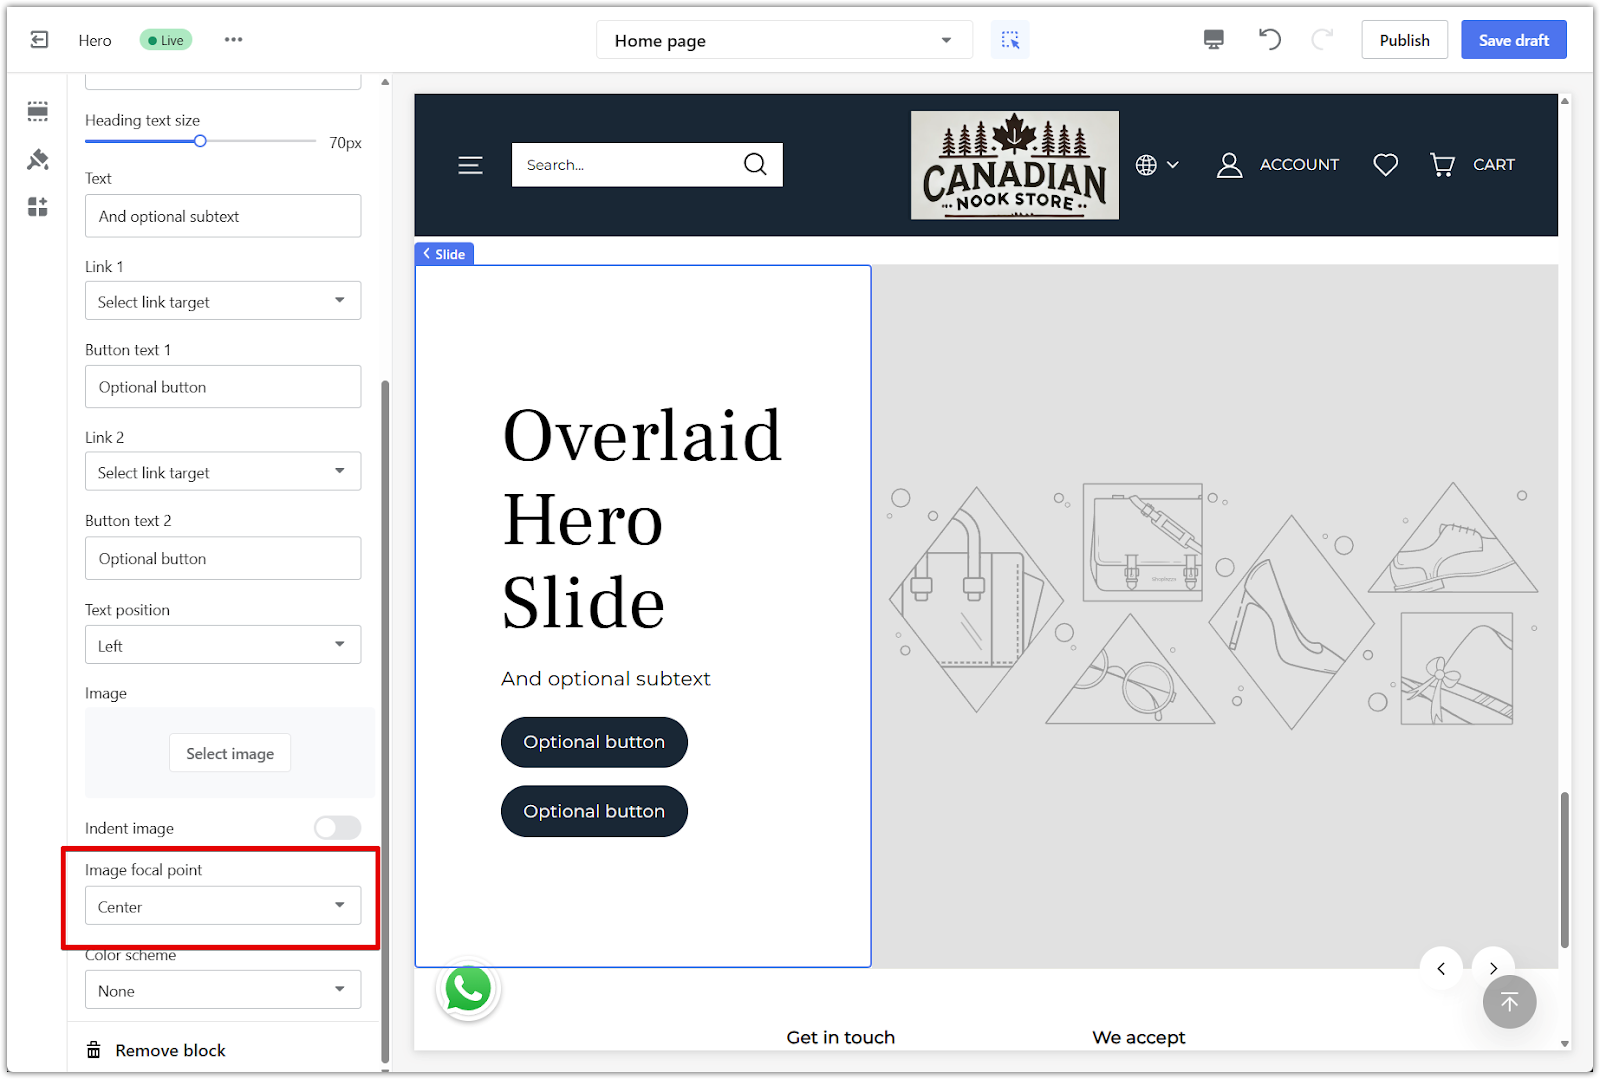
3. Set image focal point: Choose a focal point to make sure important parts of the image are not cropped.
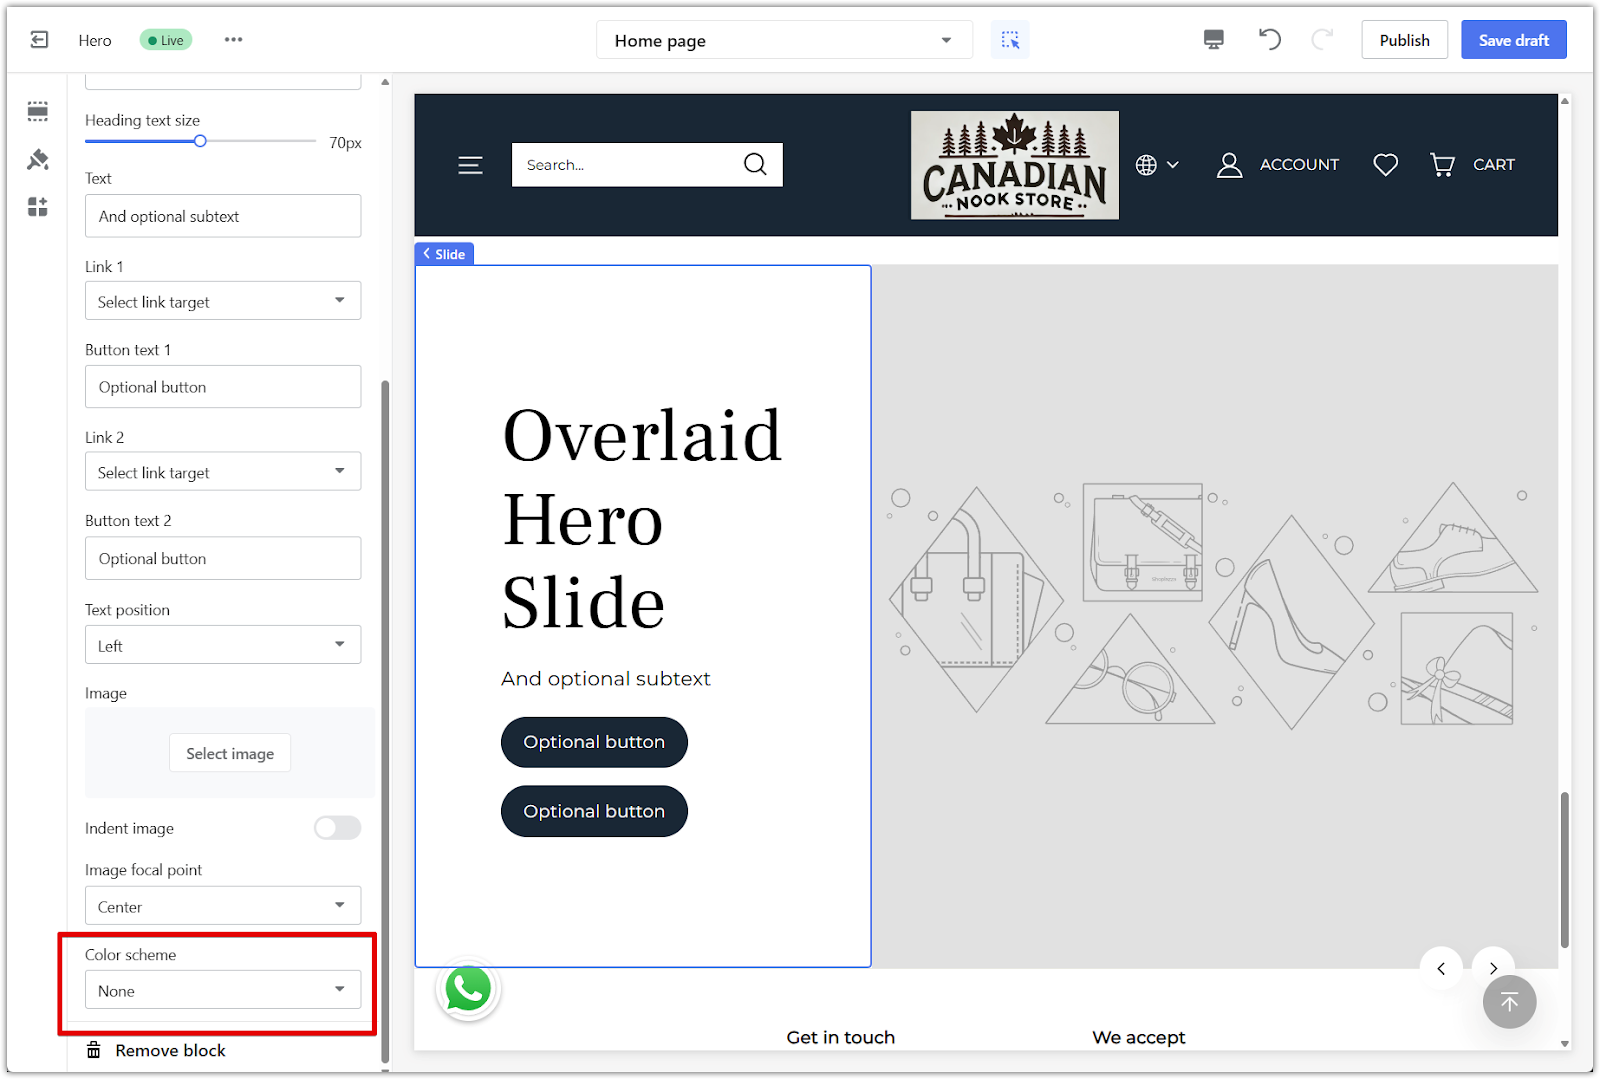
4. Apply a color scheme: Use the Color scheme dropdown to select from preset styles that change the background behind your text. This helps improve contrast and match your store’s branding.
Now that you've configured the Split slideshow section, you're ready to create a more dynamic and engaging homepage. Use this section to spotlight key products, promote new arrivals, or highlight seasonal content while keeping your layout clean and visually balanced.


Comments
Please sign in to leave a comment.