
Unlock the full potential of your Shoplazza store by adding HTML sections. This empowers you to seamlessly integrate custom widgets and applications, tailoring your online store to meet your customers' needs precisely. Expand your theme's capabilities, enhance customer experience with bespoke applications, and add unique functionalities with custom code snippets. The HTML section's flexibility lets you inject code directly, bypassing any need to alter the theme's core code.
Adding an HTML section
Here's a step-by-step guide on how to add an HTML section to your Shoplazza store:
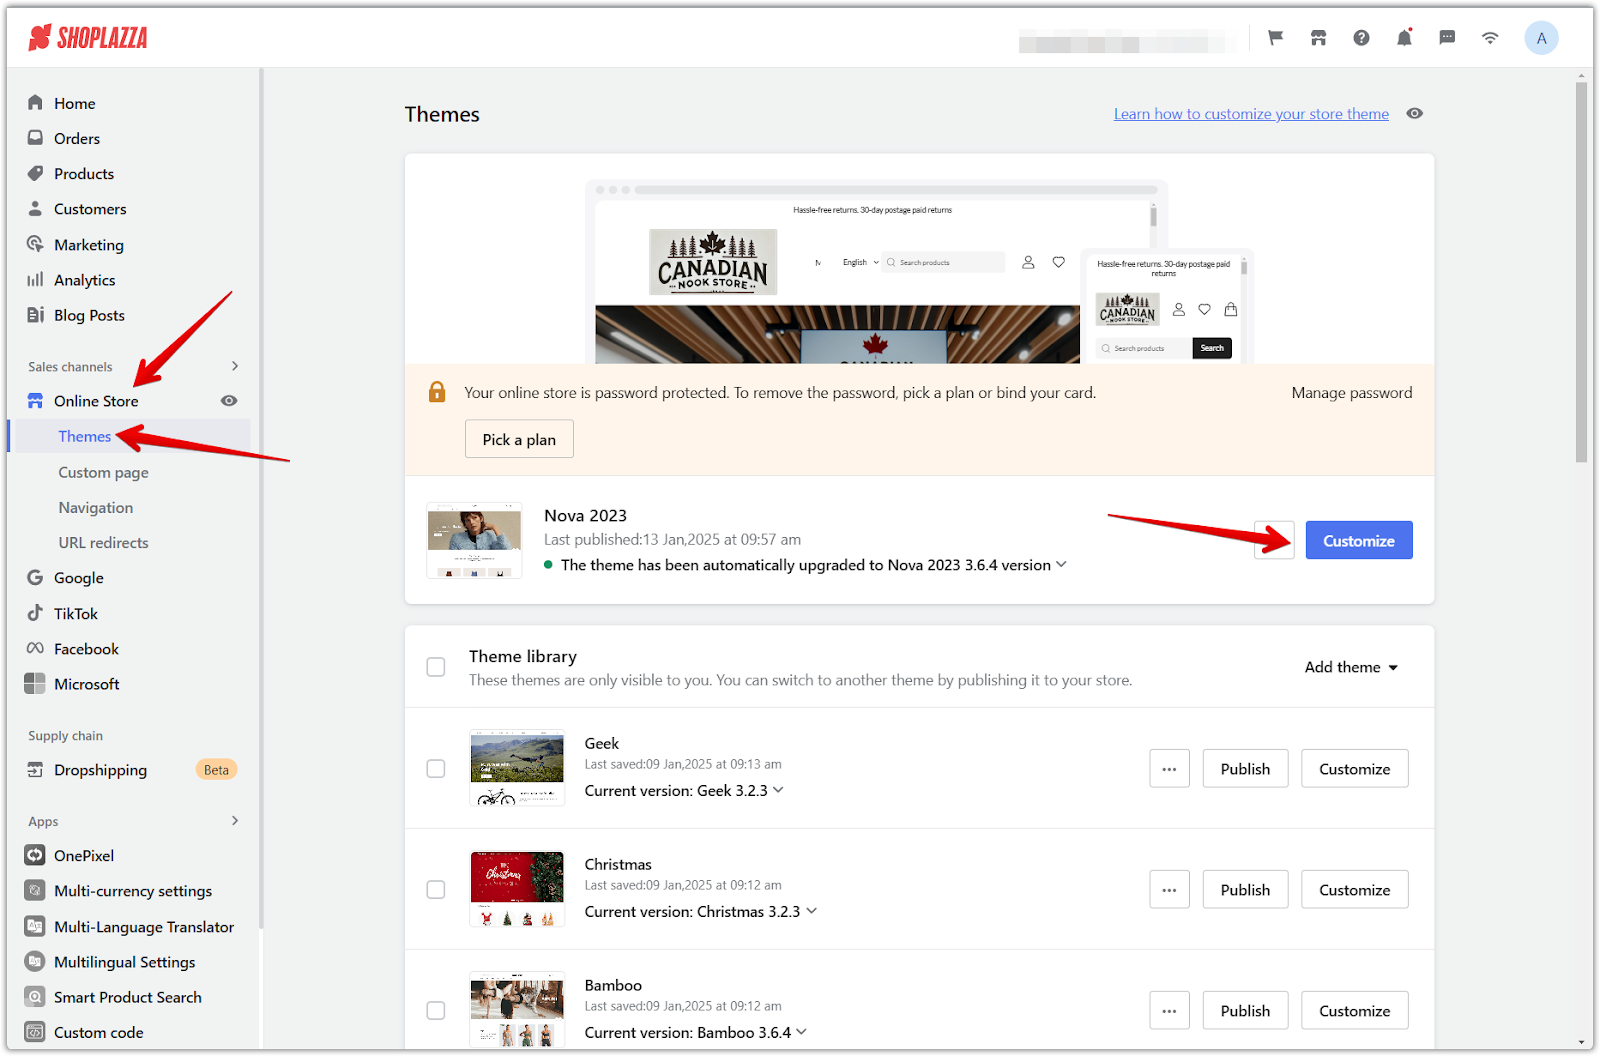
1. Access the theme editor: From your Shoplazza Admin, navigate to Online store > Themes, and then click Customize.
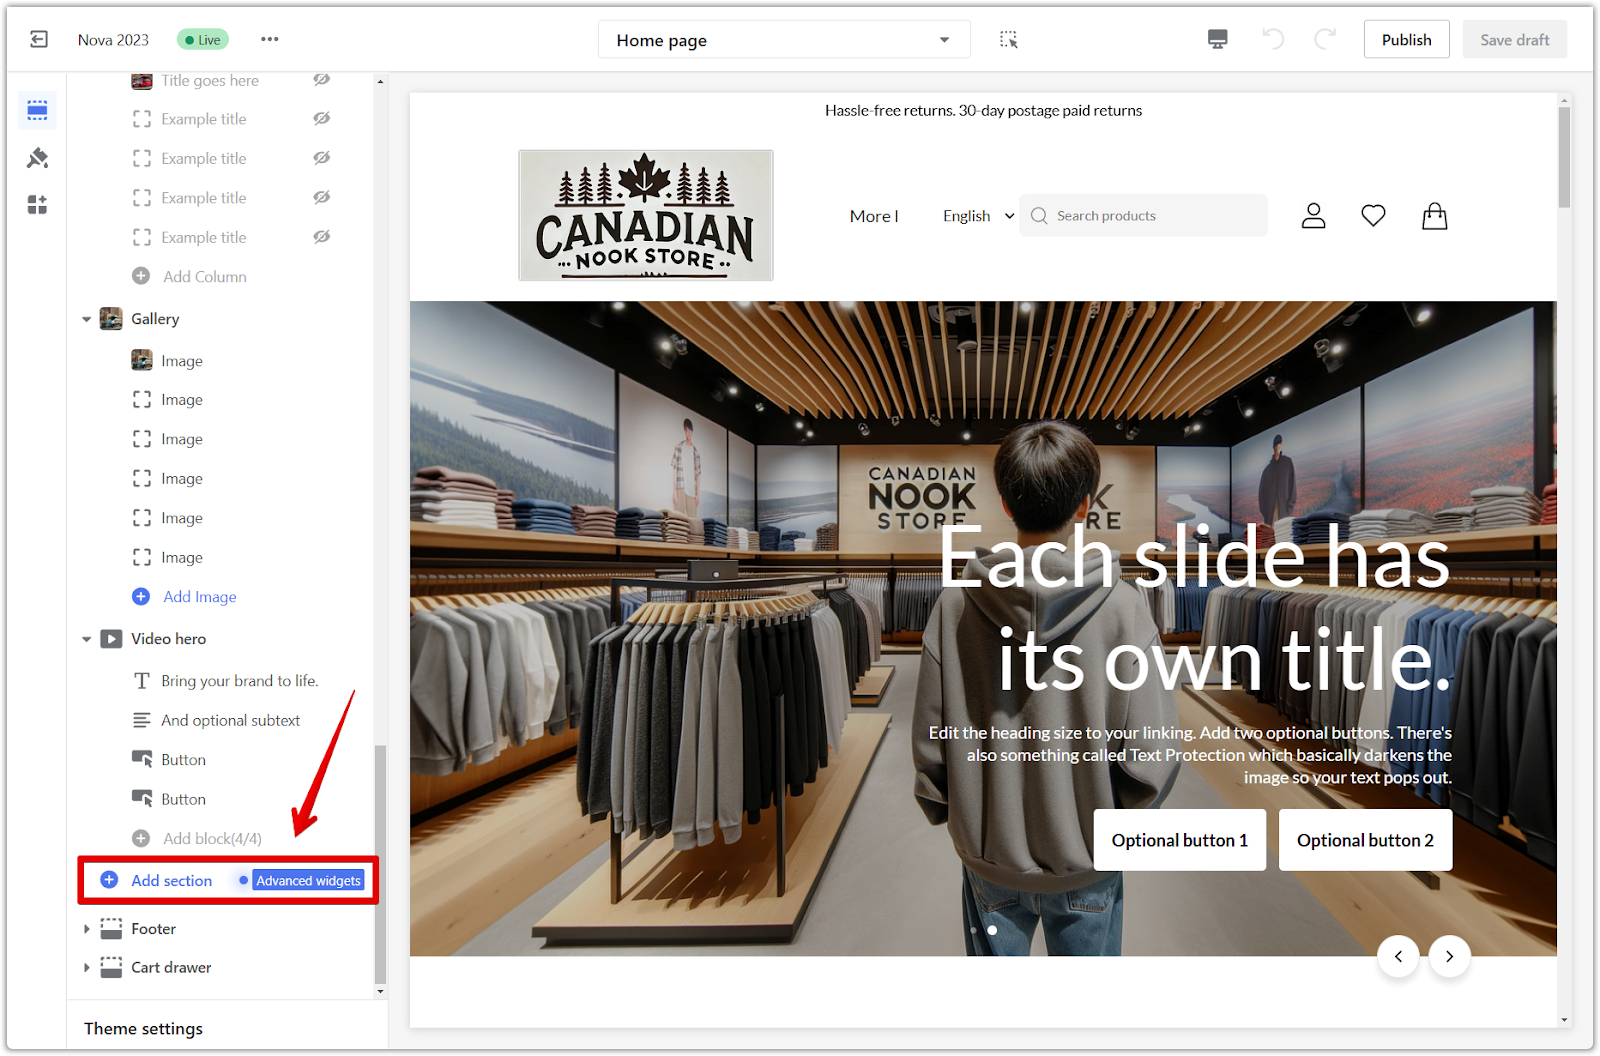
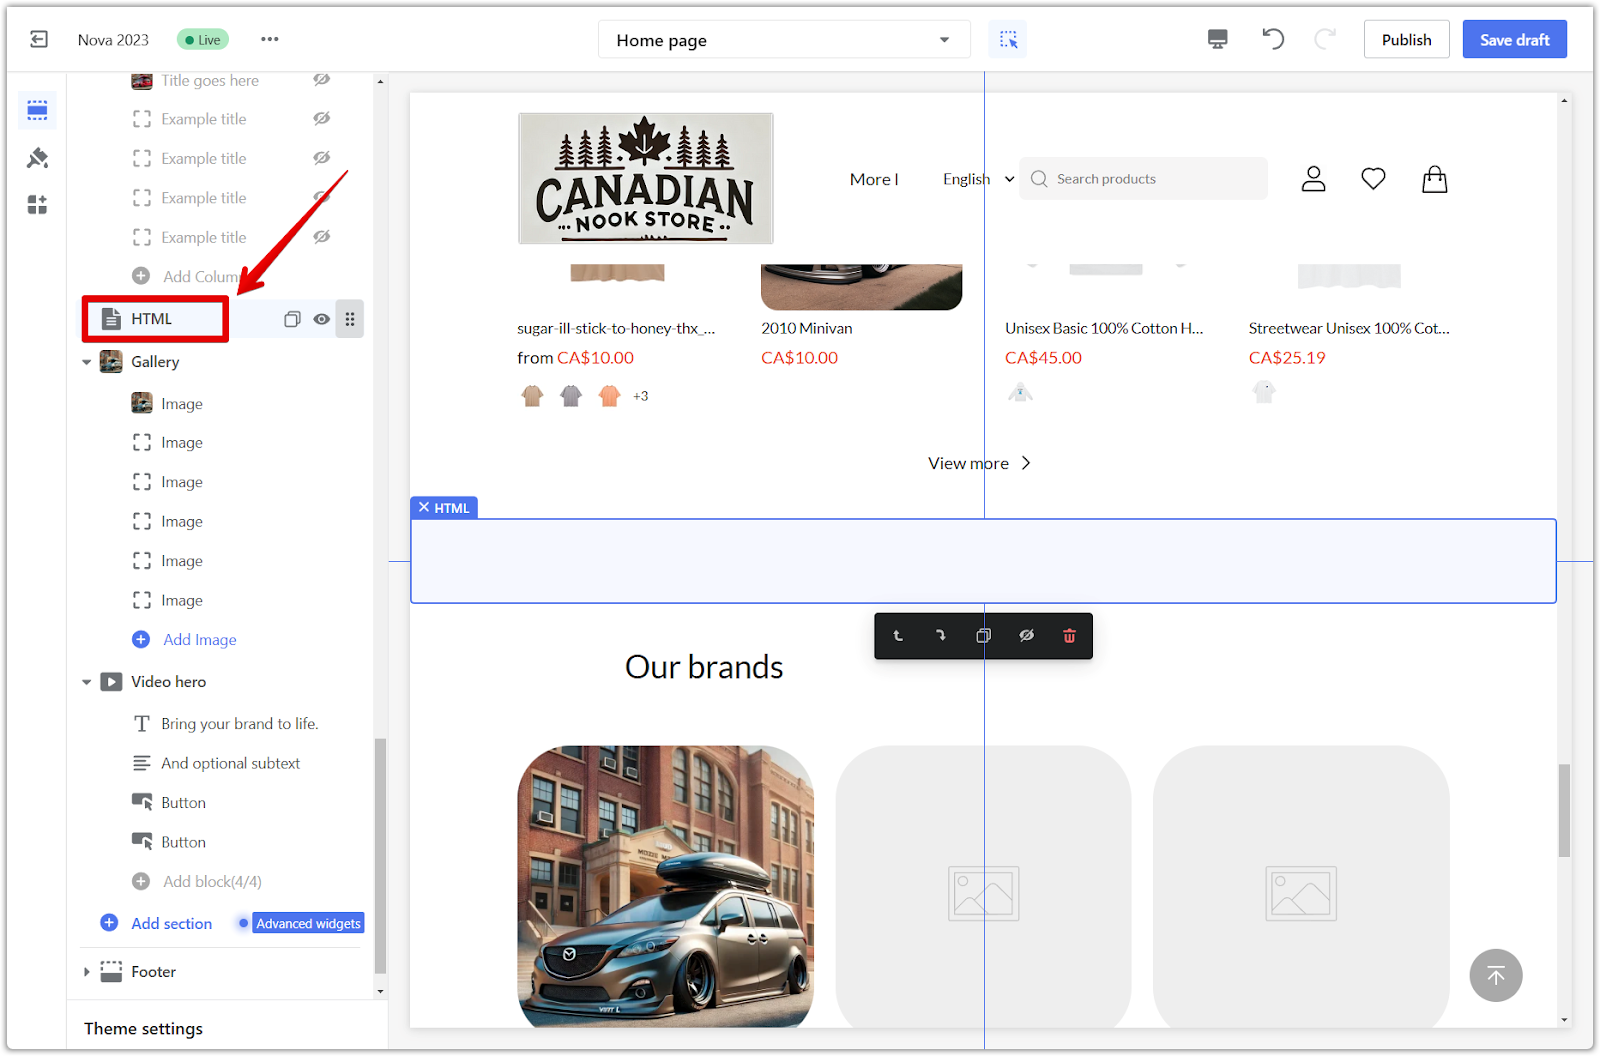
2. Add a new section: Scroll down and click Add section to view the available sections for your theme.
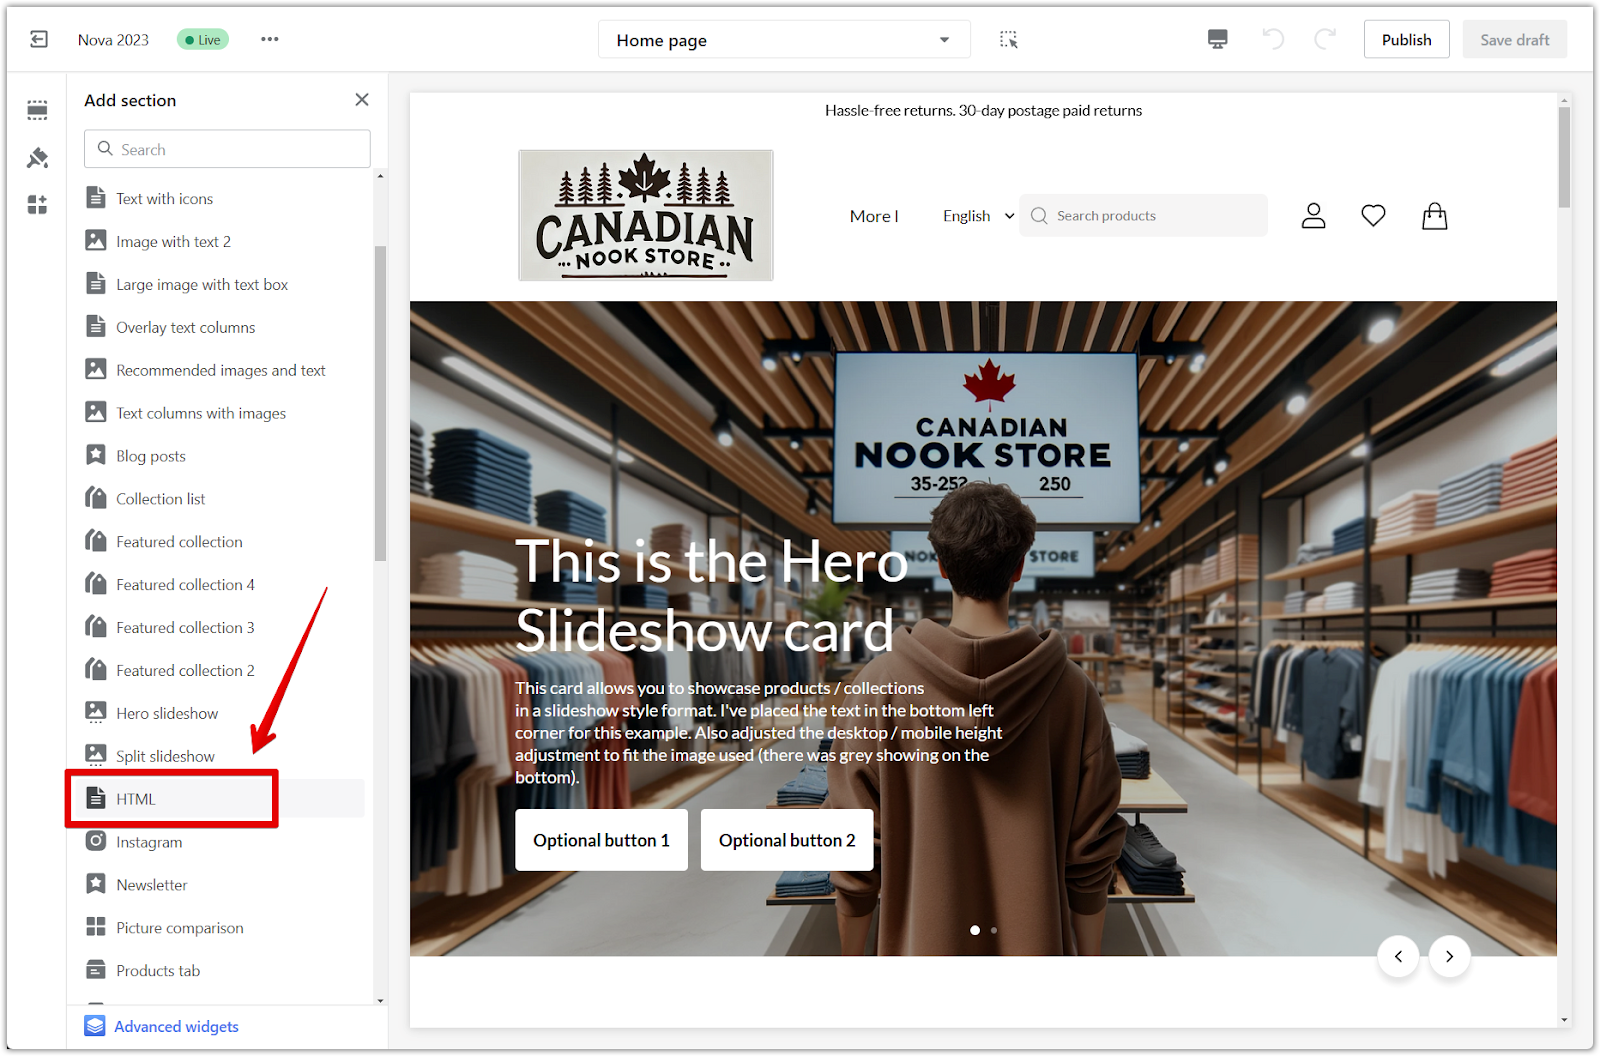
3. Select the HTML section: Under Theme sections, click Show more to locate and select the HTML section.

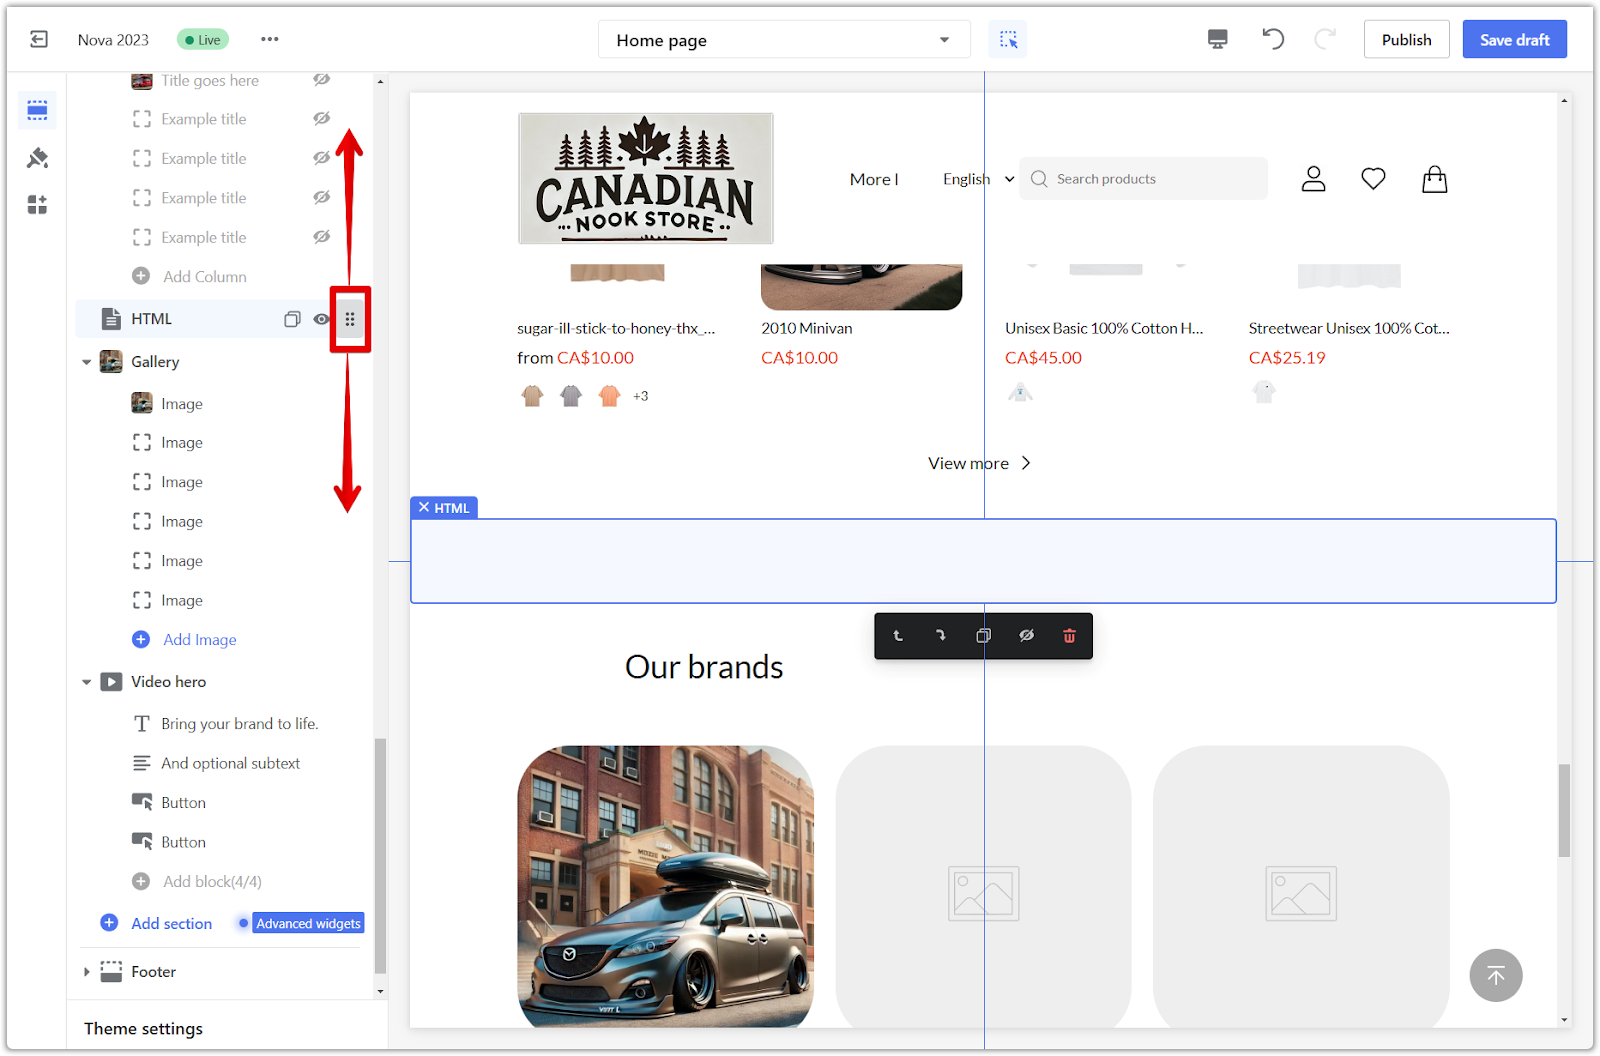
4. Reposition the section: To rearrange its placement on the page, click and drag it using the drag and drop icon.
Setting up the HTML section
Let's explore how to set up and customize the HTML section you've added:
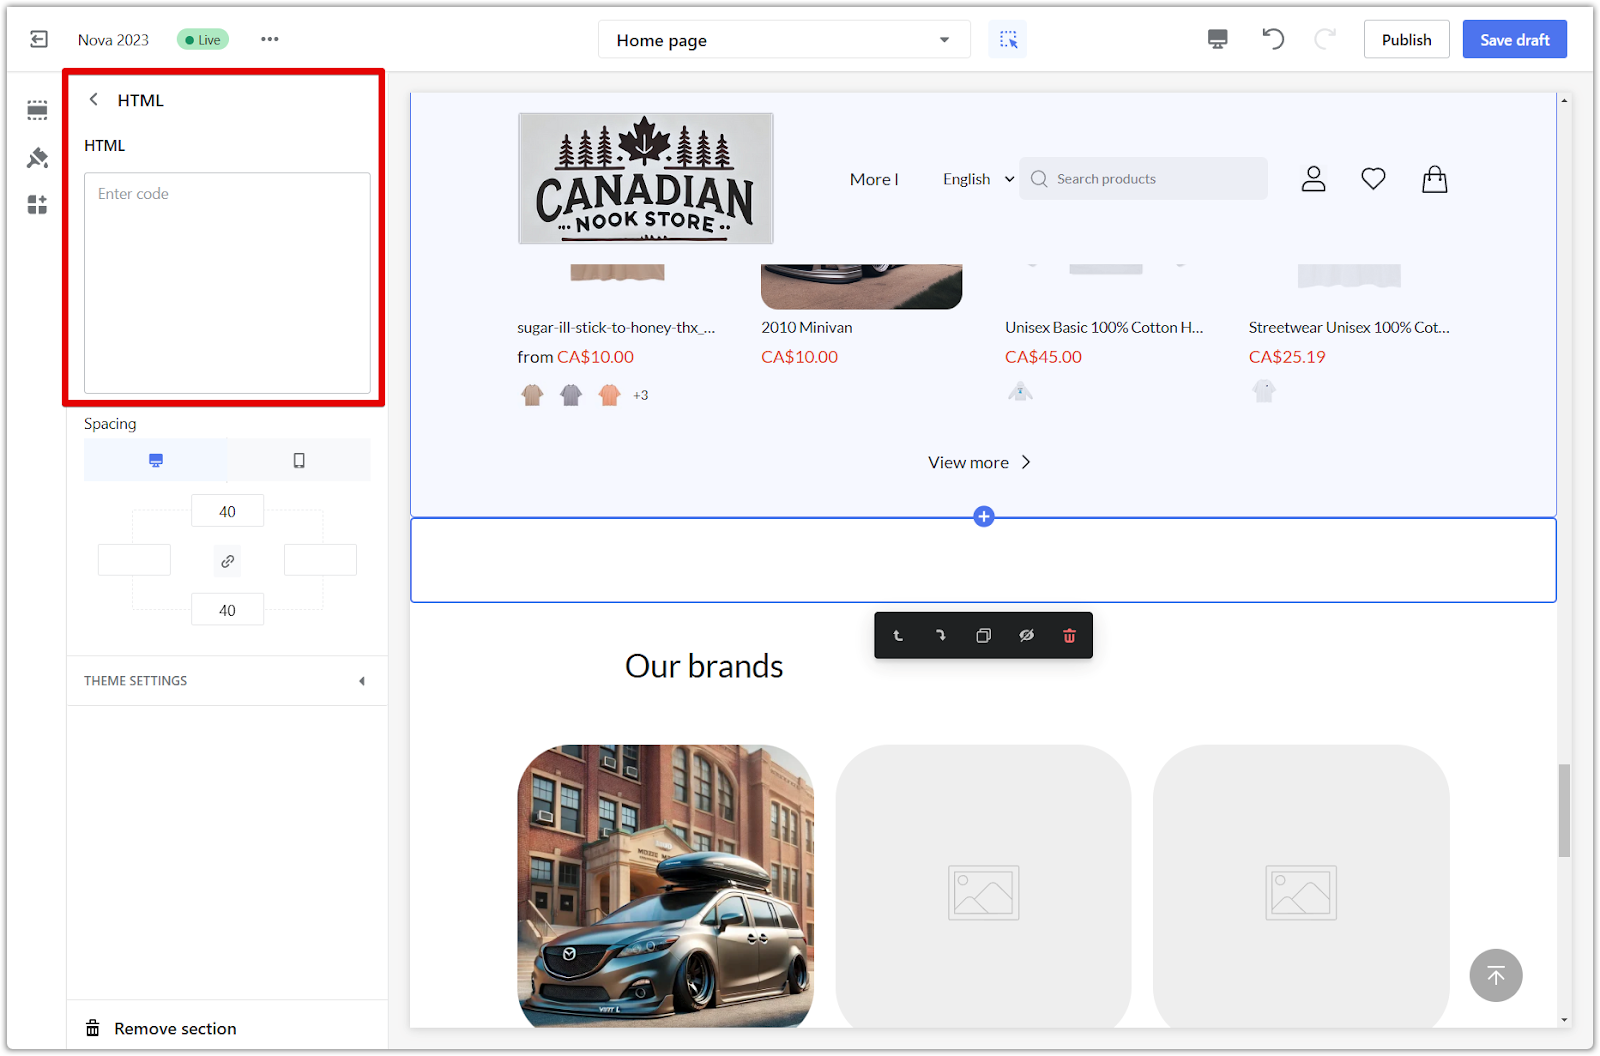
1. Configure HTML section: Begin by clicking on the section title to configure the HTML section.
2. Enter custom code: In the designated HTML section, enter the code necessary to display your customized content.
3. Apply code examples: Here are a couple of practical examples that can be applied in the text box for different scenarios.
-
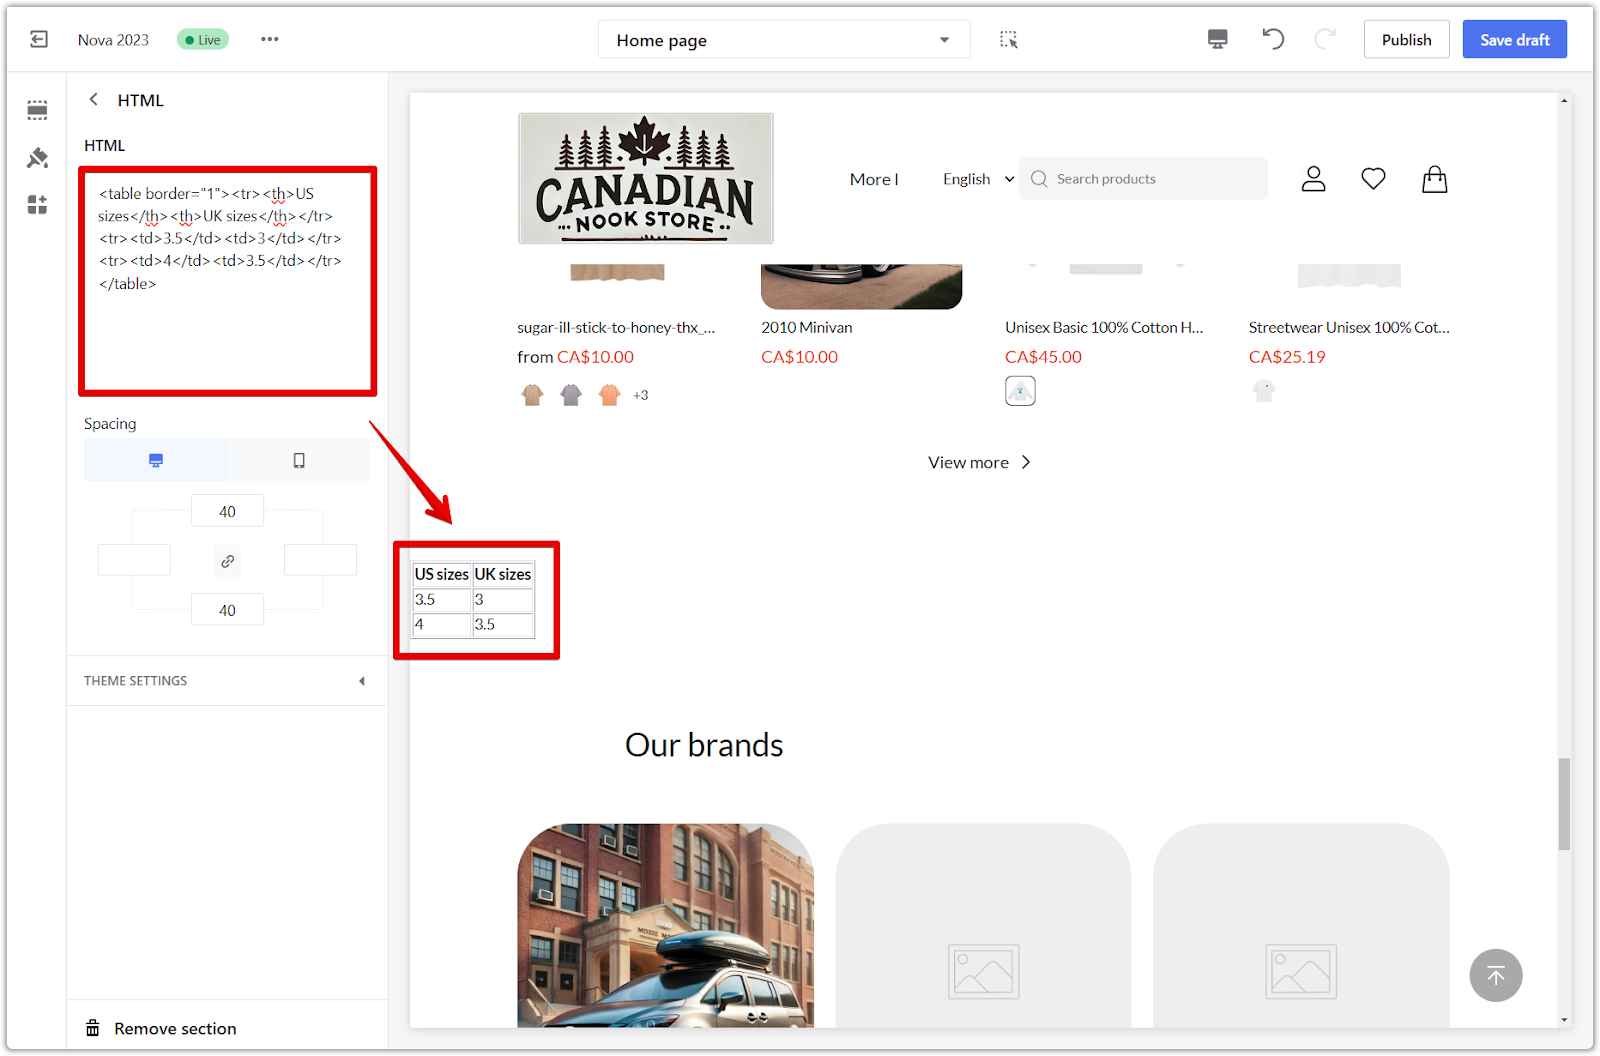
Example 1: Shoe size conversion table: A clothing brand might need a shoe-size conversion table to help customers determine the right fit. Refer to the code example below to implement a customized chart:
<table border="1"><tr><th>US sizes</th><th>UK sizes</th></tr><tr><td>3.5</td><td>3</td></tr><tr><td>4</td><td>3.5</td></tr></table>
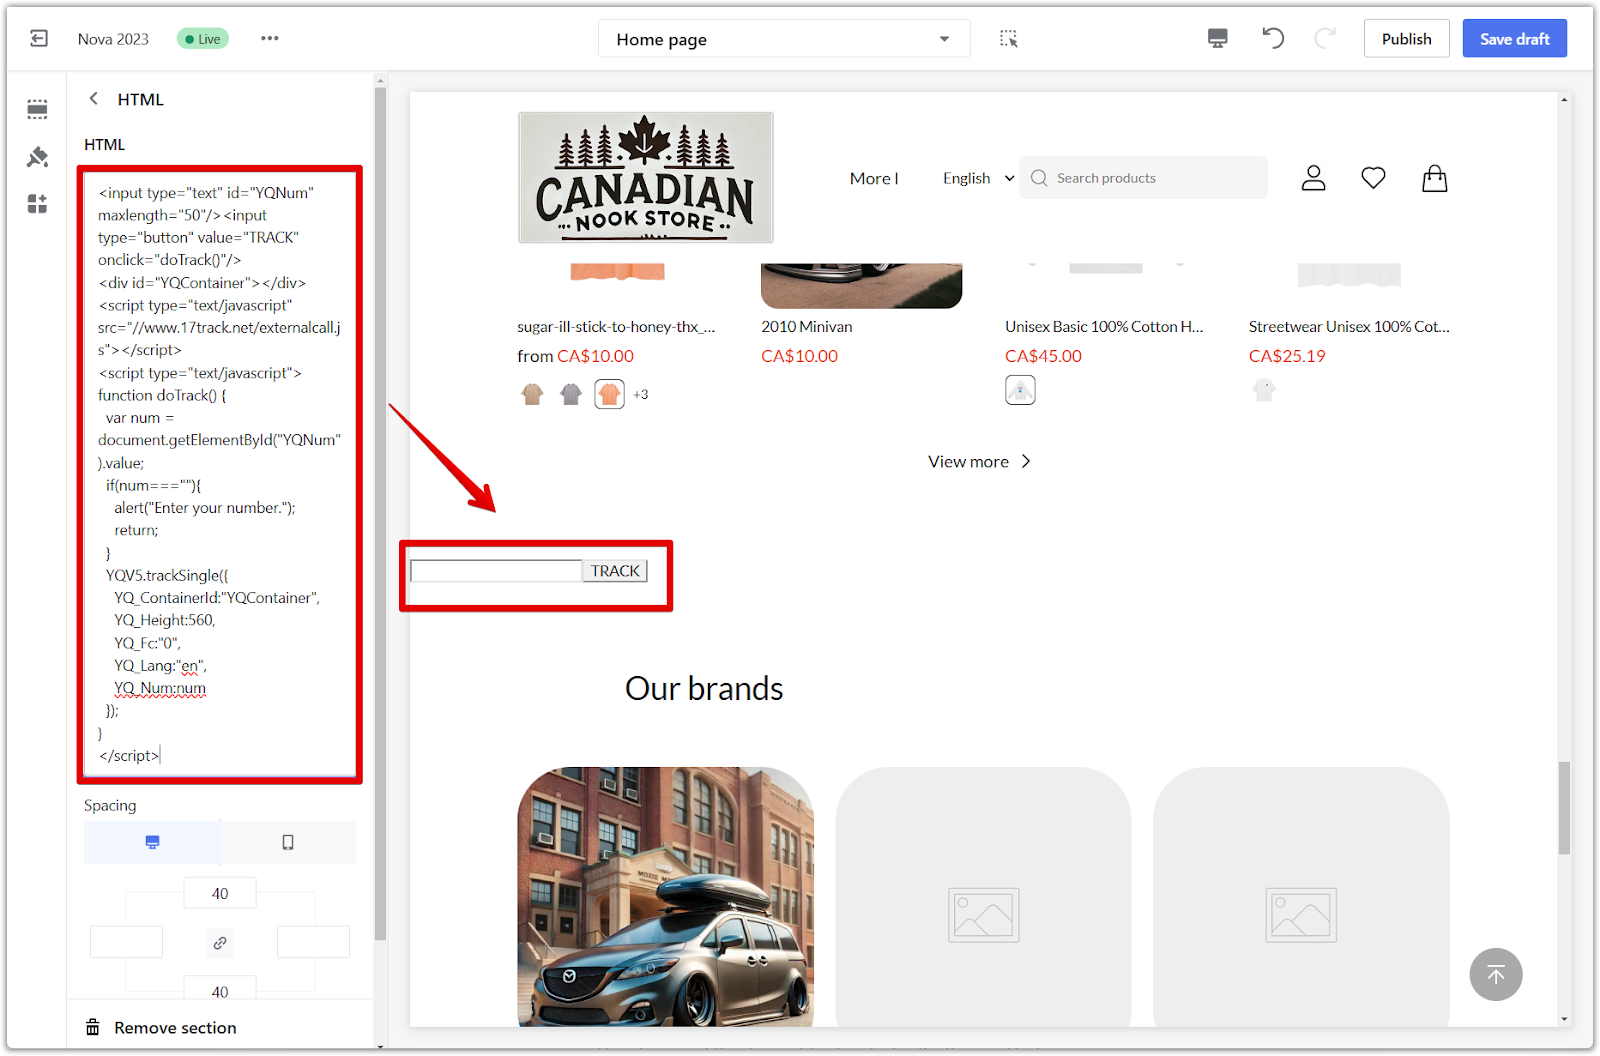
- Example 2: Shipment tracking tool: You might also need a shipment tracking tool to help your customers locate their shipped orders:
<input type="text" id="YQNum" maxlength="50"/><input type="button" value="TRACK" onclick="doTrack()"/>
<div id="YQContainer"></div>
<script type="text/javascript" src="//www.17track.net/externalcall.js"></script>
<script type="text/javascript">
function doTrack() {
  var num = document.getElementById("YQNum").value;
  if(num===""){
    alert("Enter your number.");
    return;
  }
  YQV5.trackSingle({
    YQ_ContainerId:"YQContainer",
    YQ_Height:560,
    YQ_Fc:"0",
    YQ_Lang:"en",
    YQ_Num:num
  });
}
</script>
Note
This is an API example from 17track. If you need more assistance with the tracker tool, please refer to their help documentation here .
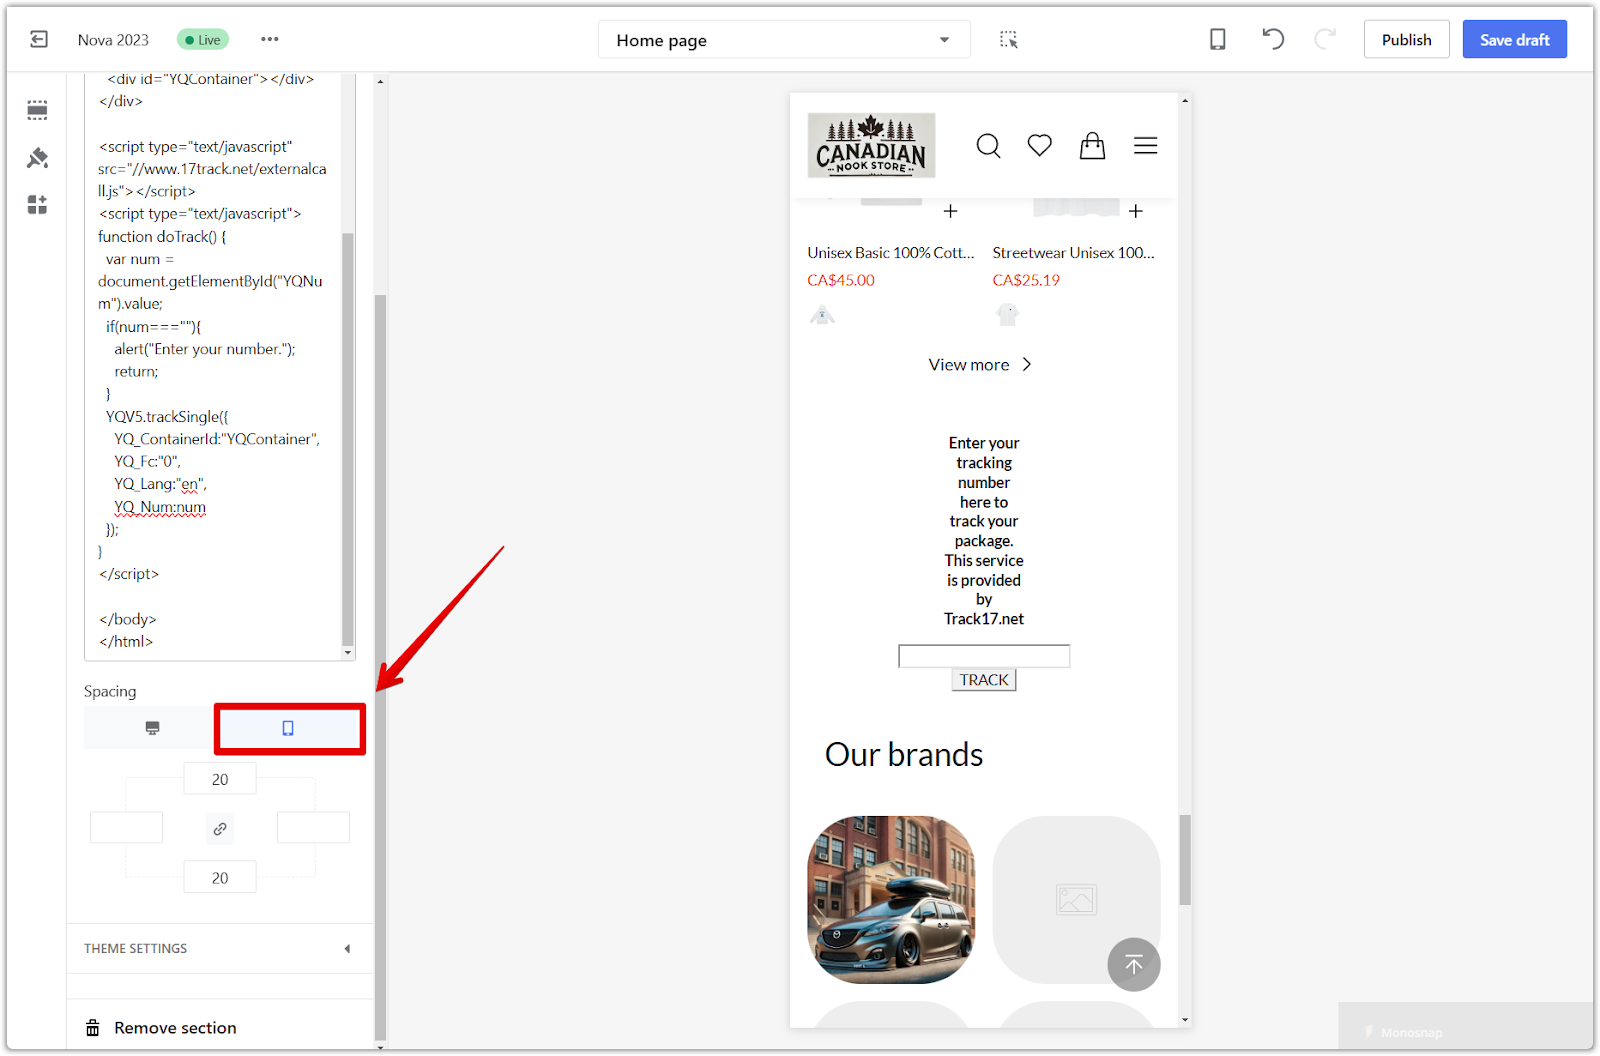
Section padding
Now, let's look at how to adjust the padding around your HTML section:
1. Adjust section padding: Use the padding editor to generate extra space around the section you create. Activate the "linkage icon" and type a value (measured in pixels) in any of the 4 columns to add buffers around the section, or manually adjust each input by disabling the "linkage icon" in the centered area.
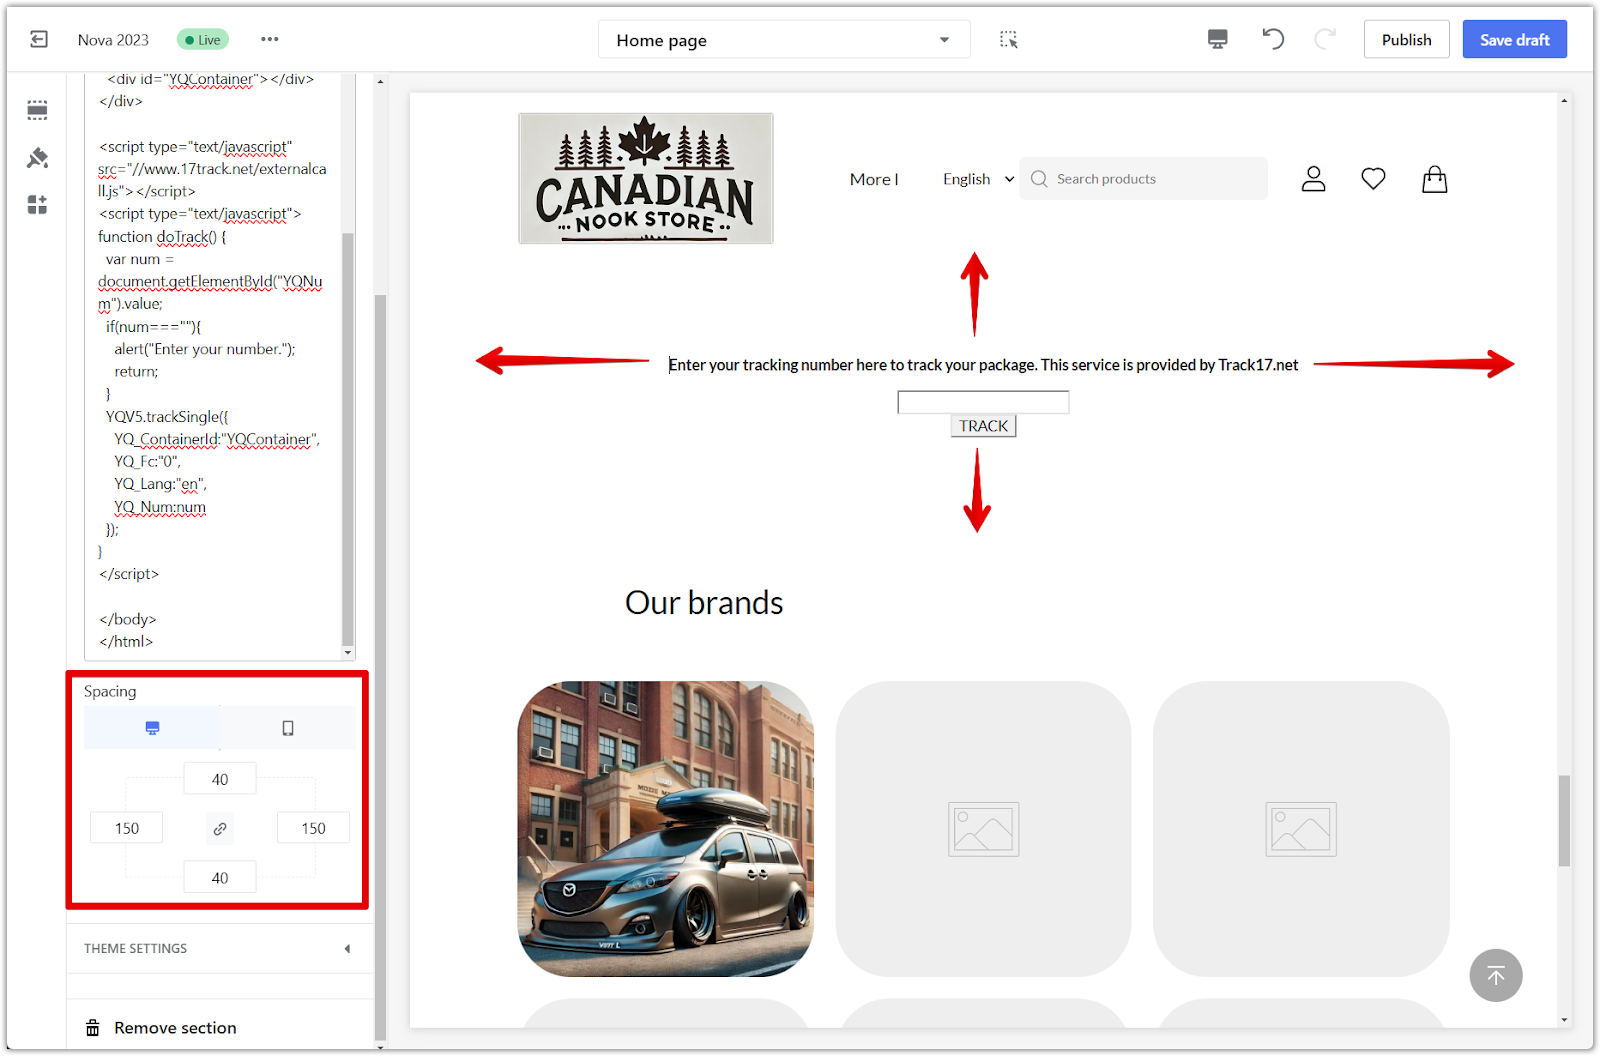
2. Preview on different devices: Select to preview the padding on desktop or mobile.
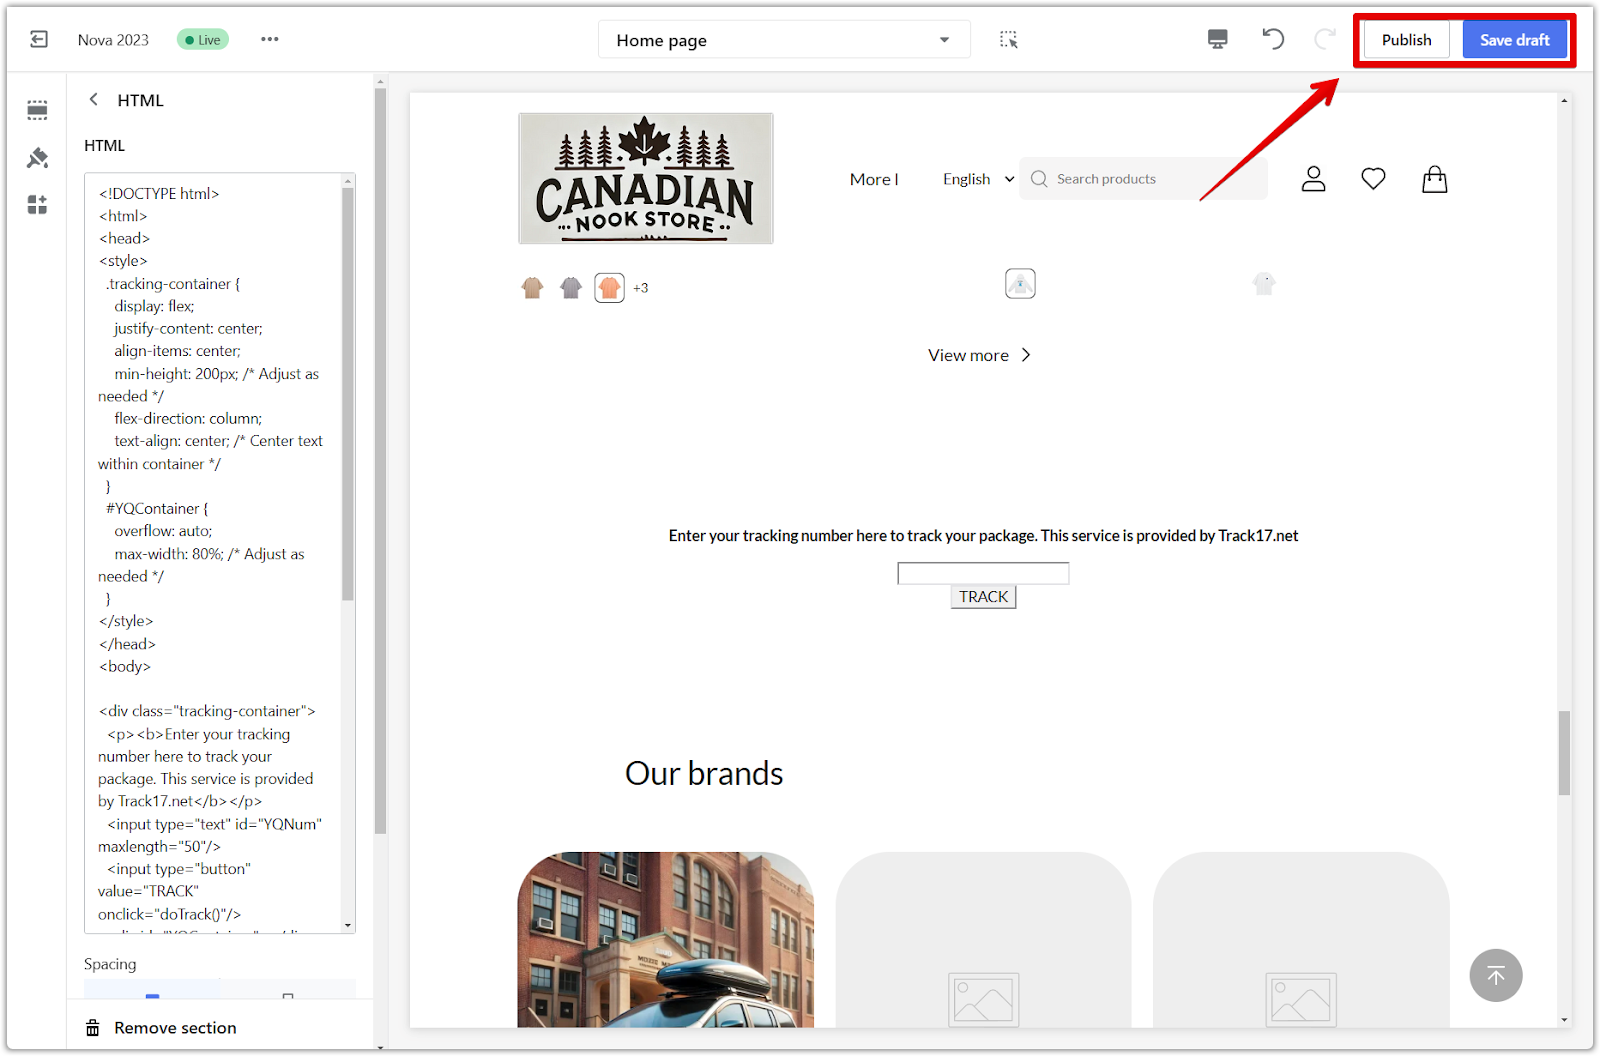
3. Save your progress: Click Publish to make your changes live on your store, or click Save draft to save your changes without publishing.
The HTML section is an essential tool for customizing your storefront. By using it strategically, you can enhance your store's interface, create custom snippets, and connect your store with other APIs, ultimately providing a more engaging and satisfying experience for your customers.


Comments
Please sign in to leave a comment.