
Combine information and visuals with this dynamic layout. The text column with images section creates a more engaging and easily digestible customer experience. It's perfect for showcasing products or features, explaining key concepts, or adding visual interest to your store. You can also include headings, text, and buttons to guide customers seamlessly to other relevant pages. This section is especially useful when you want to make your content easier to understand by pairing text with eye-catching images or guiding customers to other pages in your store.
Creating a text column with images section
Adding this versatile section to your store is a breeze. Follow these simple steps:
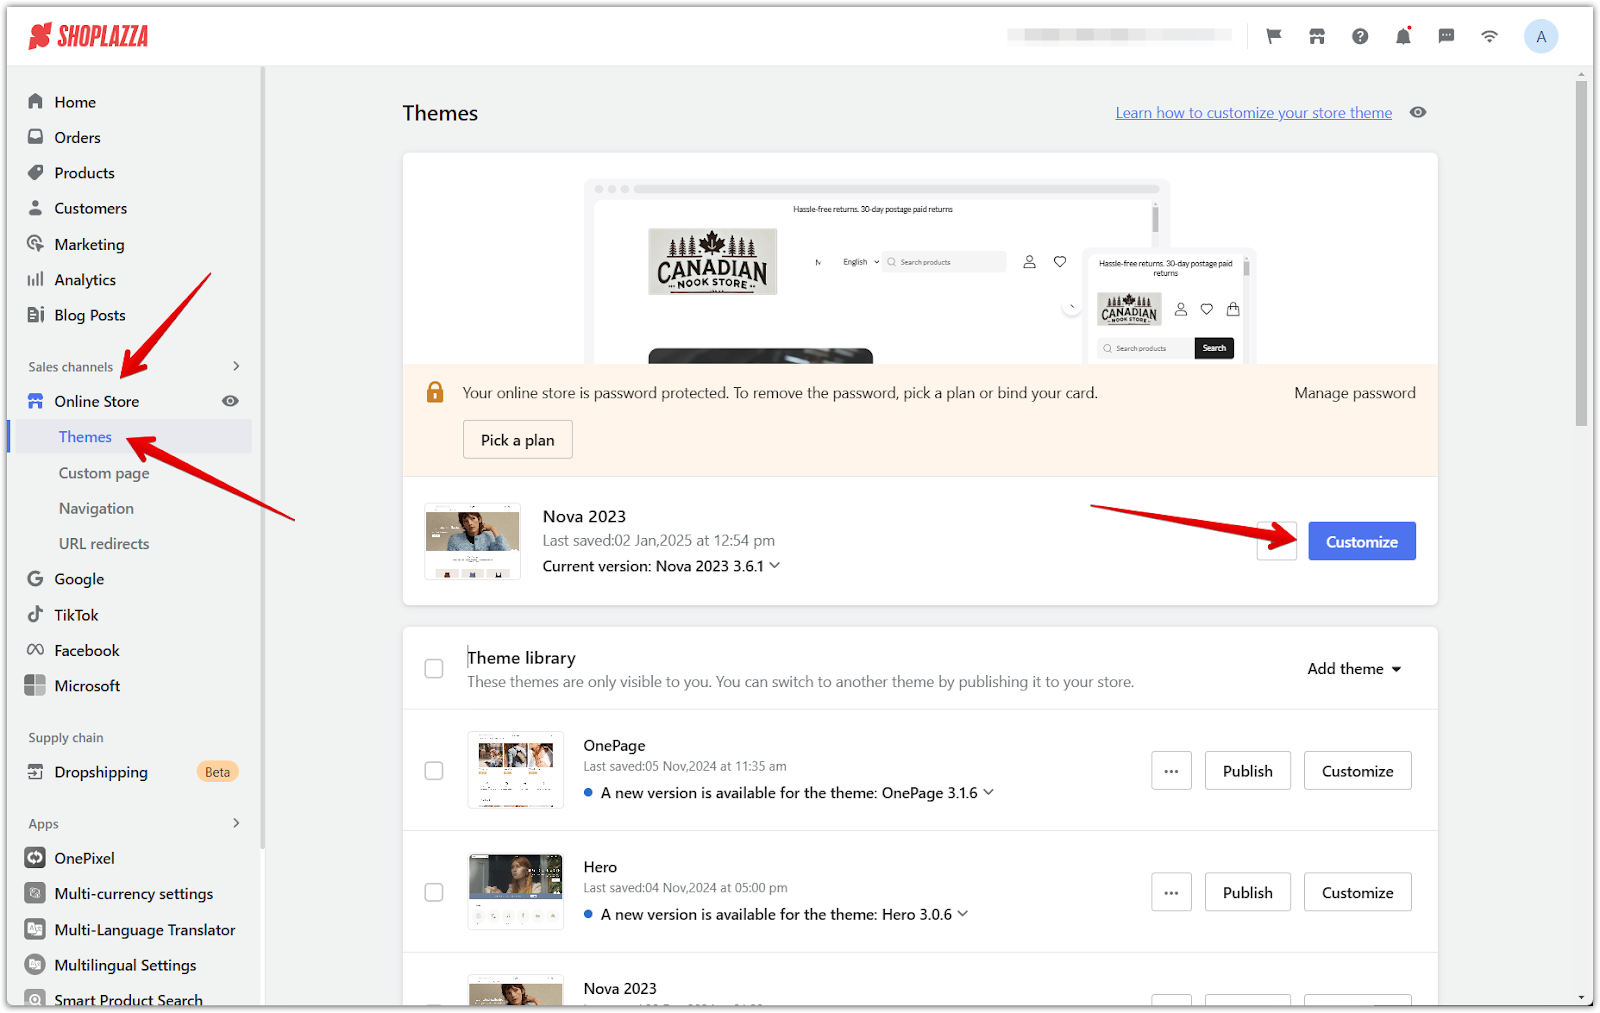
1. Access the theme editor: From your Shoplazza Admin, navigate to Online Store > Themes and click the Customize button to personalize your store's appearance.
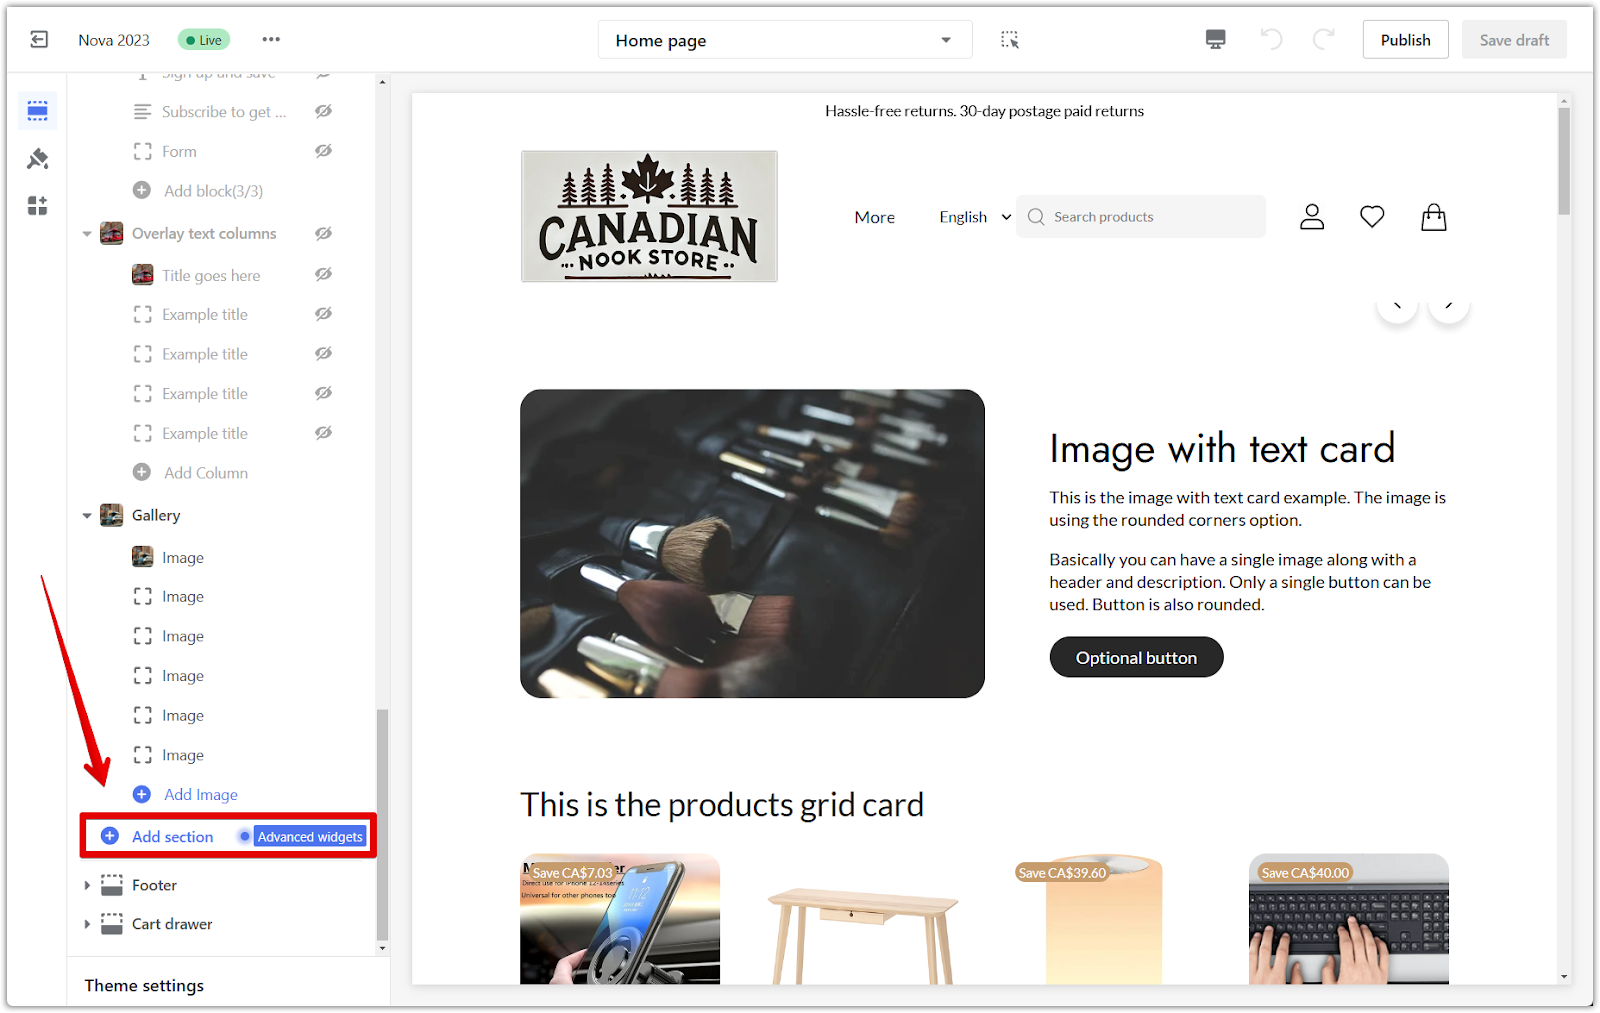
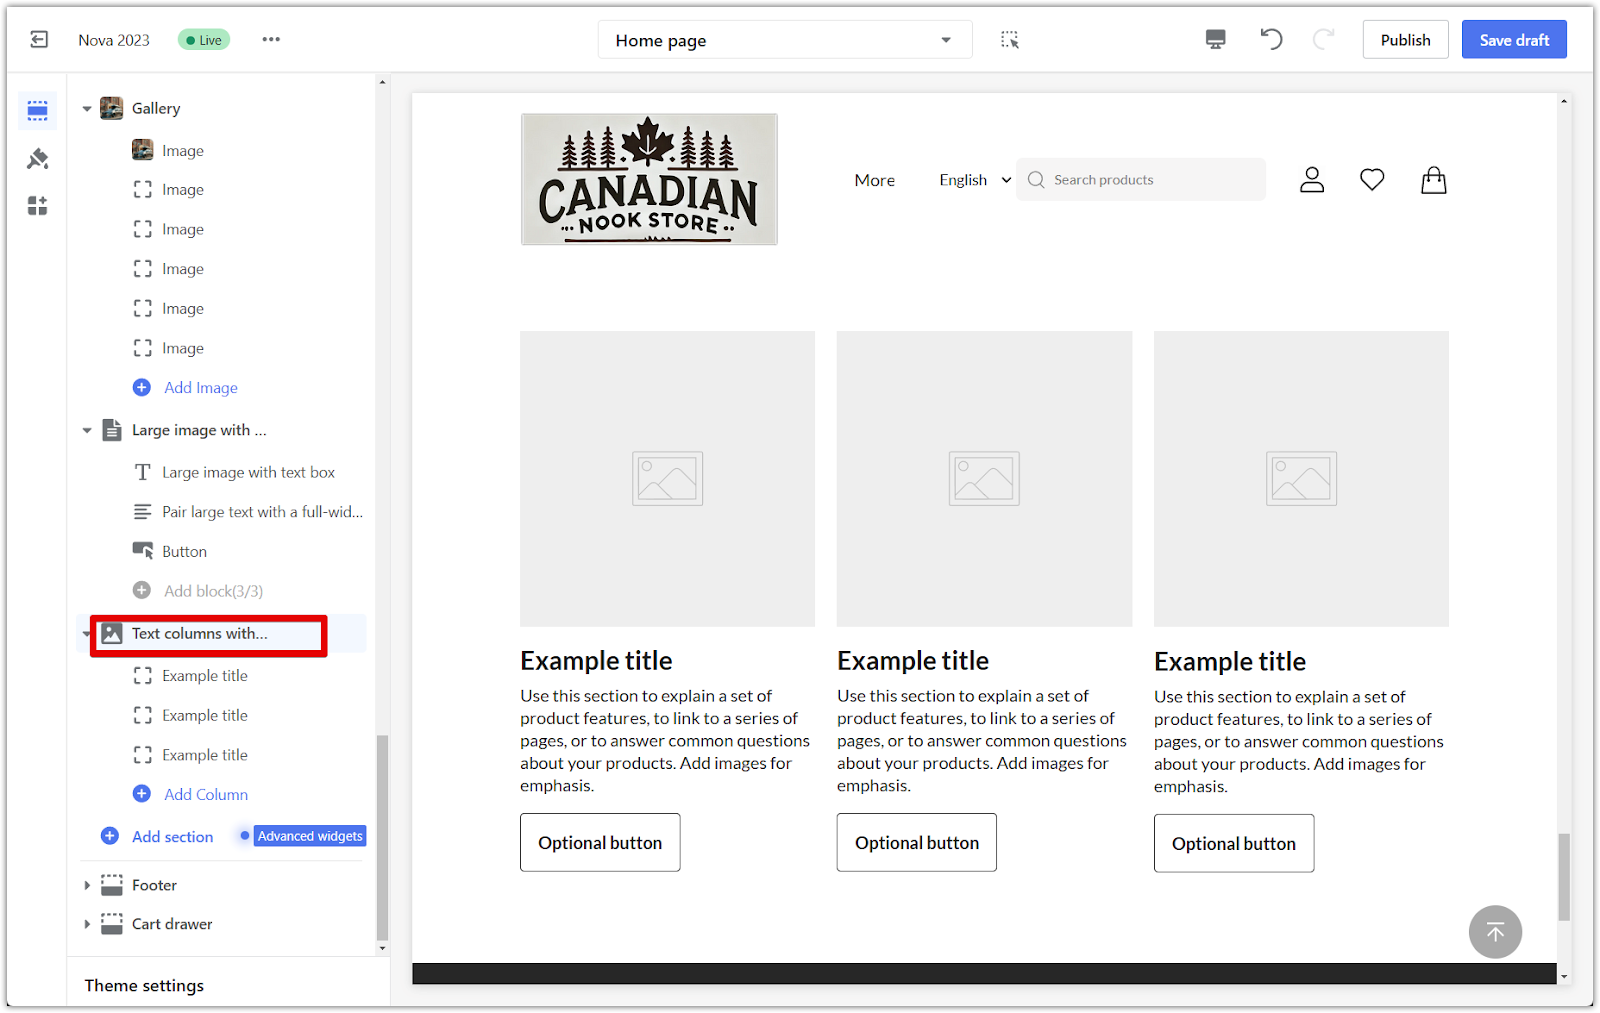
2. Add the section: Scroll down and click Add section to view the available sections and choose the one that best suits your needs.
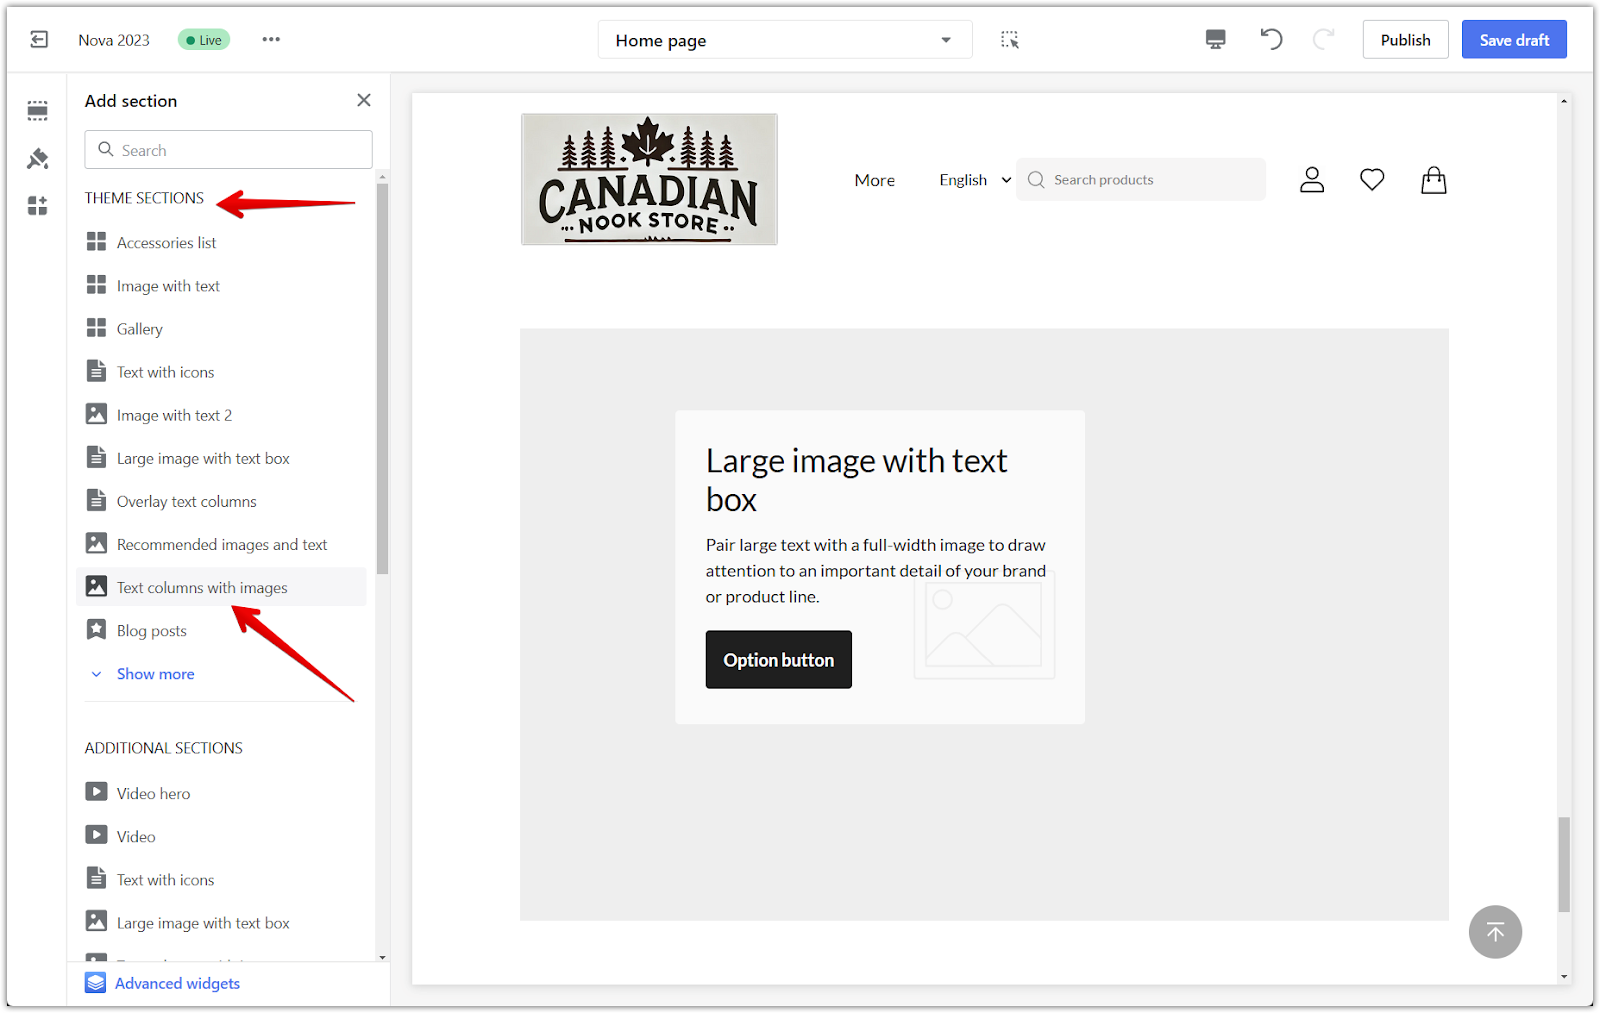
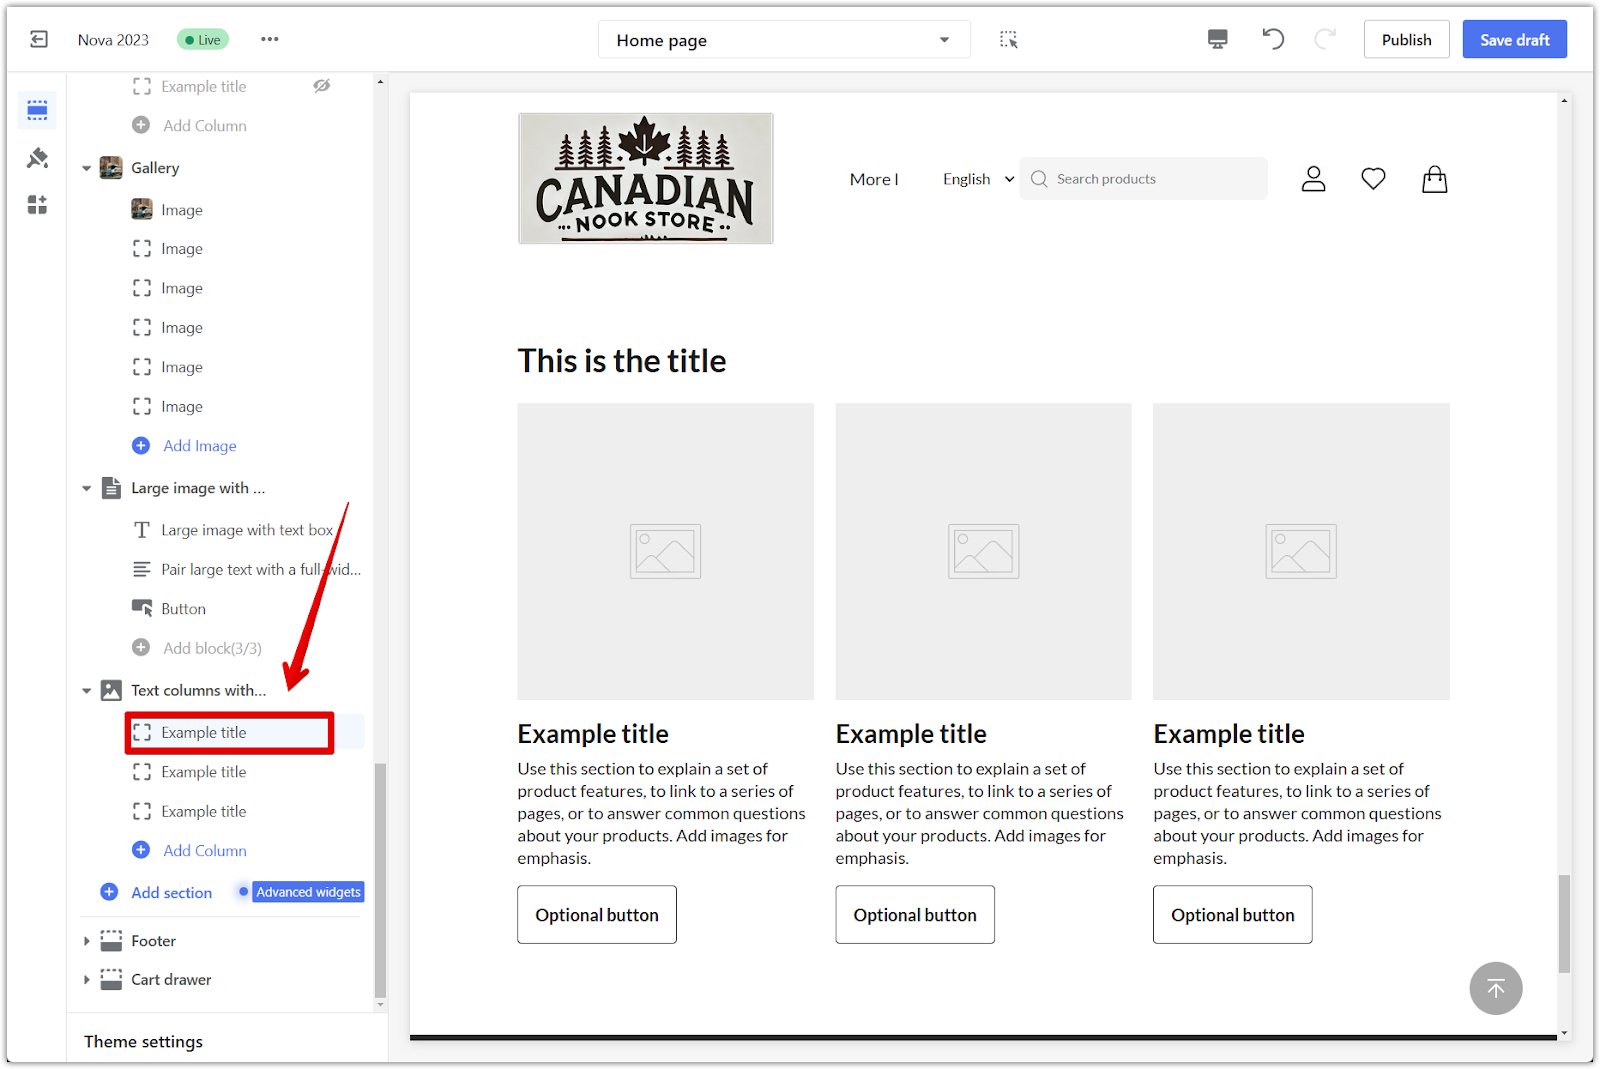
3. Select the section: Under Theme sections, choose Text columns with images to create a visually compelling layout.
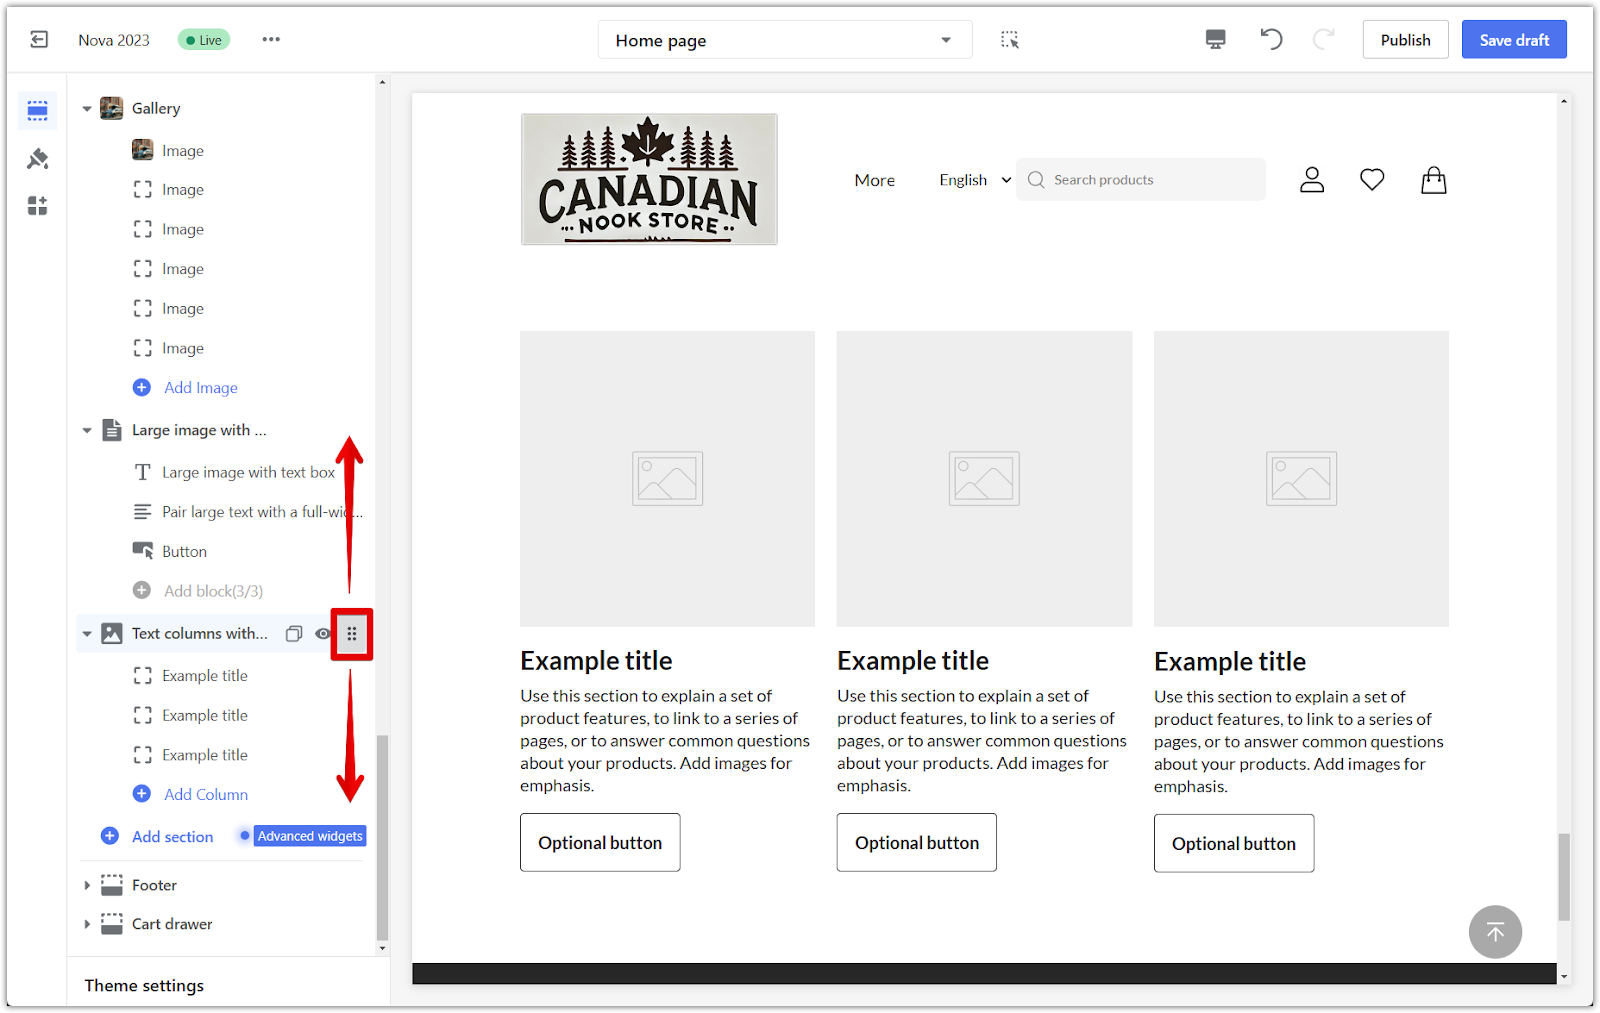
4. Position the section: To move this section, use the Drag indicator to place it exactly where you want it on the page.
Customizing the section
Before you can customize the section further, you'll need to access its settings:
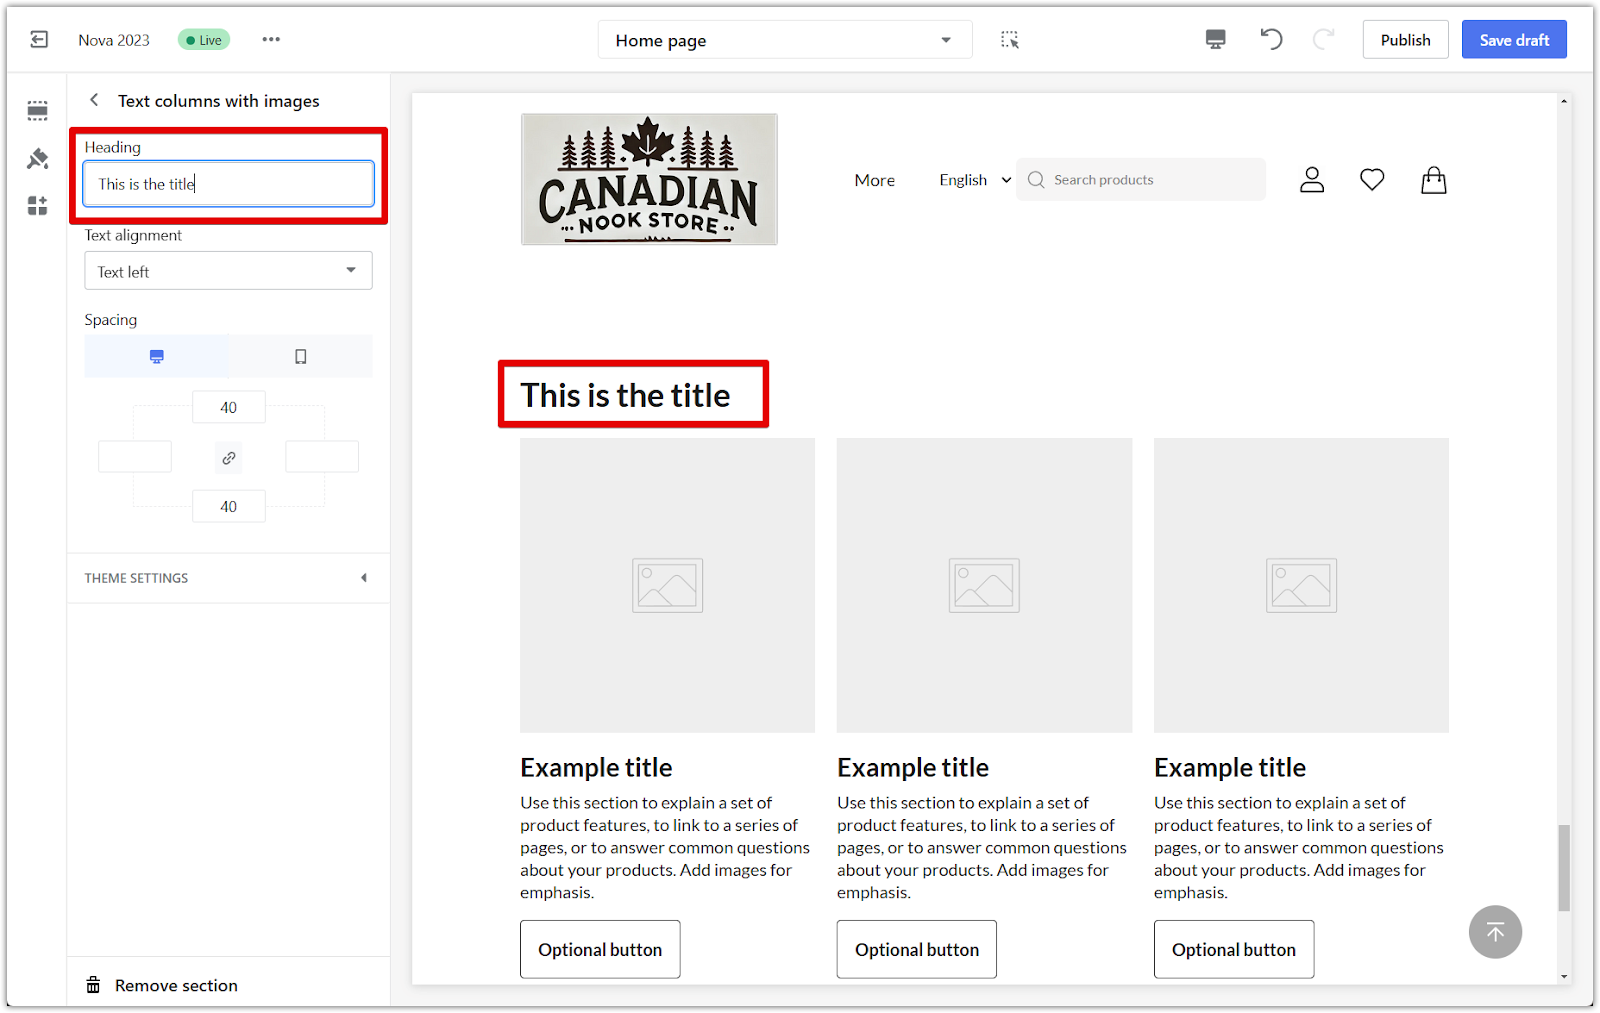
1. Open section settings: Click on the section's title to access its settings and customization options.
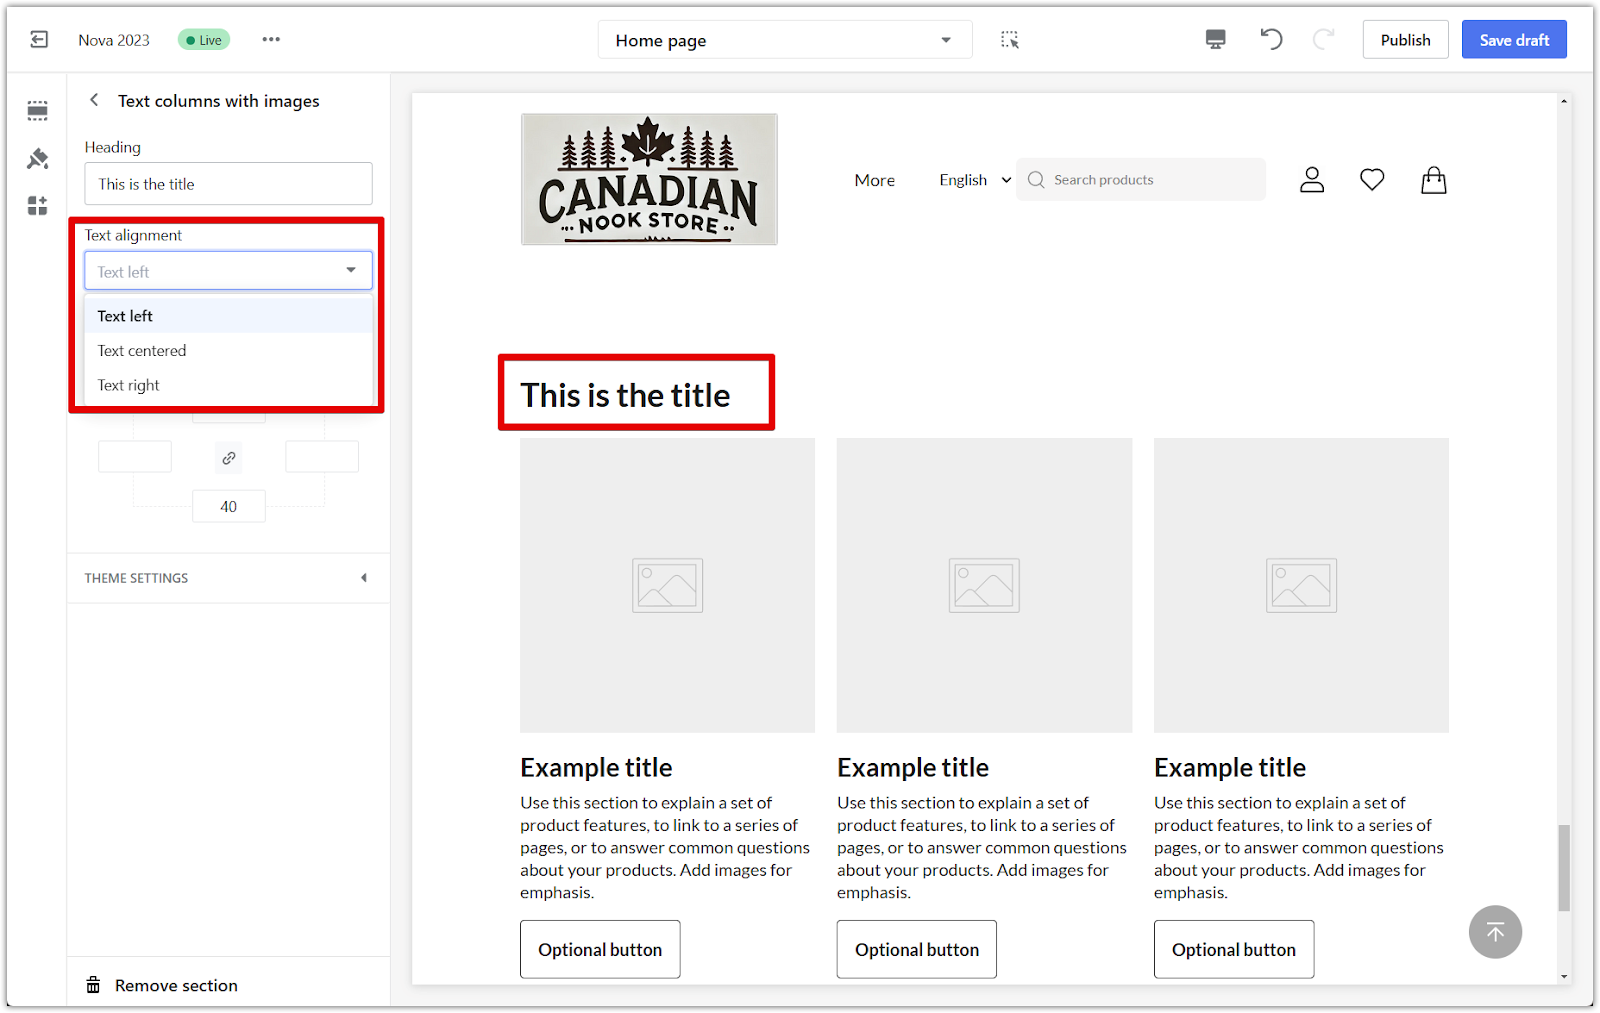
2. Add a heading and align the text: If necessary, add a title and use the text alignment option to fine-tune the position of your headings and text for optimal readability.
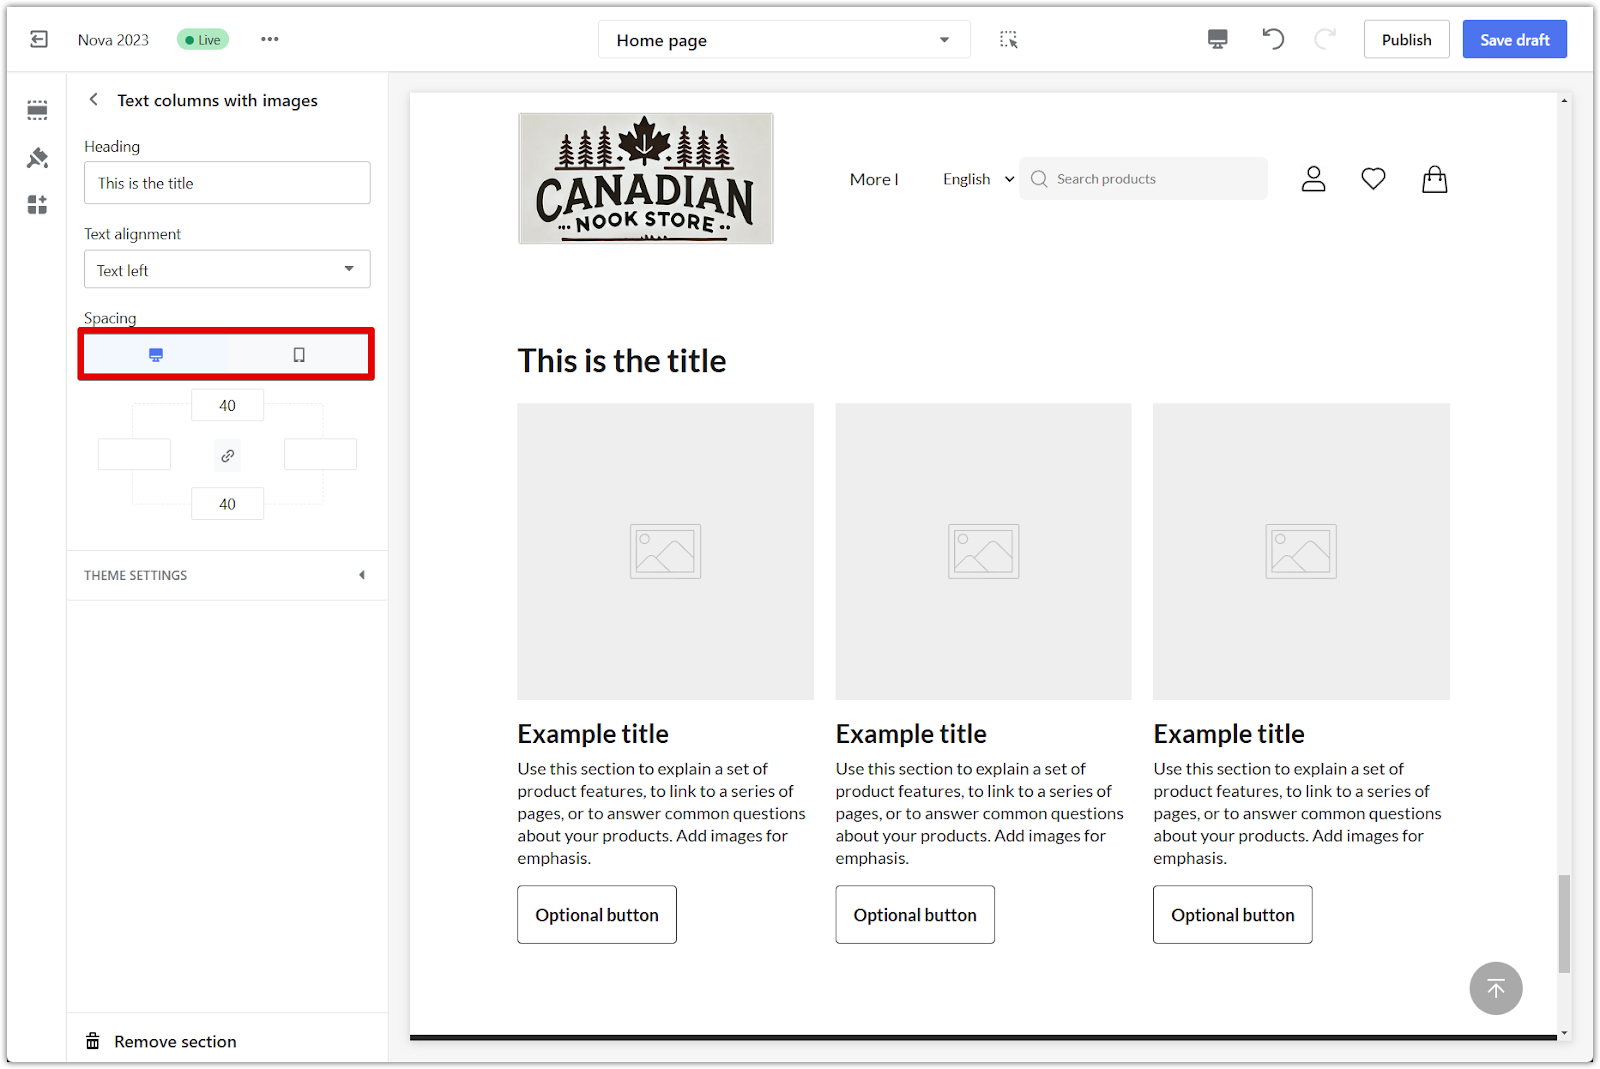
Adjusting section padding
Padding is a great way to give your content some breathing room and improve the overall look of your page. Here's how to adjust it:
1. Using the padding editor: Use the padding editor to add space around the section, creating a clean and uncluttered design. Enable the linkage icon and enter a value in pixels to apply equal spacing to all sides. Disable the linkage icon and input values for individual side adjustments for each side.
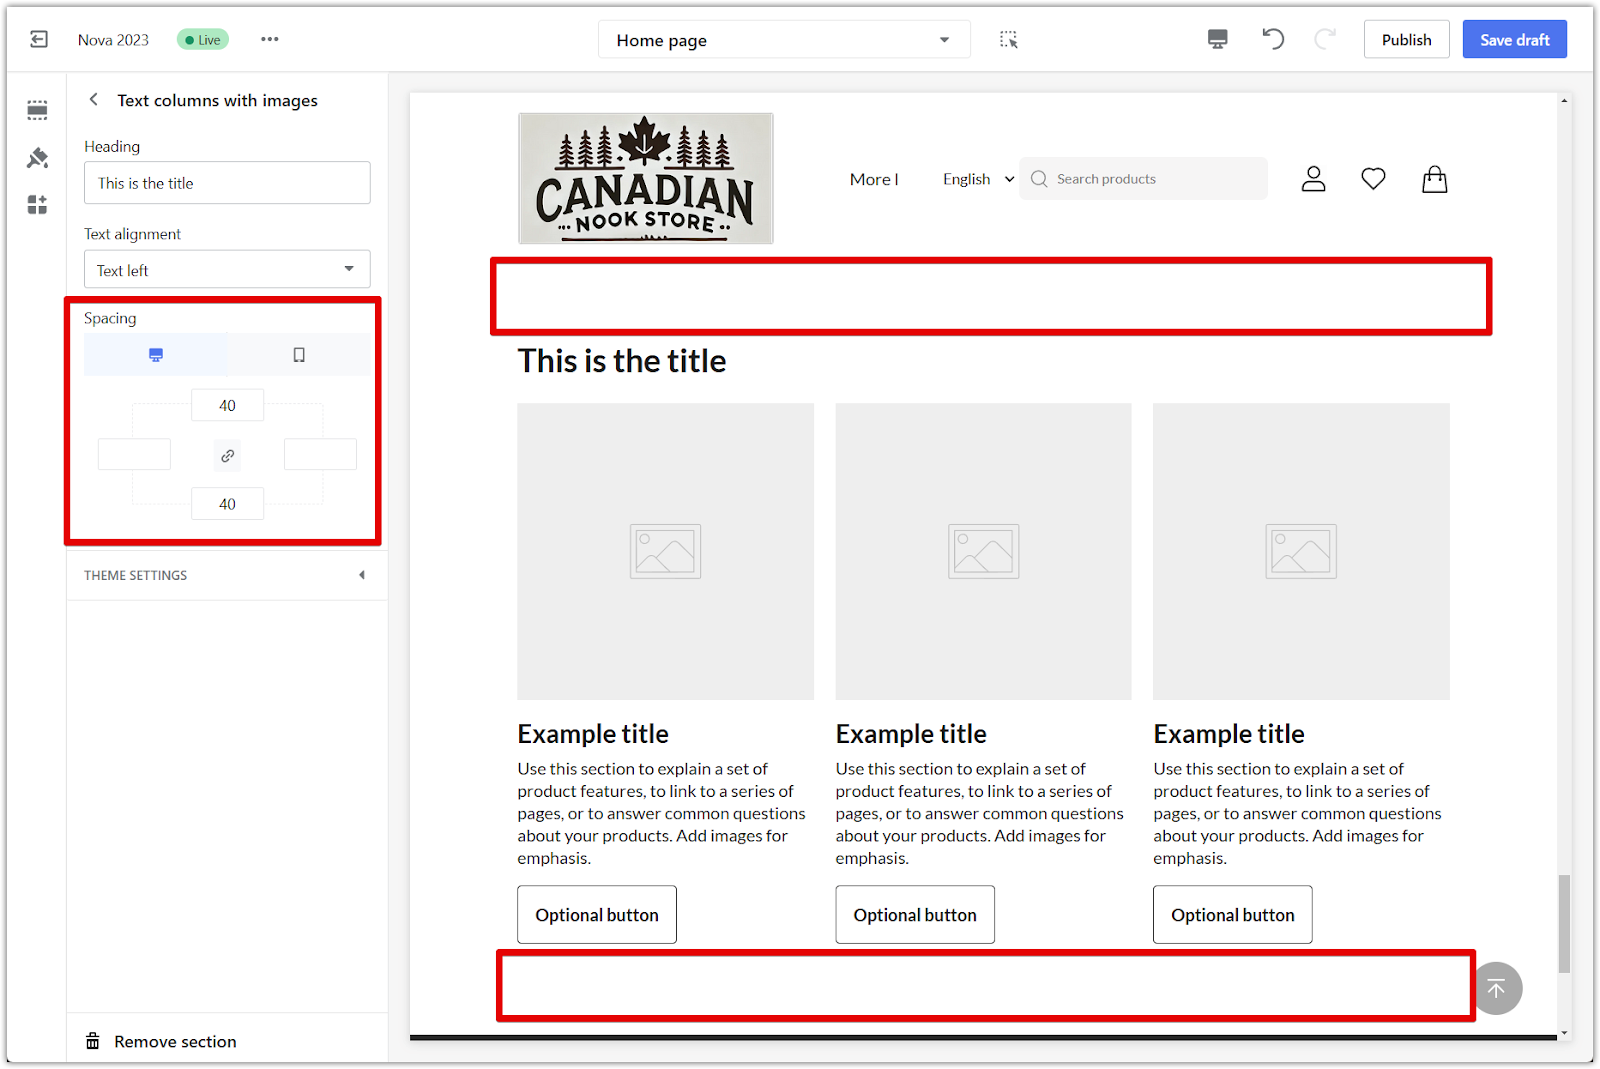
2. Preview the changes: You can preview how the spacing looks on both desktop and mobile devices, ensuring a consistent and visually appealing experience for all your customers.
Editing the text column with images section
This section offers a range of customization options, allowing you to tailor it to your specific needs. To create a unique and effective layout, manage the image, headings, text, and button blocks separately.
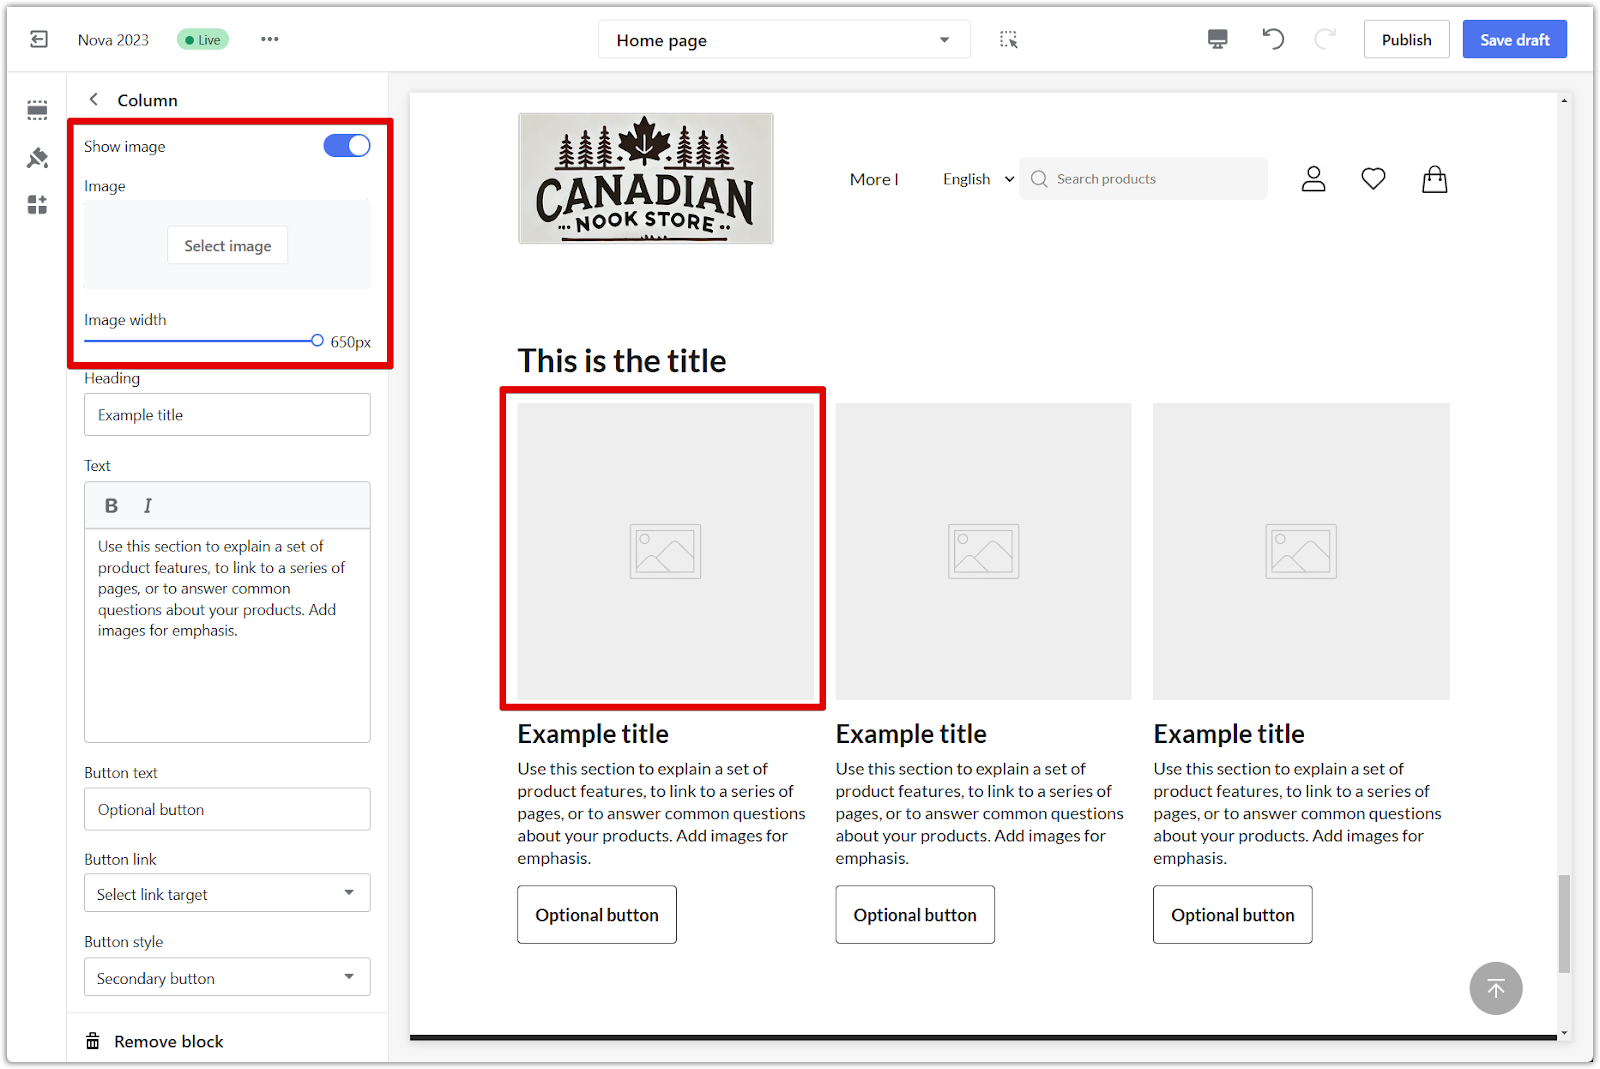
1. Access block settings: Click on the block's title to access its settings and customization options.
2. Edit image properties: The image block provides options to customize the image's properties, ensuring it looks its best and effectively complements your text.
3. Modify content: The heading and text section allows you to edit the written content, ensuring it's informative, engaging, and relevant to your target audience.

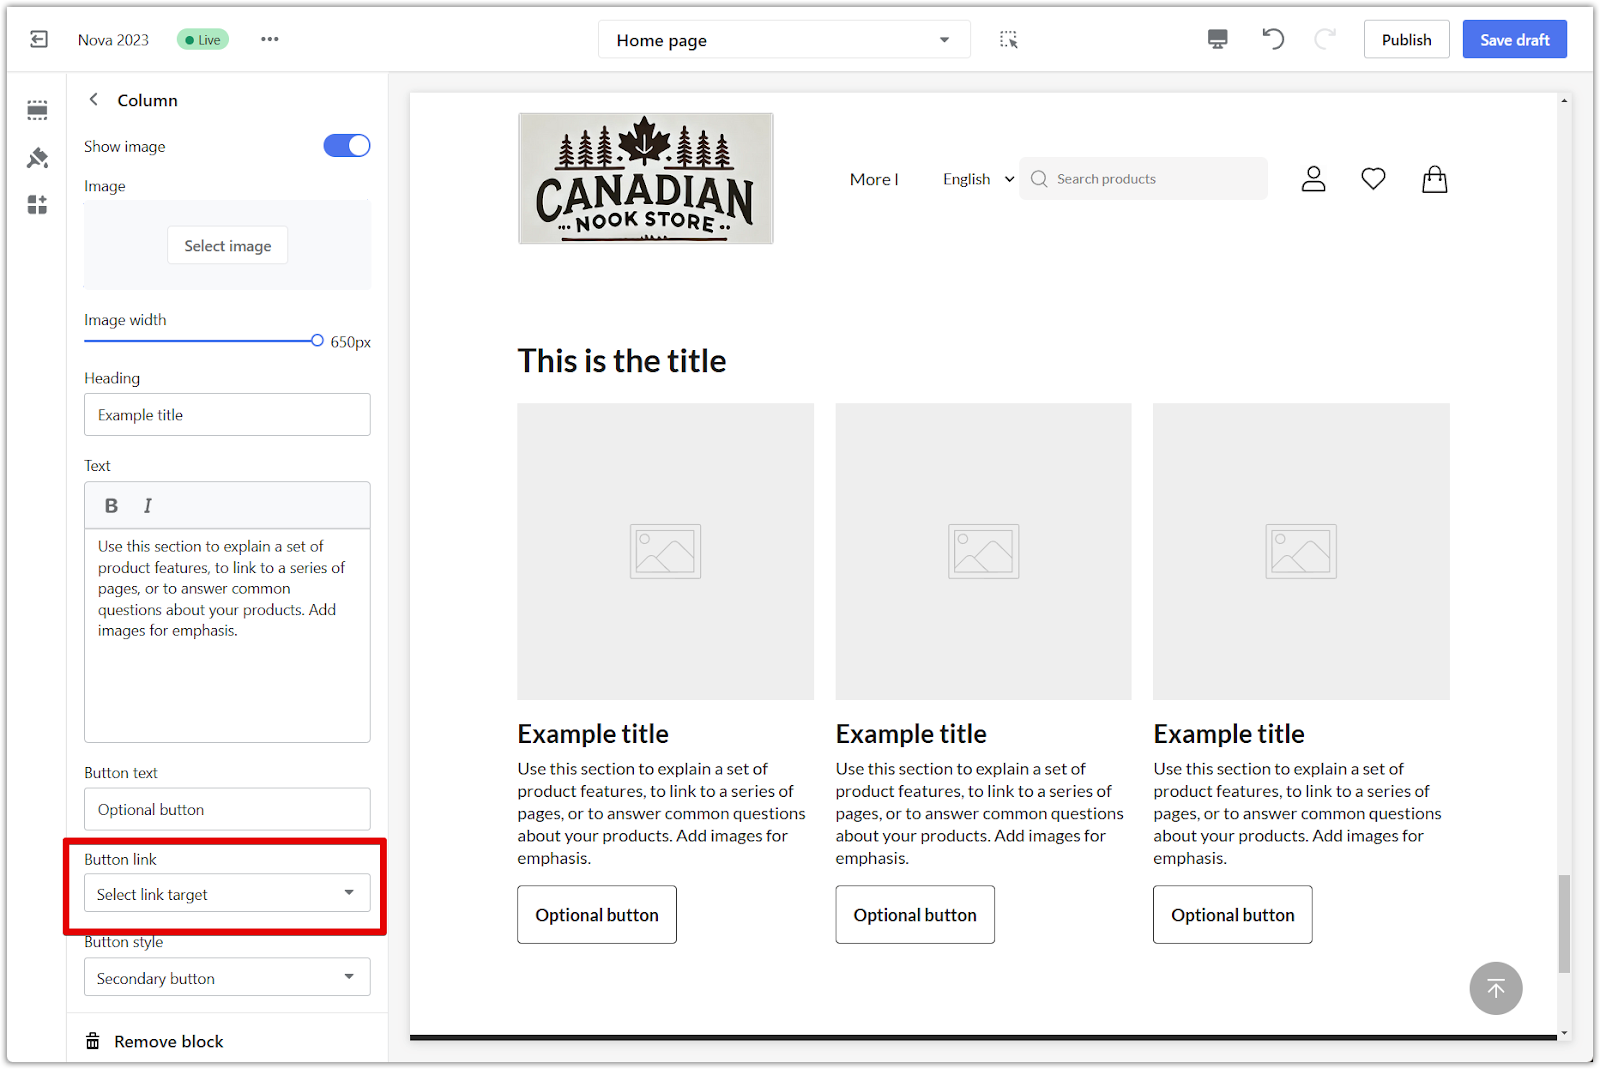
4. Add buttons: Include buttons to link to other pages in your store, providing a seamless and intuitive navigation experience.
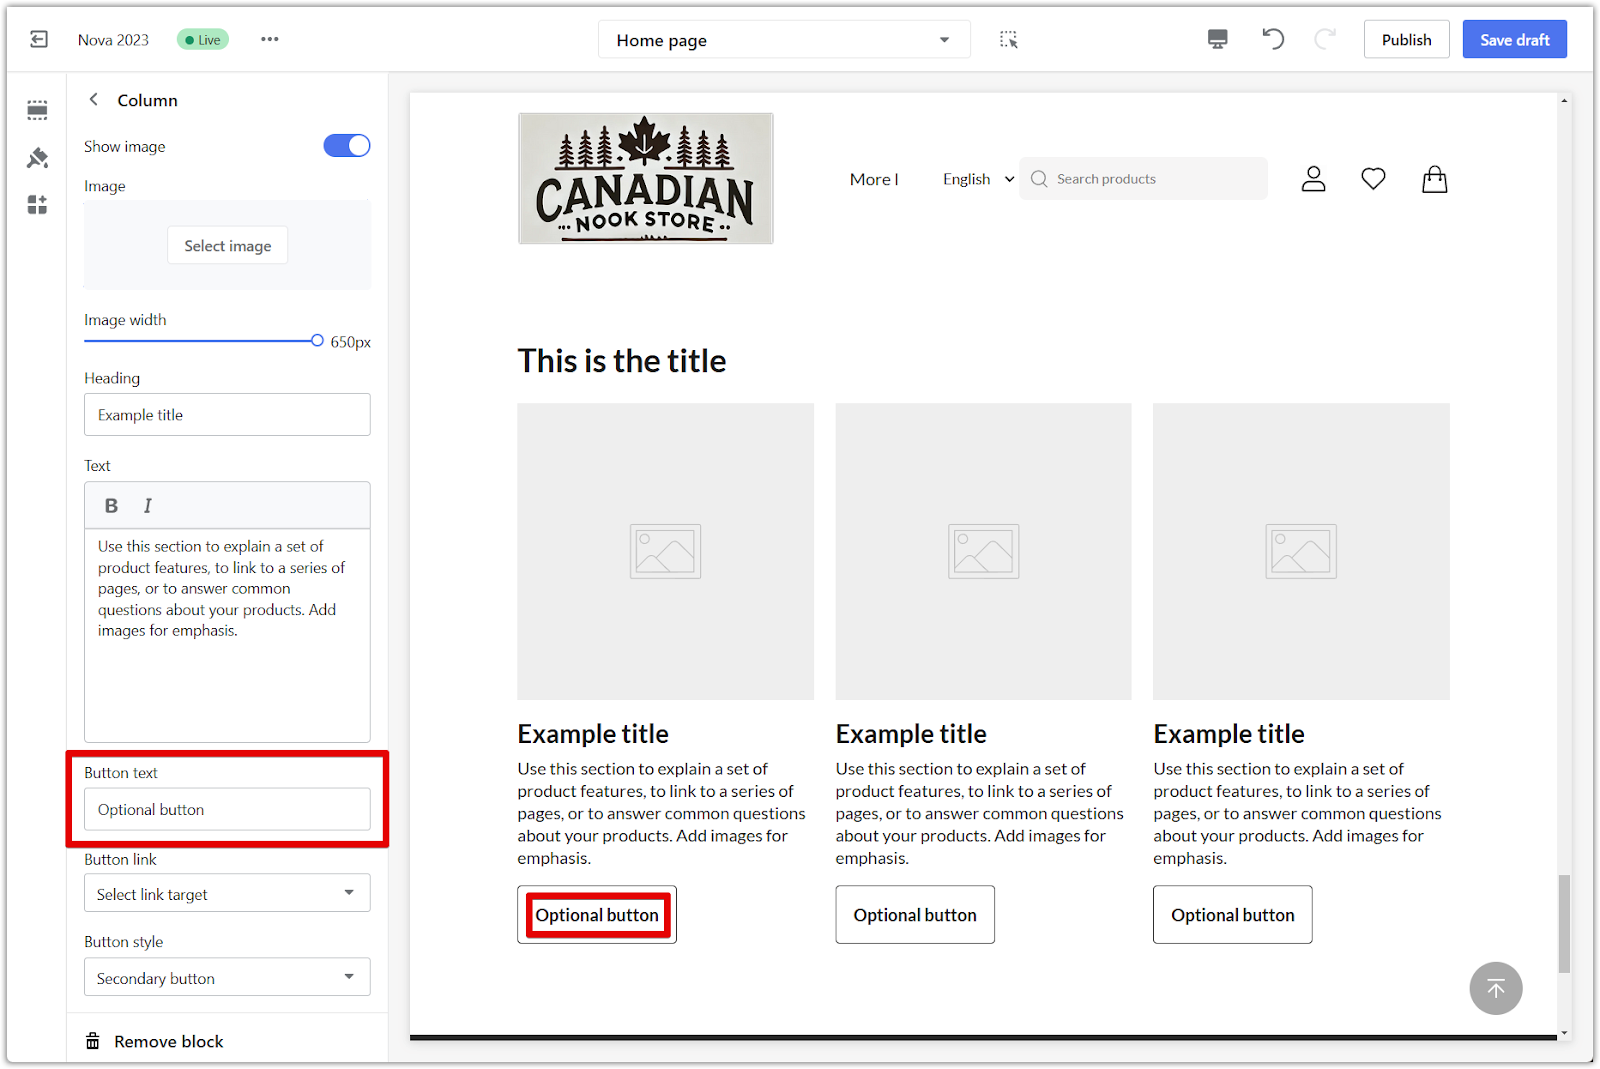
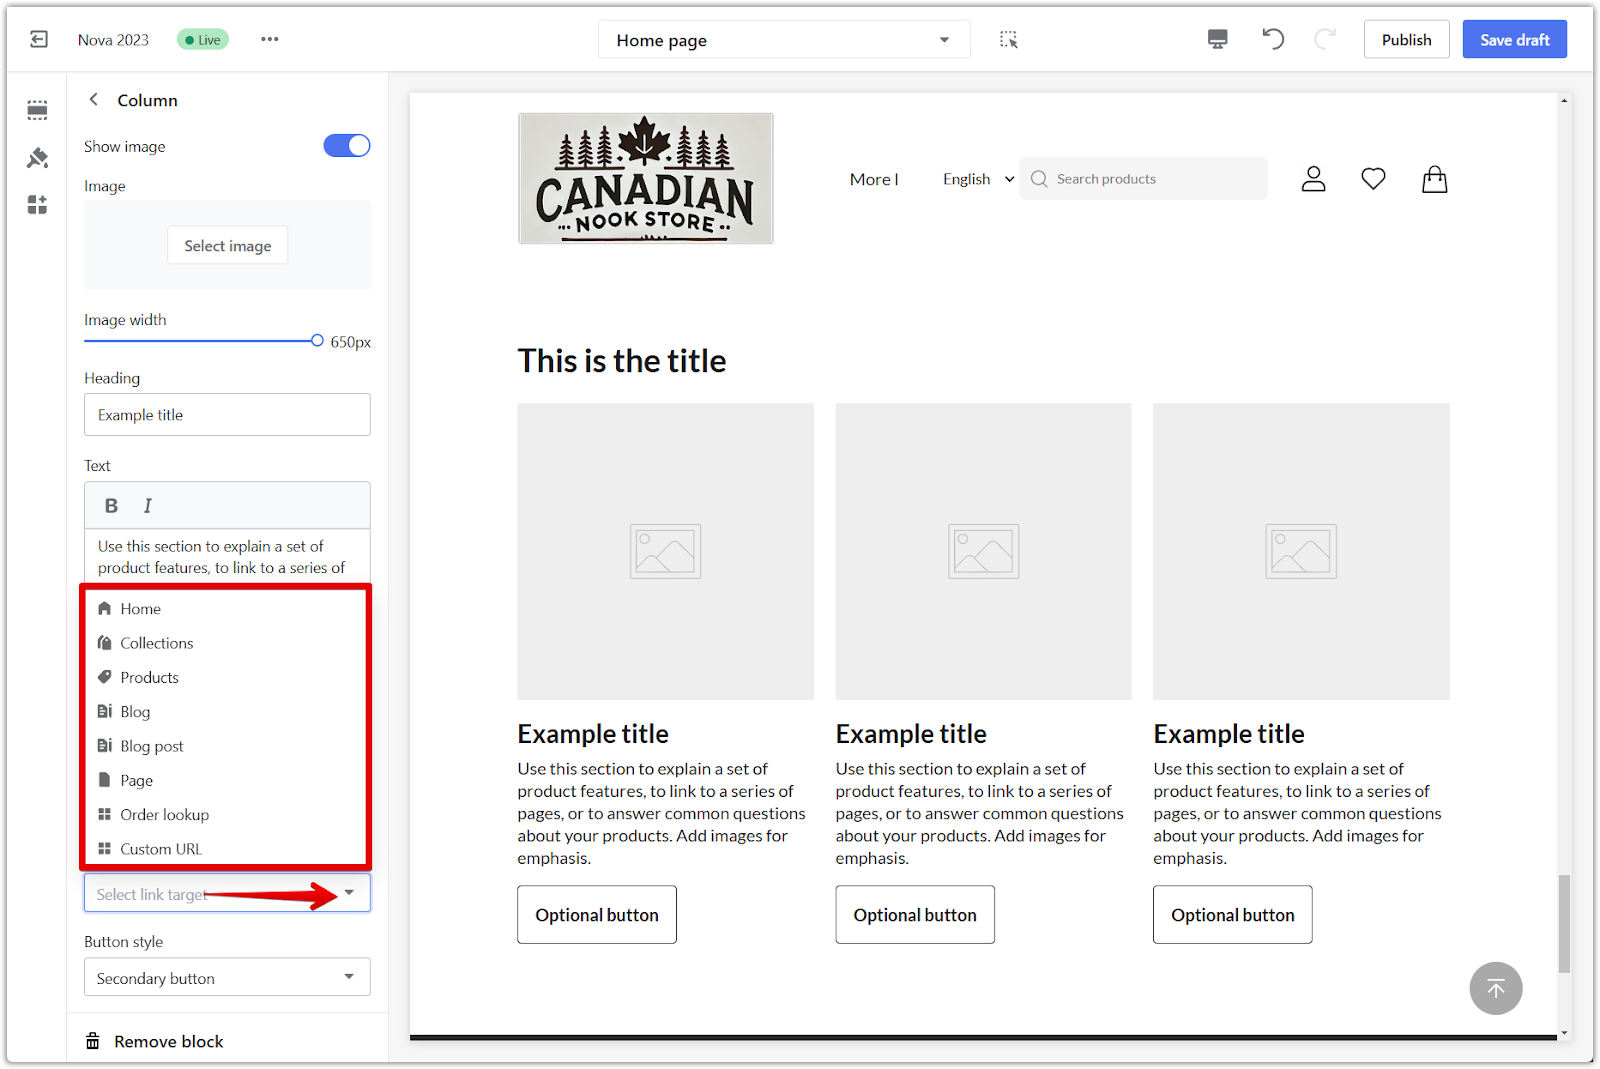
5. Configure button properties: Name the button and select its destination from the dropdown menu, making it clear to your customers where they'll be taken when they click.
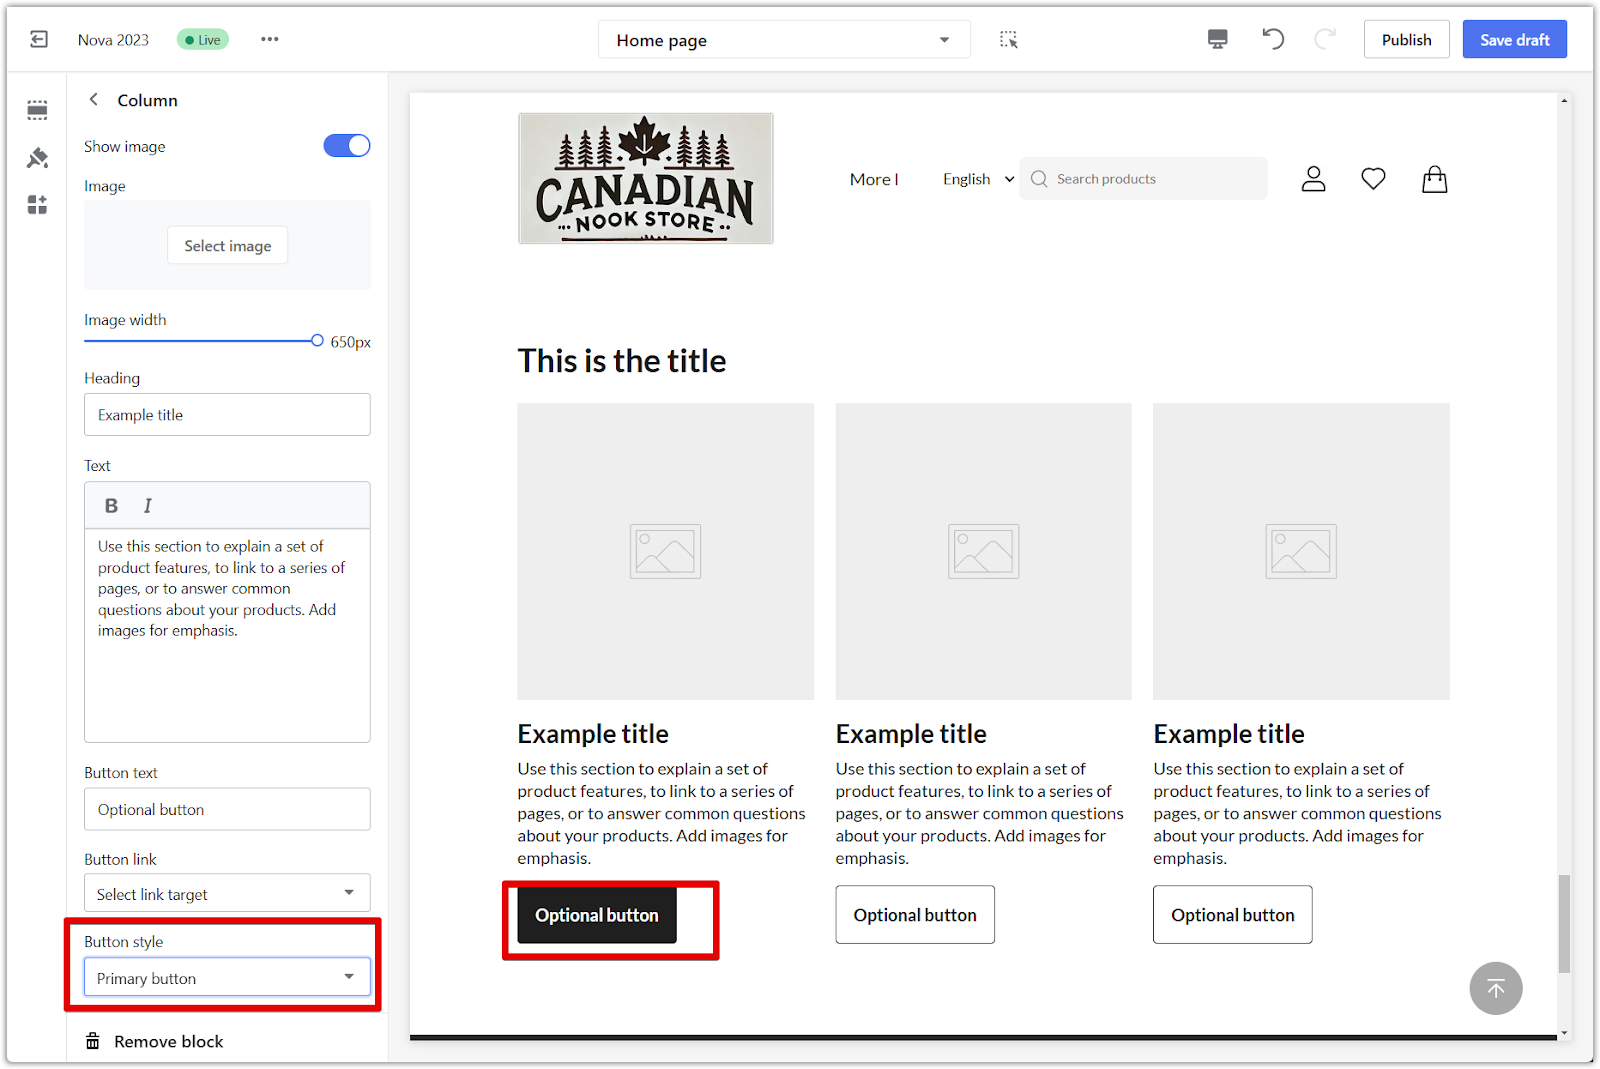
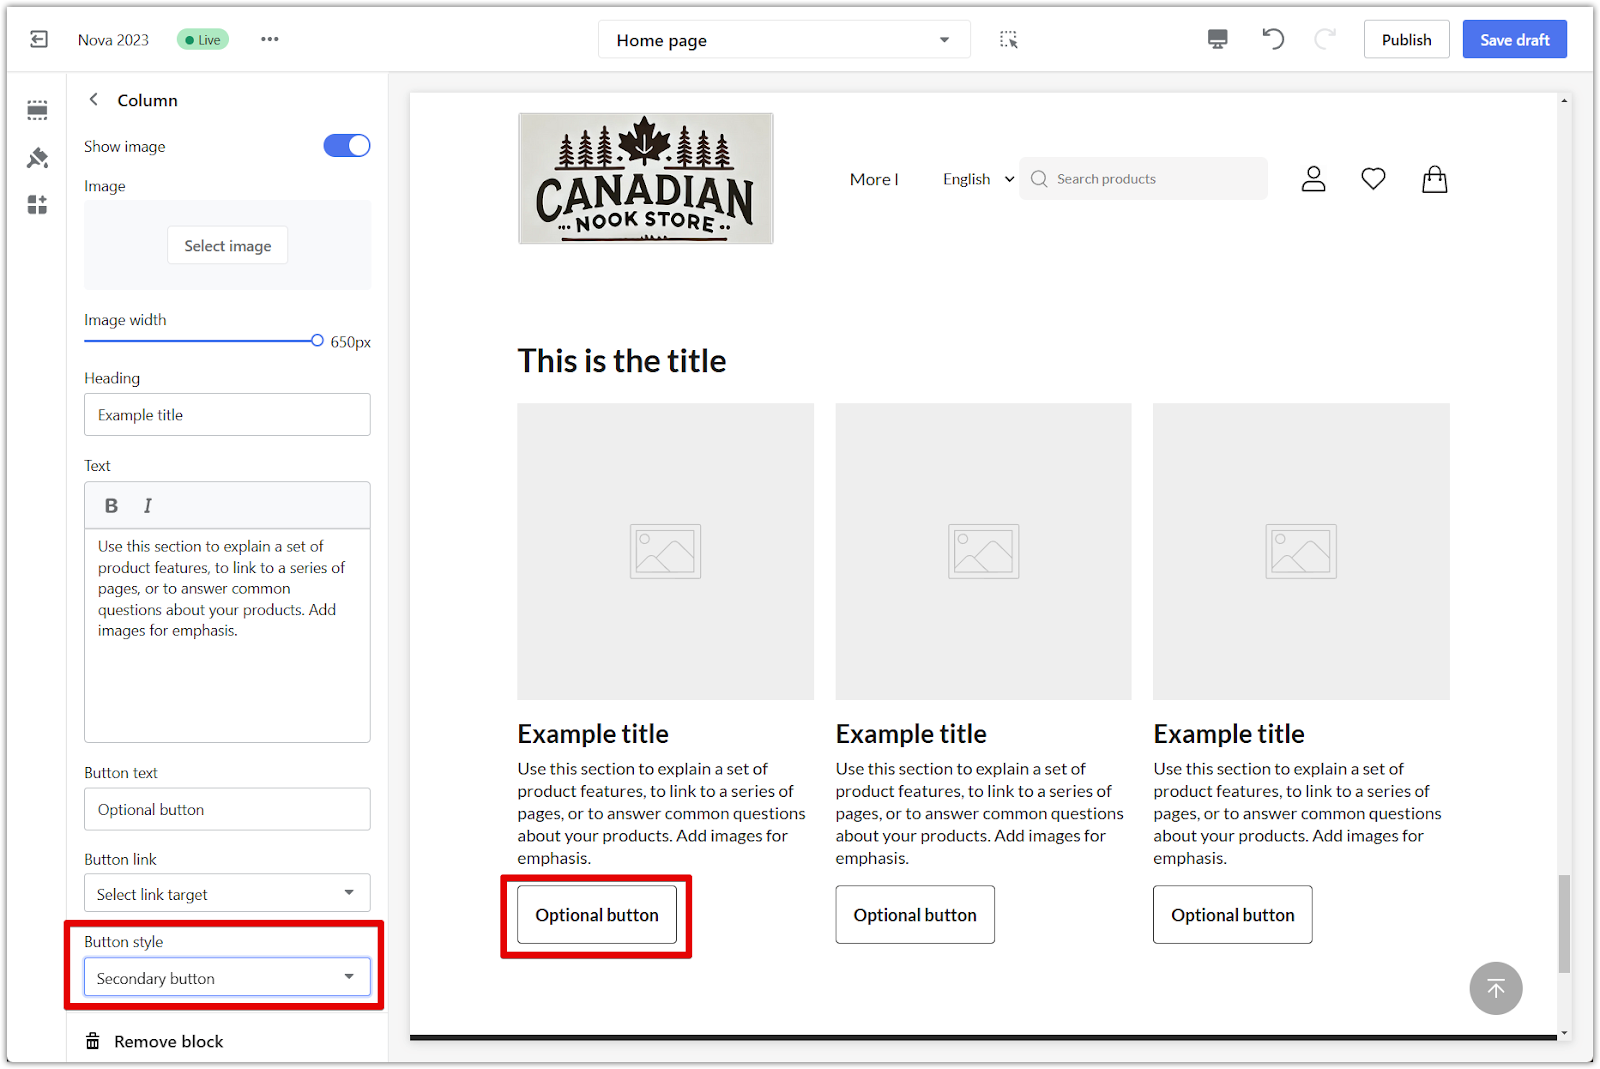
6. Choose button style: Depending on the visual hierarchy and emphasis you want to achieve, select either the Primary button for a high-contrast, prominent look or the Secondary button for a more subtle look.
Note
To change the button colors, go to Theme settings > Color on the main page of the theme editor.
By effectively using the text column with images section, you can keep your store's listings organized and easy to navigate. This helps your customers browse efficiently and find what they need quickly, enhancing their overall shopping experience.


Comments
Please sign in to leave a comment.