
A newsletter section is a valuable tool for expanding your customer base by collecting emails through sign-ups. With an on-page sign-up form, customers consent to receive email notifications about store events, promotions, and updates. This feature helps keep your audience informed and engaged.
Adding a newsletter section
Adding a newsletter section is quick and easy with your theme editor.
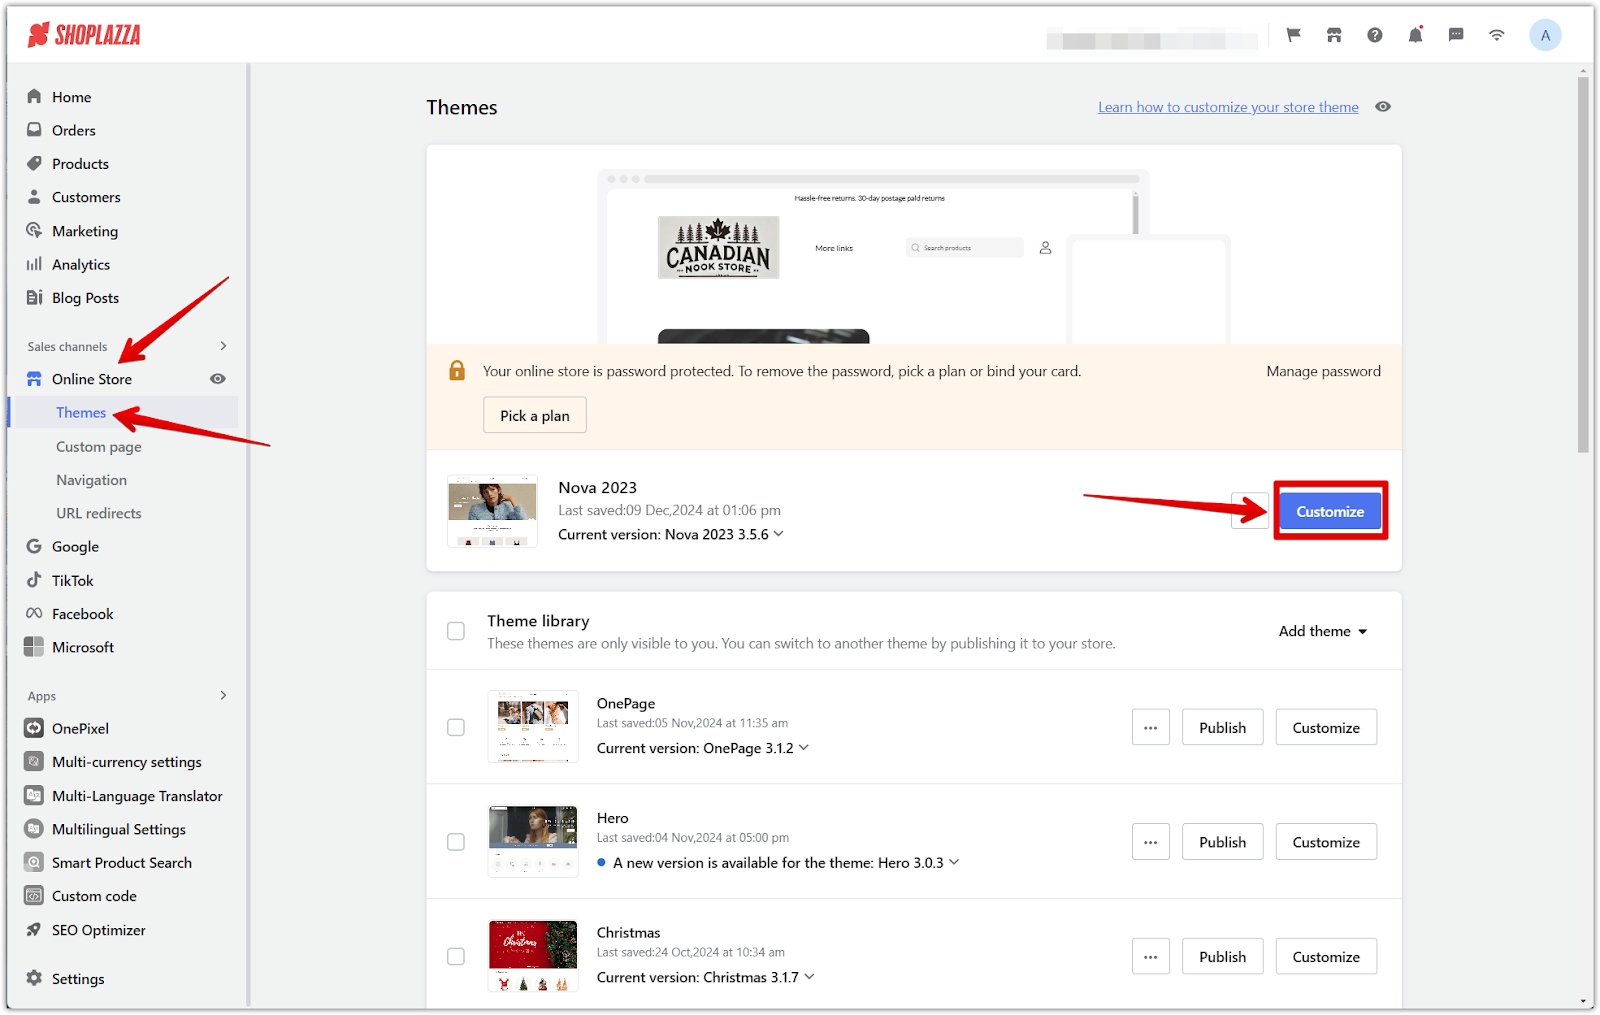
1. Access the theme editor: From your Shoplazza admin > Online store > Themes, click Customize next to the target theme.
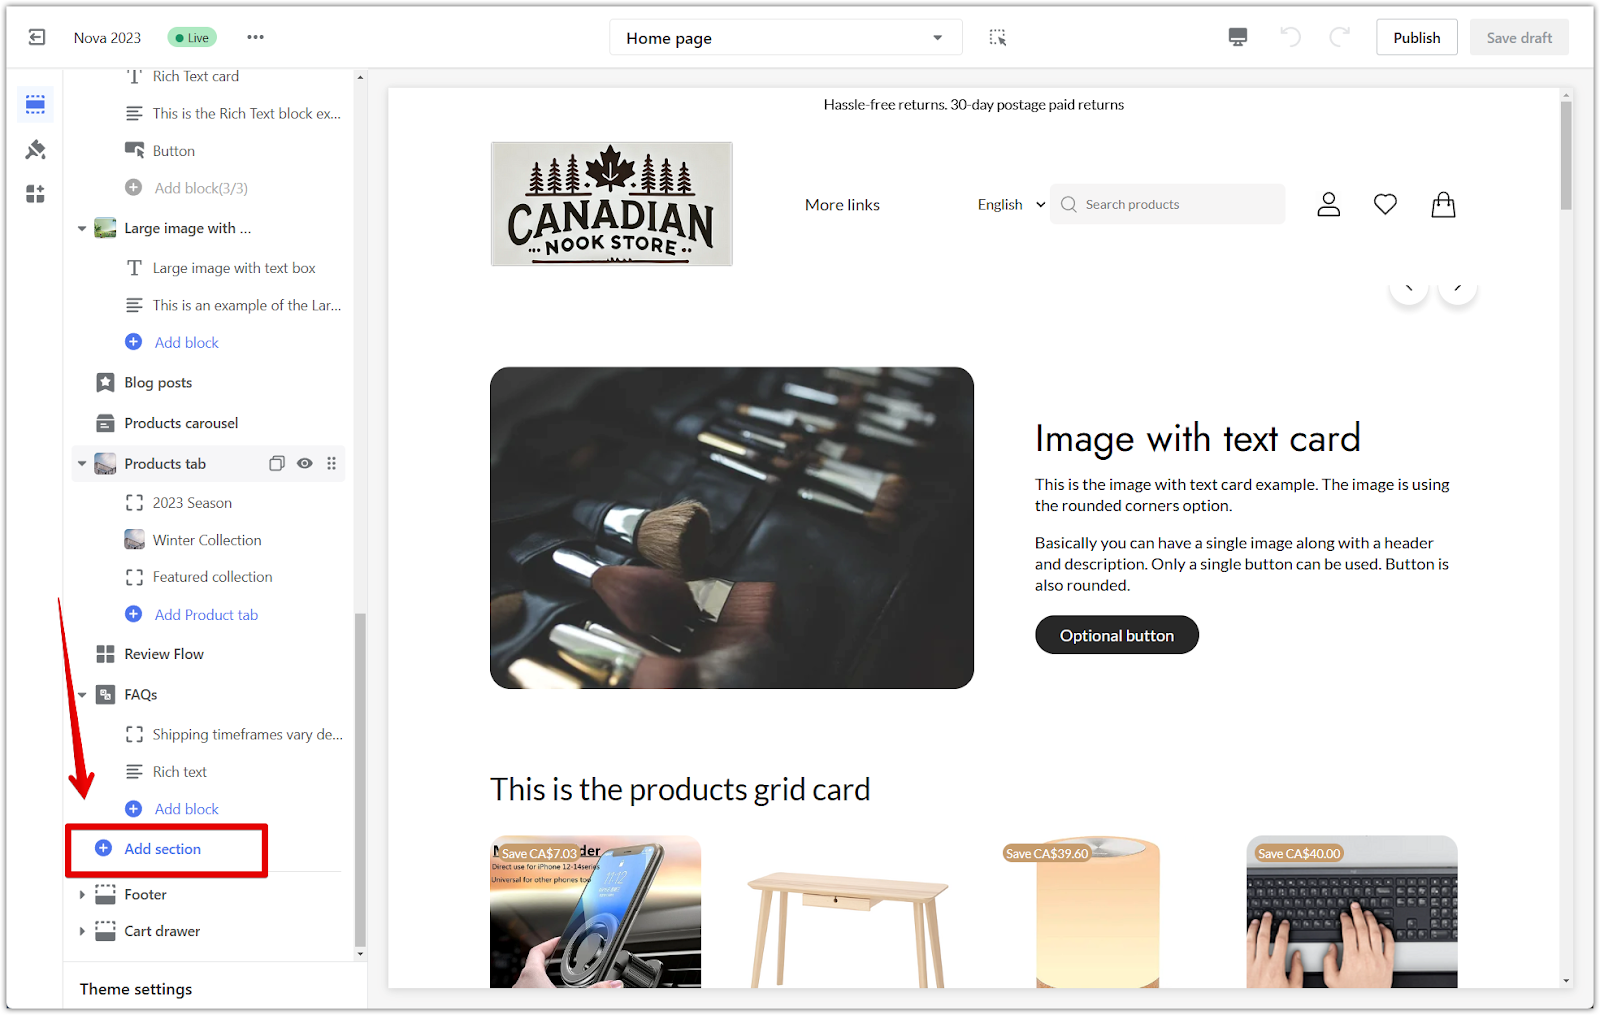
2. Add the section: Scroll down and click Add section to view more available options.
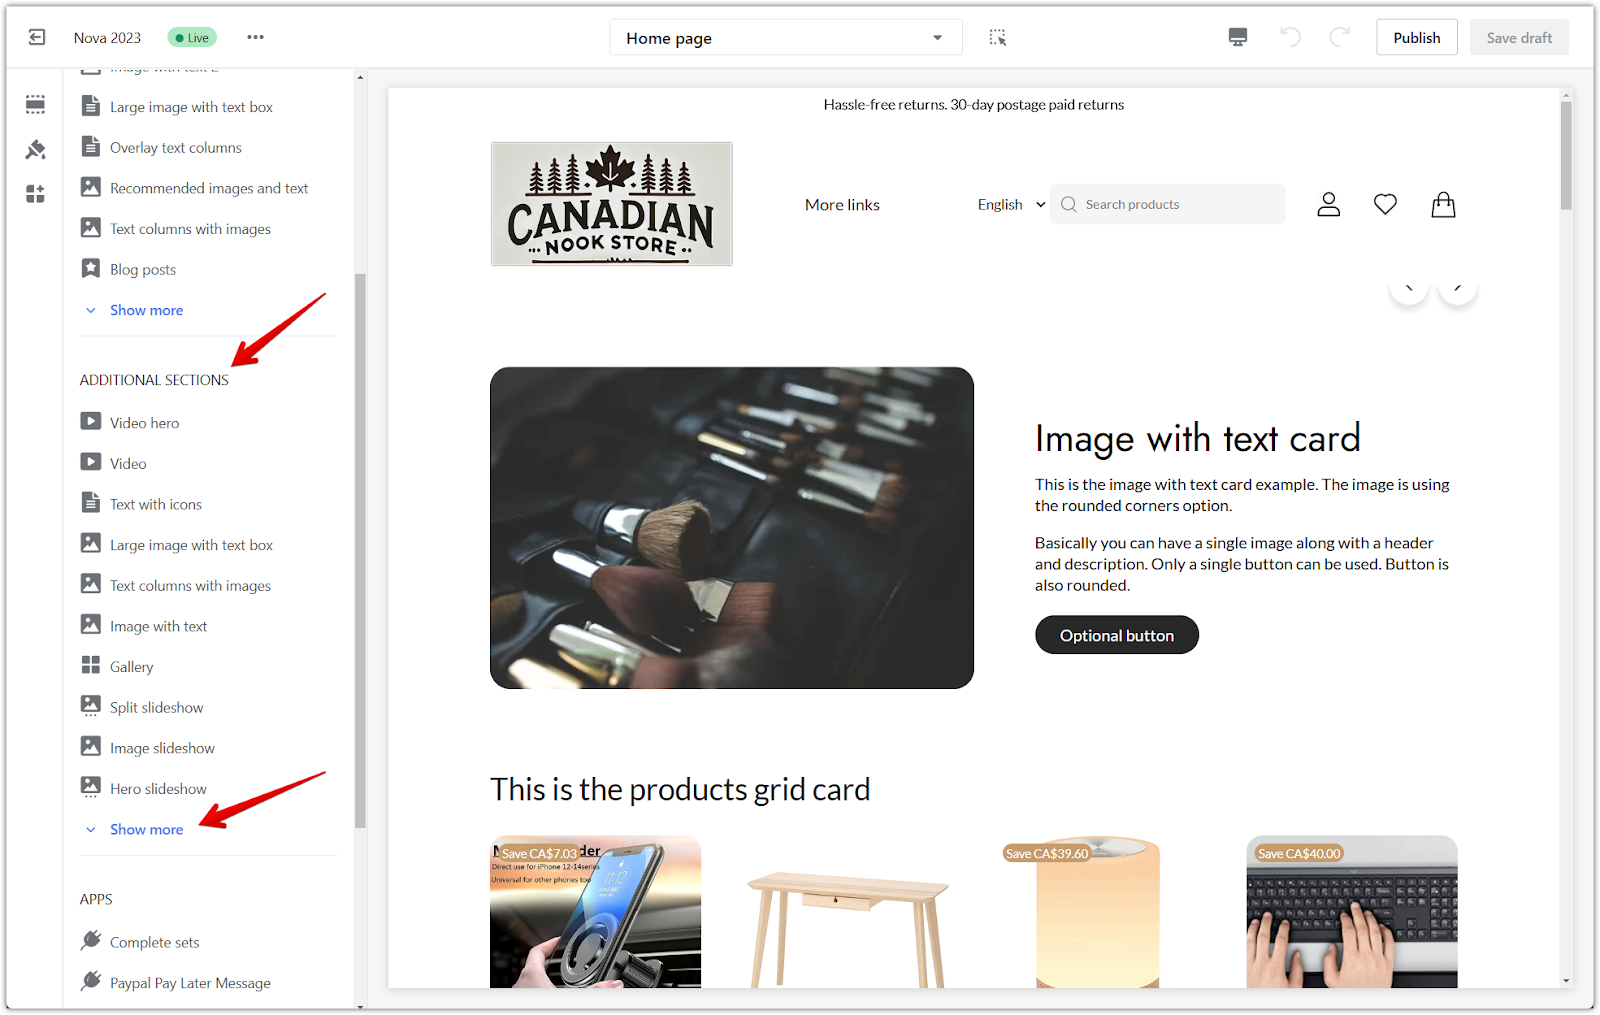
3. Locate the newsletter block: Under Additional sections, click Show more, and find the Newsletter block.
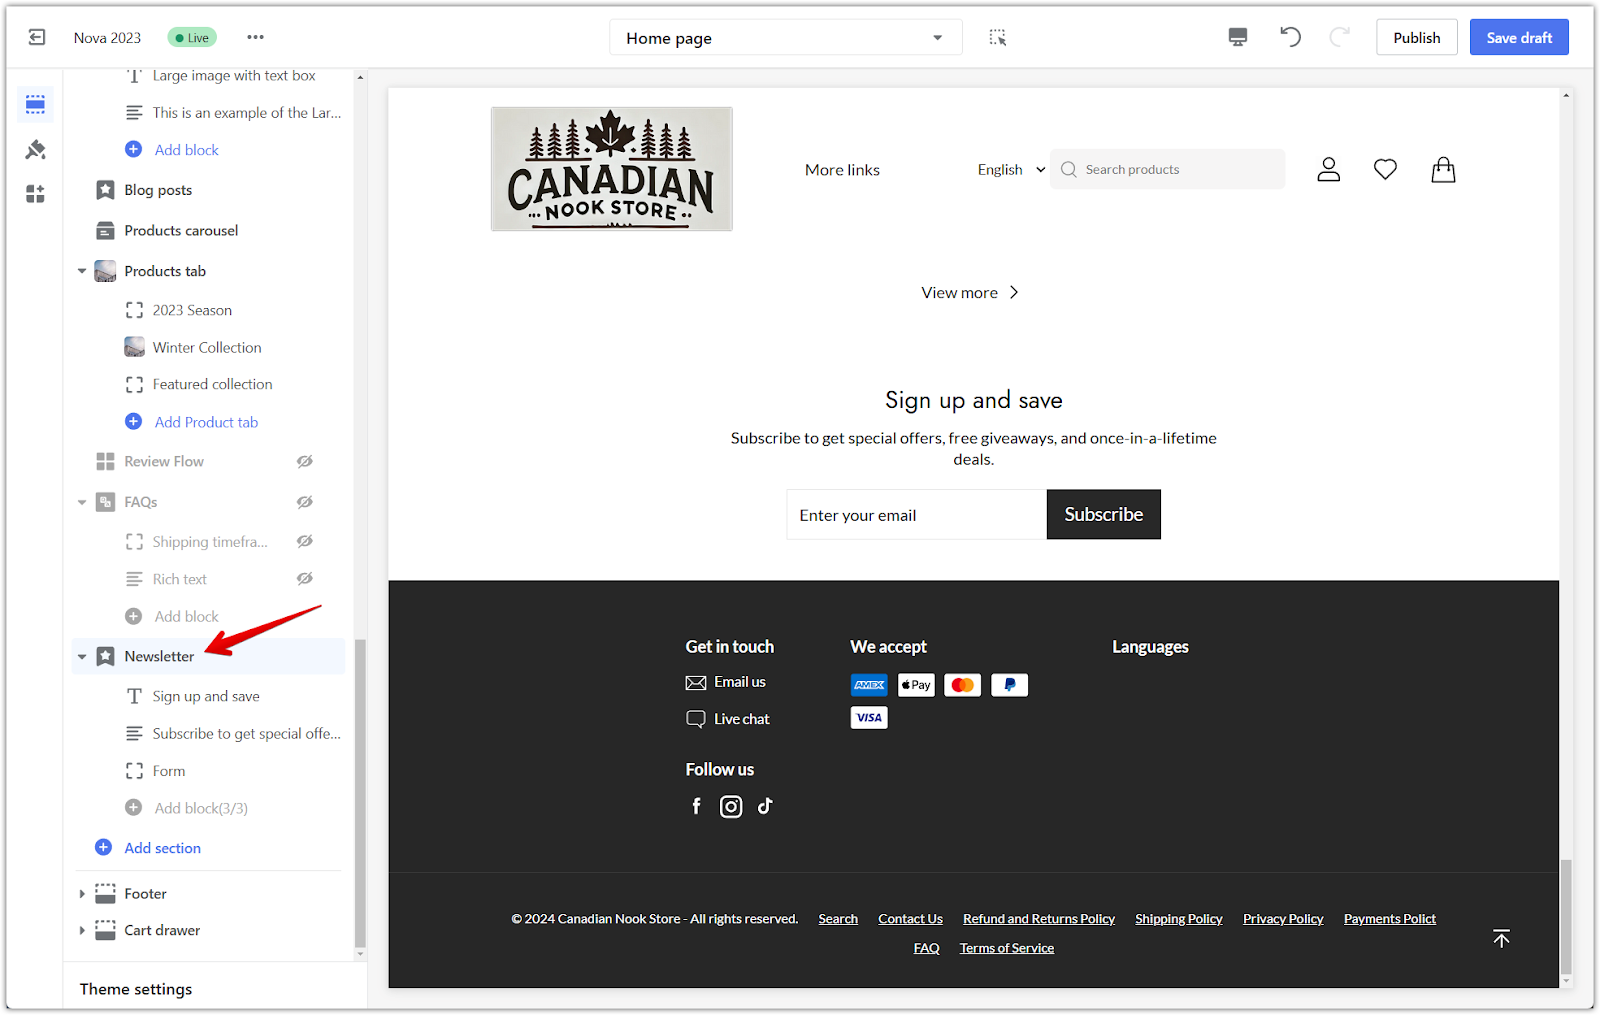
Setting up your newsletter section
After adding the newsletter section, configure its details by accessing the settings panel.
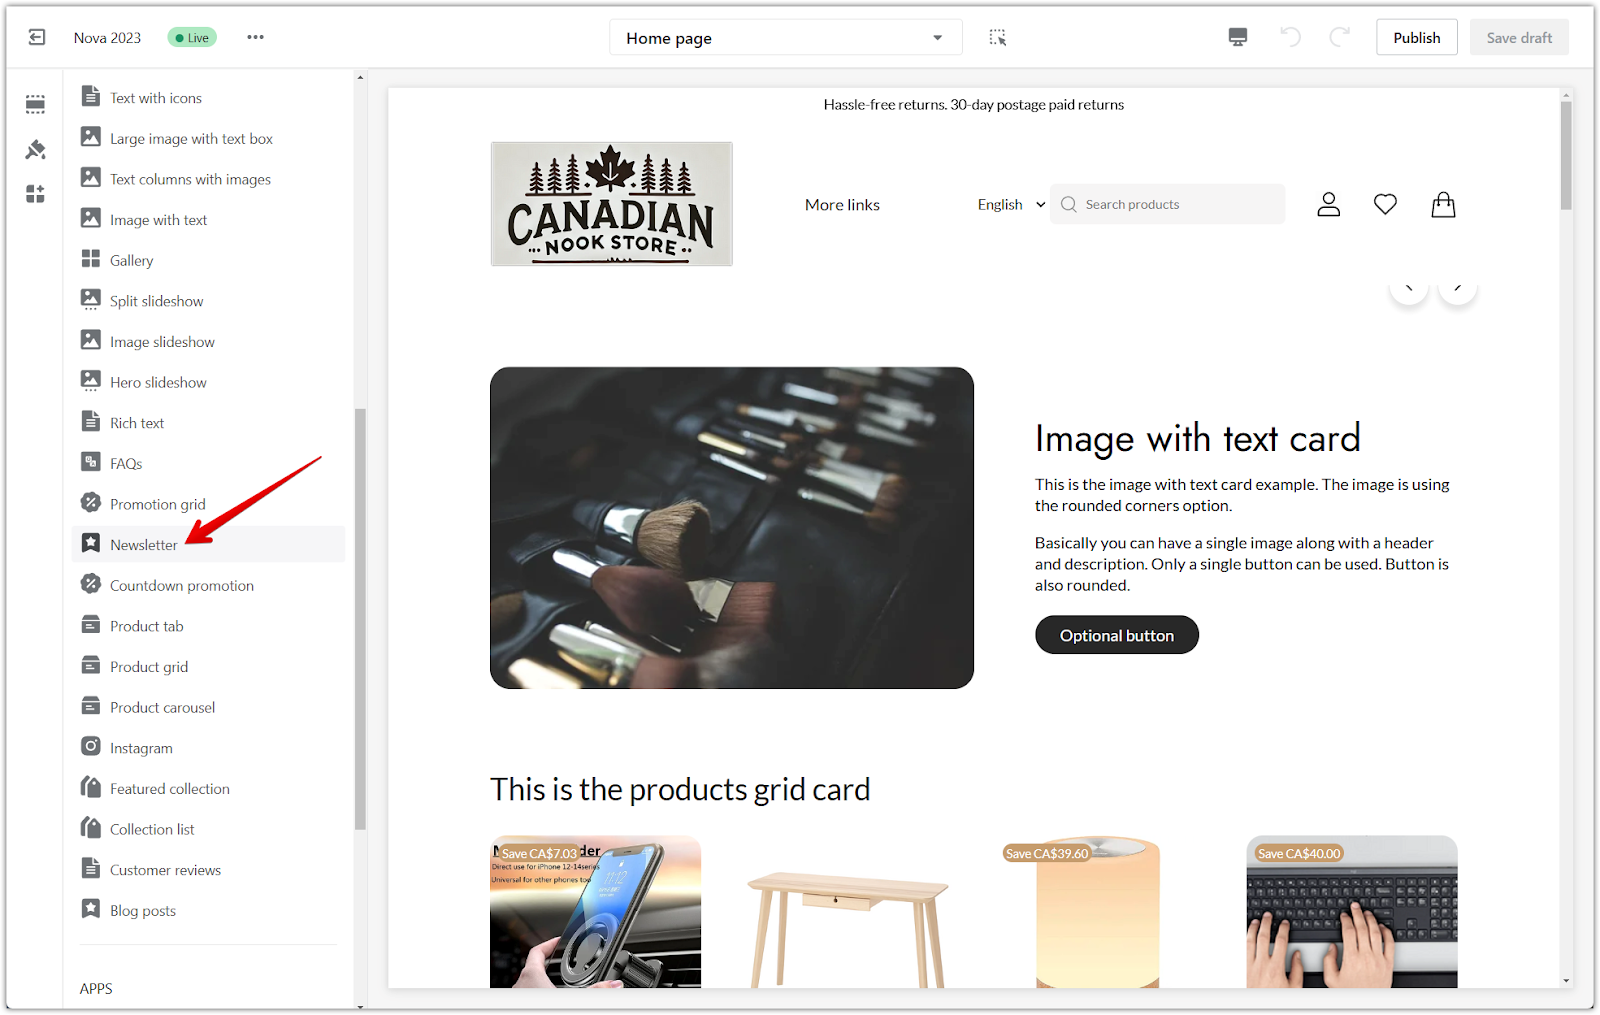
1. Access the settings: Click on the Newsletter title to open the settings panel.
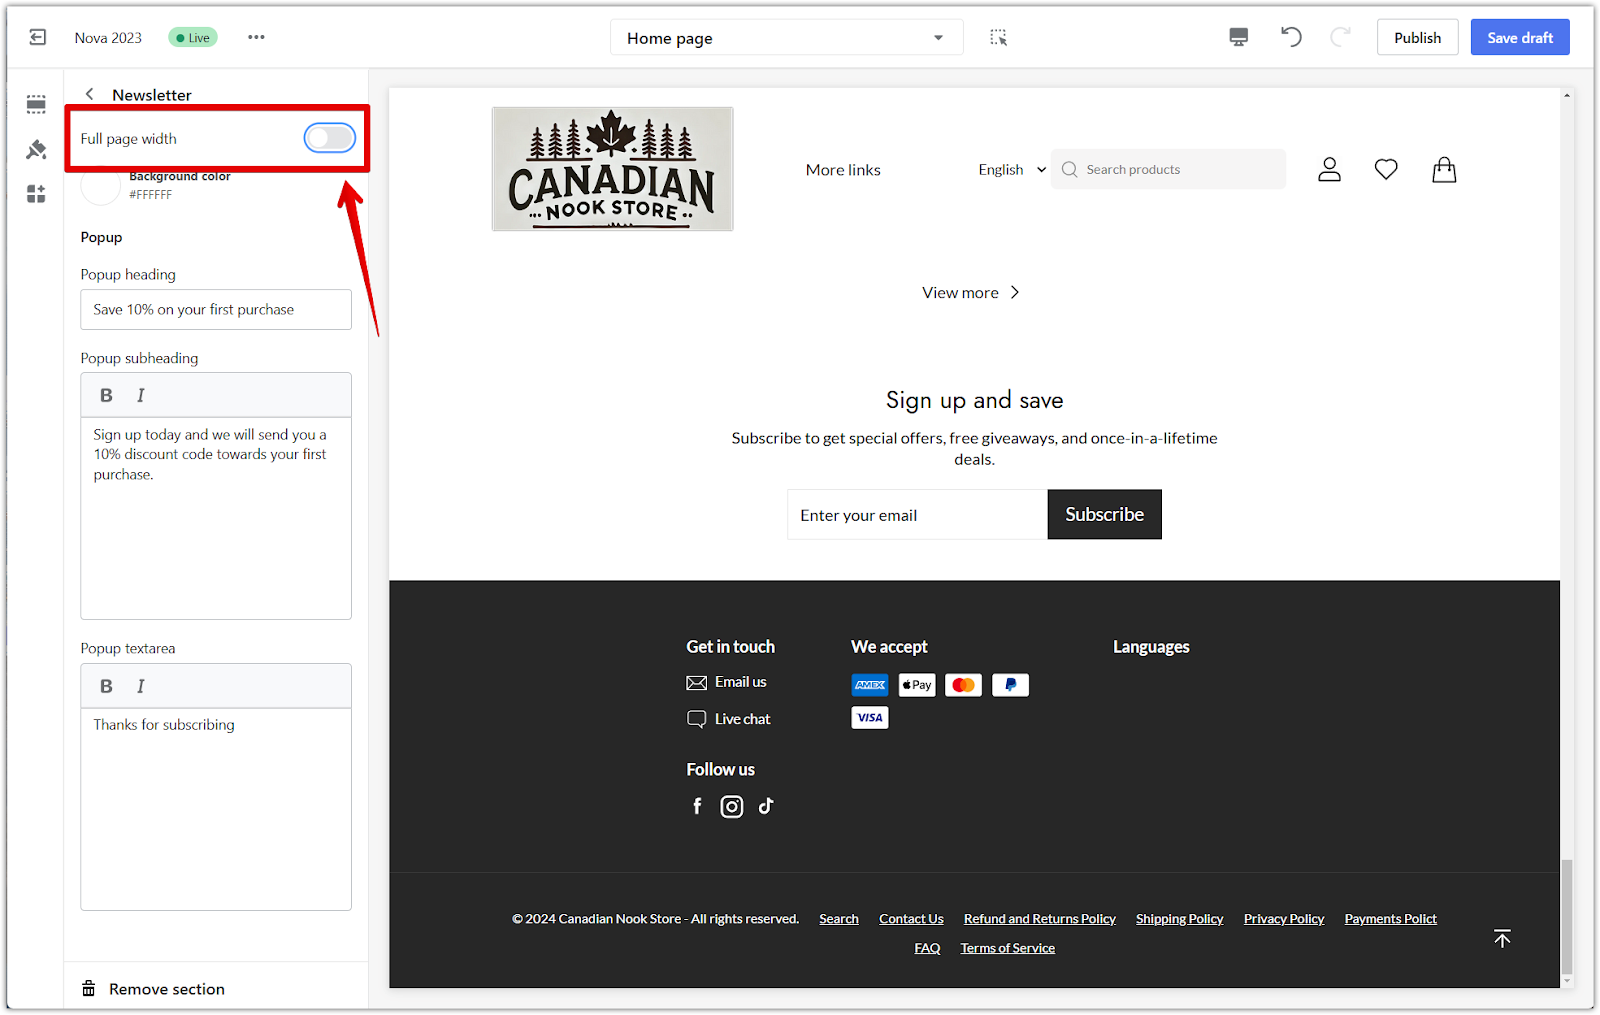
2. Enable full page width: Activate this option to expand the newsletter section across the entire screen.
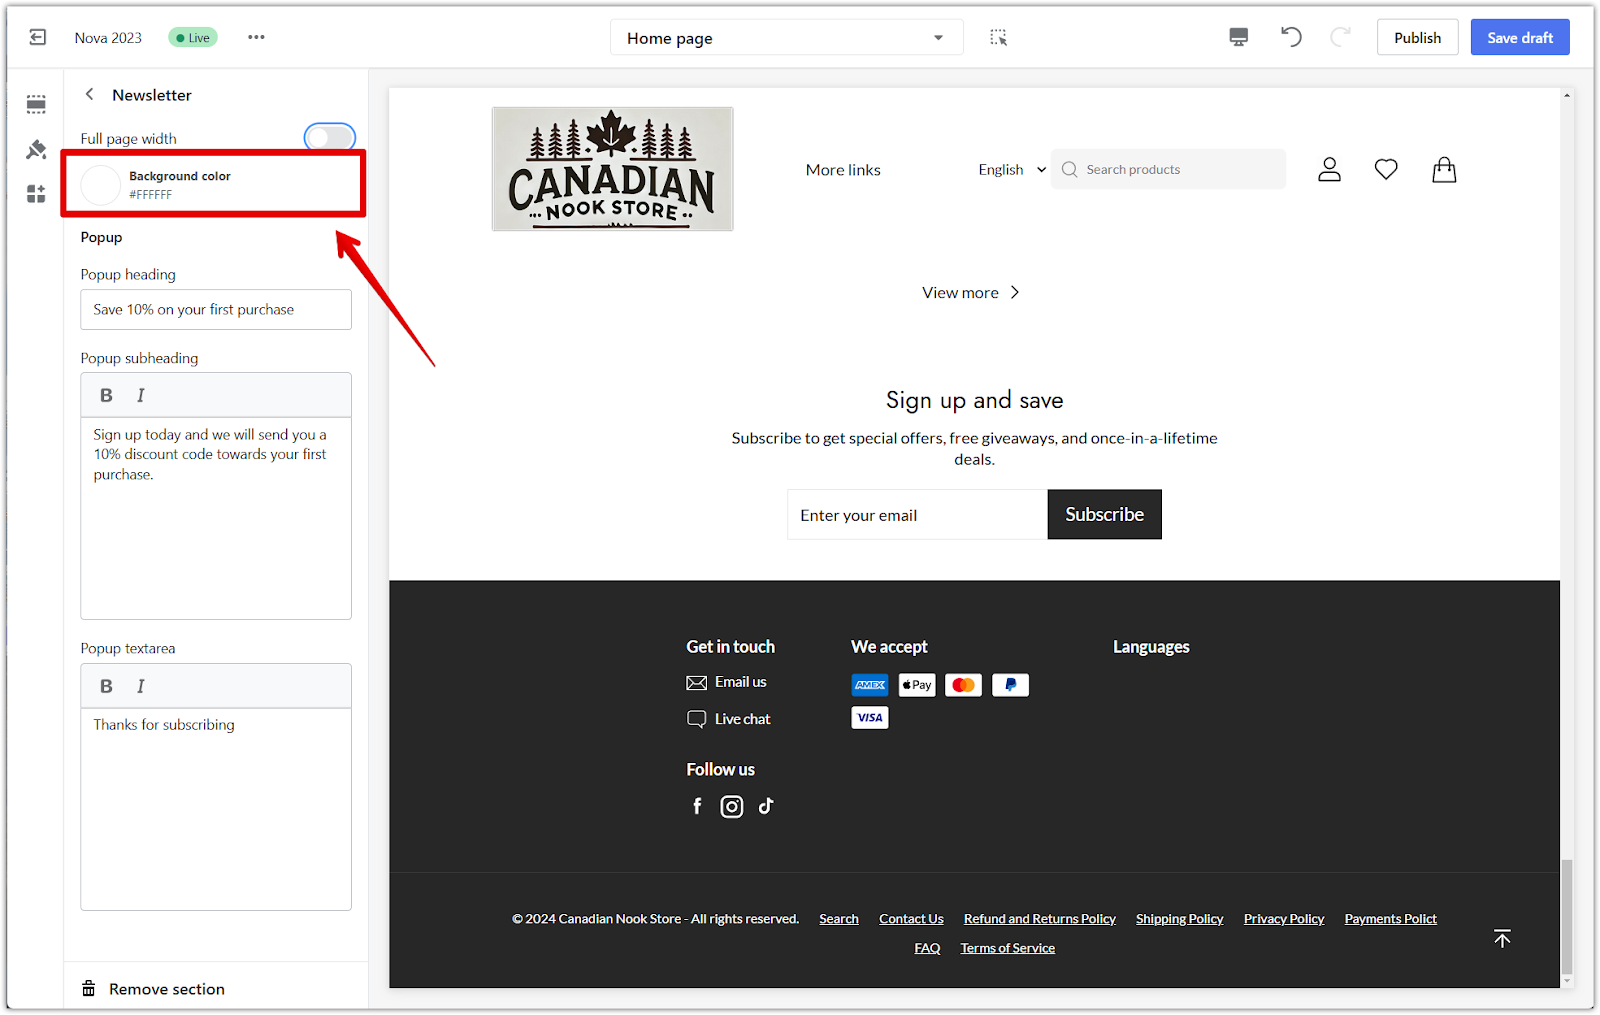
3. Customize colors: Use the color palette to match the appearance of the newsletter section with your store’s branding.
4. Customize the pop-up:
- Popup heading: Edit the title of the subscription message.
- Popup subheading: Add a brief description or incentive to encourage sign-ups, such as a discount offer.
- Popup text area: Customize the confirmation message that customers see after subscribing.

Customizing blocks in the newsletter section
The newsletter section is divided into customizable blocks. Clicking on the title of each block opens its specific settings.
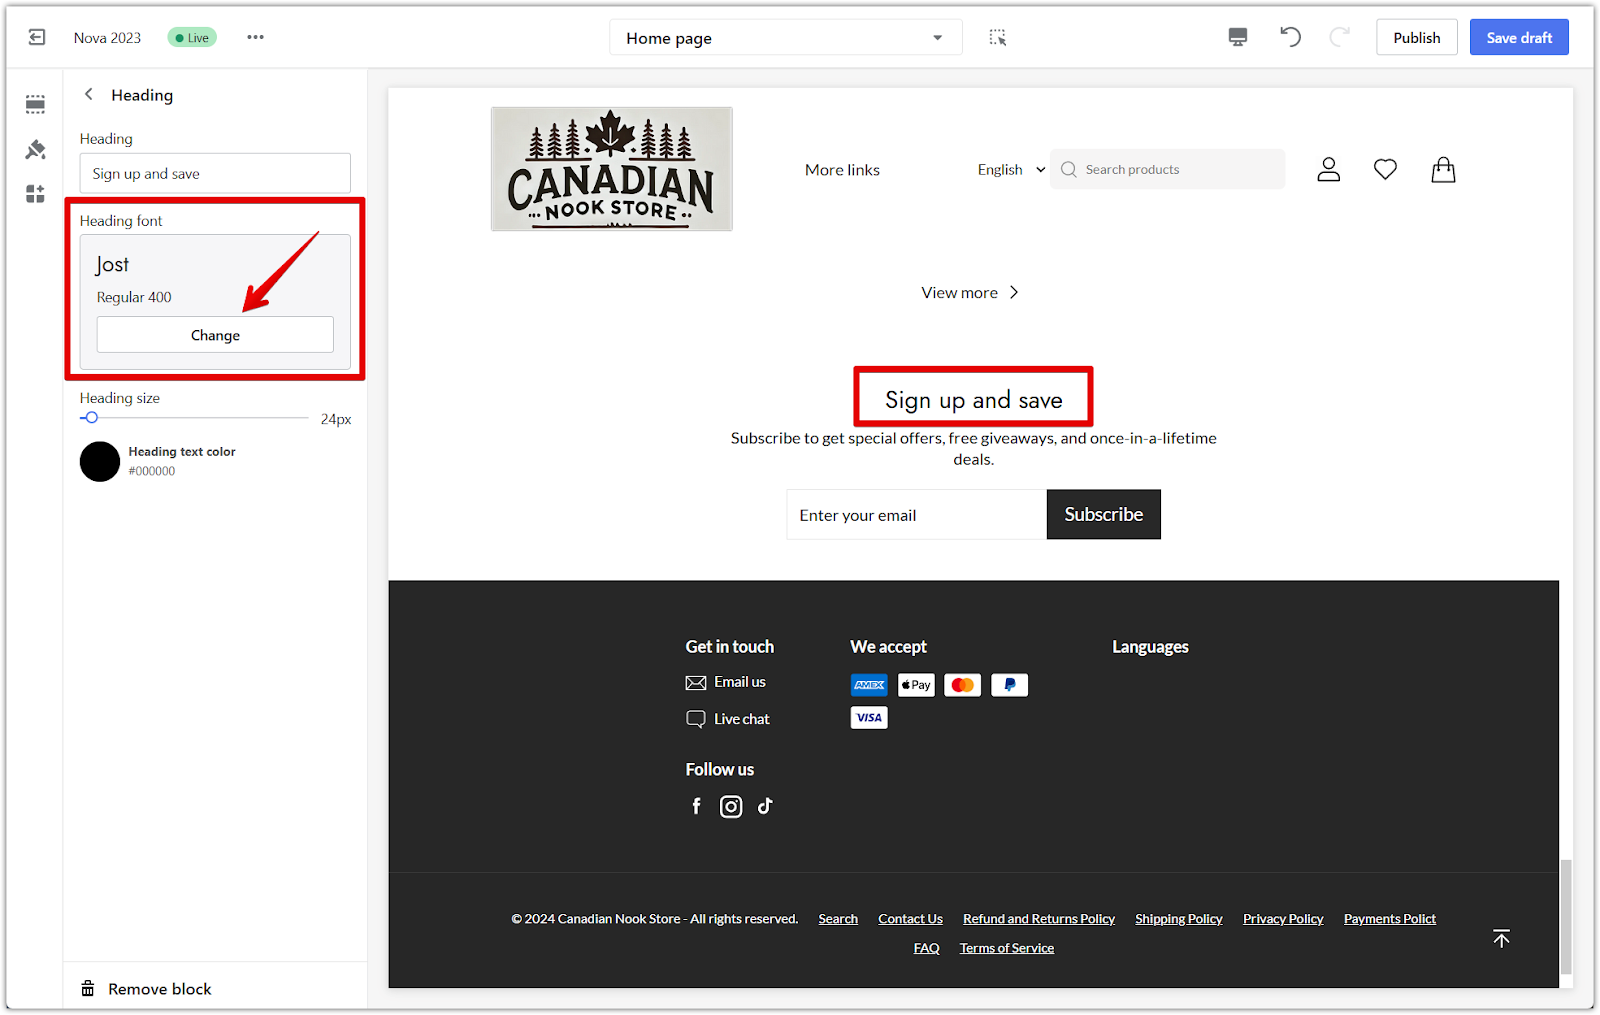
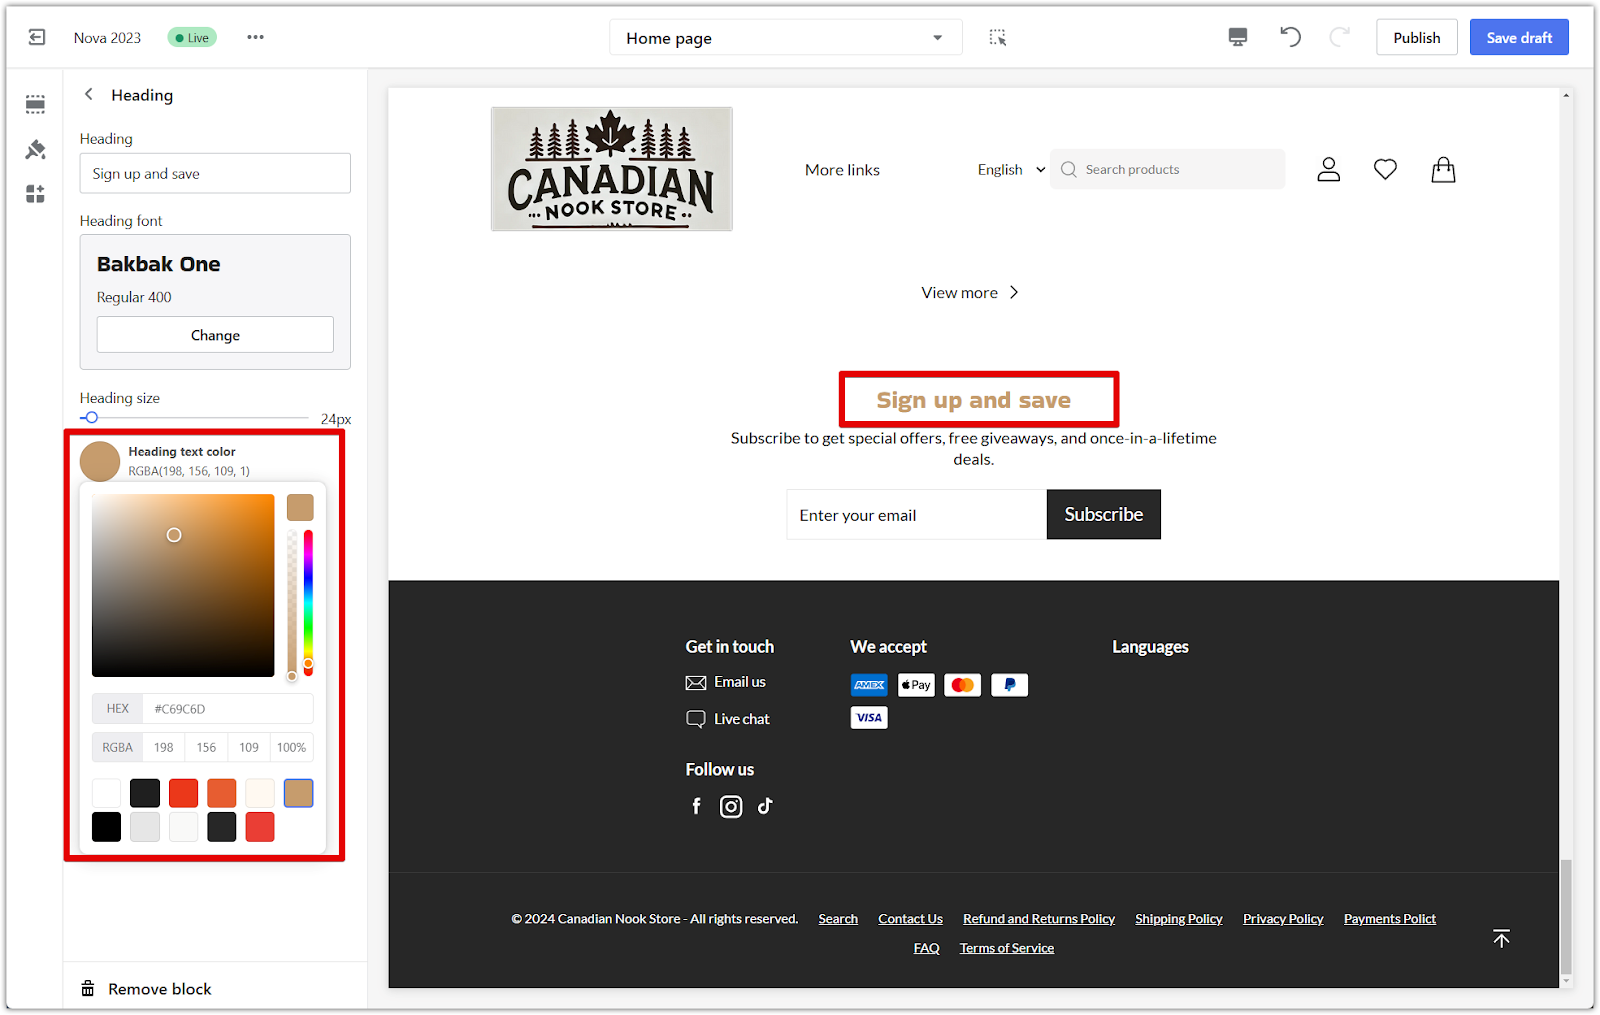
1. Heading block:
- Click on the Heading block to edit the title text (e.g., "Sign up and save").
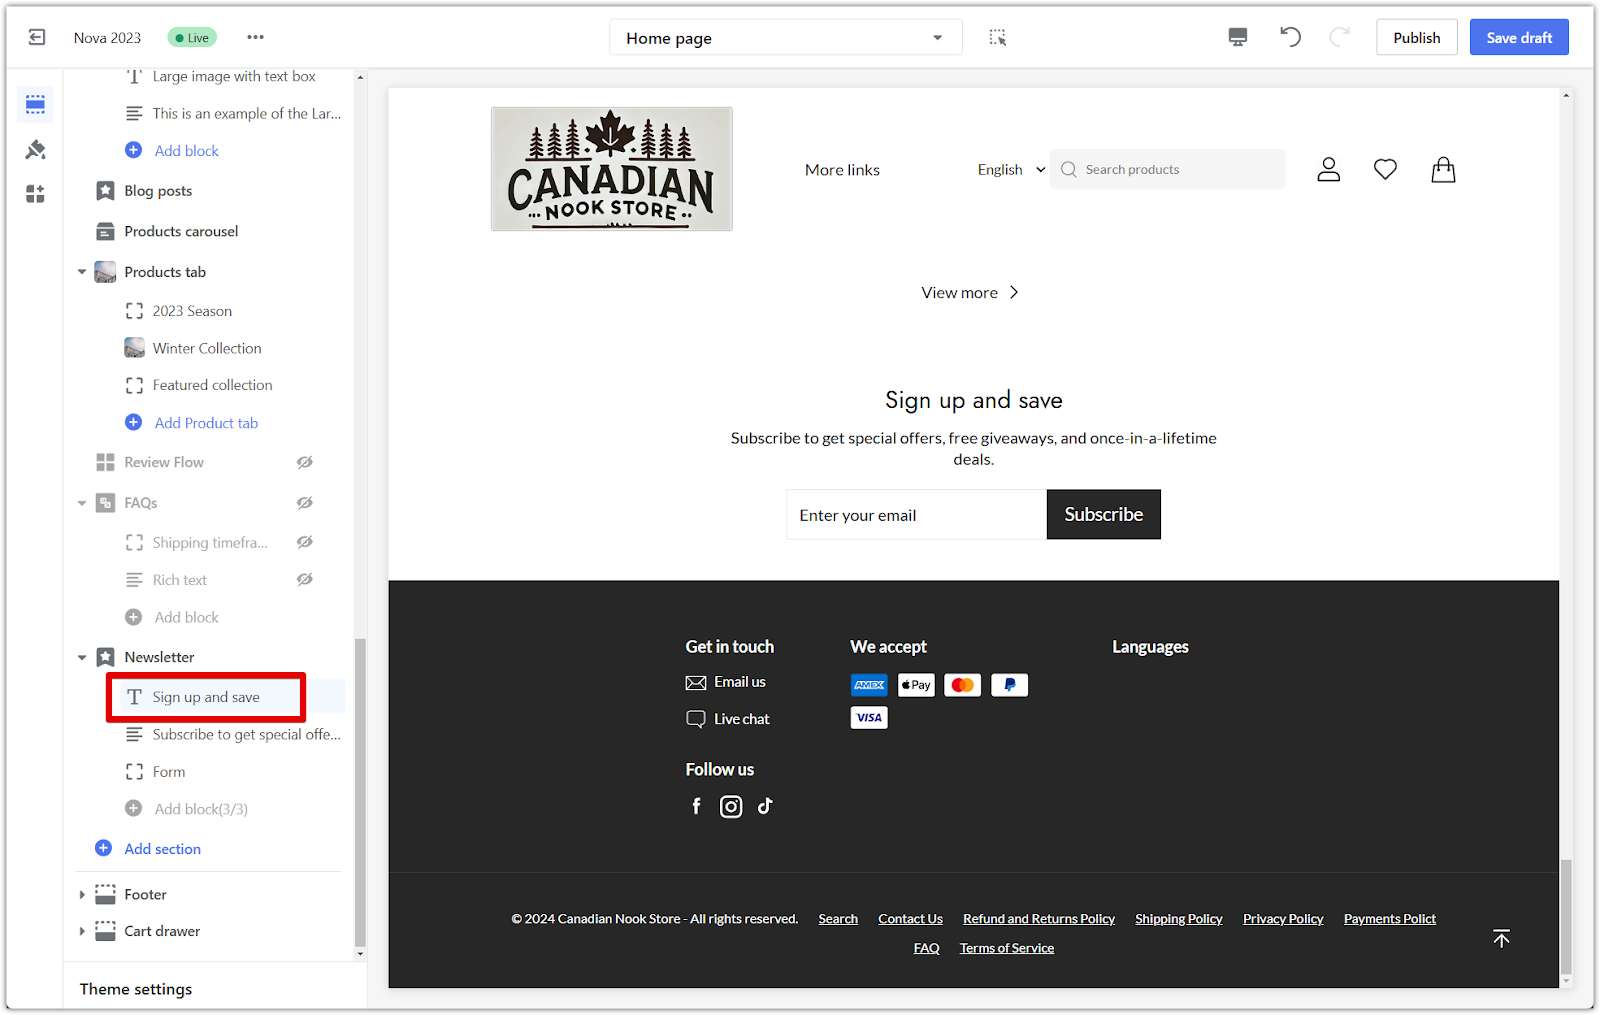
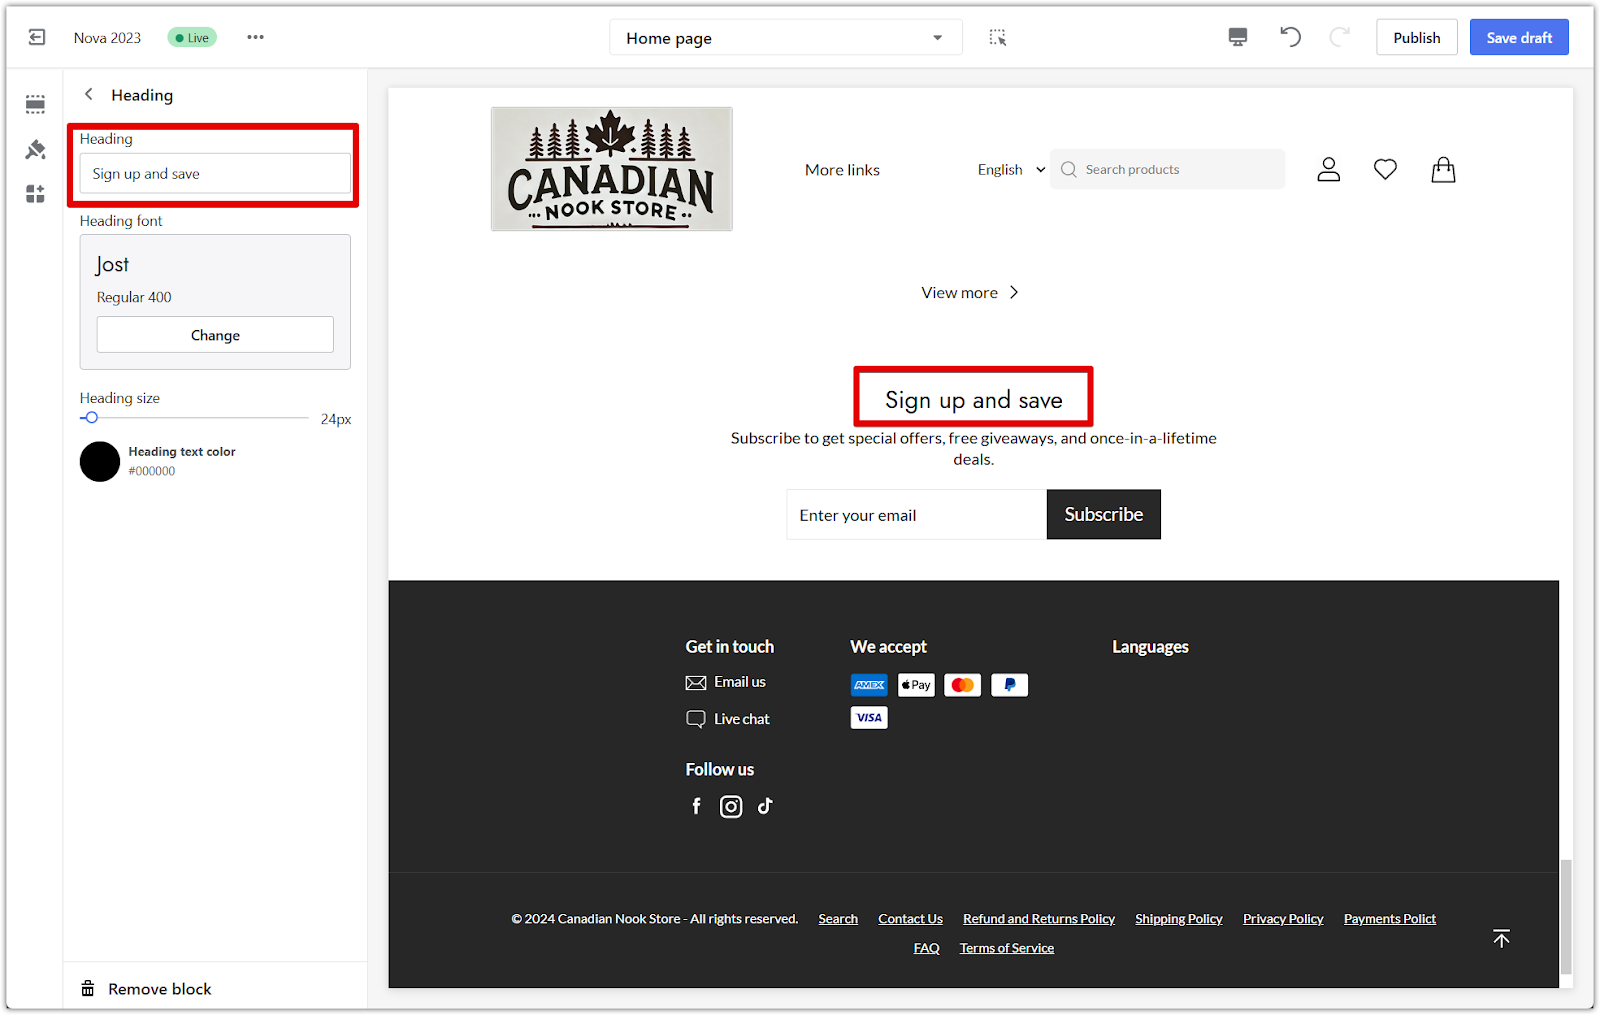
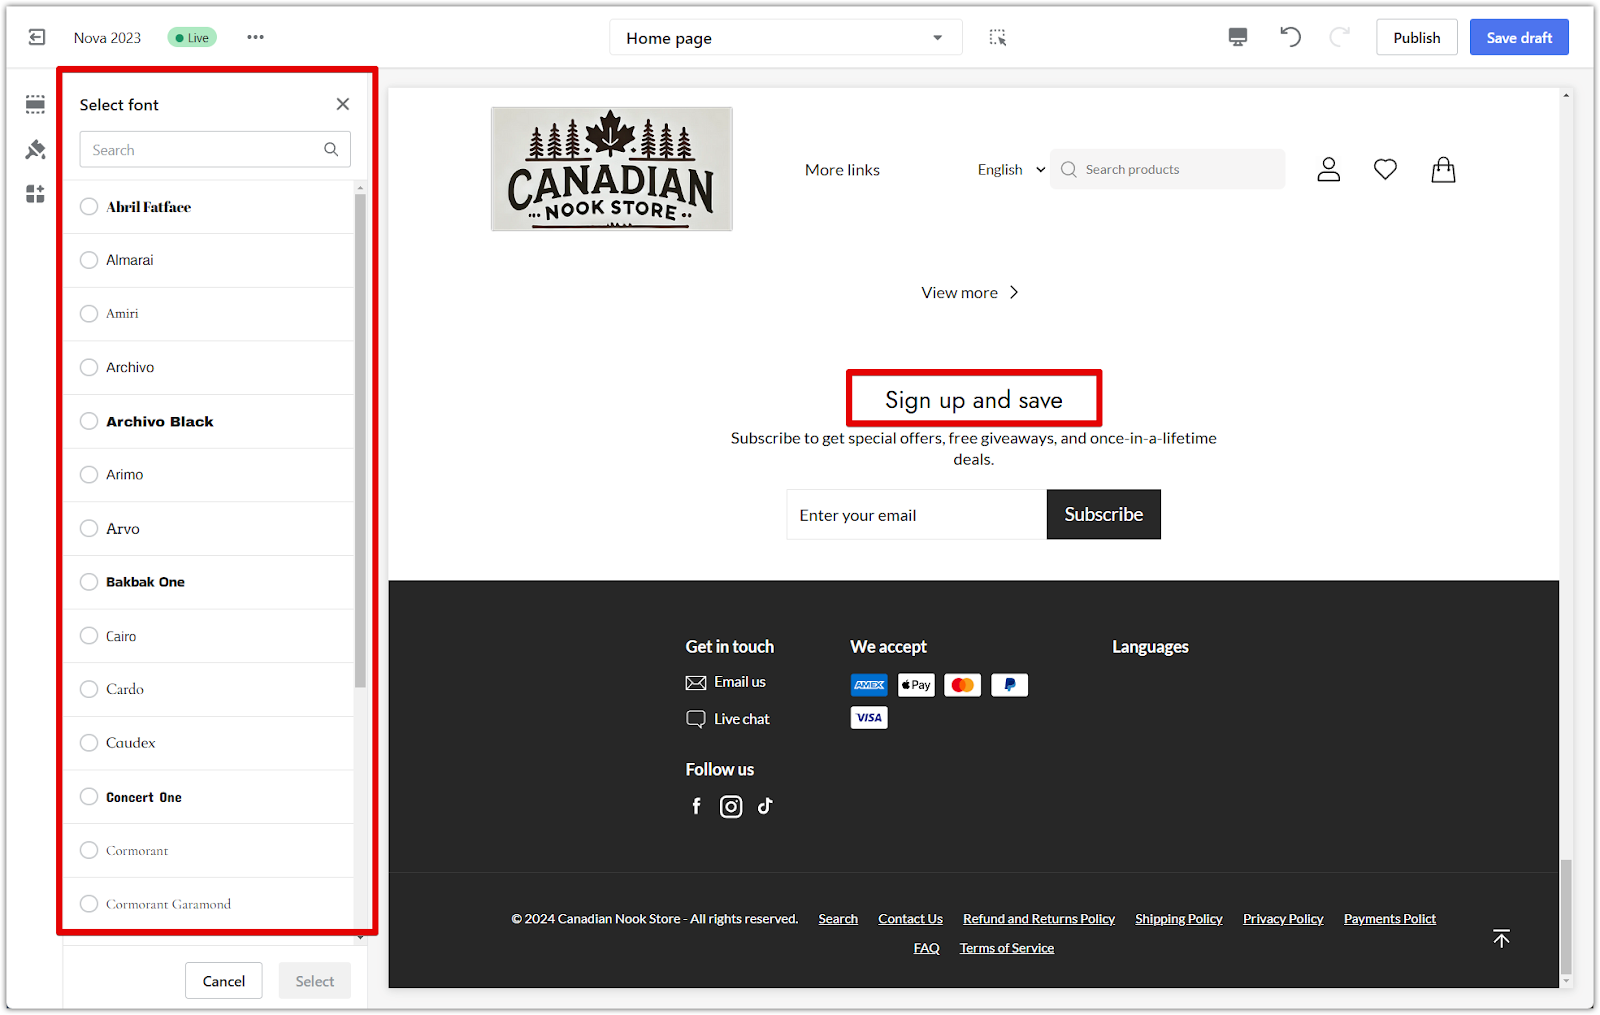
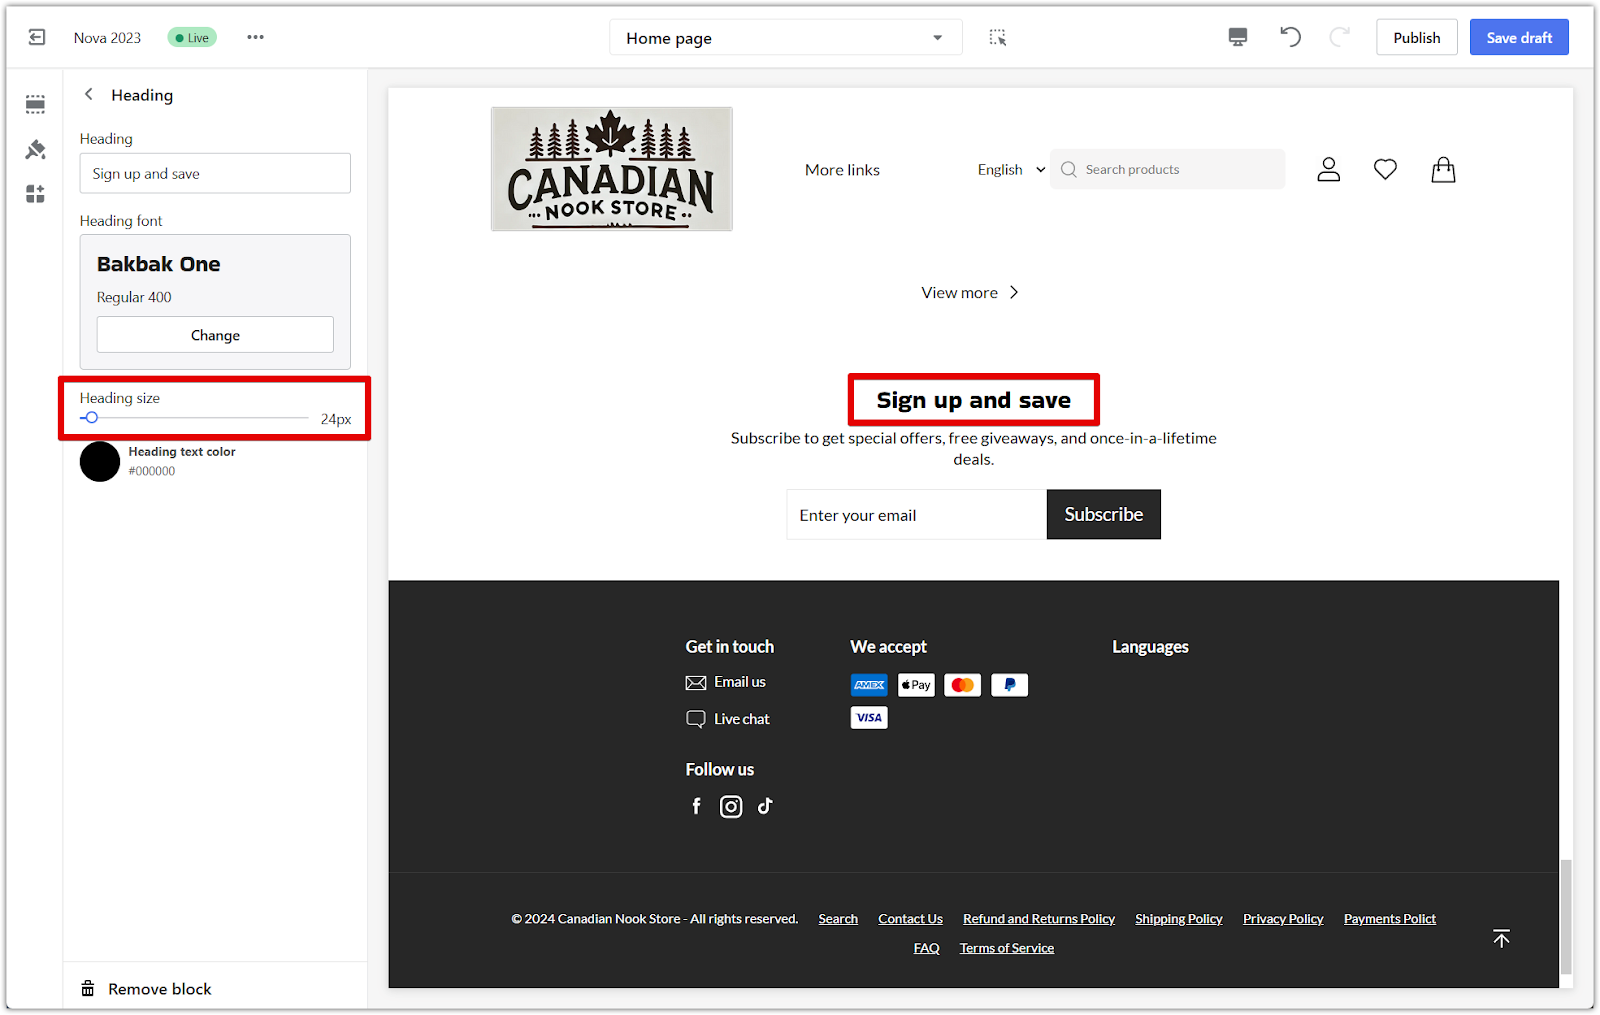
- Use the Change button to select a font style and adjust the size with the slider.
- Customize the heading text color to match your theme.
- Text block:
- Click on the Text block to add a short description.

- Edit the content to display details, such as "Subscribe to get special offers, free giveaways, and once-in-a-lifetime deals."
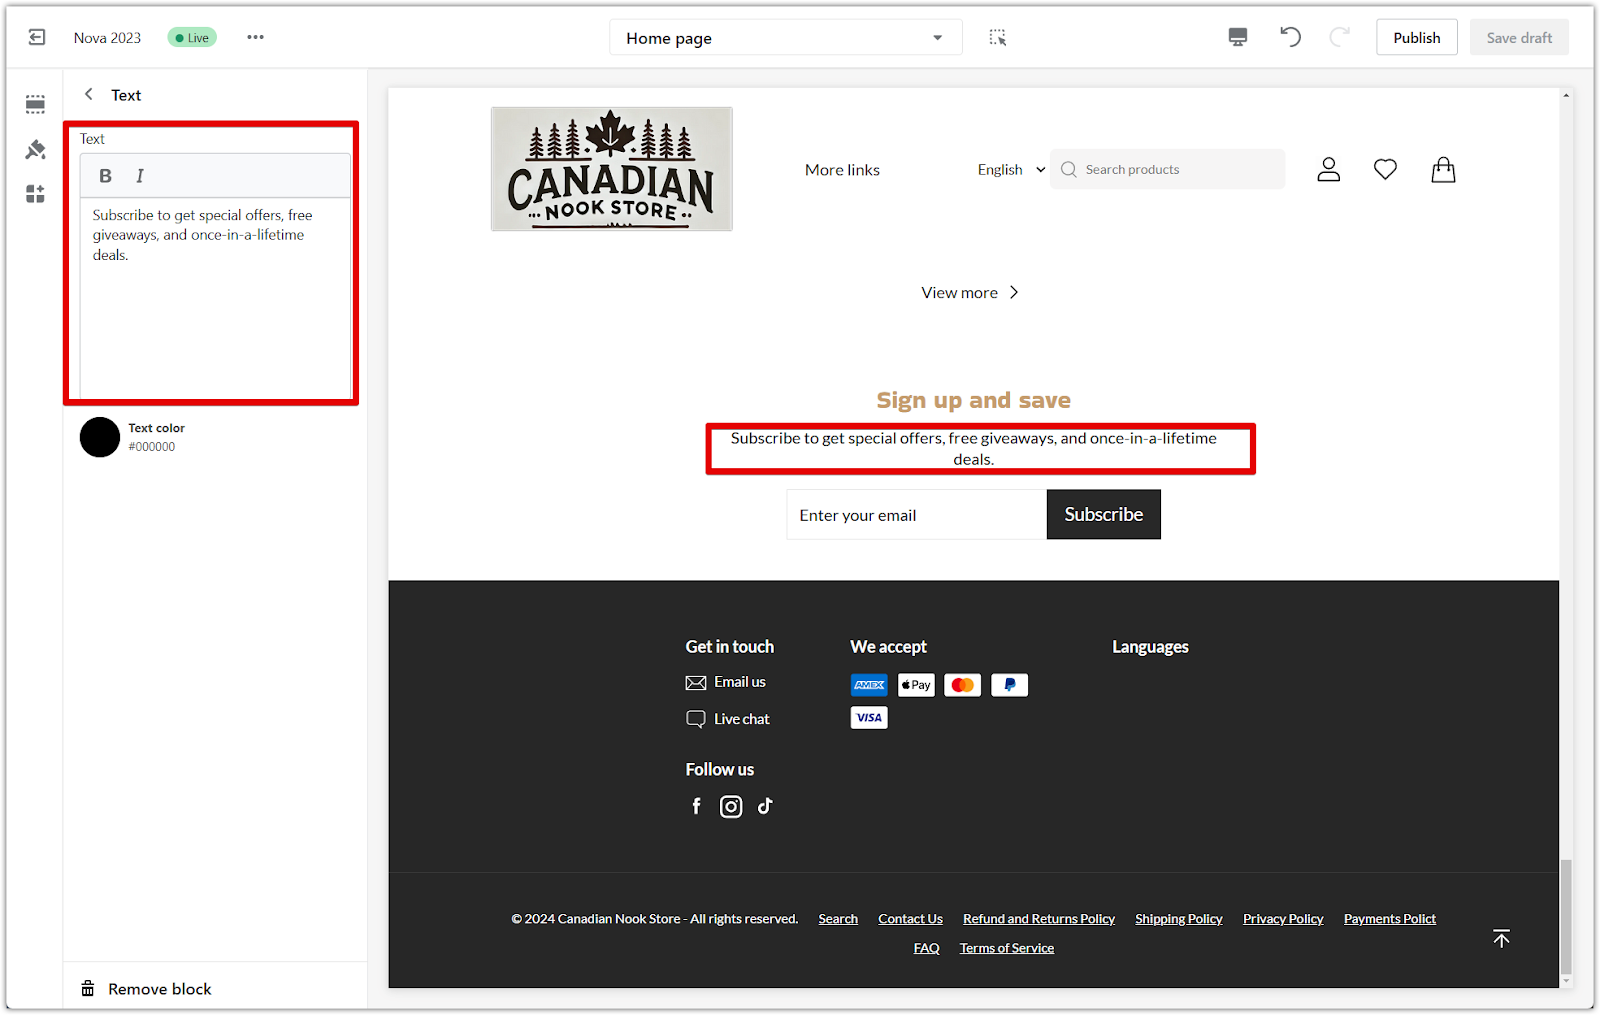
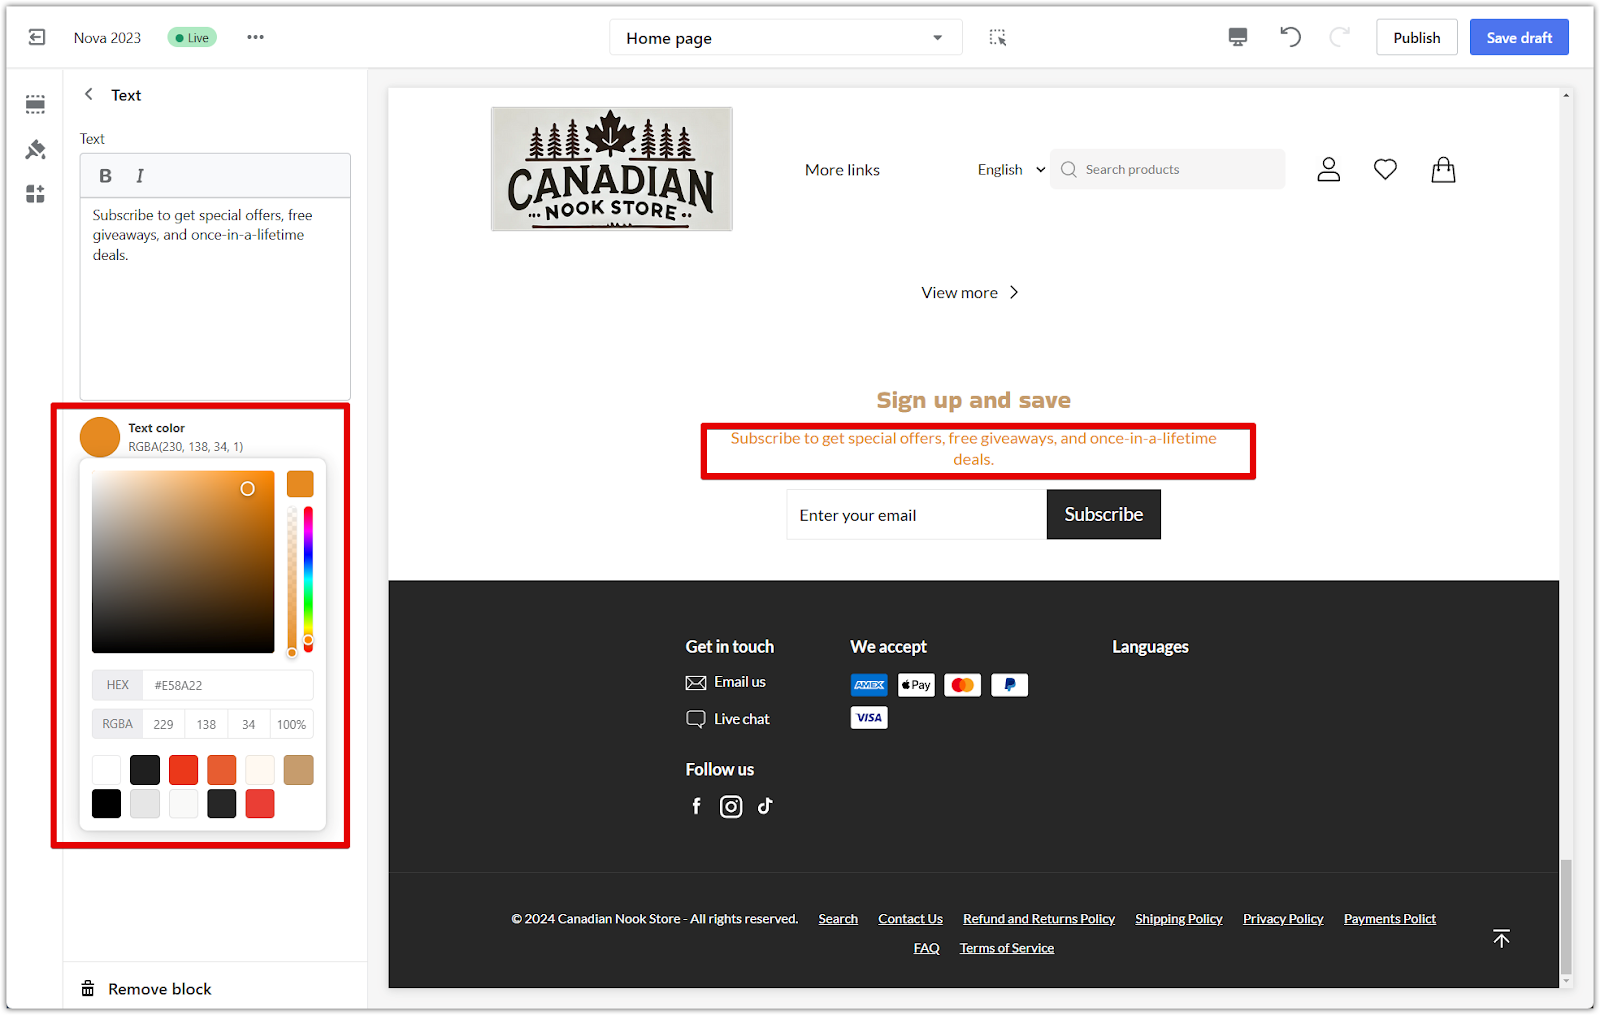
- Adjust the text color to align with your design.
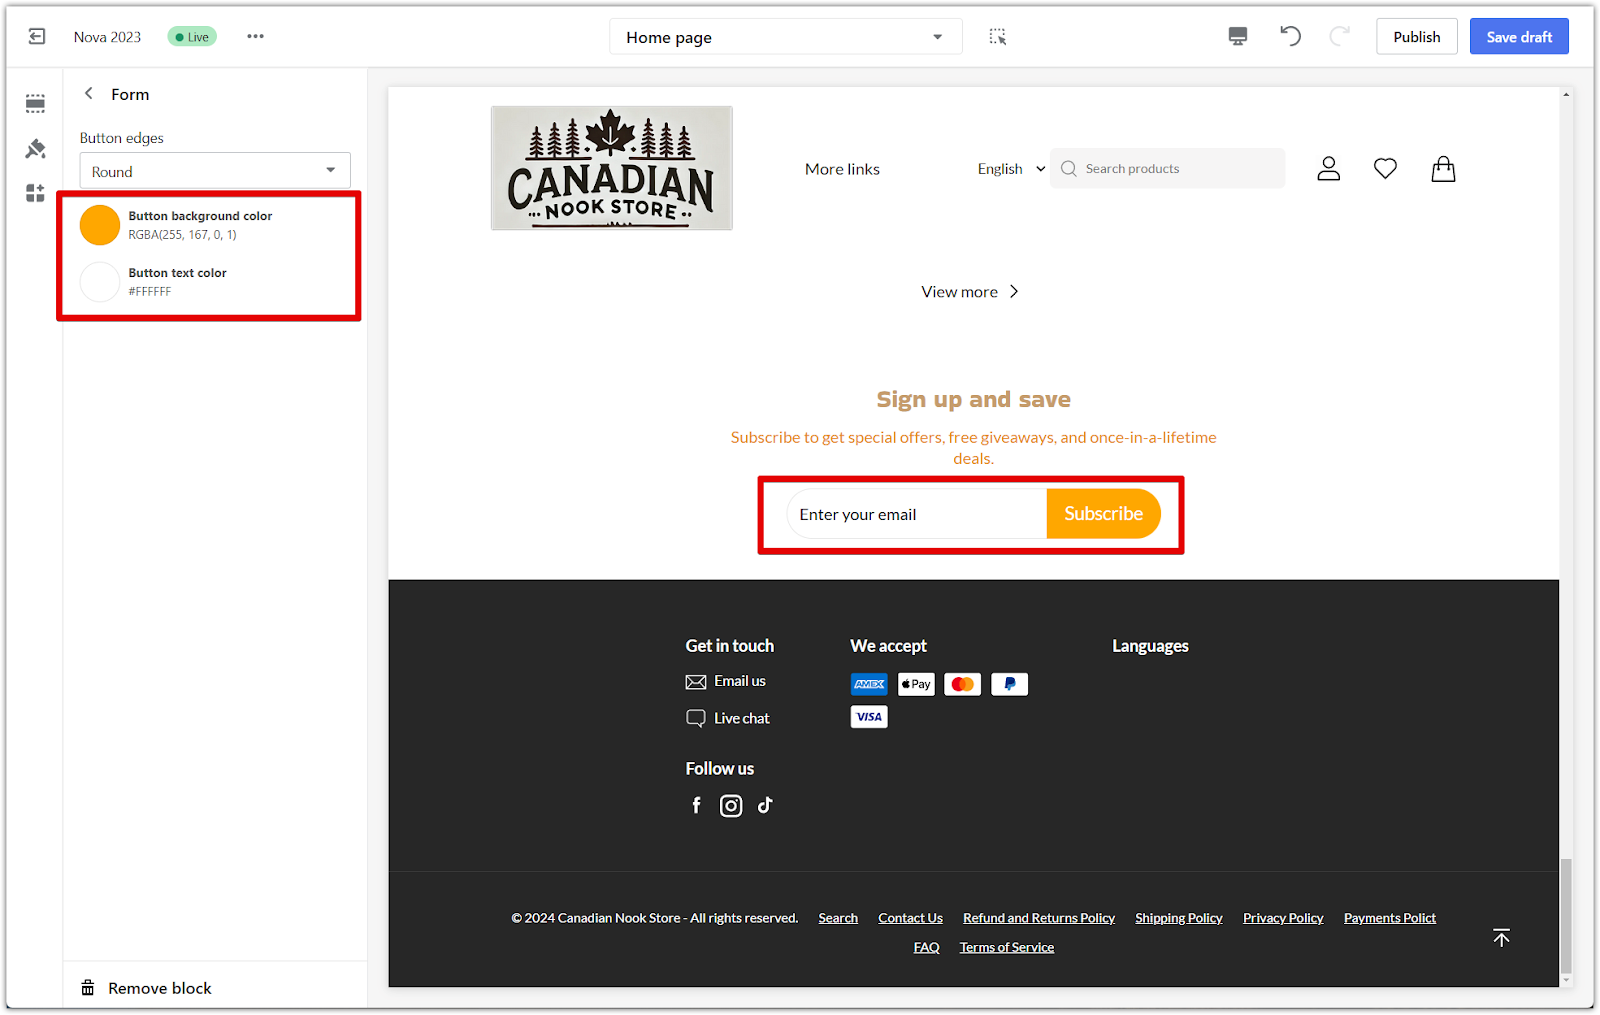
3. Form block:
- Click on the Form block to modify the layout of the subscription button.
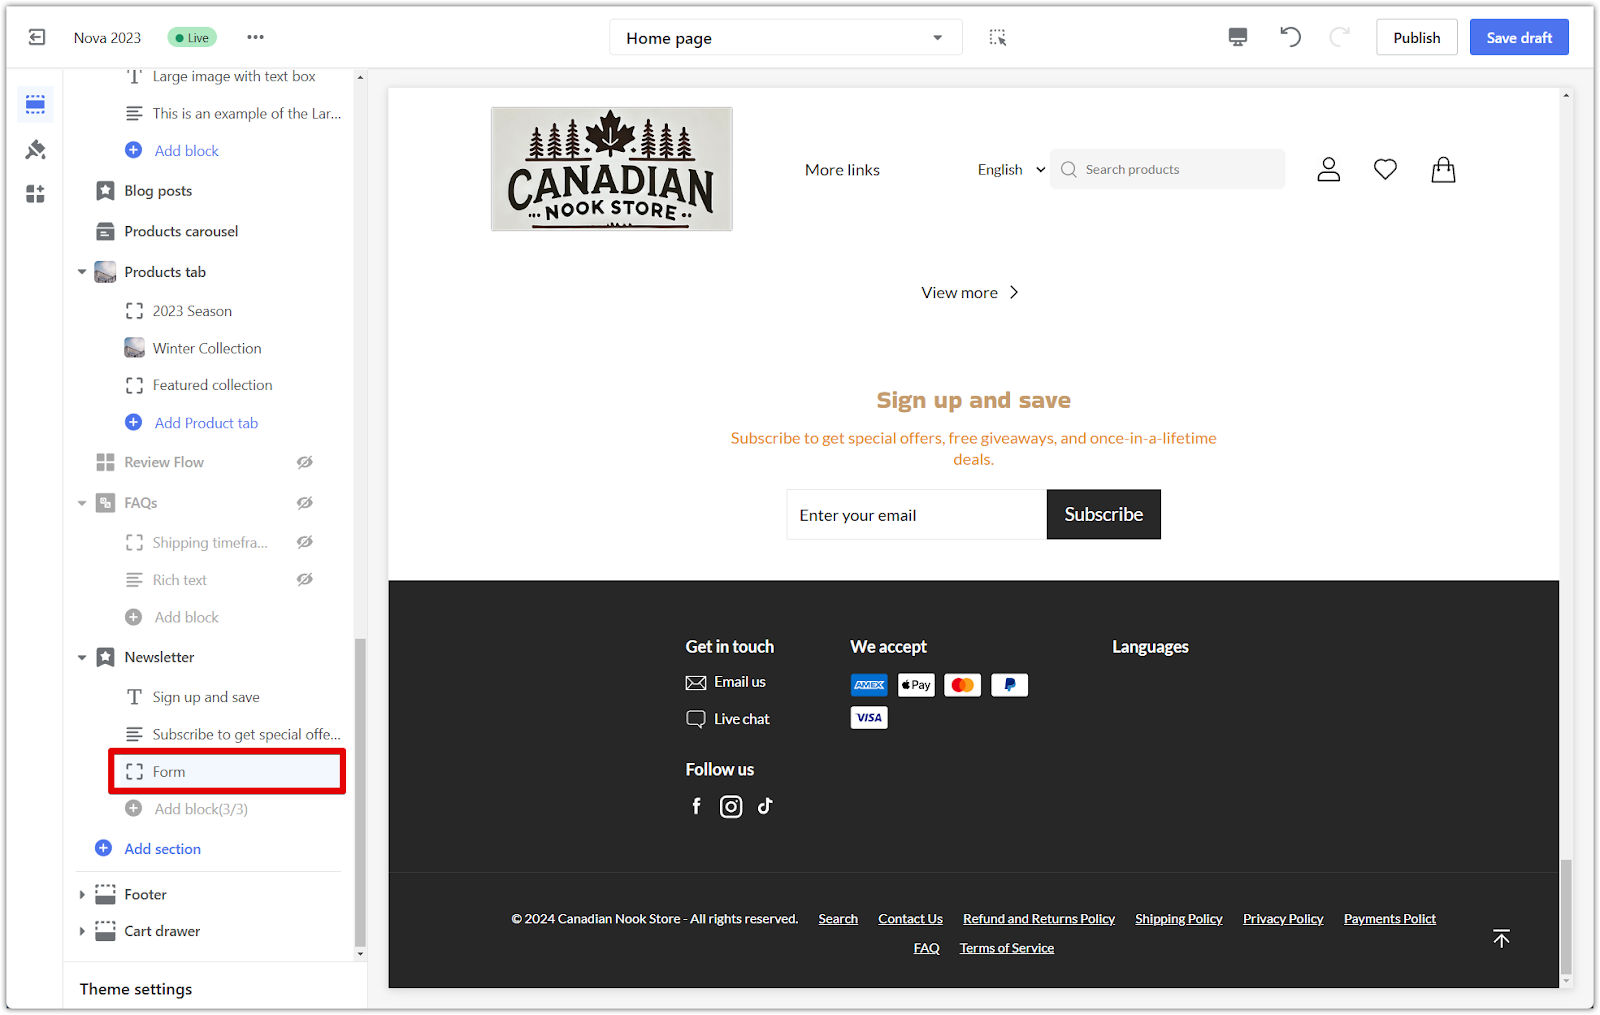
- Choose between three button styles:
- Square: Square with sharp edges.
- Slight round: A button with soft, rounded edges.
- Round: Oval-shaped.
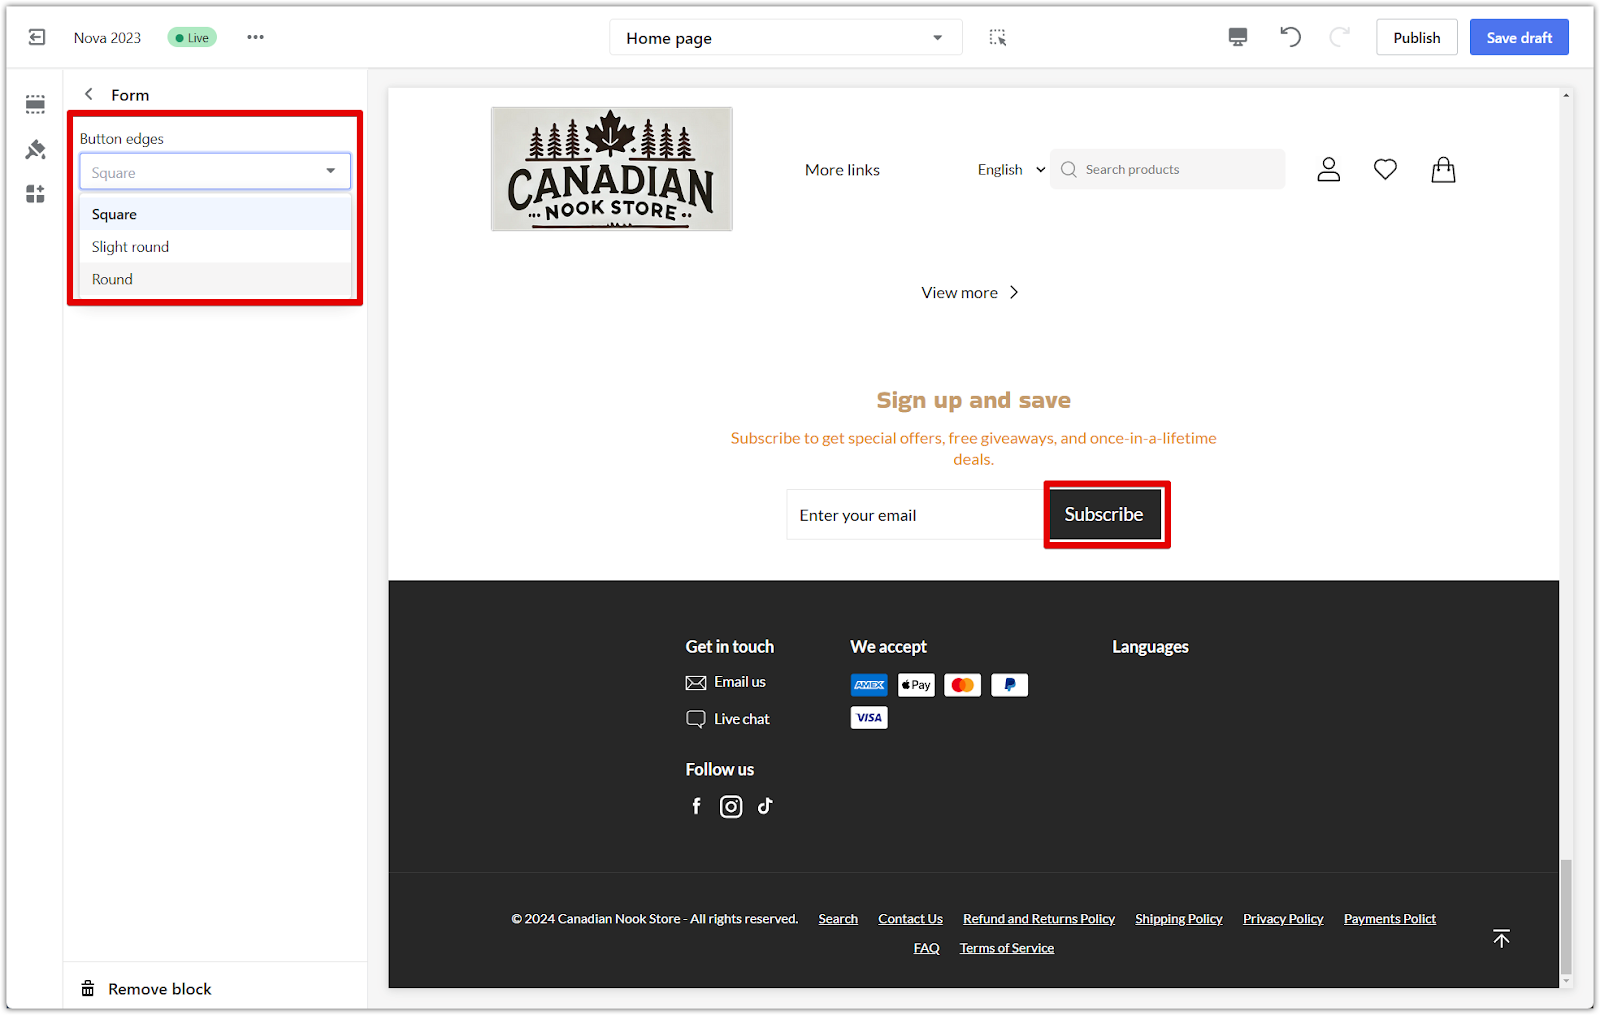
- Customize the button's background and text colors using the color palette.
Adding a newsletter section enhances your store’s engagement by informing customers about upcoming promotions and events. Customizing every detail allows you to create a sign-up experience that reflects your store’s branding and values.


Comments
Please sign in to leave a comment.