
If you're using the Christmas theme or any theme from the Geek series such as Geek, Impress Petonly, or Venue, you can enable built-in holiday features including snowfall animations, countdown timers, and festive icons. These features bring a seasonal look to your Shoplazza store and help boost customer engagement during the holiday shopping period.
Adding the Christmas theme to your library
If you're using a Geek series theme, you can skip this step and go straight to customization. If you're using the standalone Christmas theme, follow these steps first.
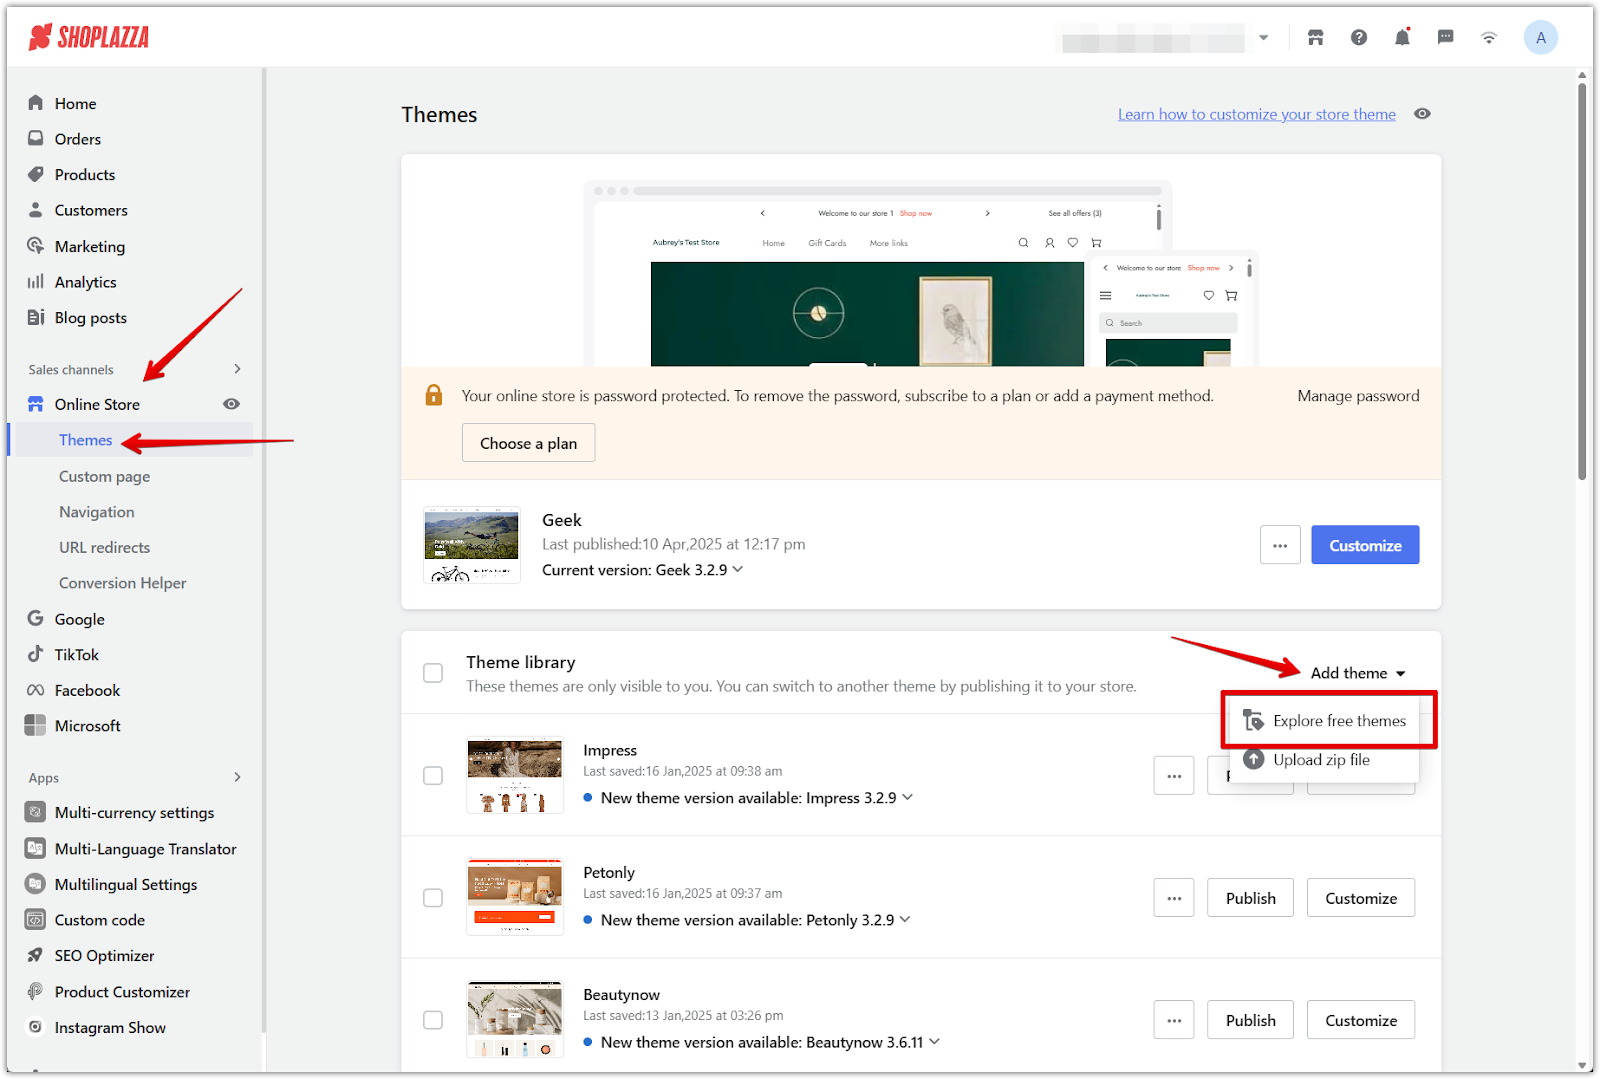
1. Go to your theme library: From your Shoplazza admin, go to Online store > Themes. Click Add theme and choose Explore free new themes from the dropdown.
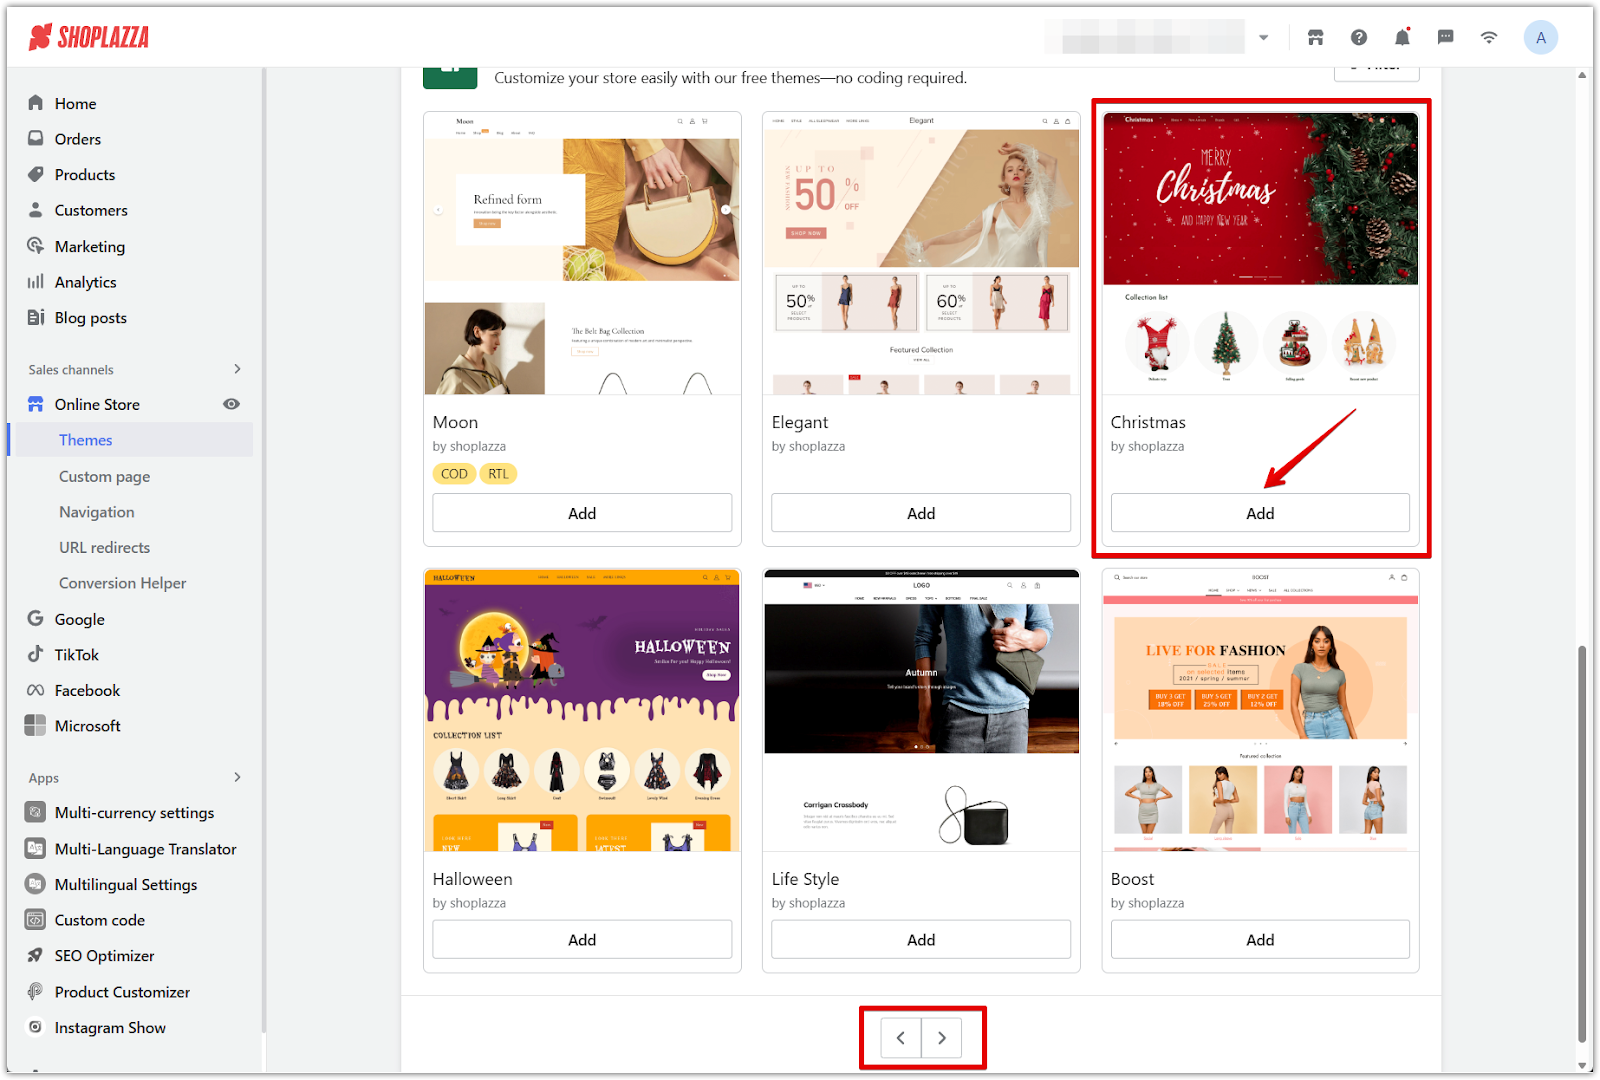
2. Add the Christmas theme: Search for the Christmas theme by going through the pages. Once found, click Add.
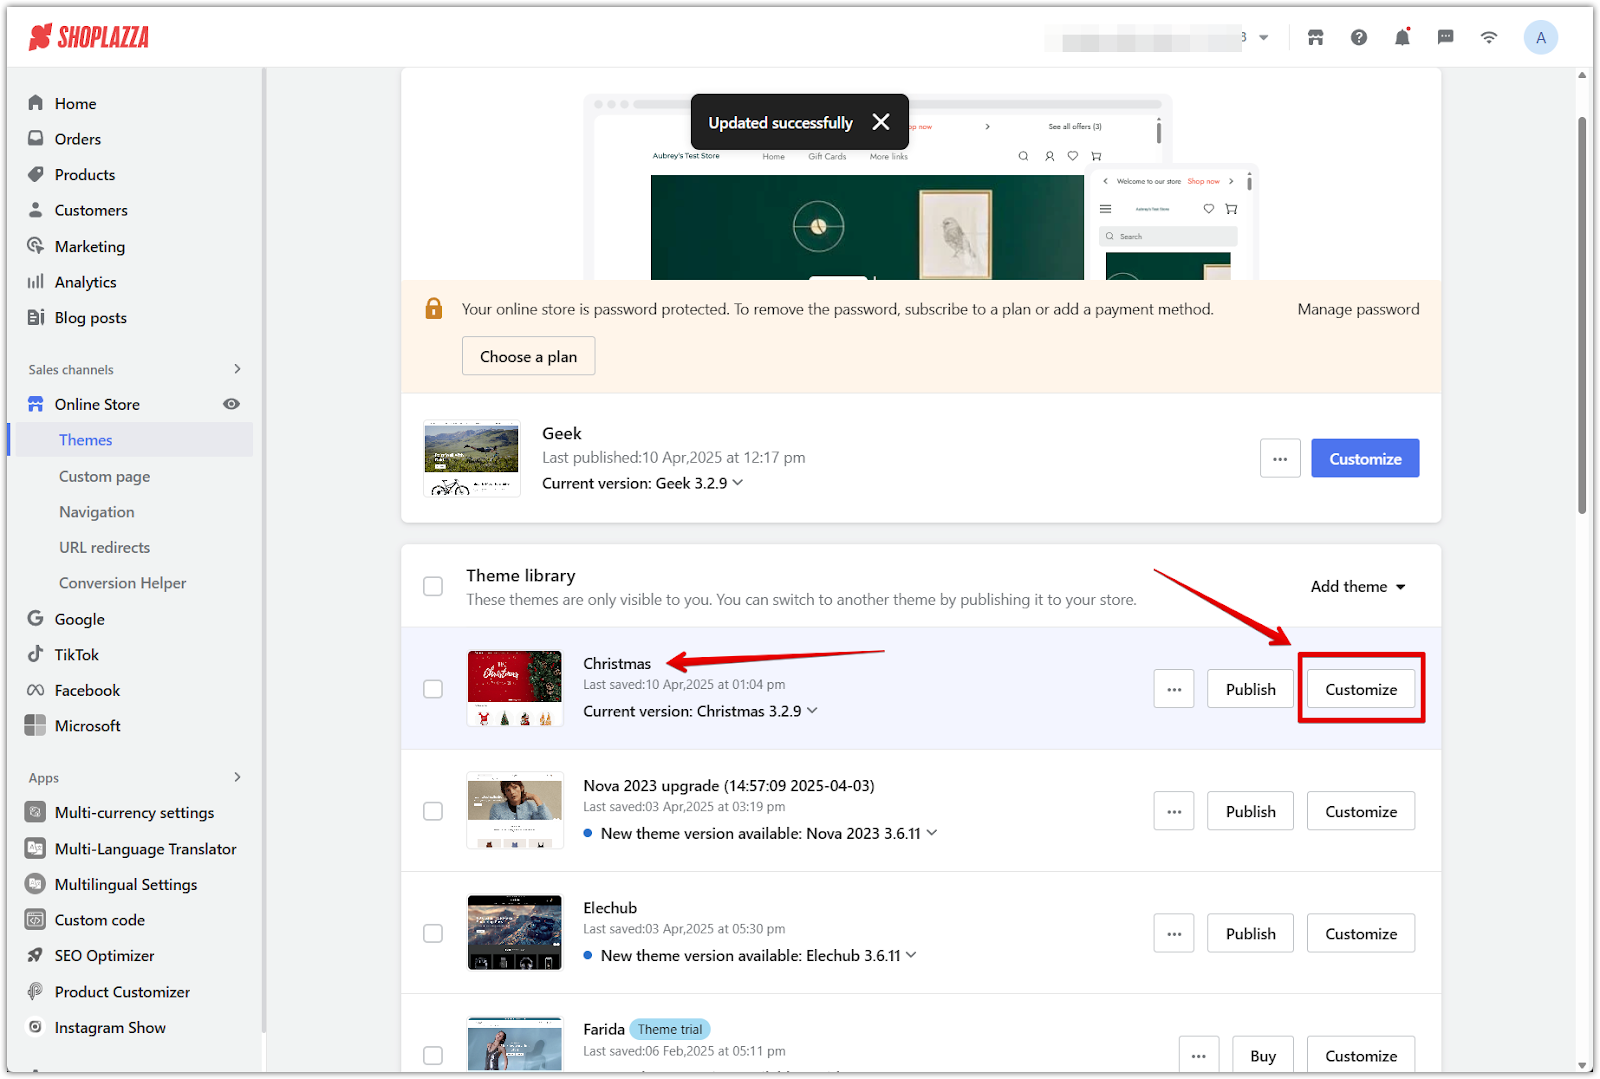
3. Open the theme editor: After the theme is added, click Customize beside the Christmas theme.
Enabling the snowfall effect
Once inside the Christmas theme or any Geek series theme, you can turn on animated snowflakes across your storefront to create a holiday atmosphere.
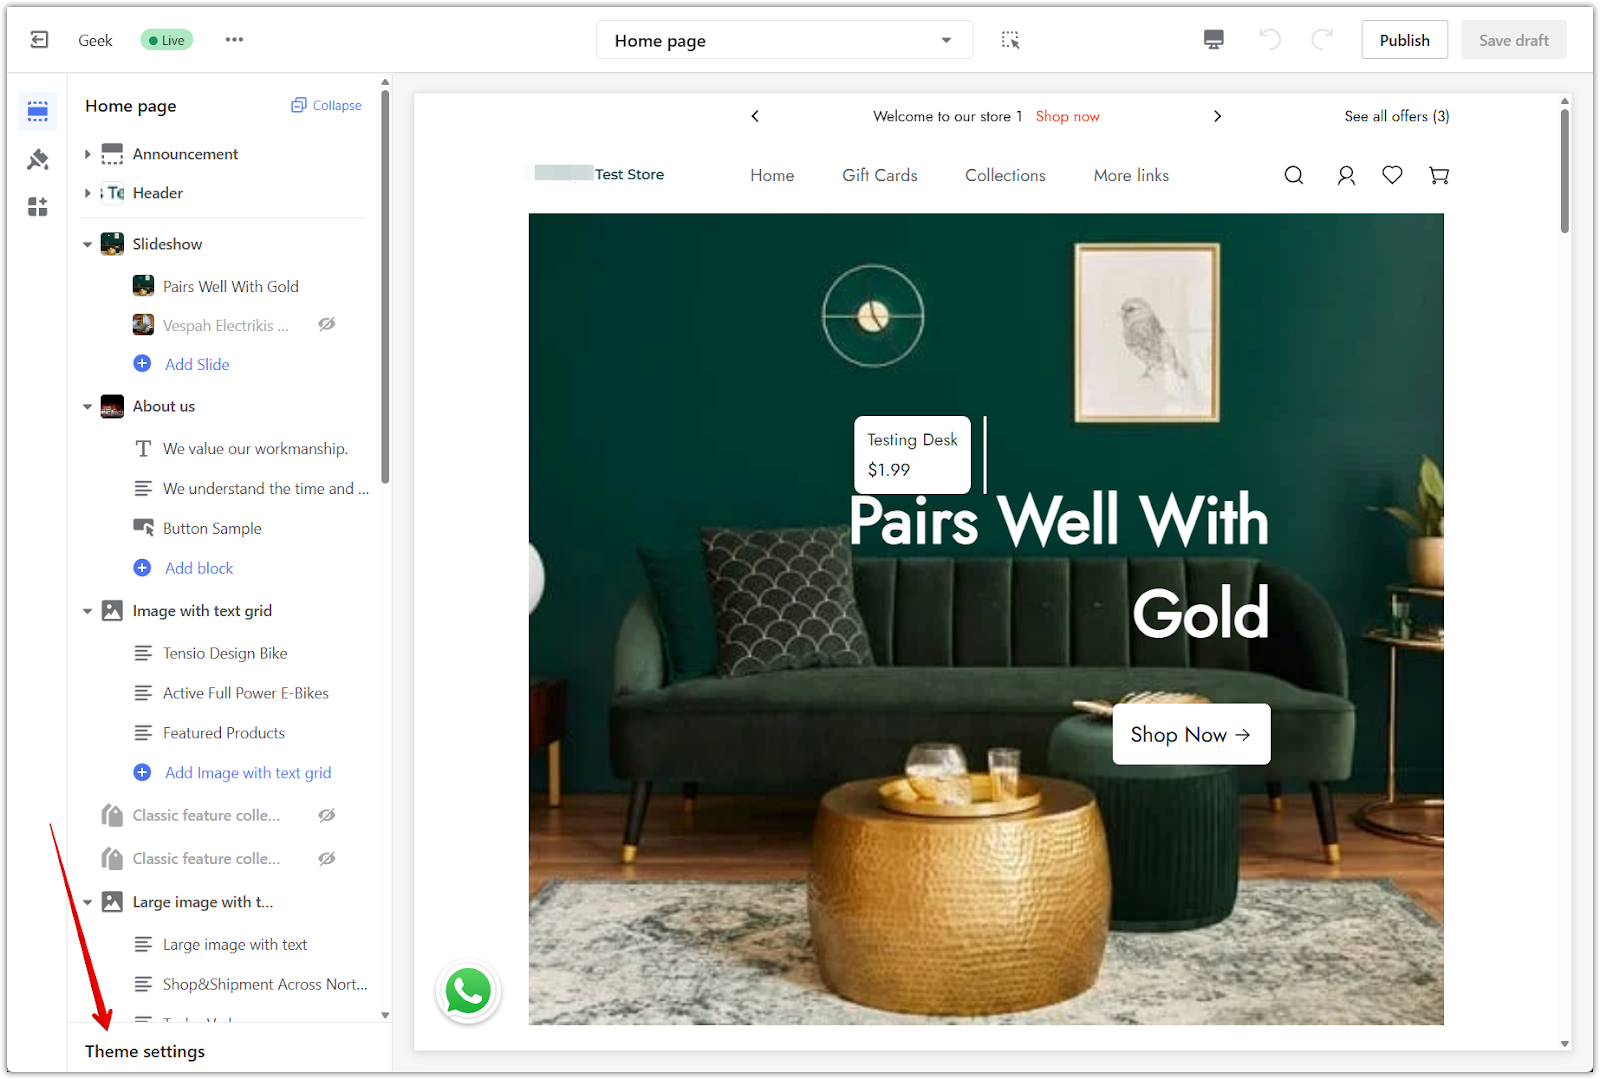
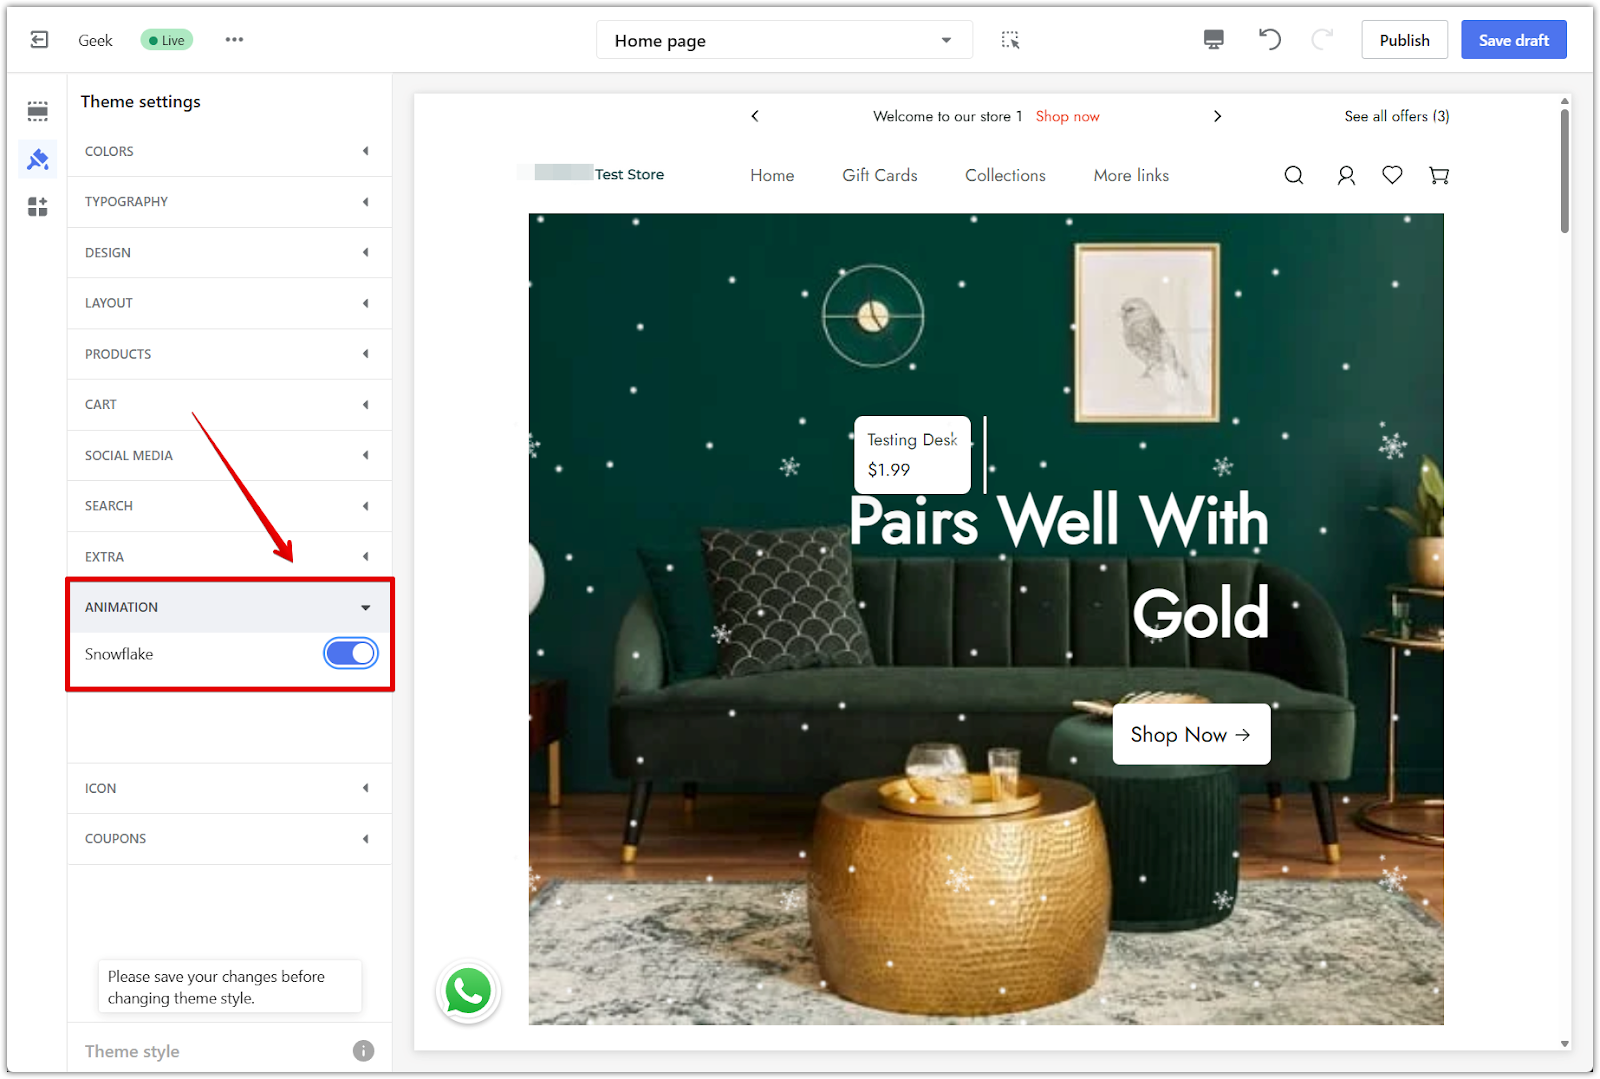
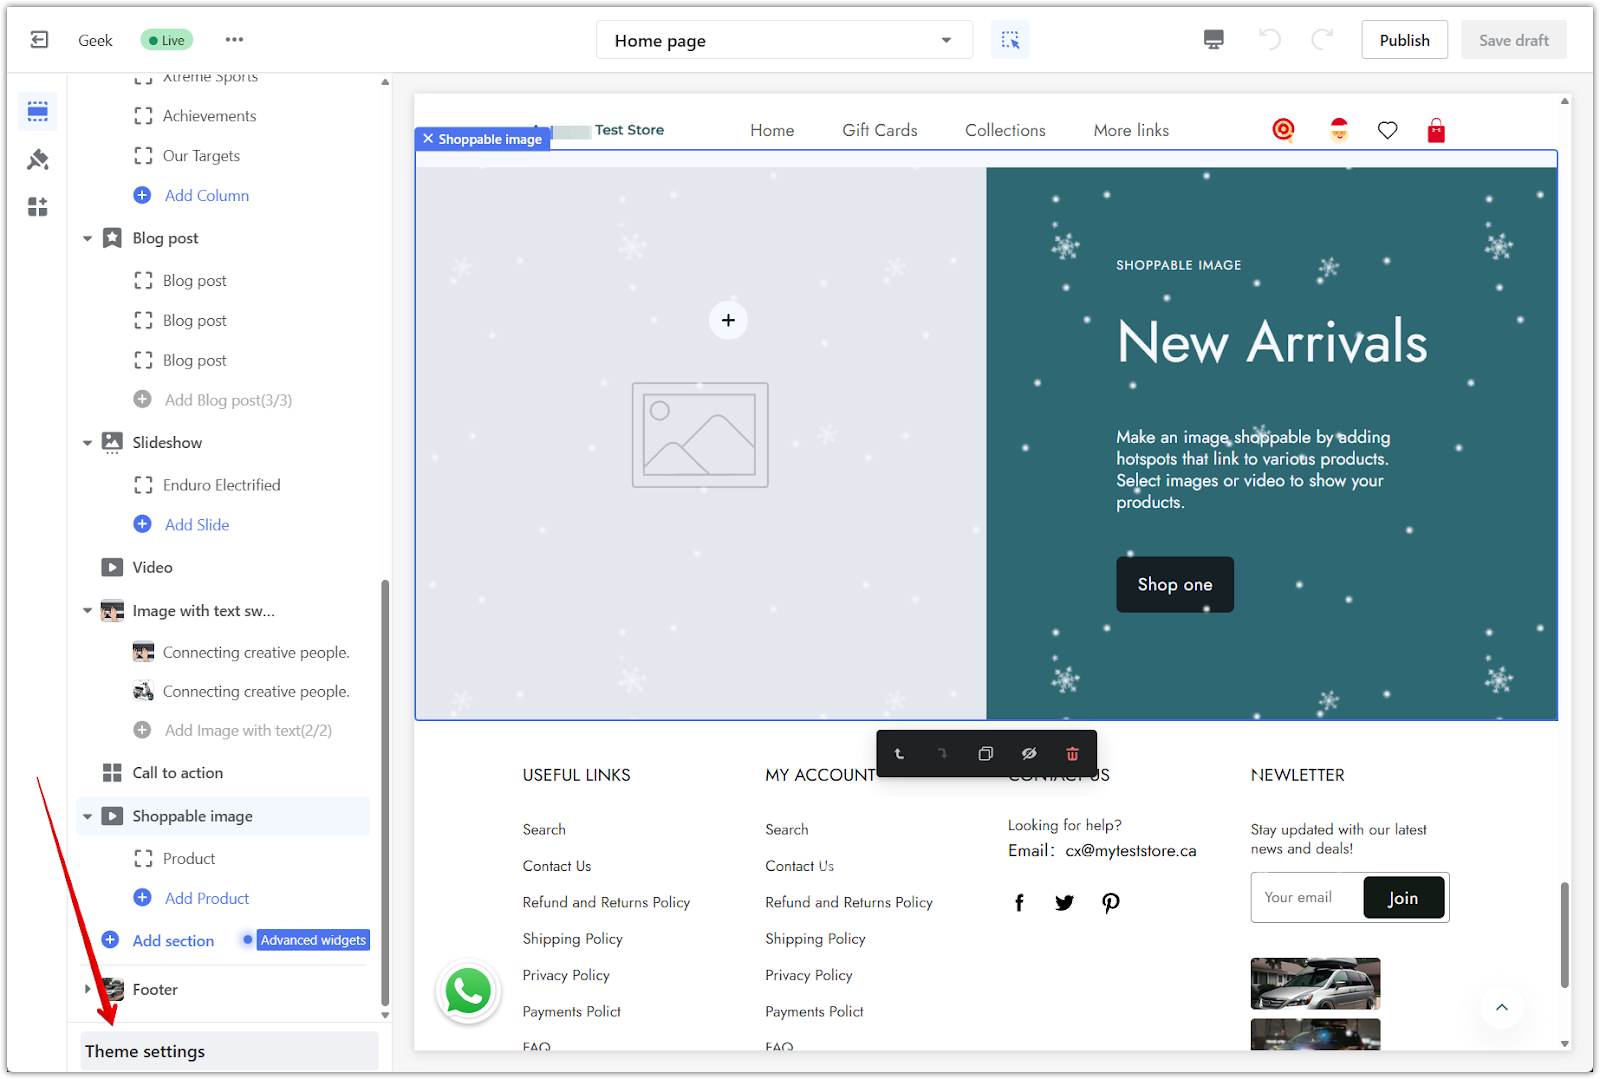
1. Open theme settings: In the theme editor, scroll to the bottom of the side menu and click Theme settings.
2. Turn on snowflakes: Under Animation, toggle on Snowflake to activate the effect.
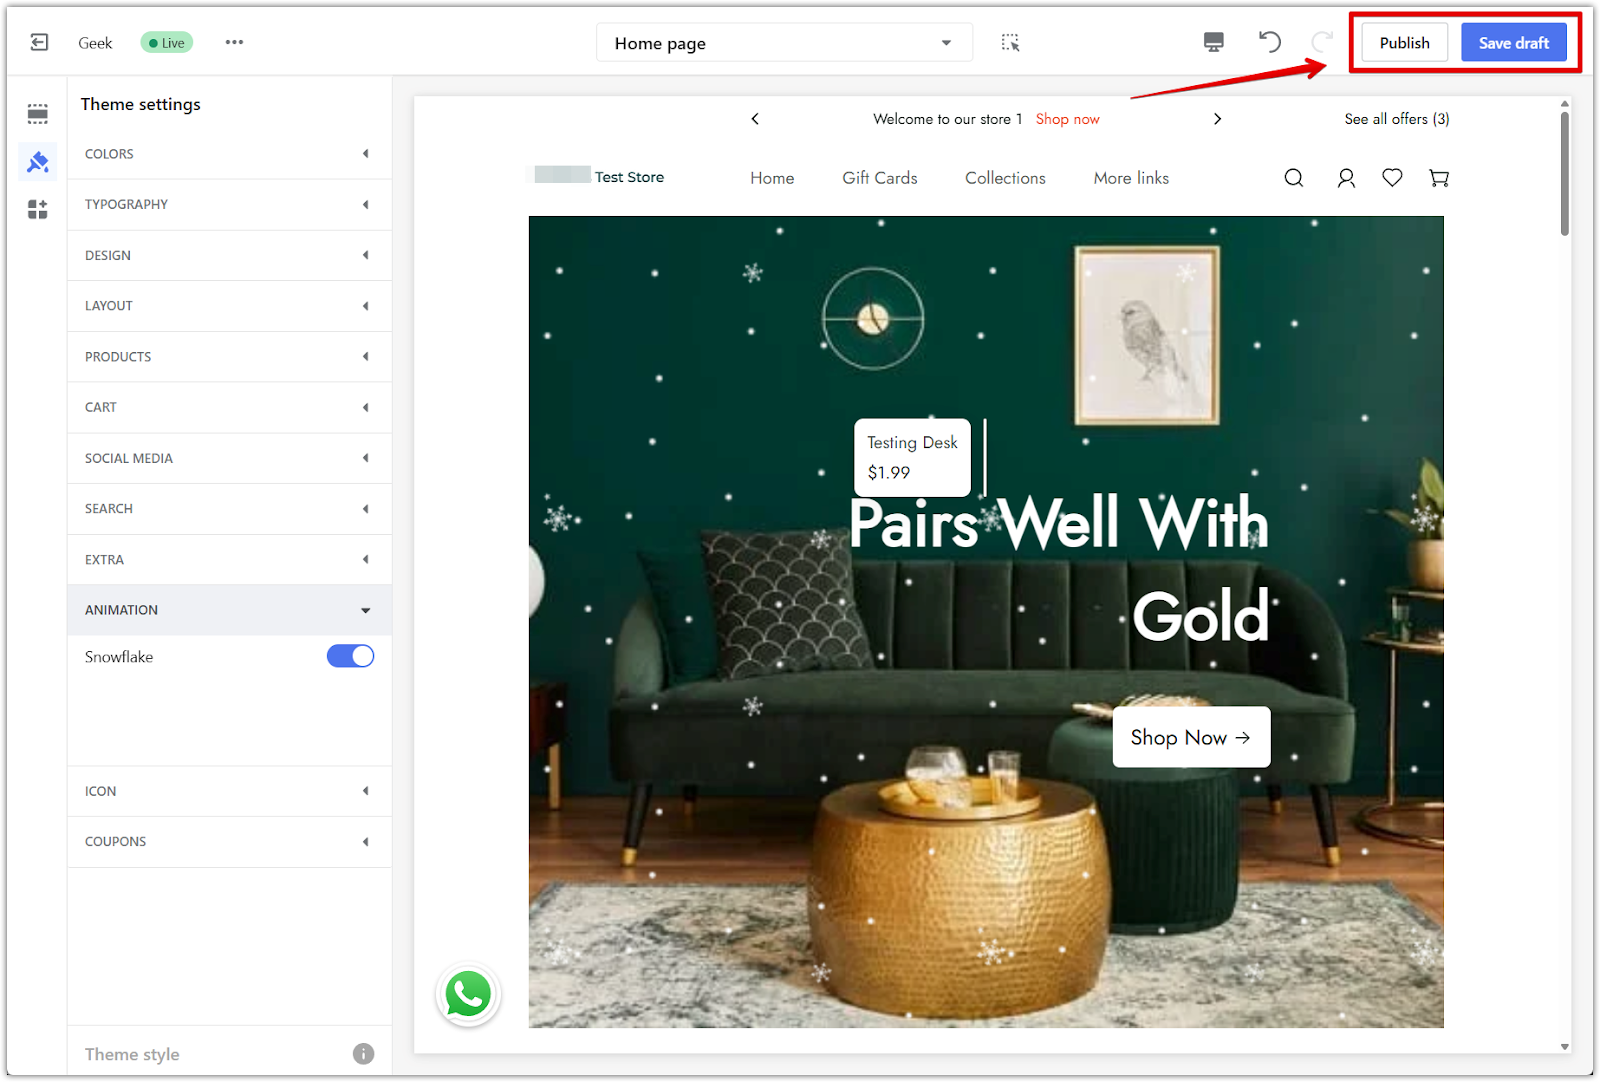
3. Save your changes: Click Save draft to keep your edits without going live, or click Publish to apply the changes to your store immediately.
Updating header icons
Replace default icons with seasonal designs to reflect a holiday style.
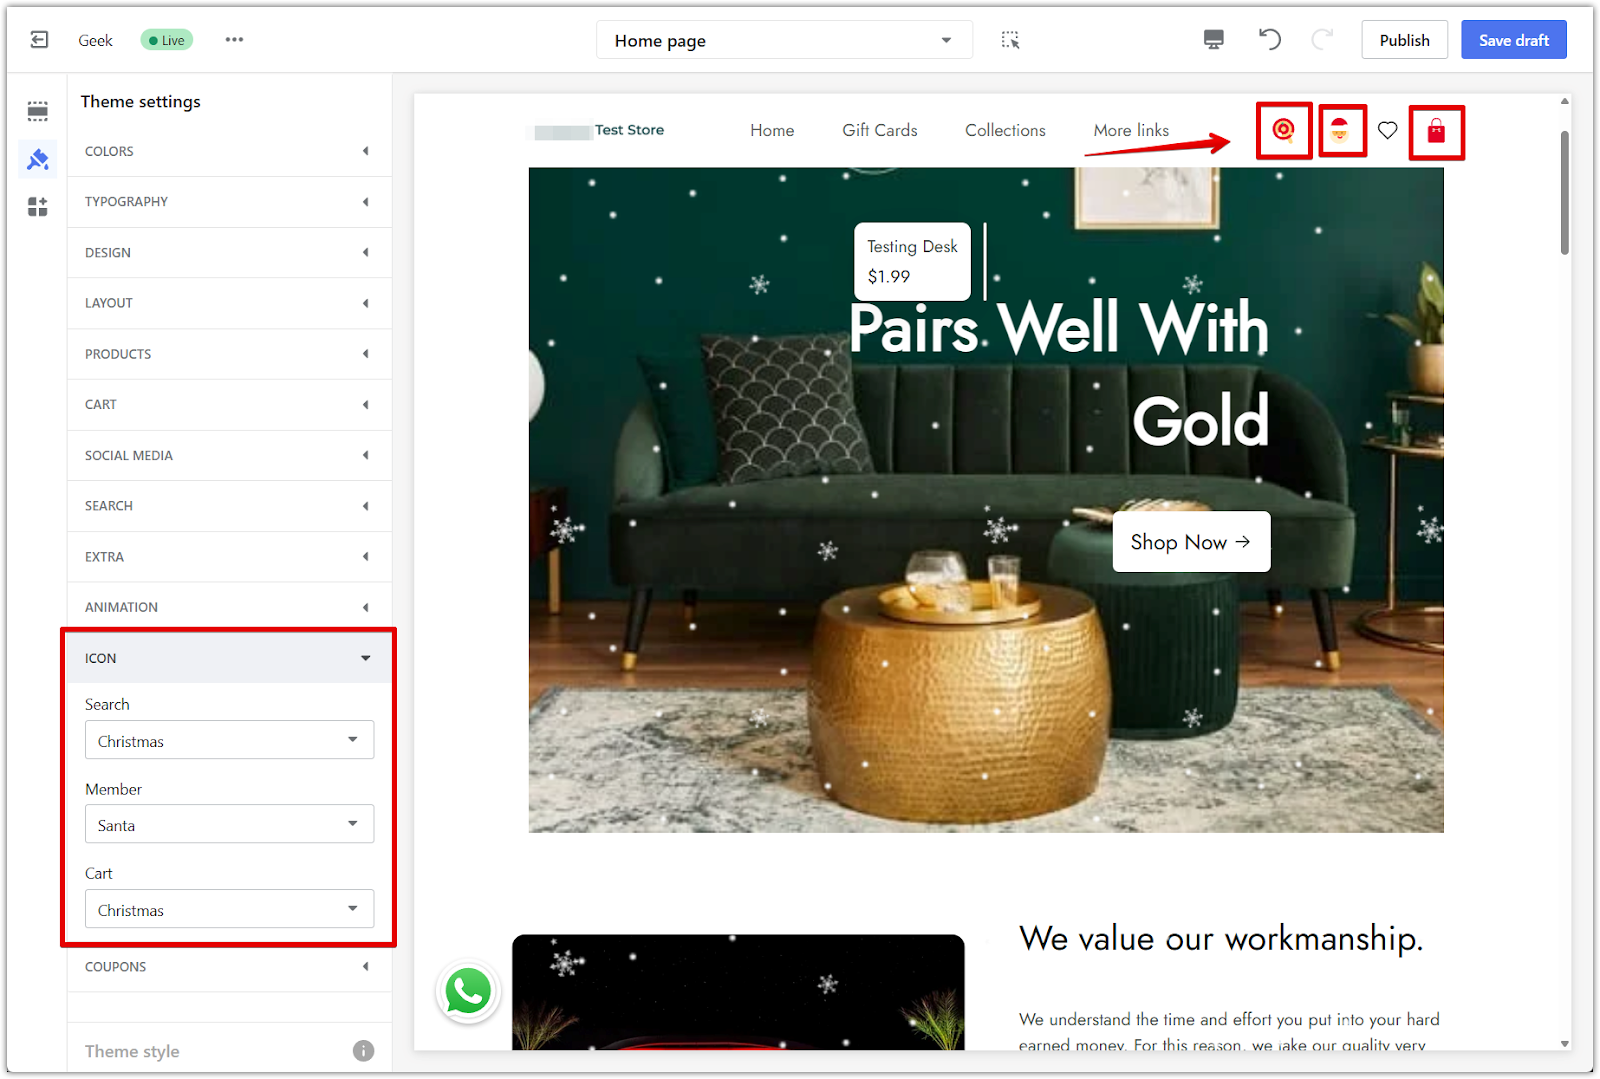
1. Go to icon settings: In the theme editor, open Theme settings and select Icon.
2. Choose festive icons: Pick from the Christmas-themed icon options included in the theme.
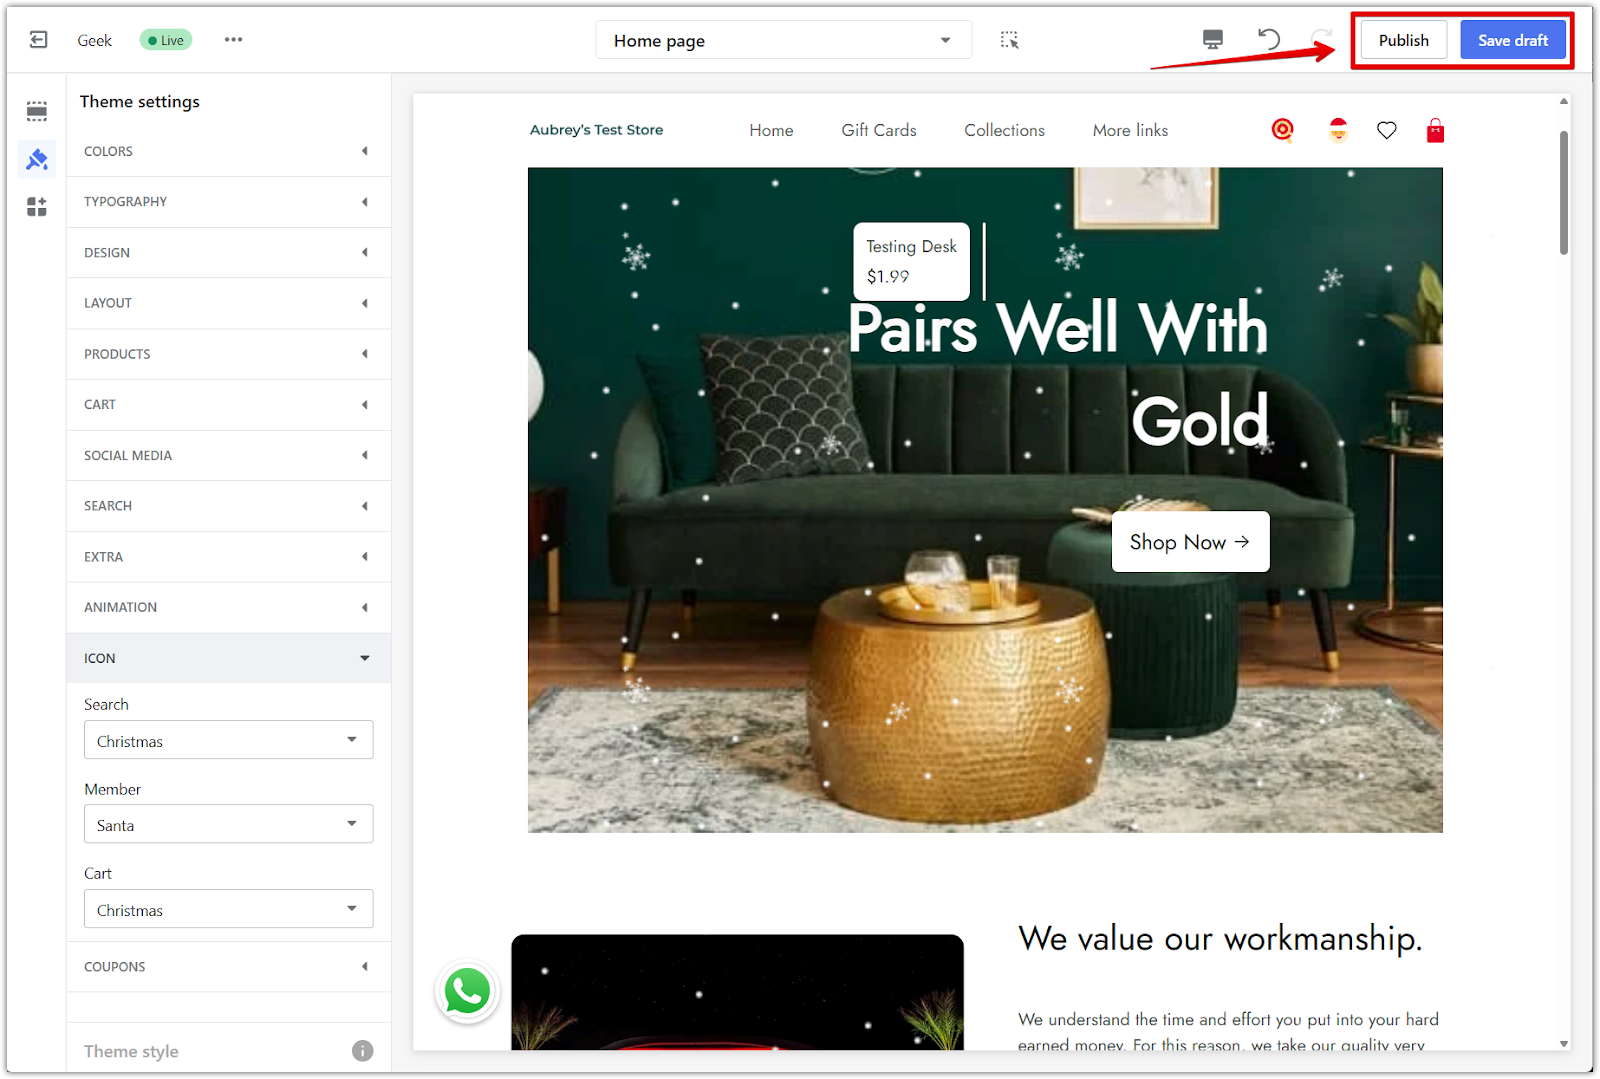
3. Save your changes: Click Save draft to keep your edits without going live, or click Publish to apply the changes to your store immediately.
Adding a countdown timer
A countdown timer can help drive urgency by showing how much time is left for a holiday sale or promotion.
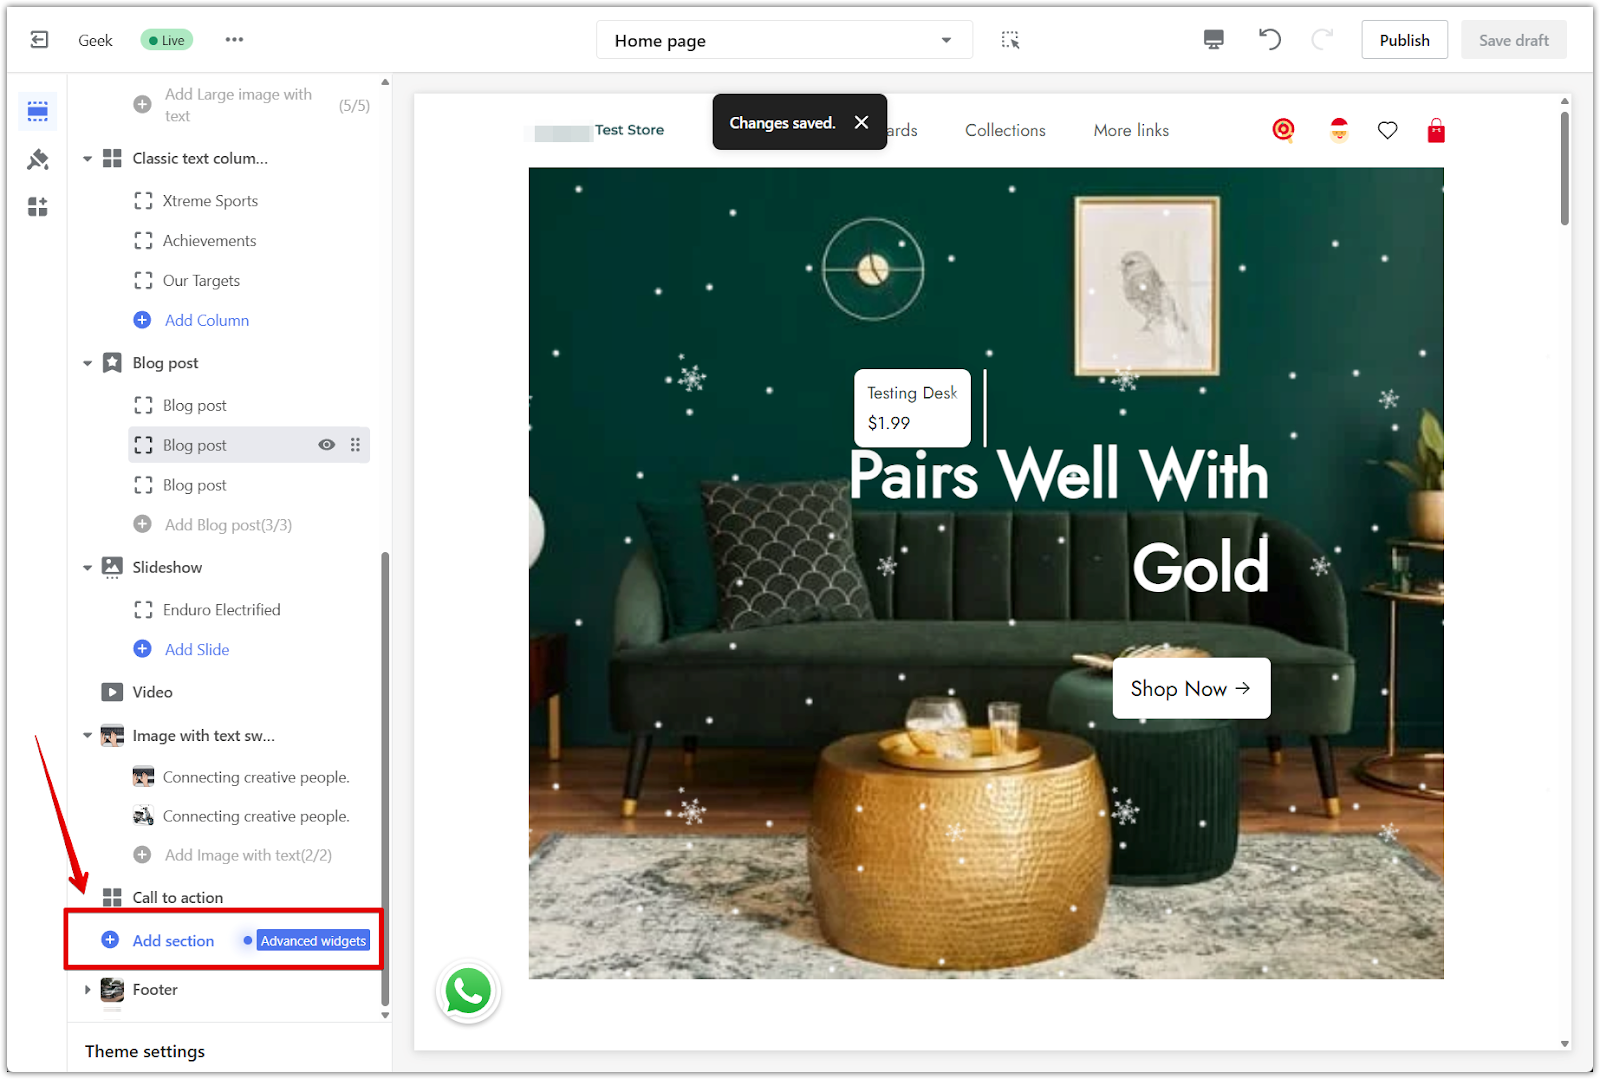
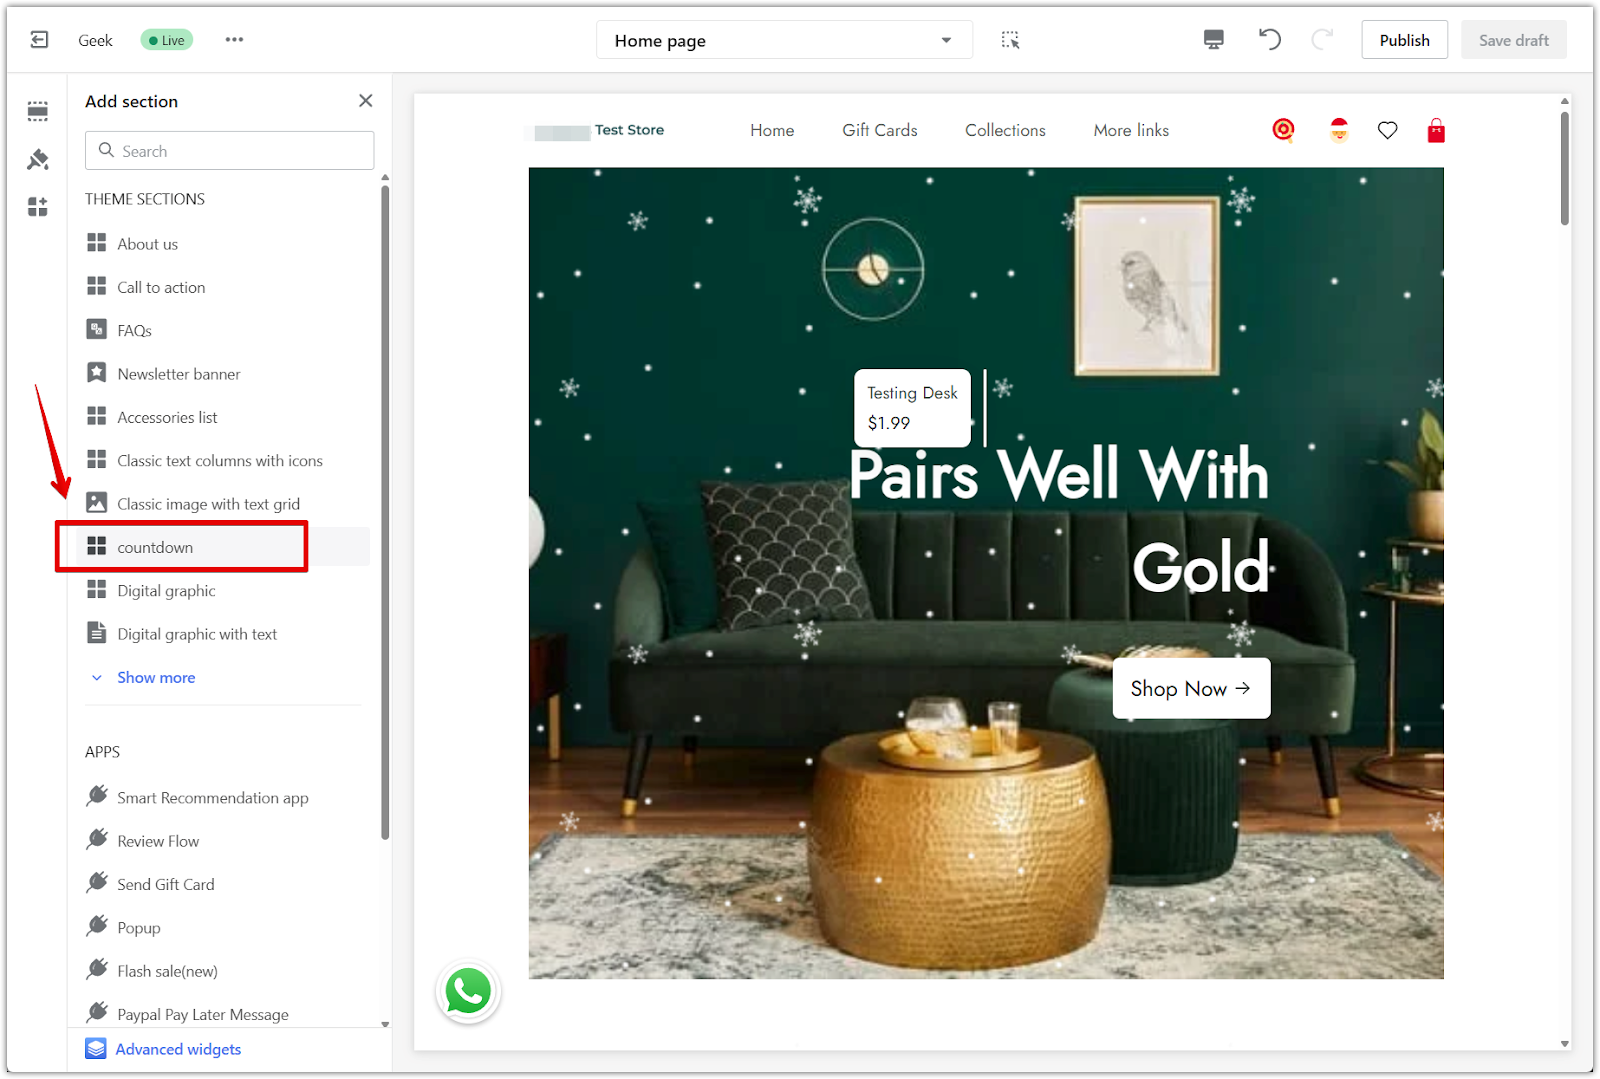
1. Insert the section: In the theme editor, scroll to the bottom of the left menu and click Add section. Select Countdown.
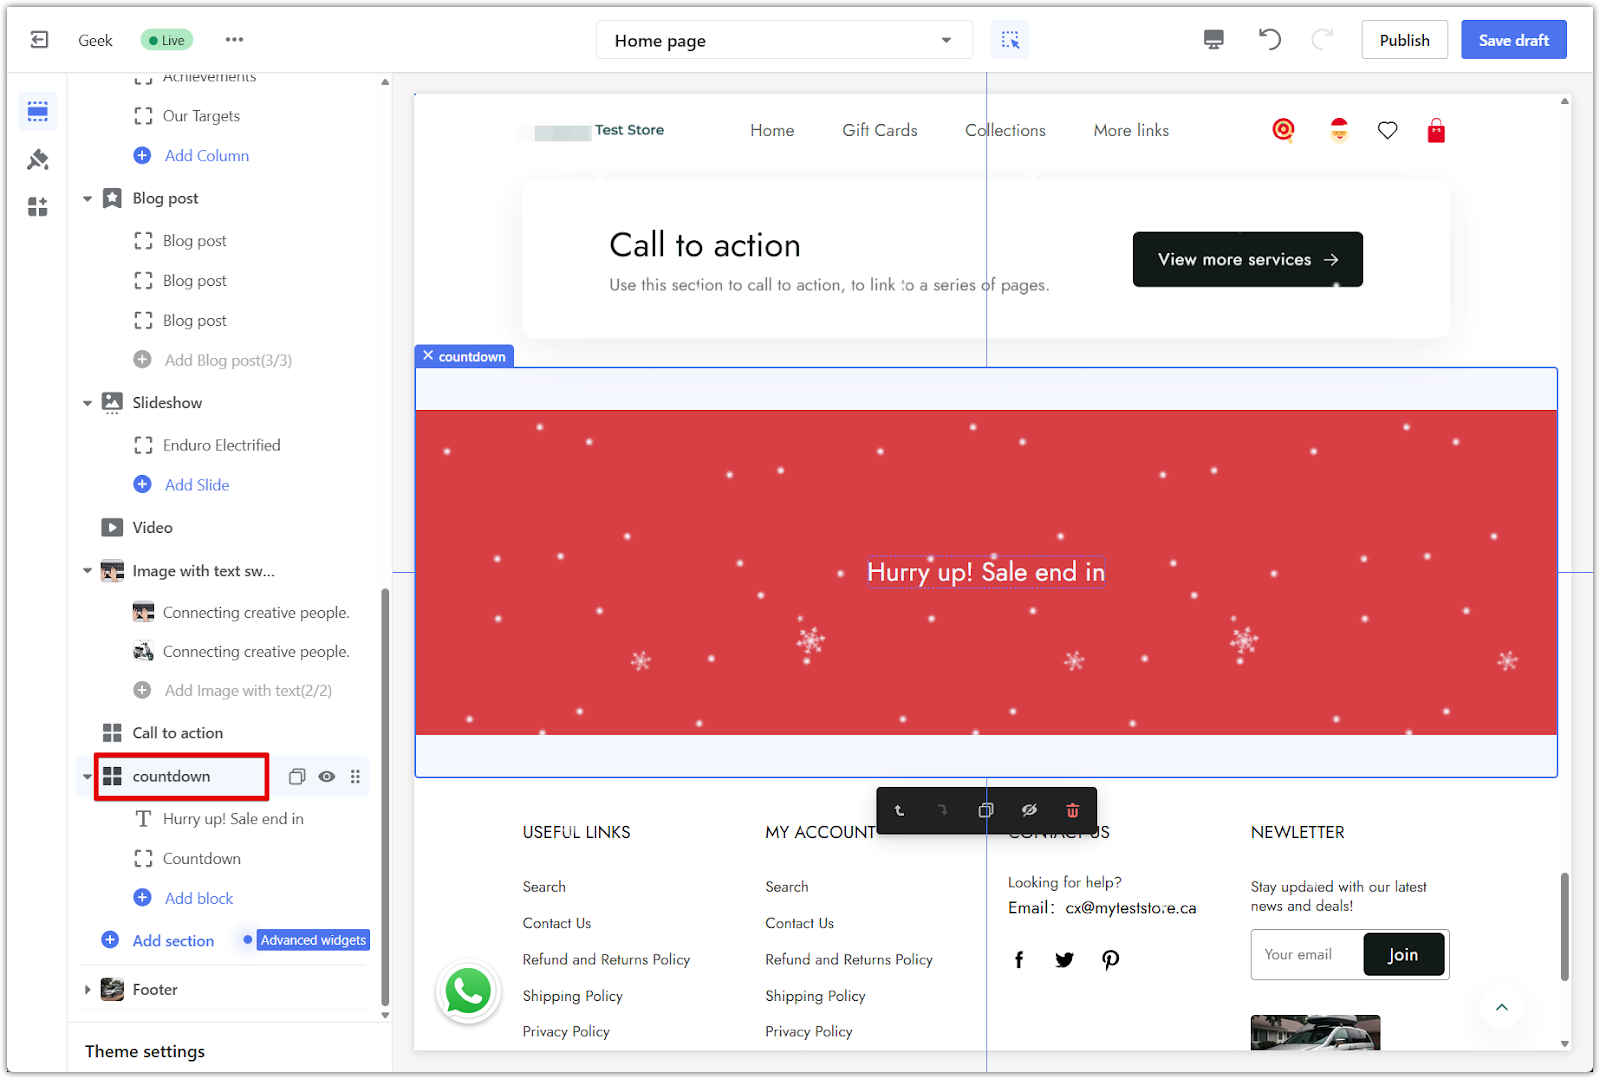
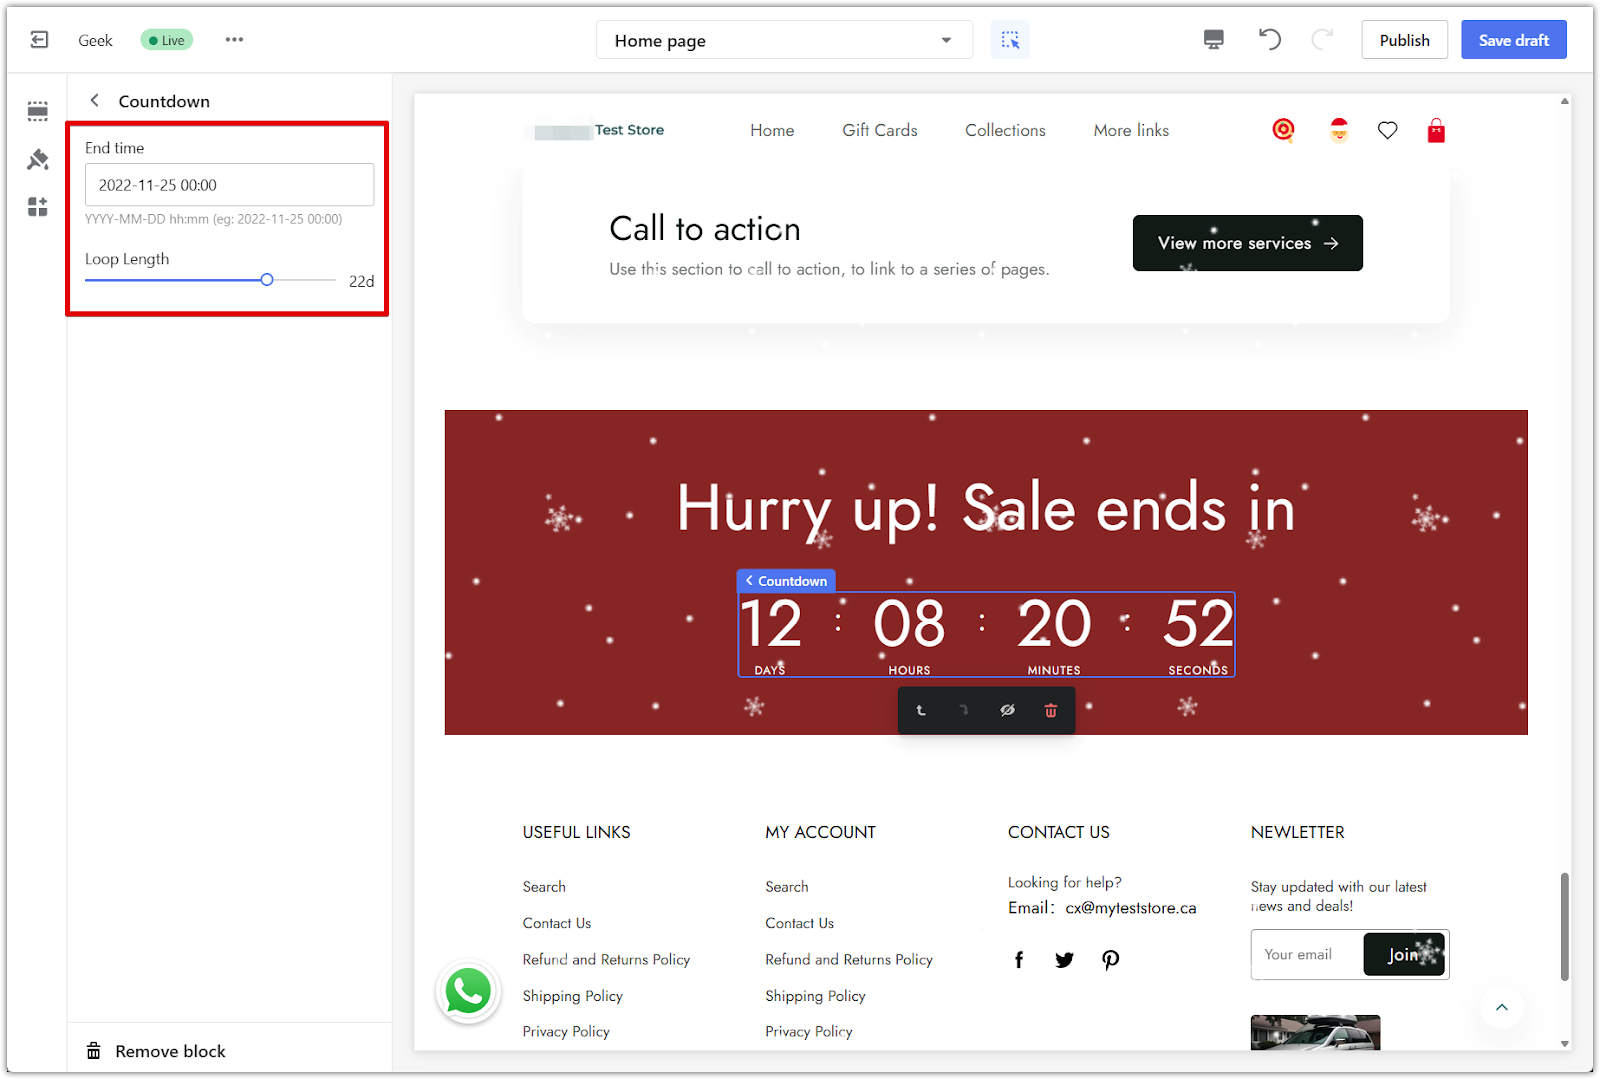
2. Open the countdown settings: In the left-side menu, click directly on the countdown section title to access its settings.
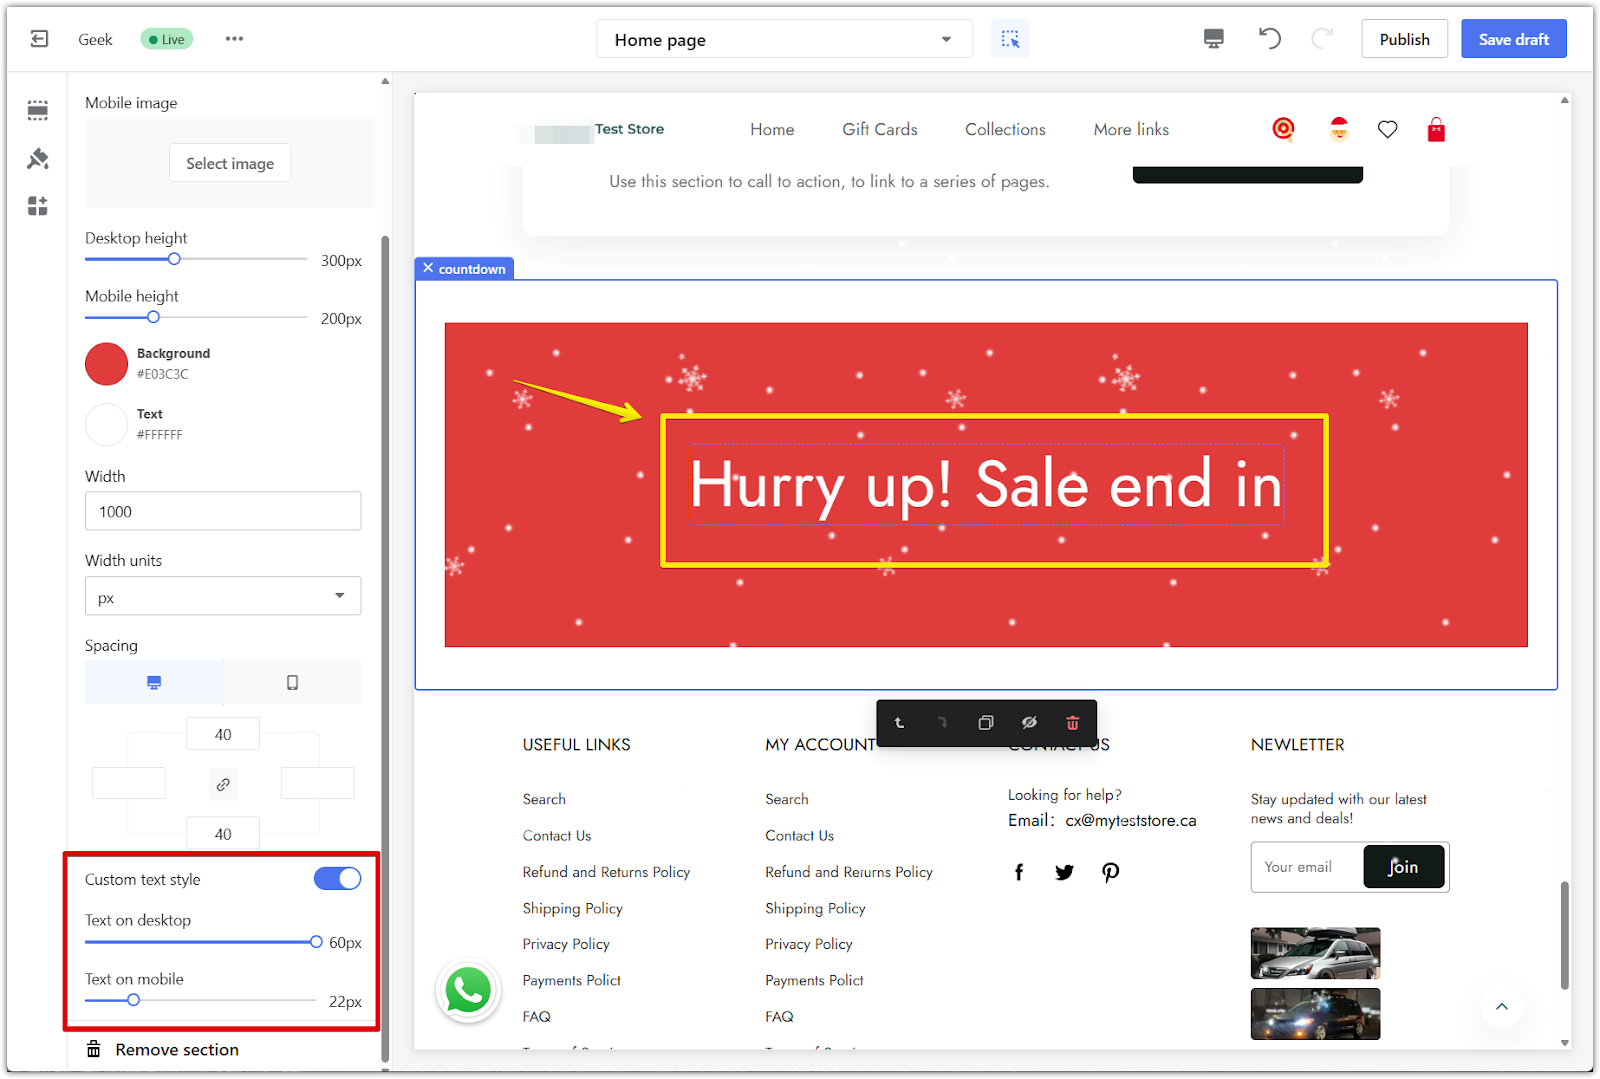
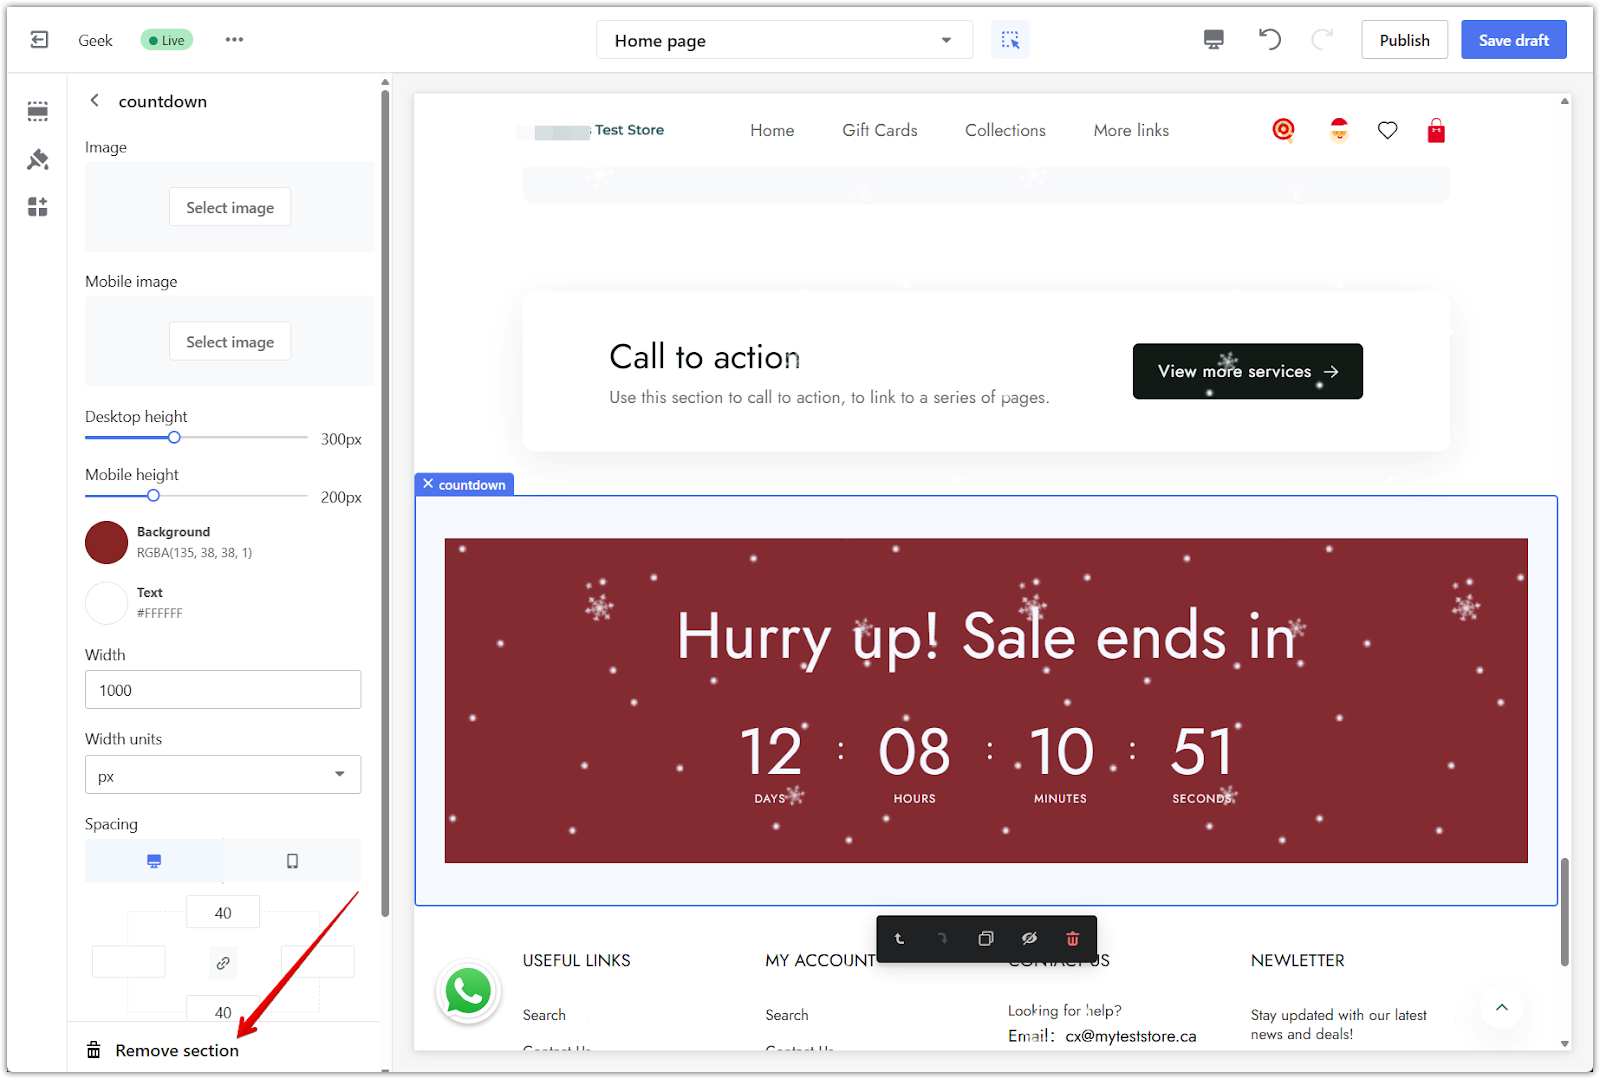
3. Customize the design: Adjust the section’s appearance to match your holiday theme.
- Image: Upload a background image for desktop and mobile displays.
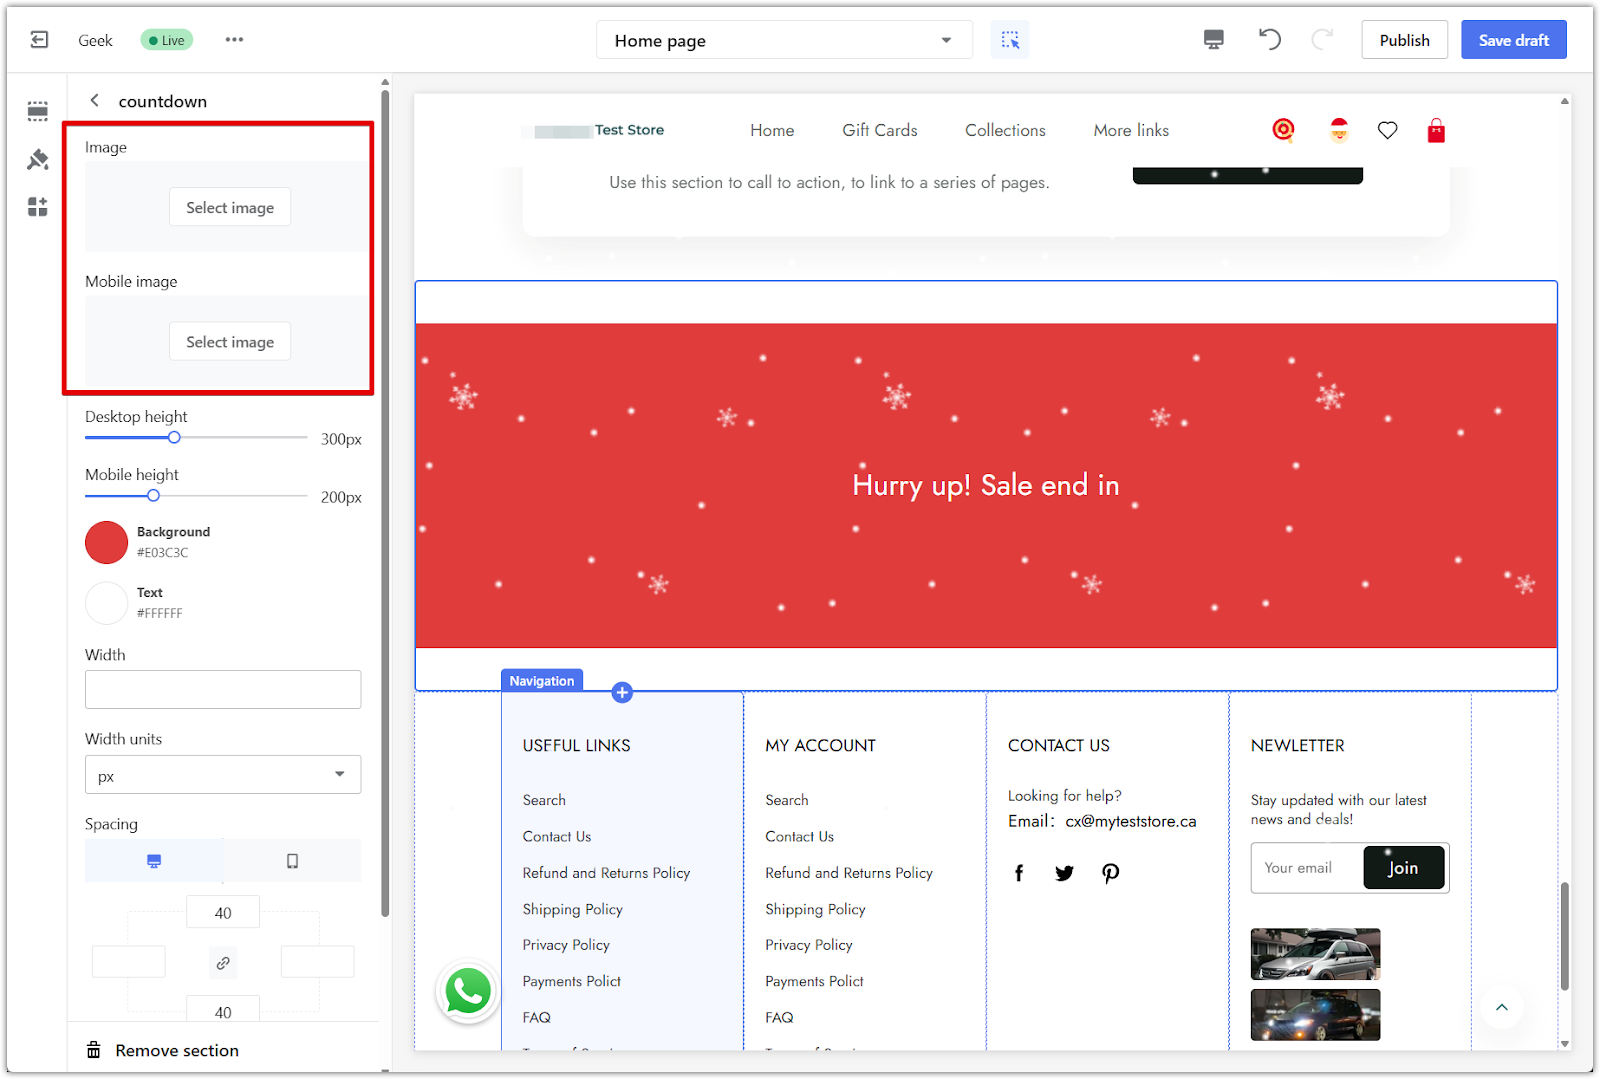
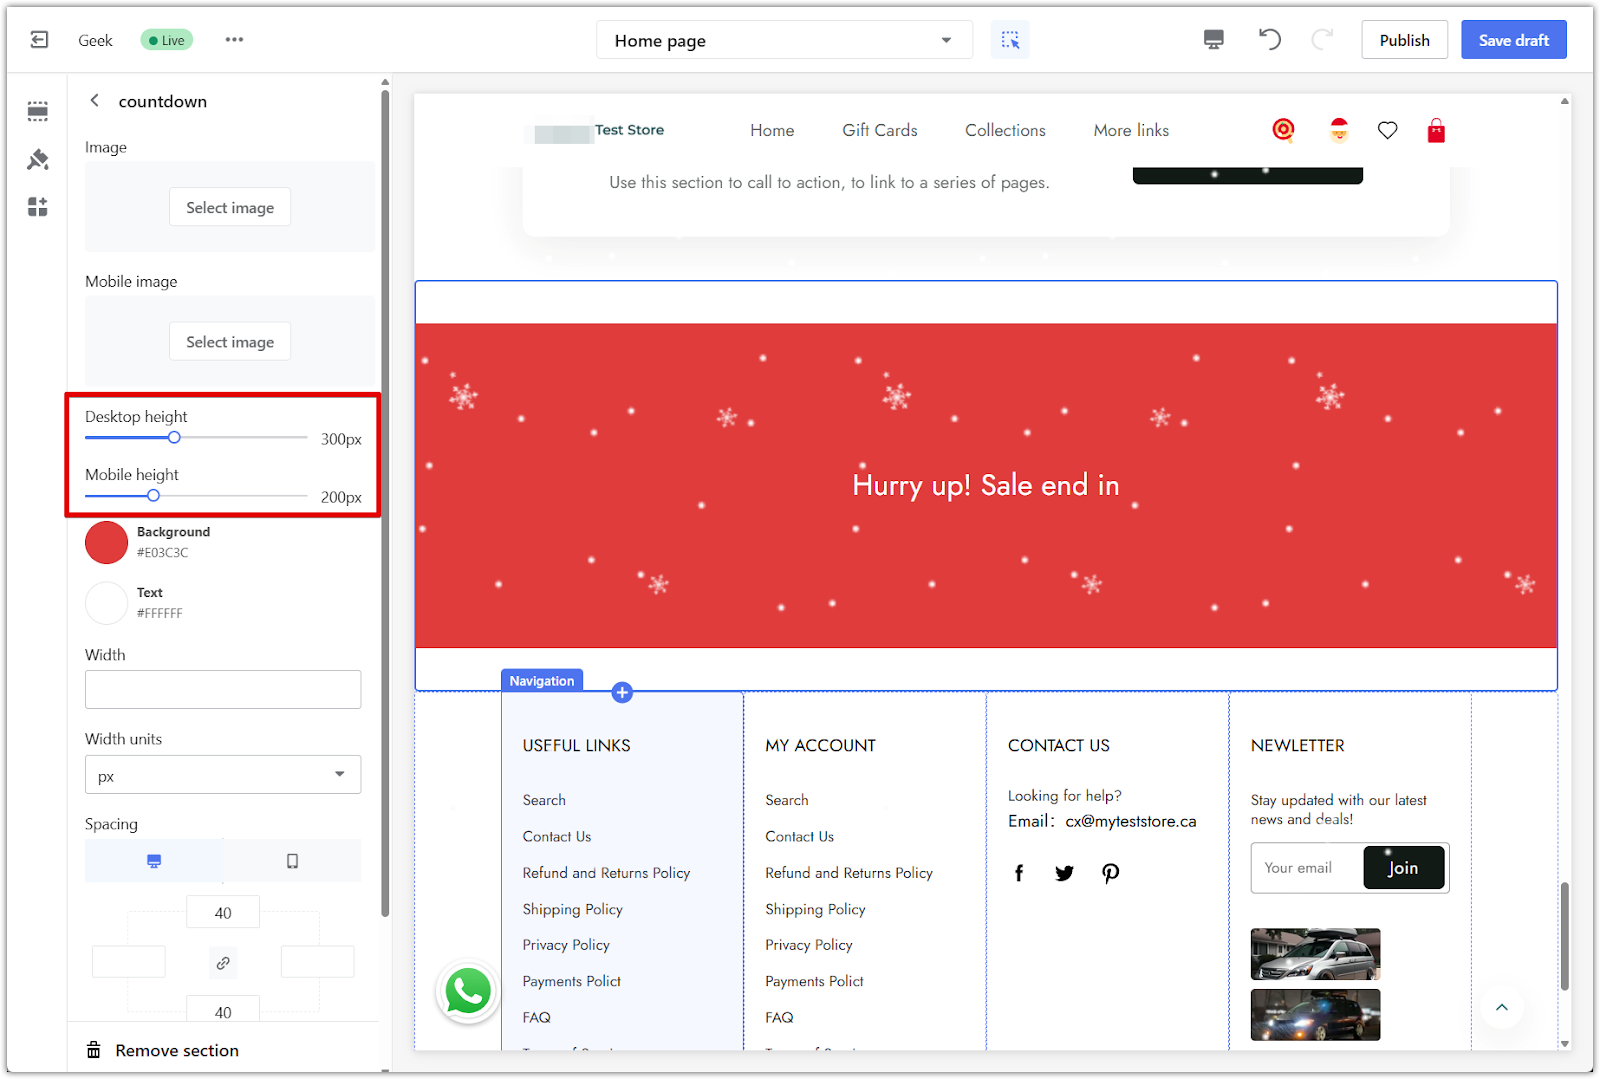
- Desktop and mobile height: Set the display height for both desktop and mobile views.
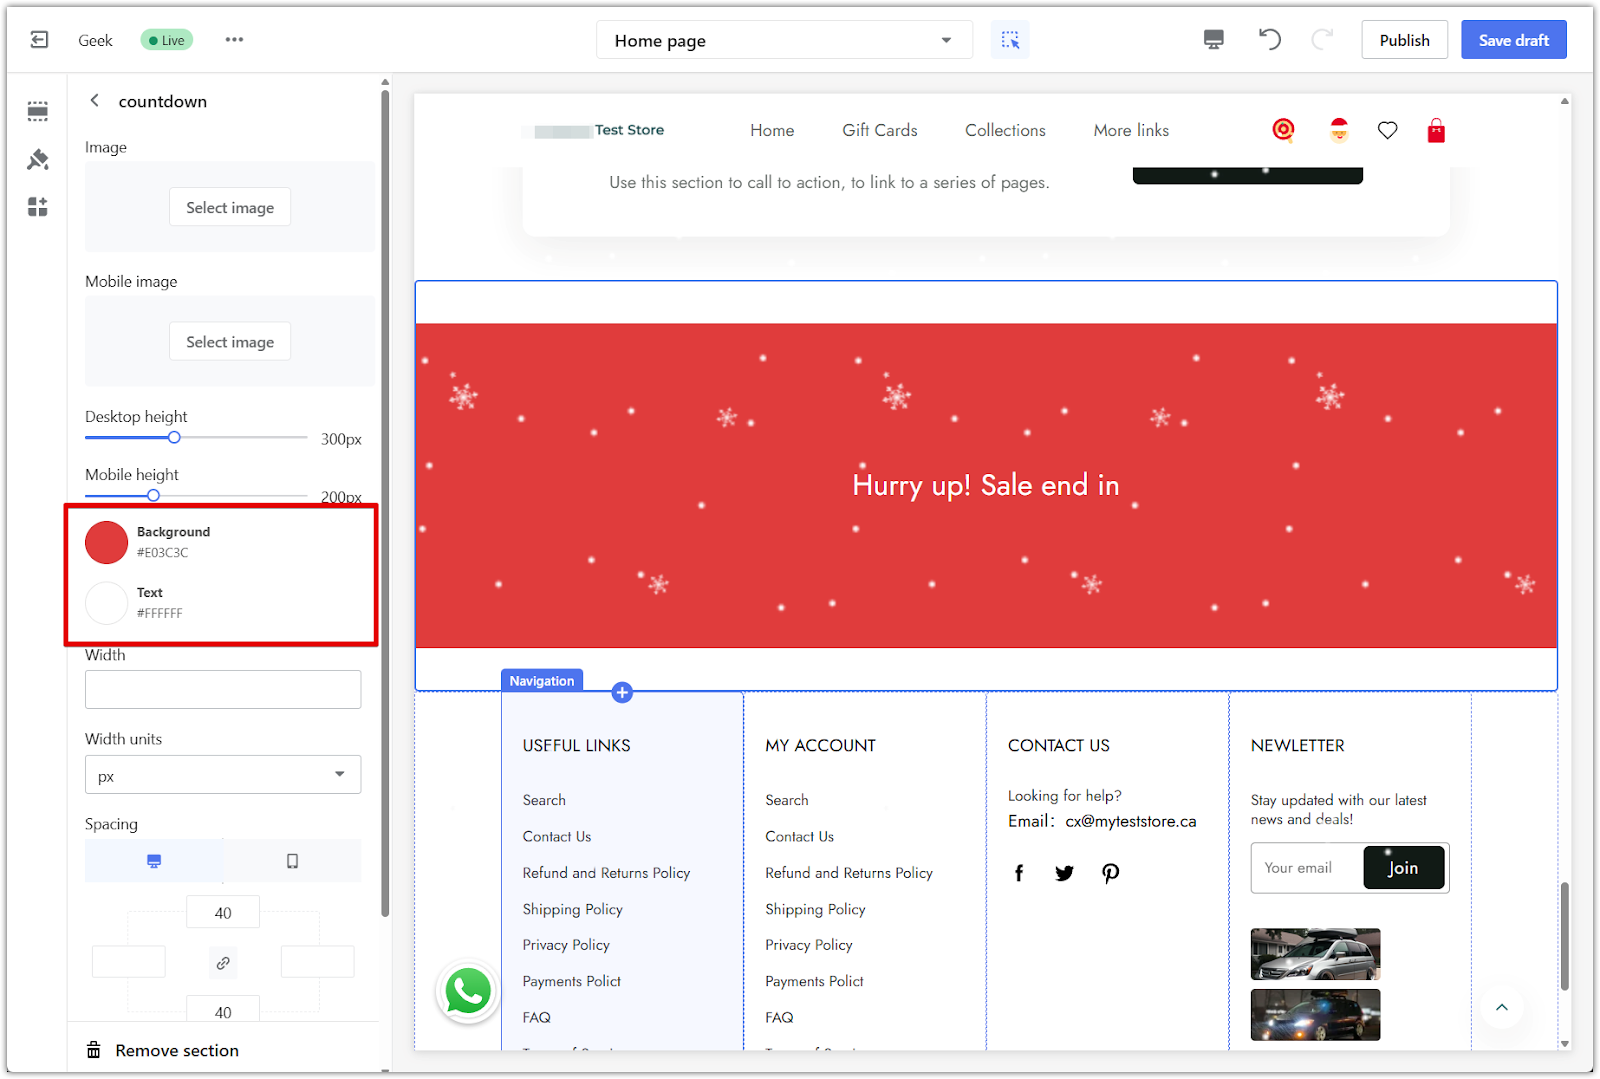
- Background and text color: Choose a solid background color if no image is uploaded. Set the text color to ensure readability.
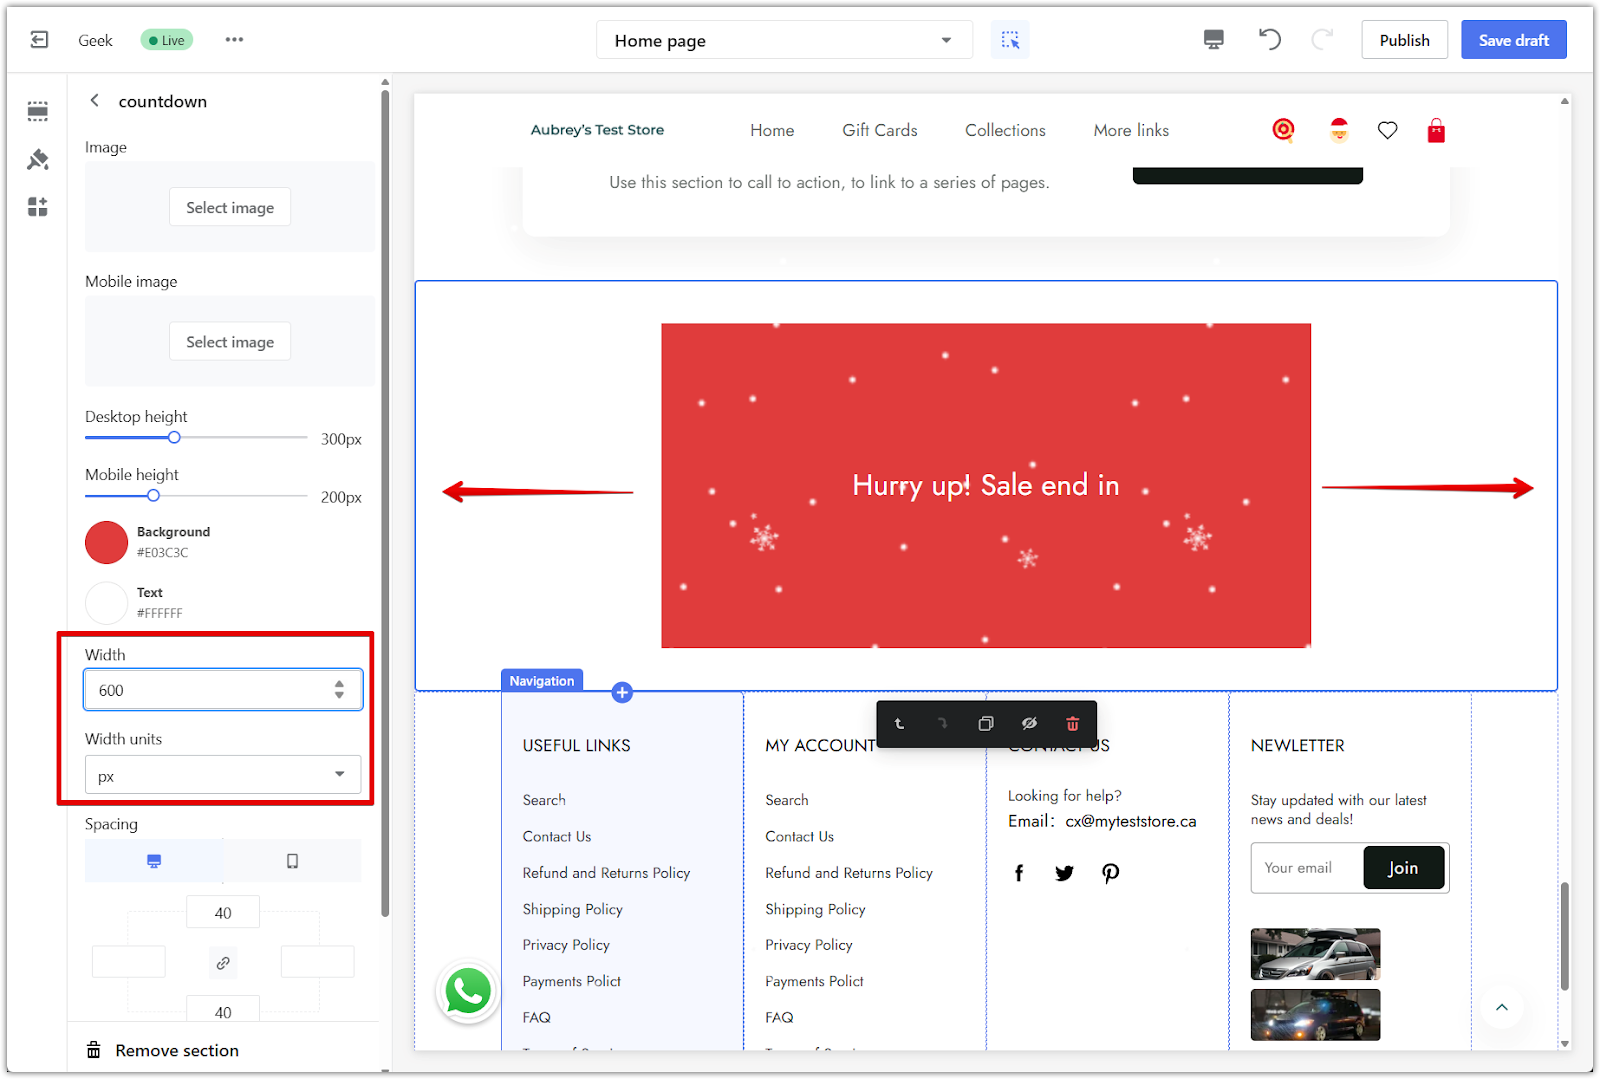
- Width and width units: Define the section width and choose units like px or %.
- Spacing: Adjust top, bottom, left, and right spacing for desktop and mobile views.
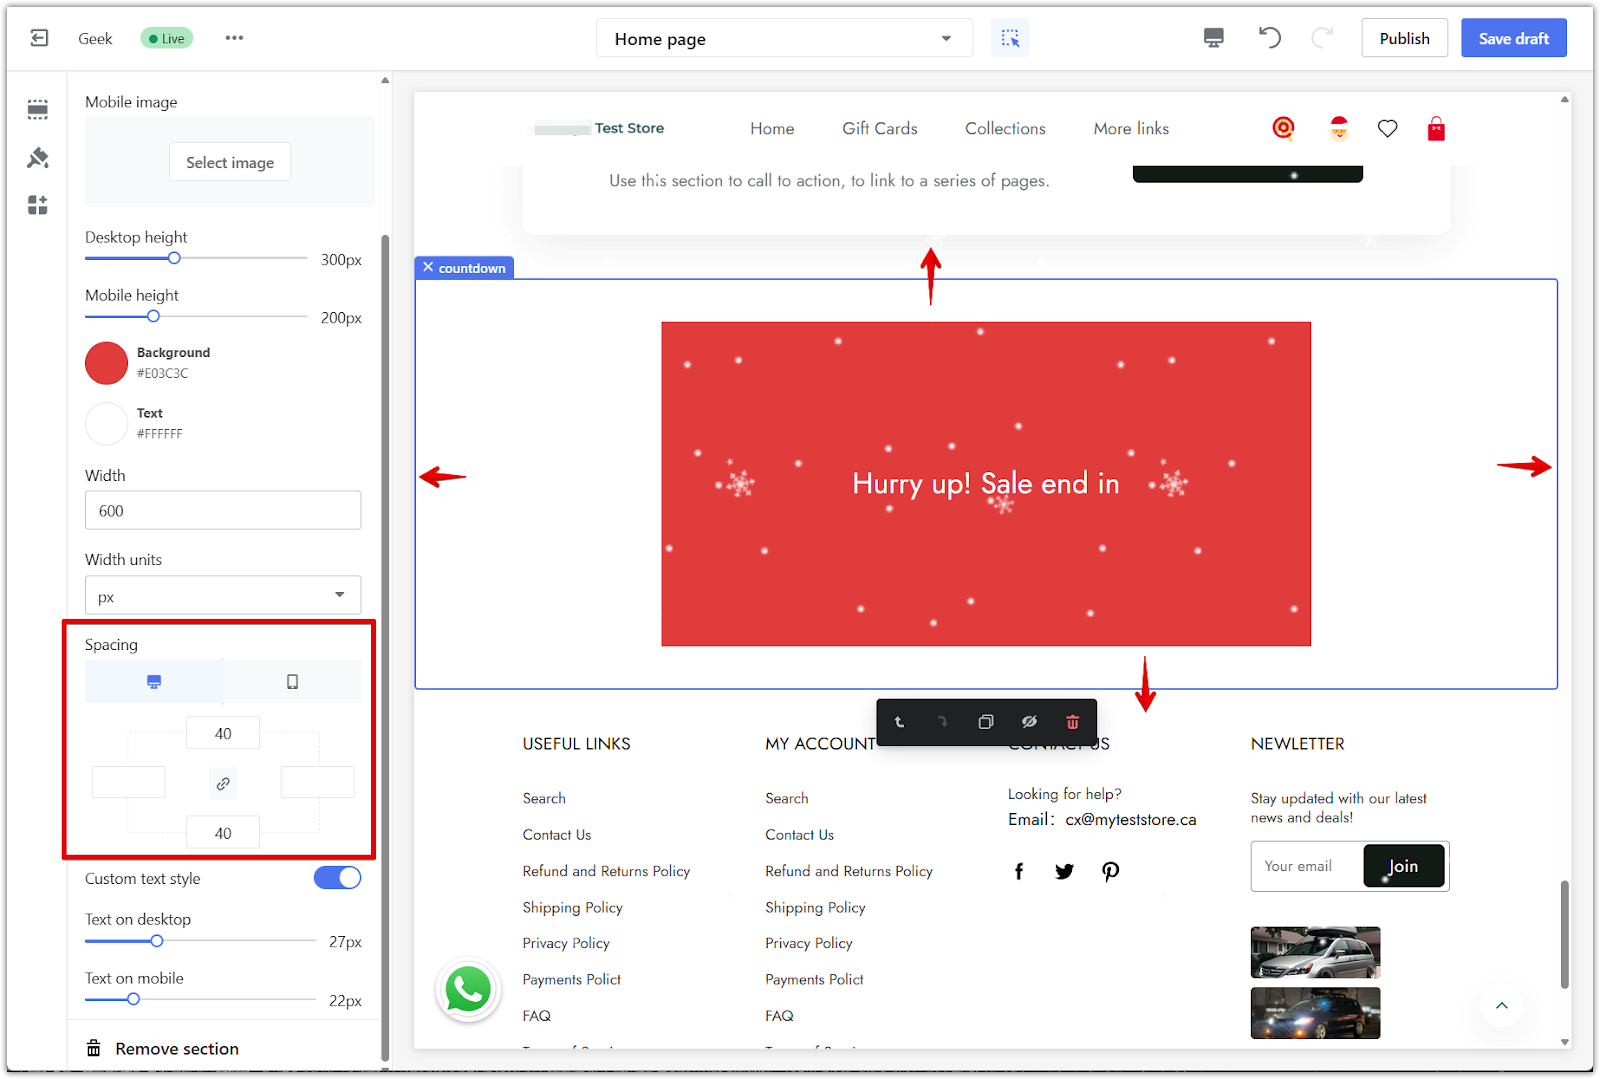
- Custom text style: Toggle this on to manually adjust text size for desktop and mobile views.
4. Edit the content blocks: The countdown section includes two blocks: a heading and a countdown timer.
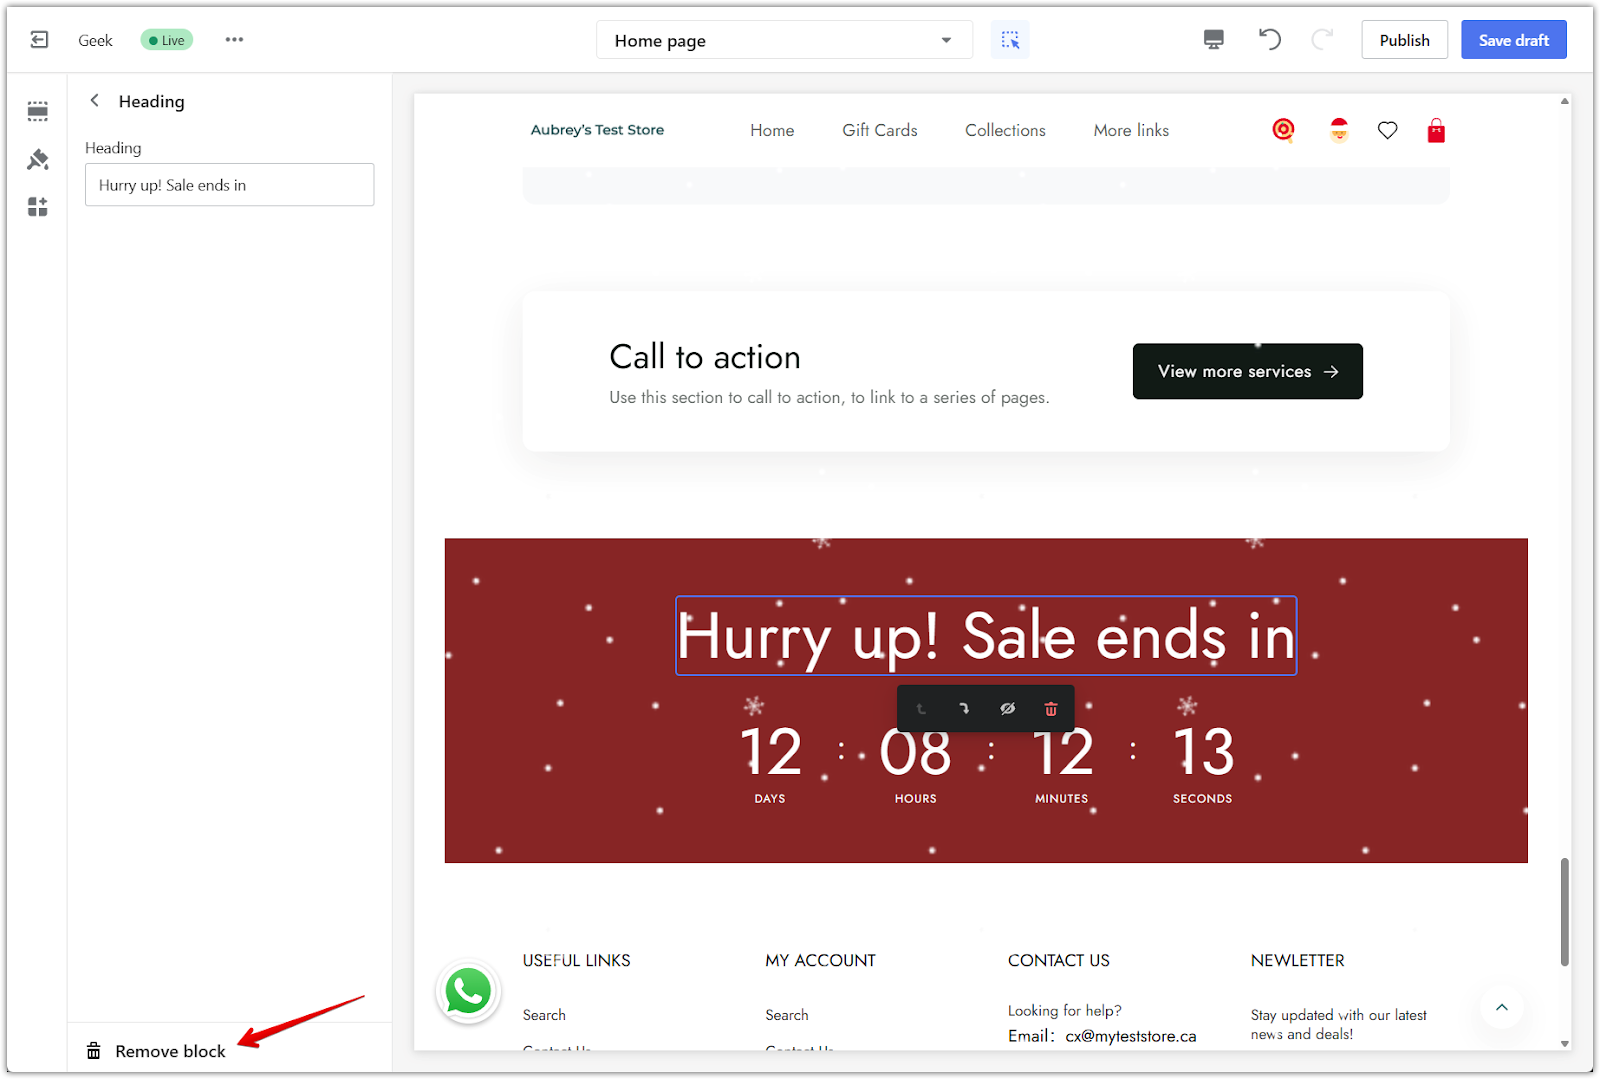
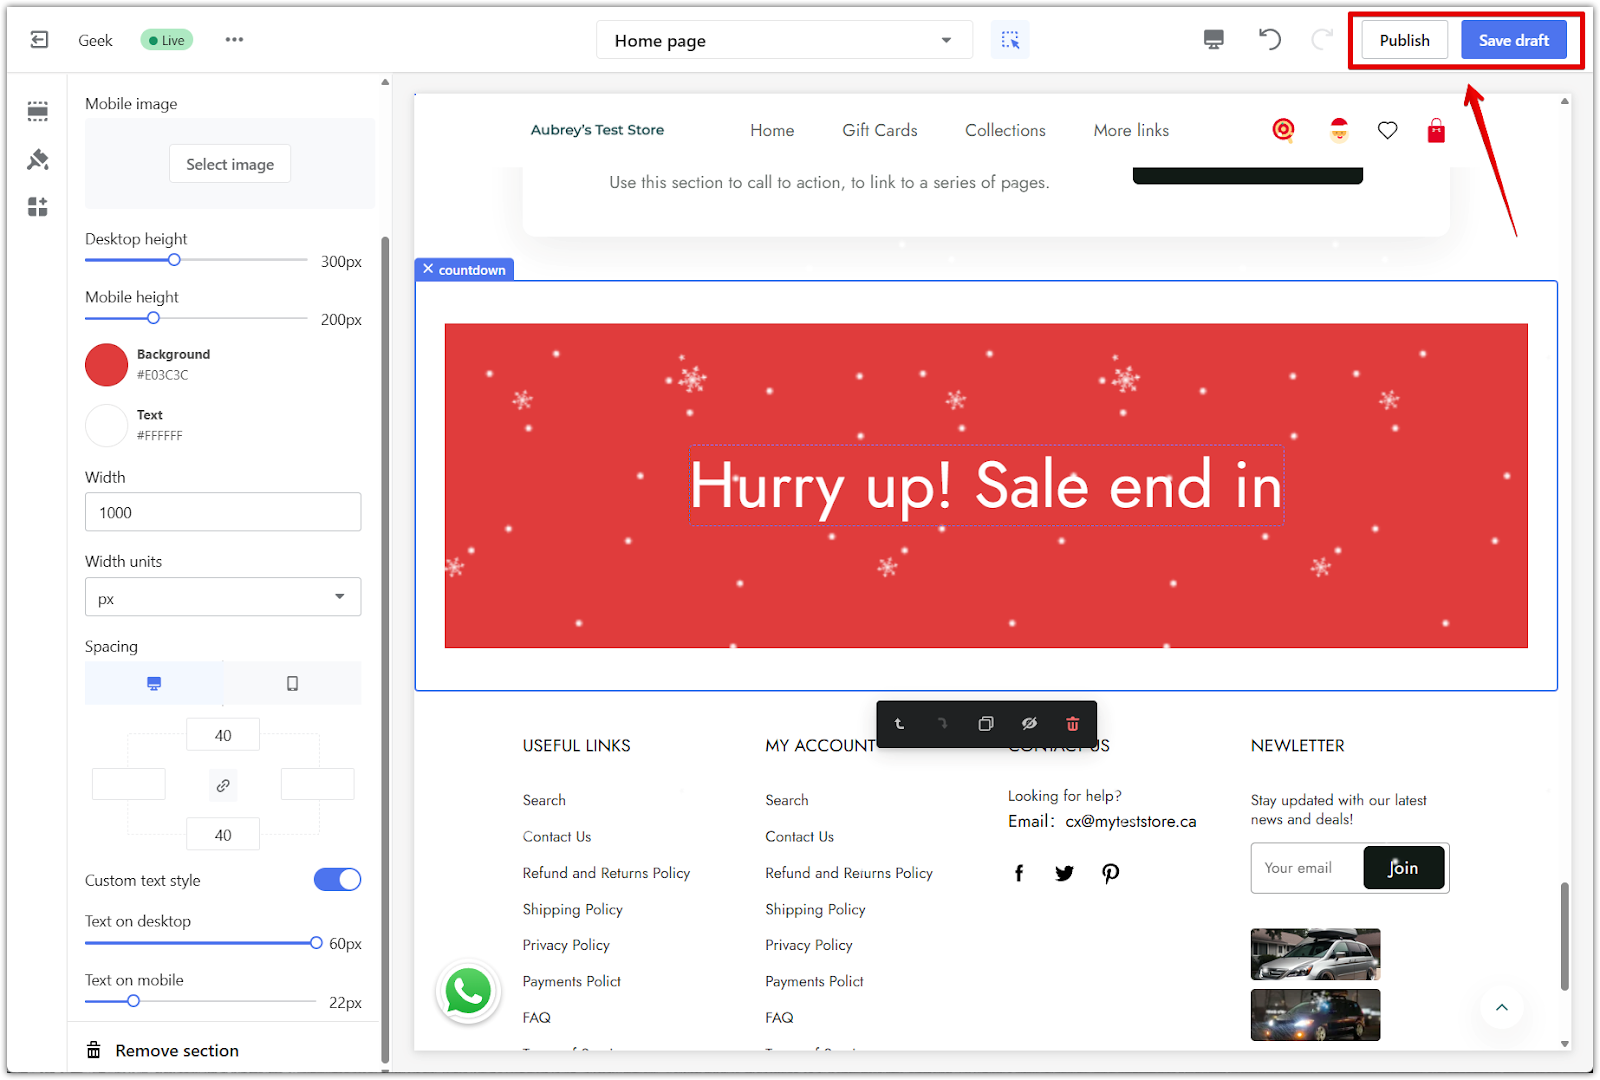
- Heading block: Click the Heading block from the left-side menu to change the text. This will appear above the timer (e.g., “Hurry up! Sale ends in”).
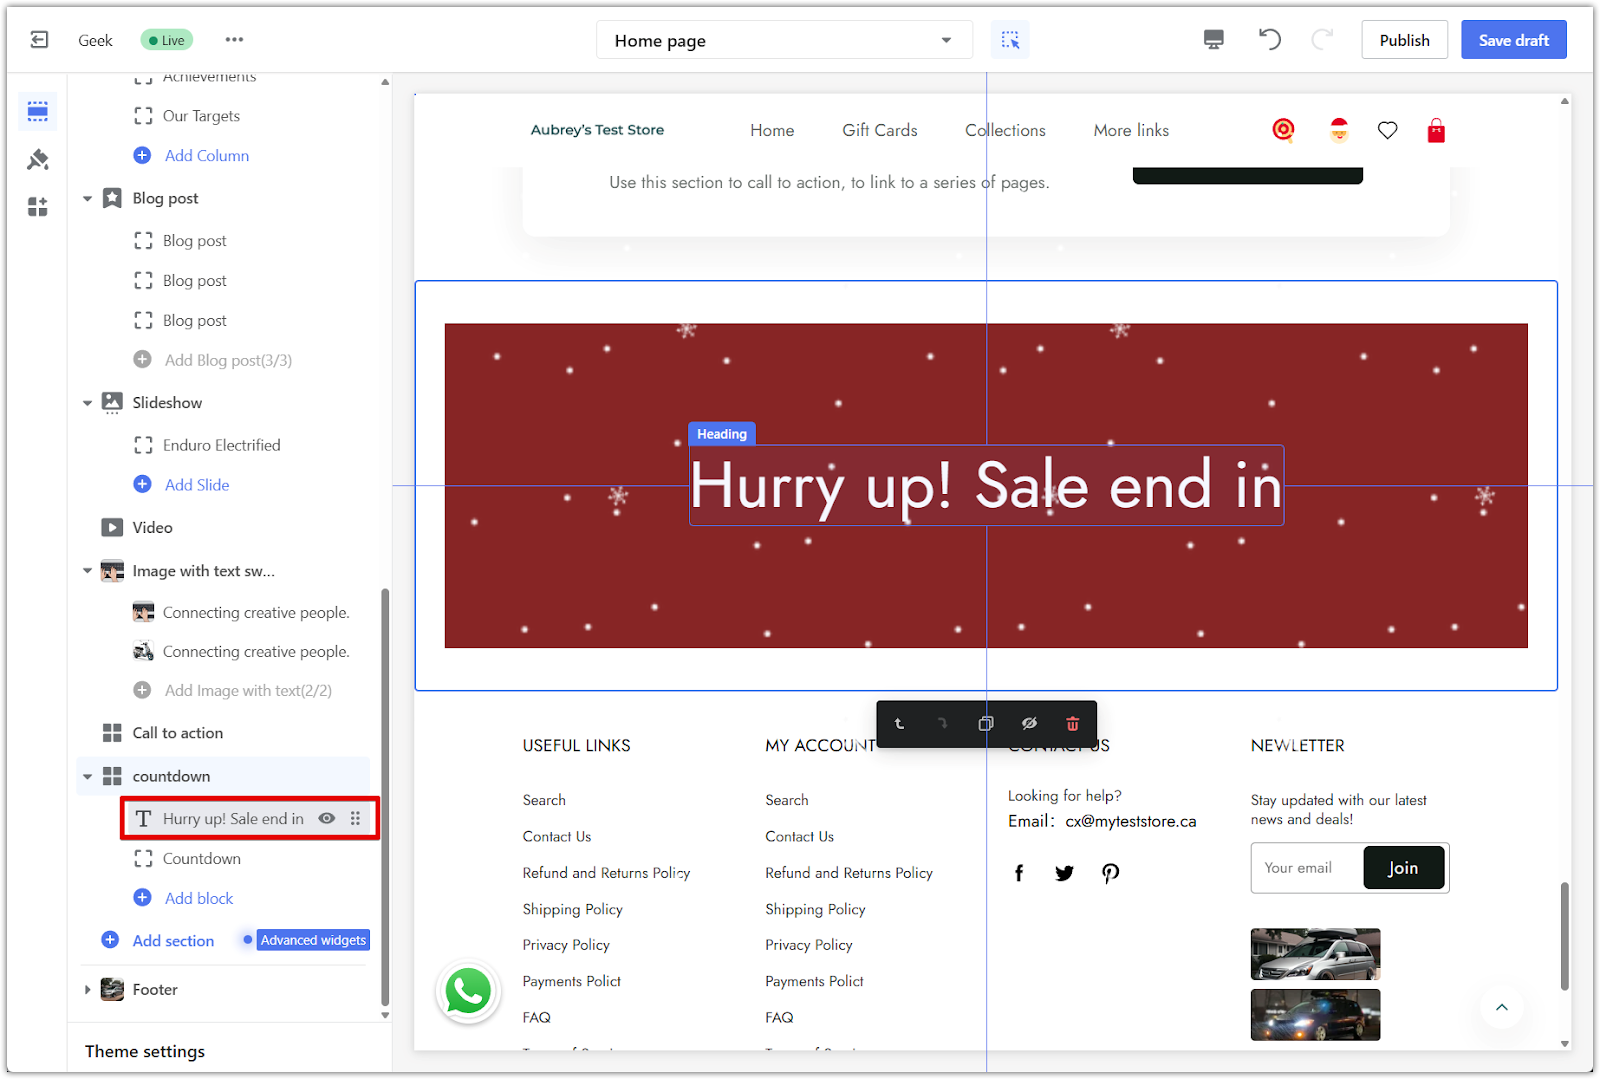
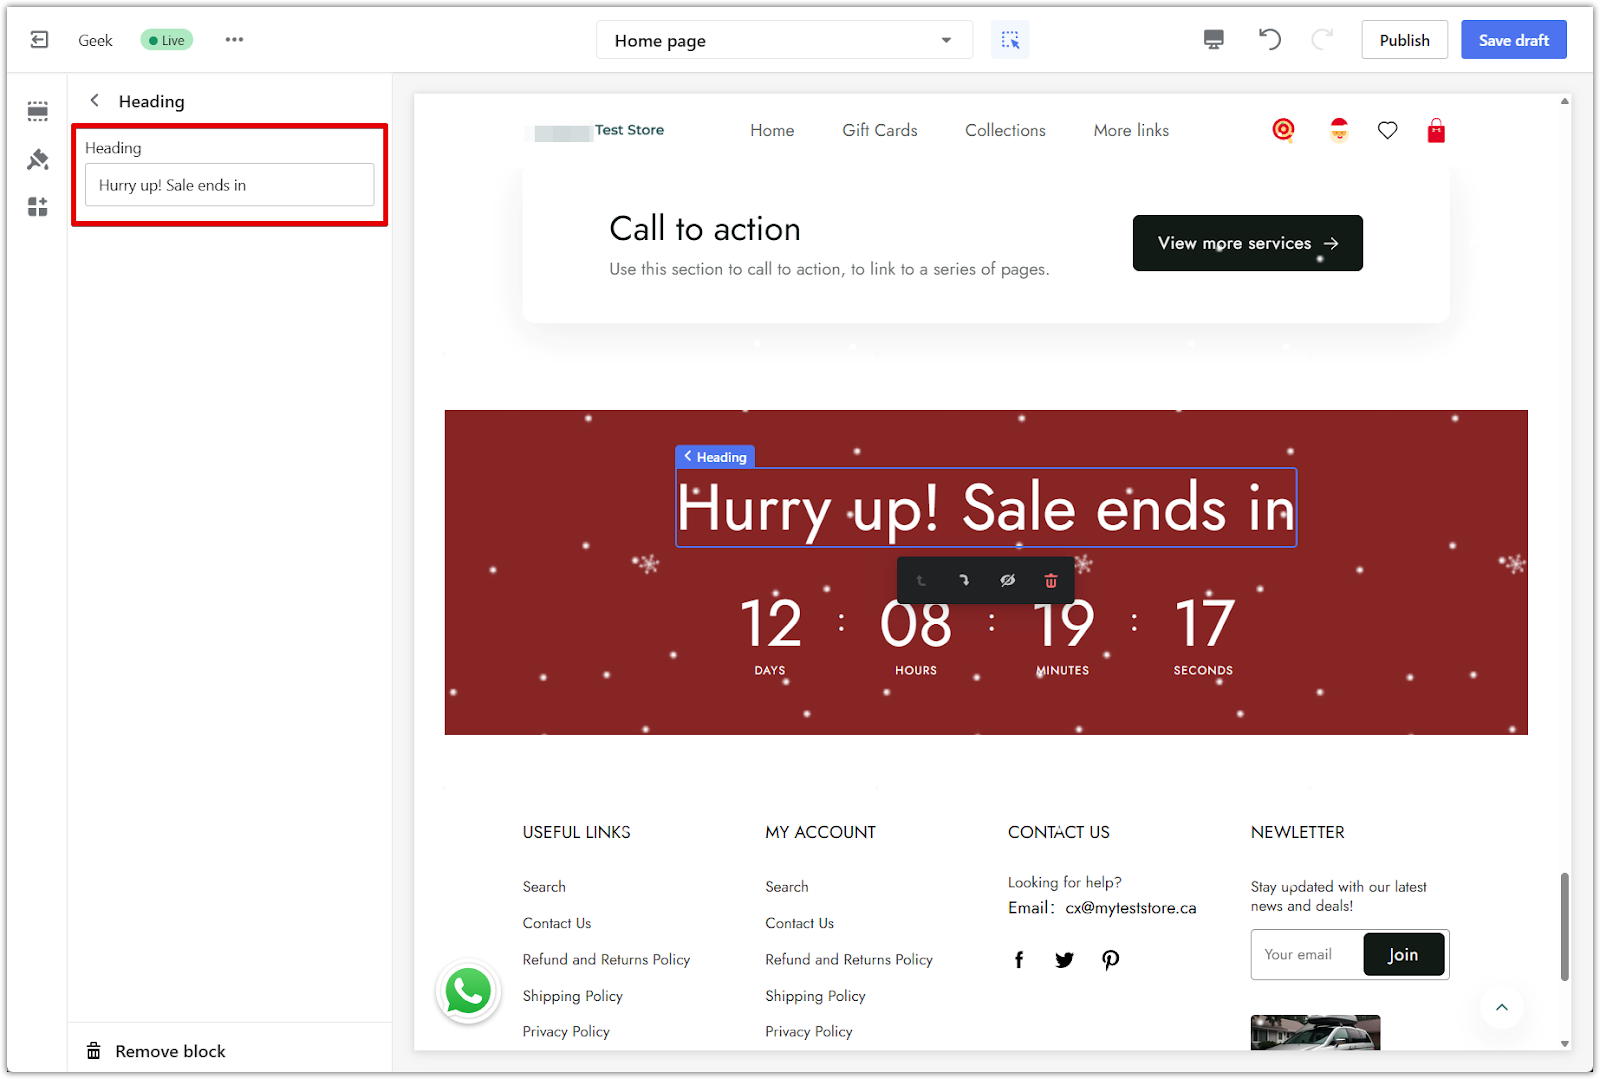
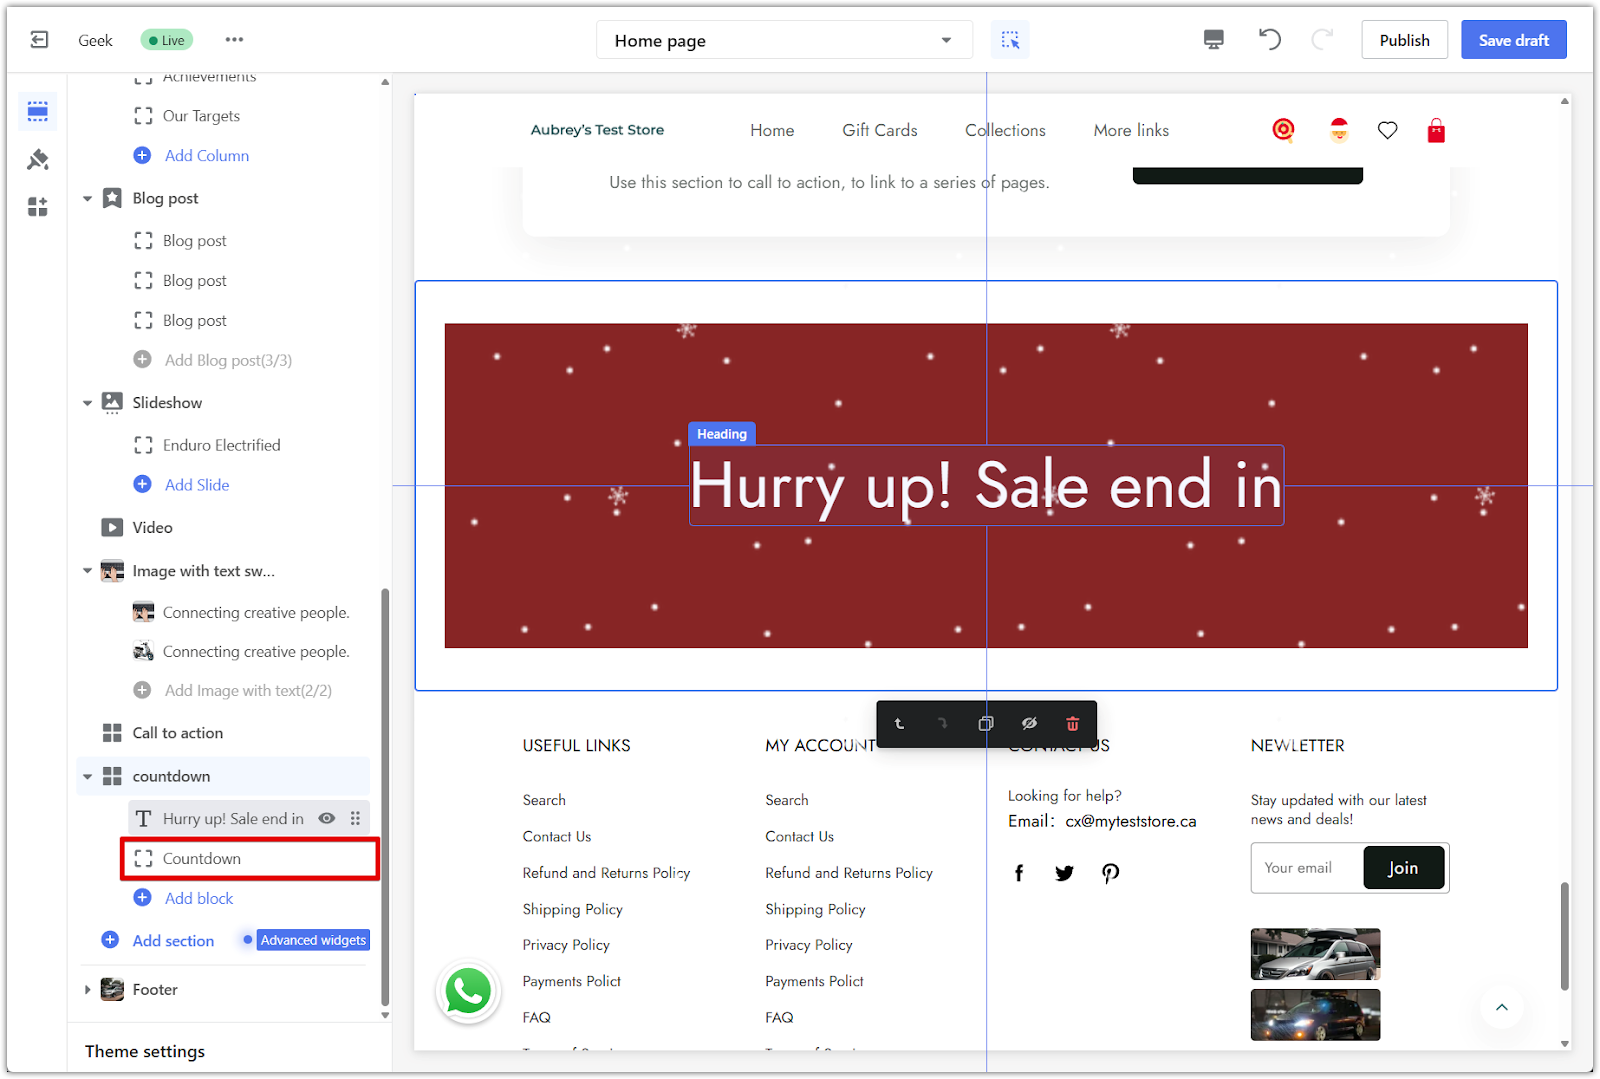
- Countdown block: Click the Countdown block to set an end time and adjust the loop length if you want the timer to reset. The timer displays days, hours, minutes, and seconds in real-time.
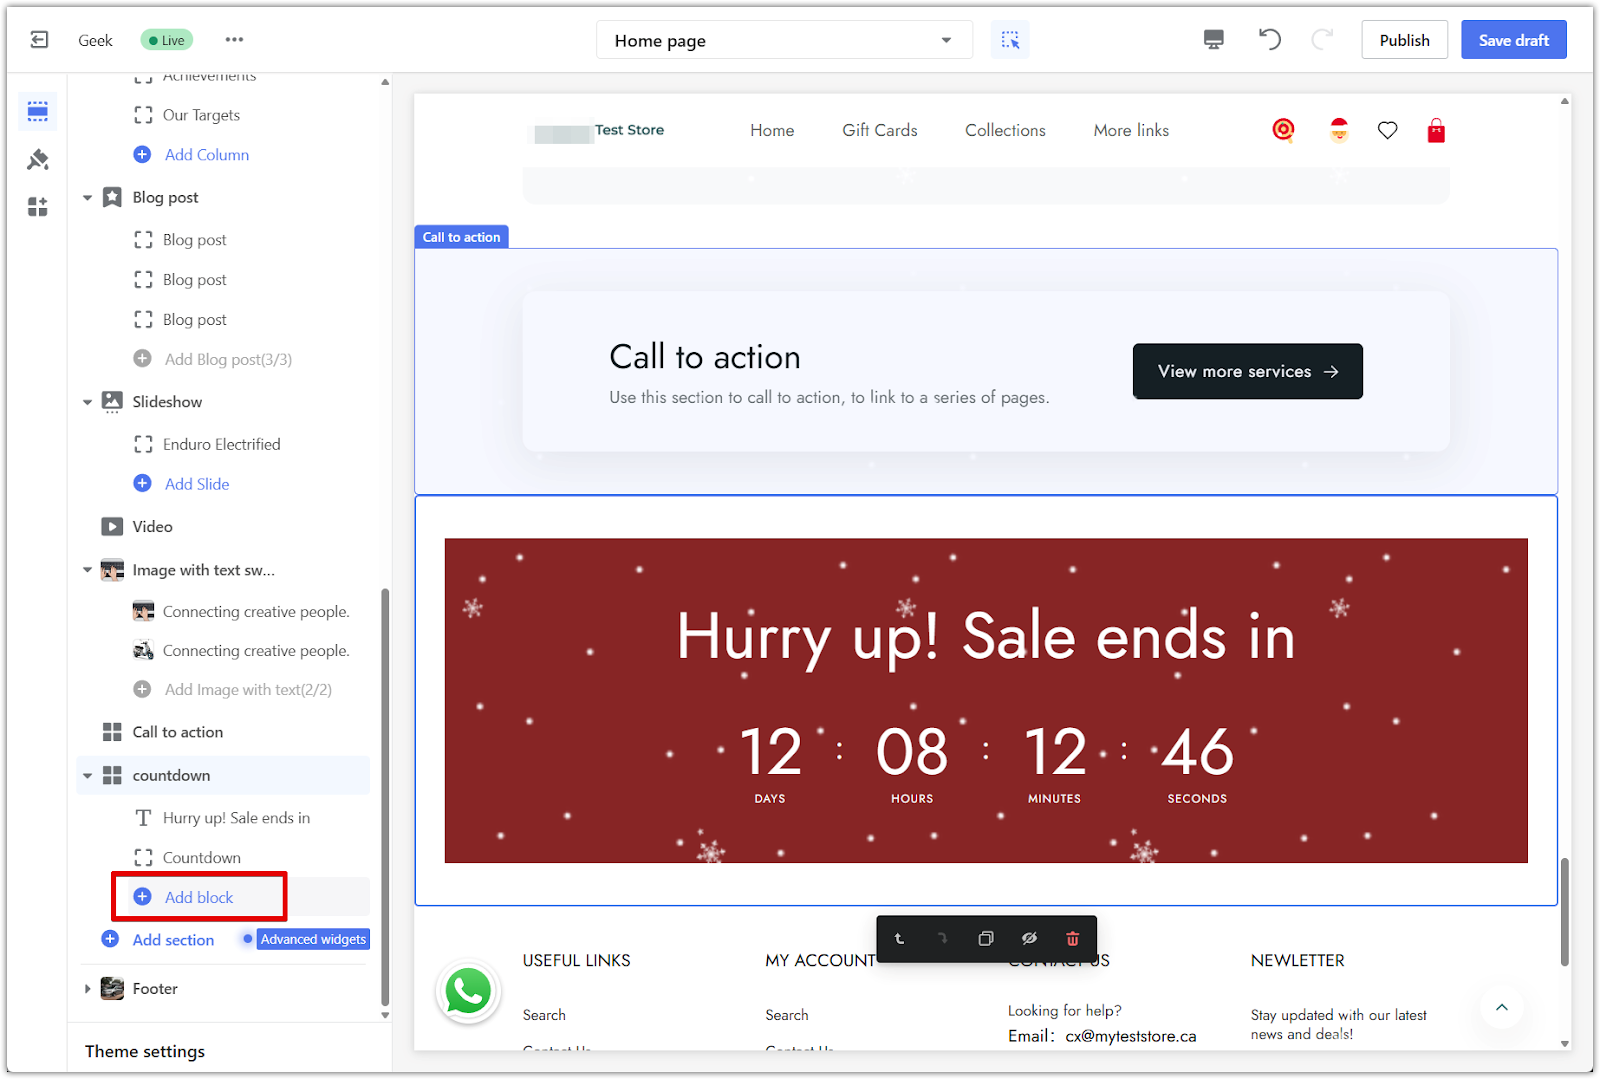
5. Add more blocks: Click Add block to include additional elements like a second heading, body text, or a call-to-action button. These can help drive attention or guide users to a specific product or page.

6. Remove a block: Click on the block you want to delete, then scroll to the bottom of the left-side settings panel and click Remove block.
7. Delete the section: To remove the entire countdown section, click on the countdown section title in the left-side menu, scroll to the bottom, and click Remove section.
8. Save your changes: Click Save draft to keep your edits without going live, or click Publish to apply the changes to your store immediately.
Changing background colors
Sections like Shoppable image, Customer reviews, and Image with text grid support custom color options across all Geek theme series. The available colors depend on the specific theme you’re using.
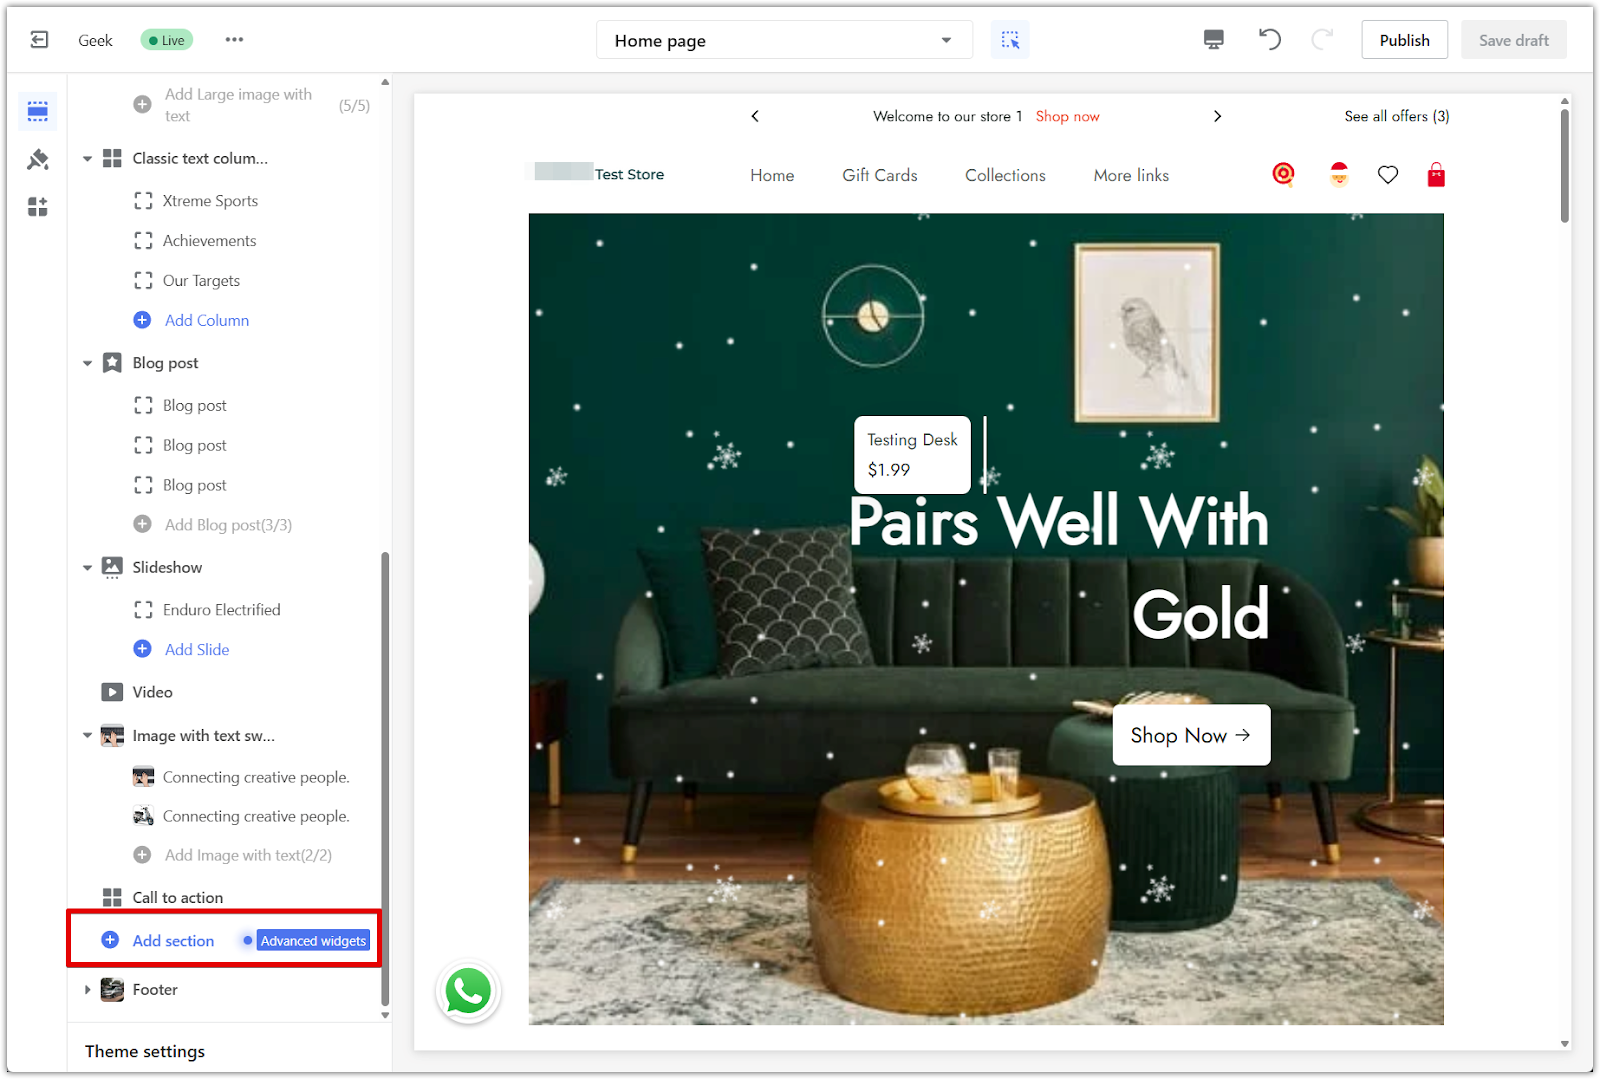
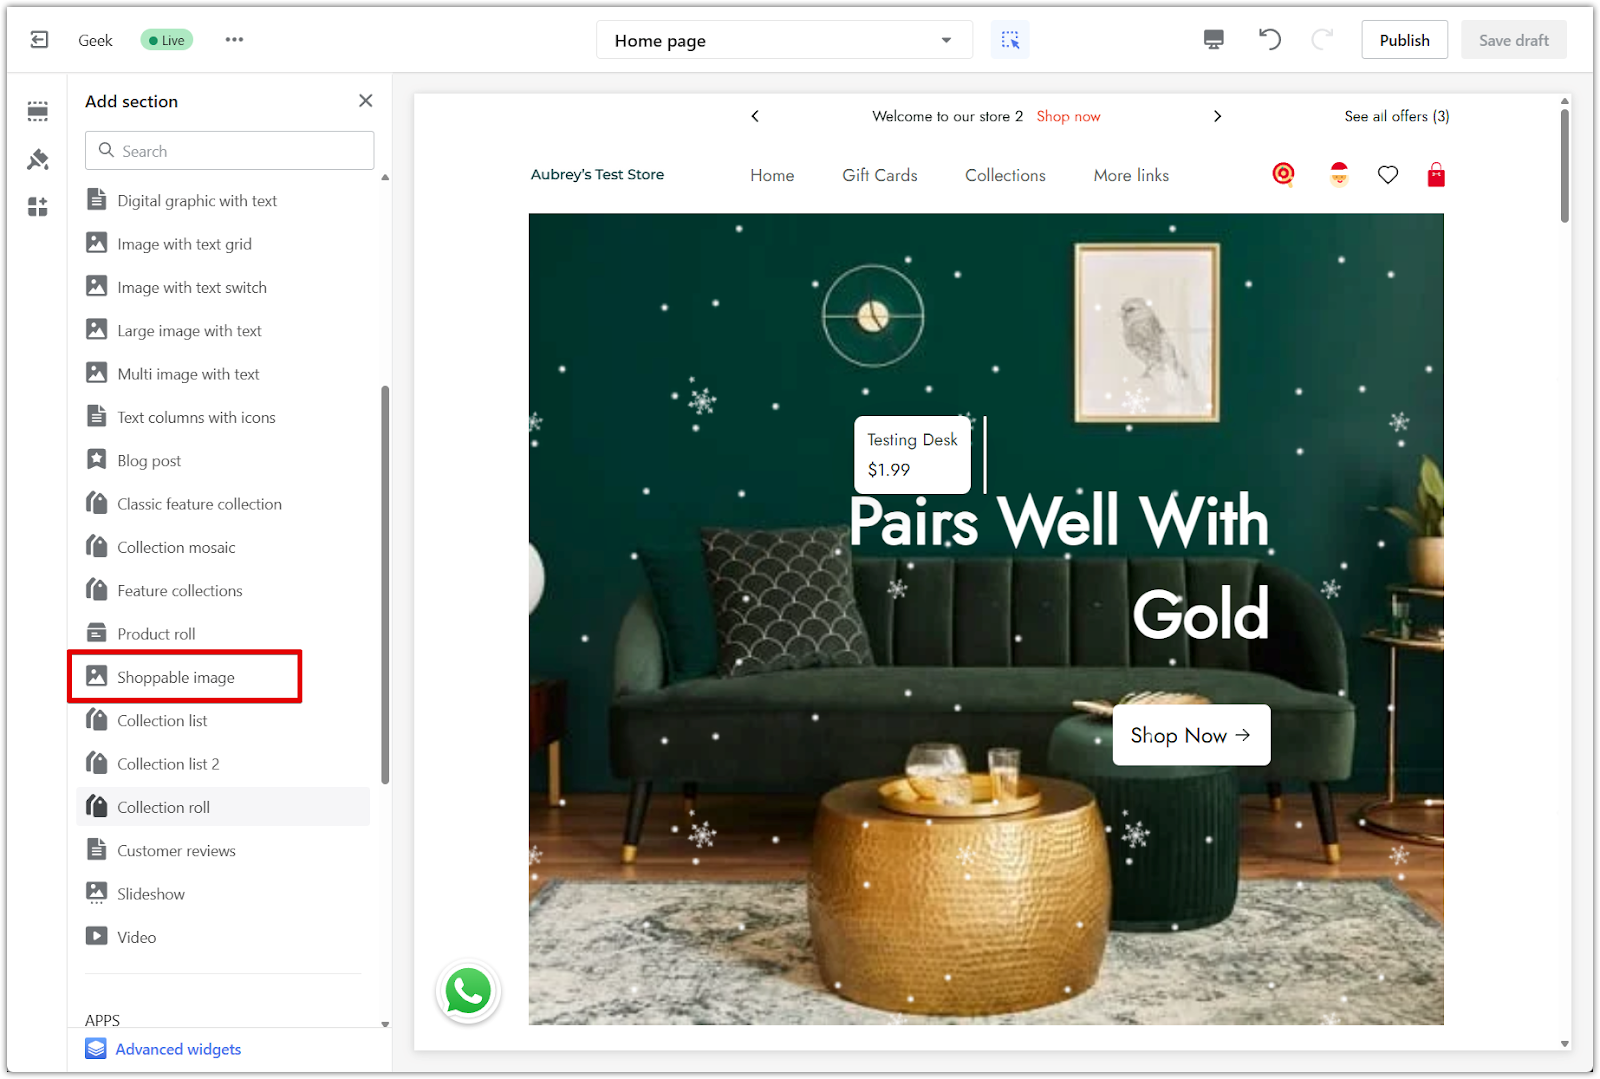
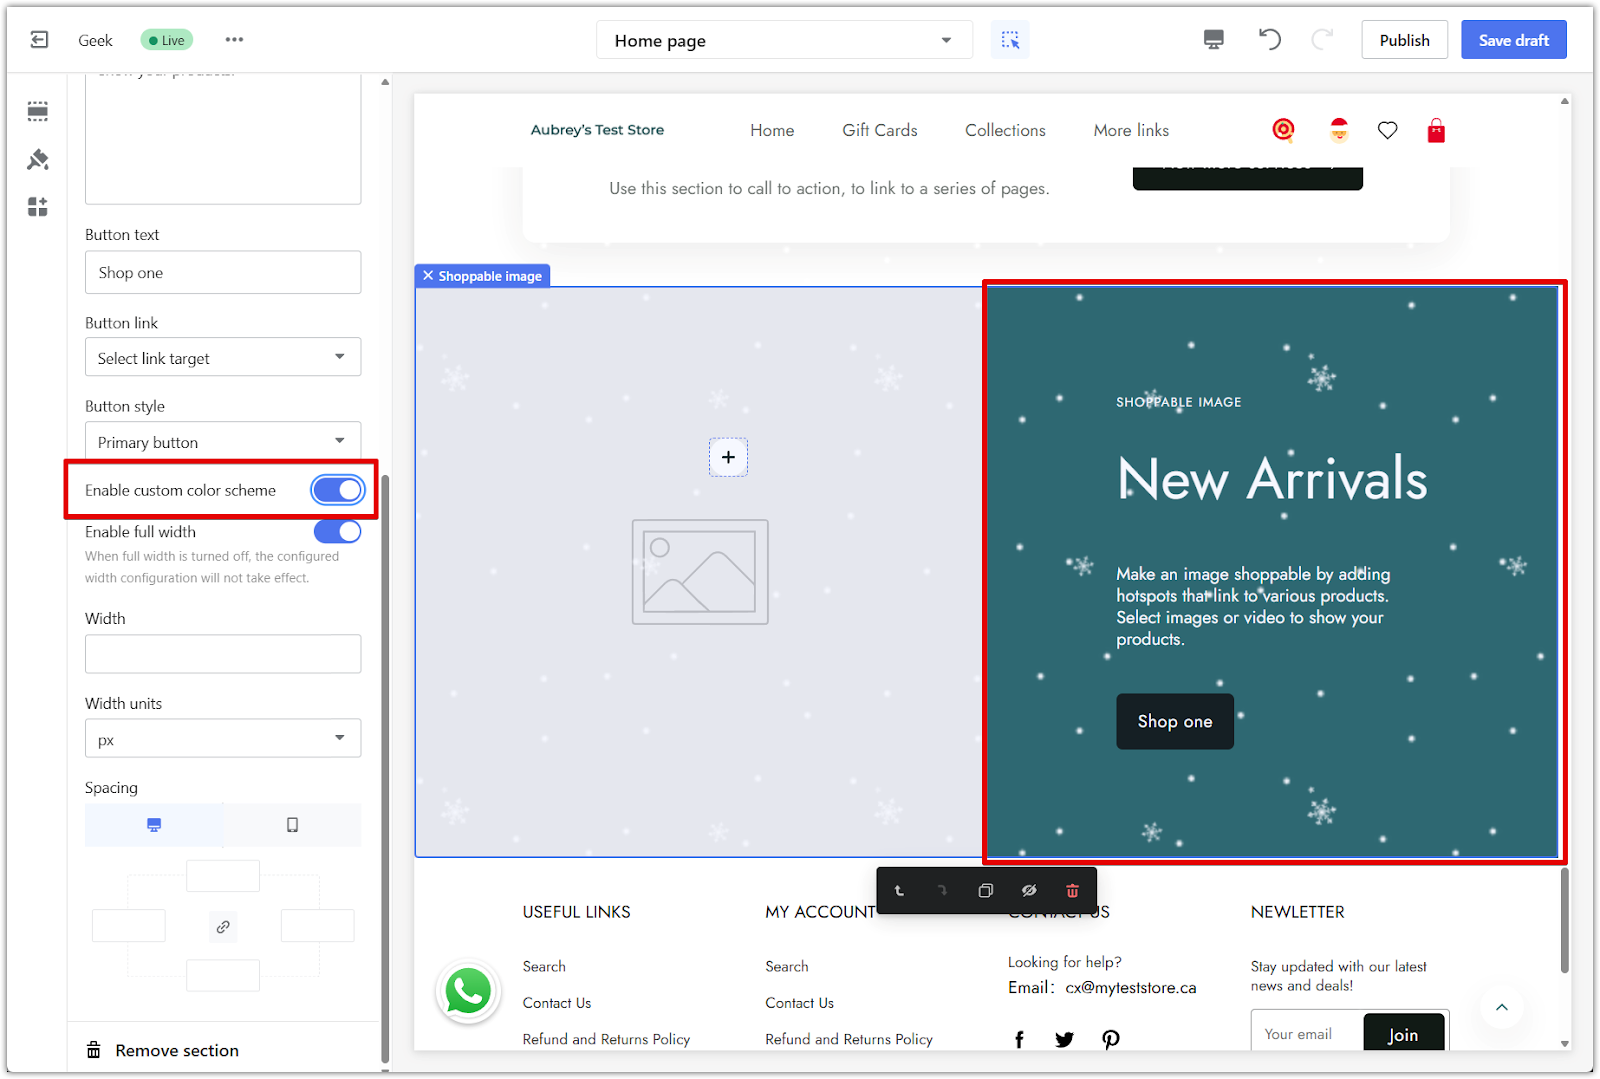
1. Add the section: In the theme editor, scroll to the bottom and click Add section. Choose a section that supports custom colors, such as Shoppable image.
2. Access the section settings: Click directly on the section title (e.g., Shoppable image) in the left-side menu to open its settings.
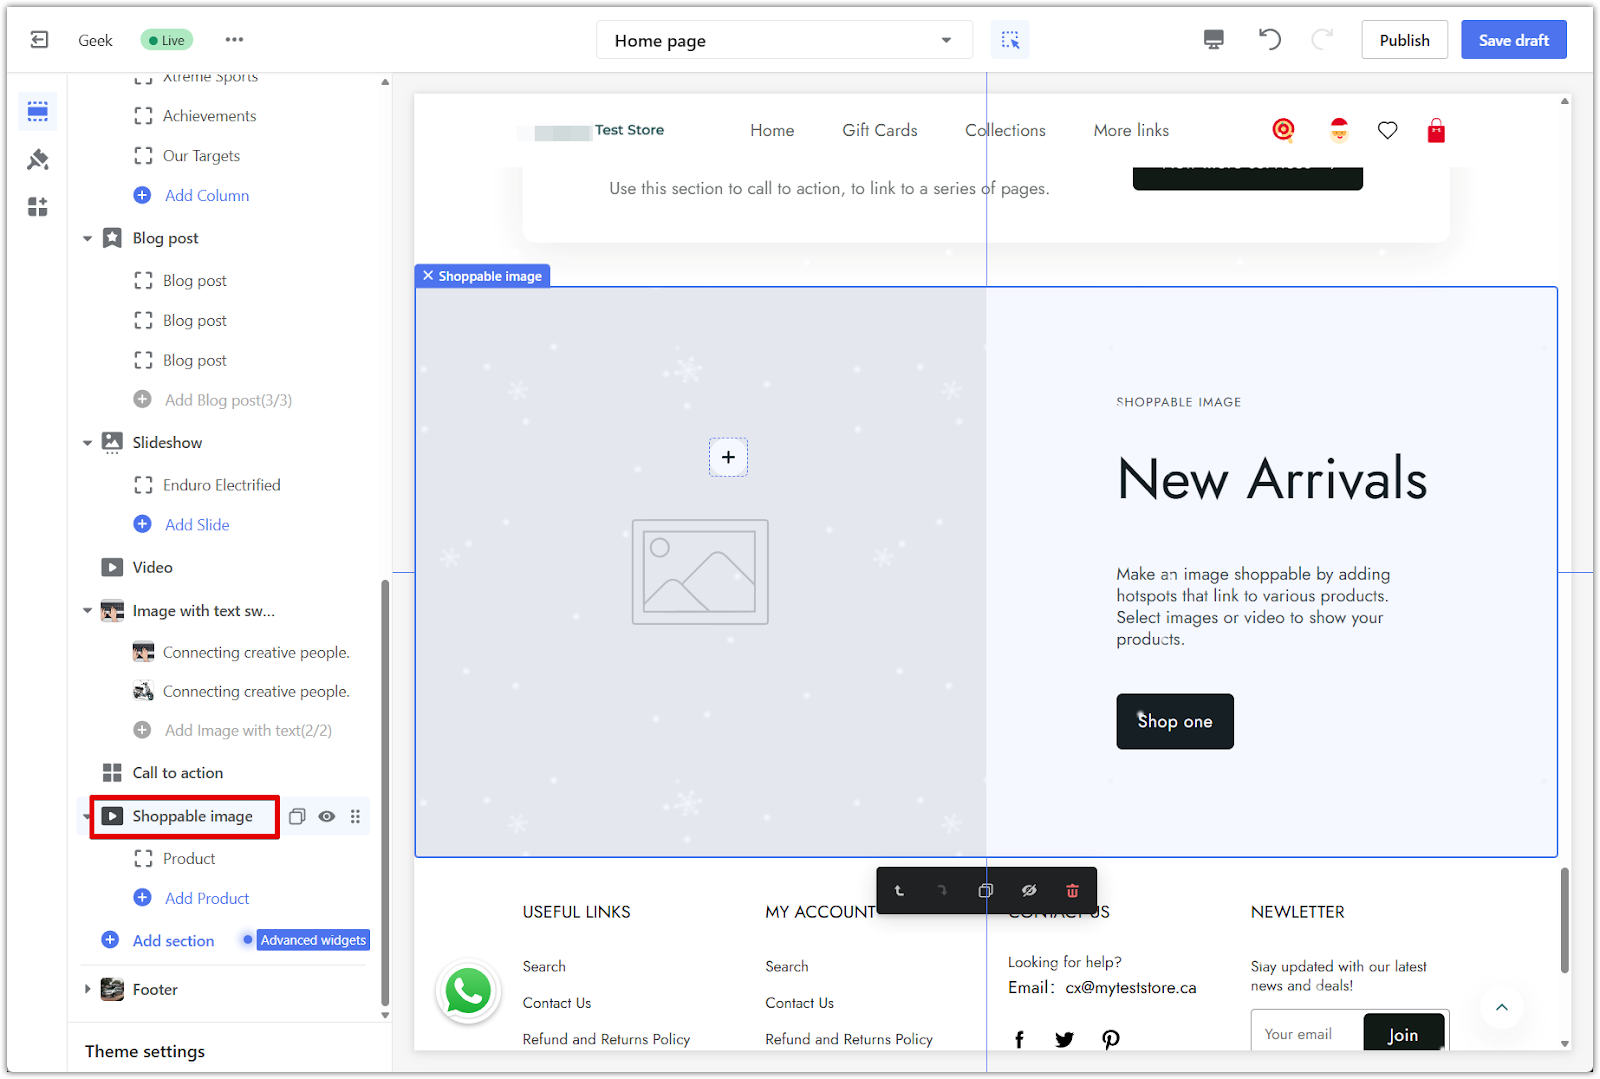
3. Enable the custom color scheme: Scroll down and toggle on Enable custom color scheme. Once enabled, the section will follow your store’s alternate holiday palette or theme-specific color presets.
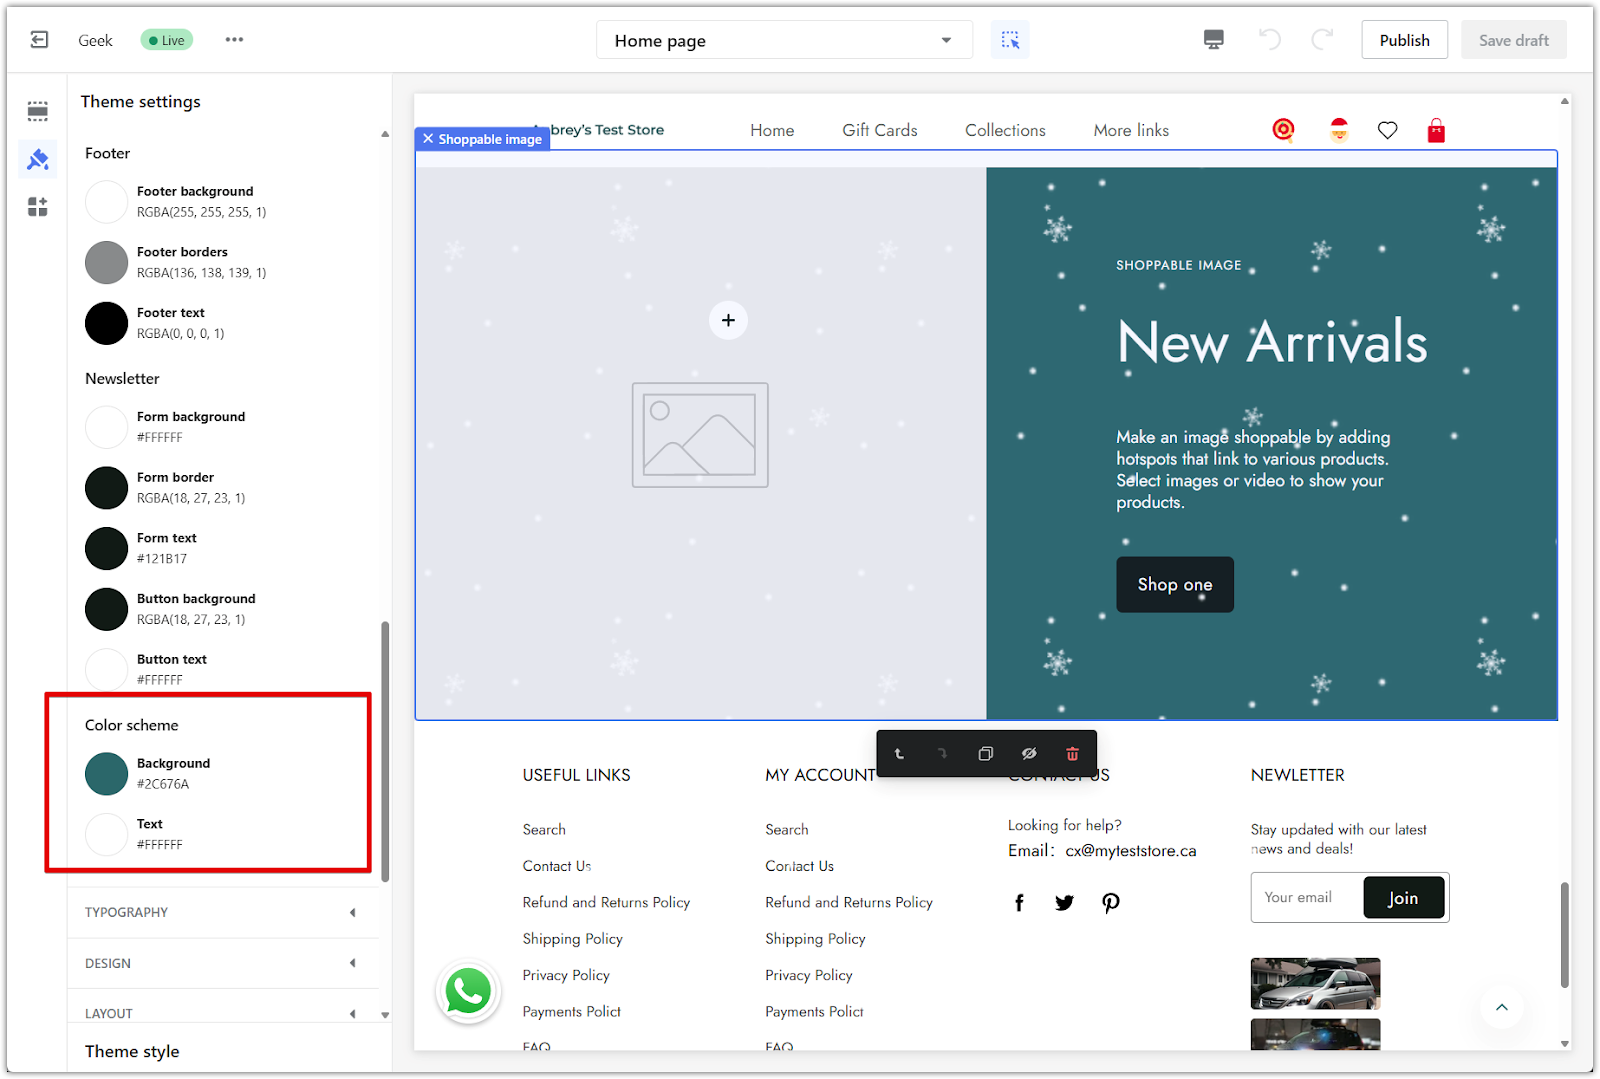
4. Customize global colors: For full control over your store's look, go to Theme settings > Colors > Color scheme to change the custom color scheme, default background, text, and button styles.

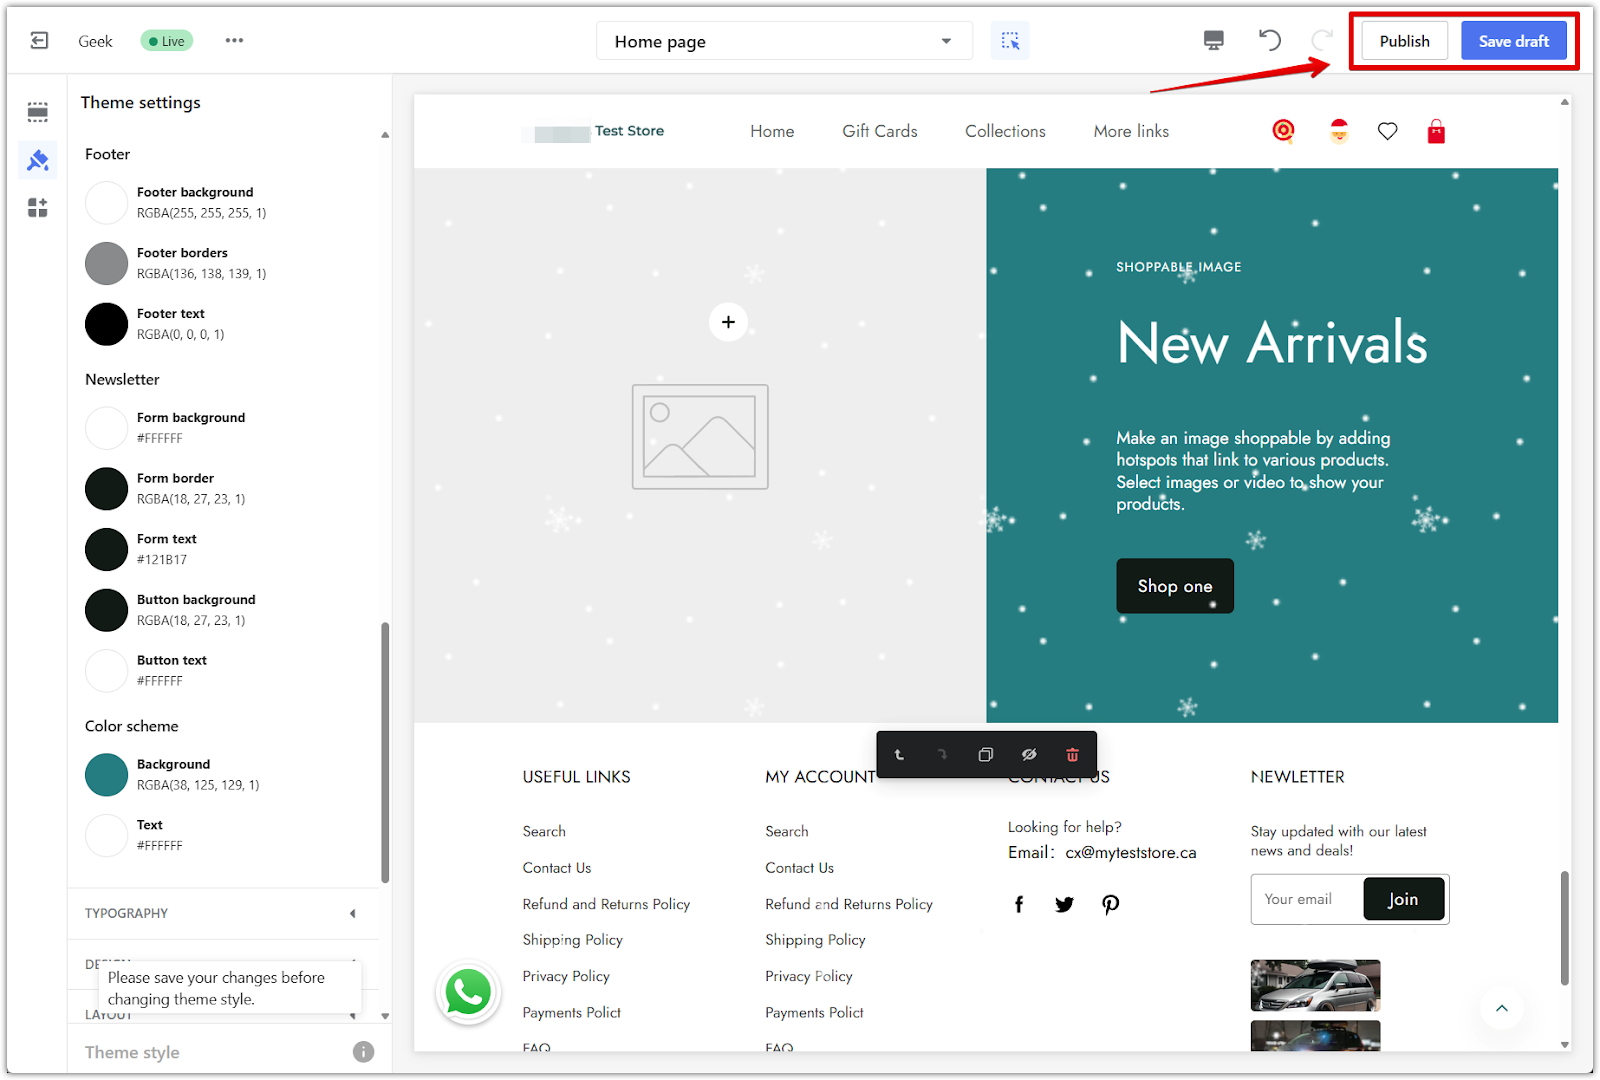
5. Save your changes: Click Save draft to keep your changes without going live, or click Publish to make them public right away.
These holiday design features help bring a festive mood to your store and drive seasonal engagement. Use snowfall effects, countdown timers, festive icons, and custom backgrounds to create a consistent holiday experience throughout your Shoplazza storefront.


Comments
Please sign in to leave a comment.