
Accept payments from customers worldwide and elevate your business with Stripe's seamless integration with your Shoplazza store. This connection simplifies payment processing, expands your reach, and enhances the customer experience. This guide provides a step-by-step walkthrough of the Stripe account signup process and how to link it to your Shoplazza store.
Creating a Stripe account
To get started, you need to create a Stripe account by following these steps.
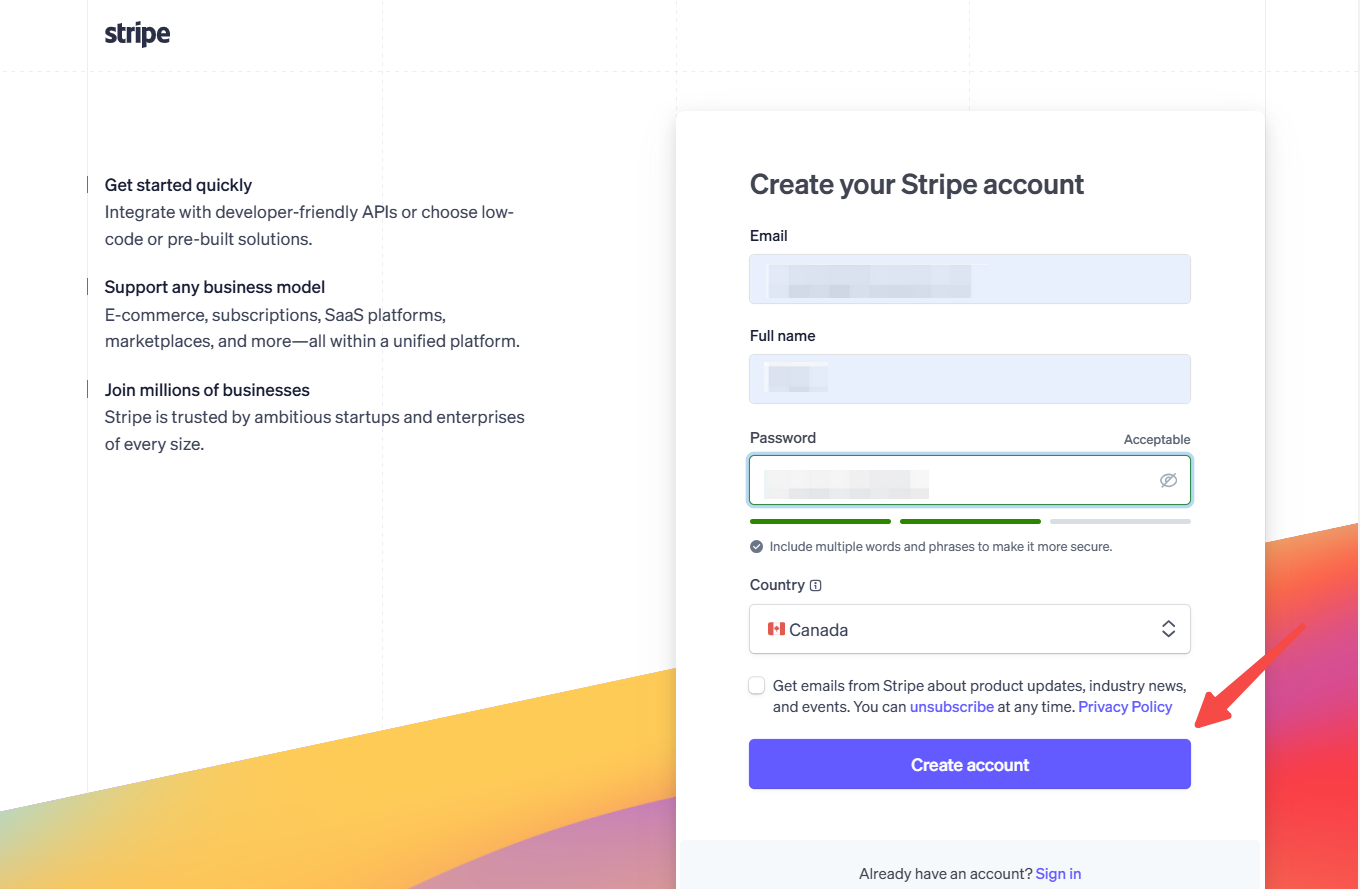
1. Visit the Stripe dashboard: Go to the Stripe website and fill out the registration form with your email address, full name, and password.
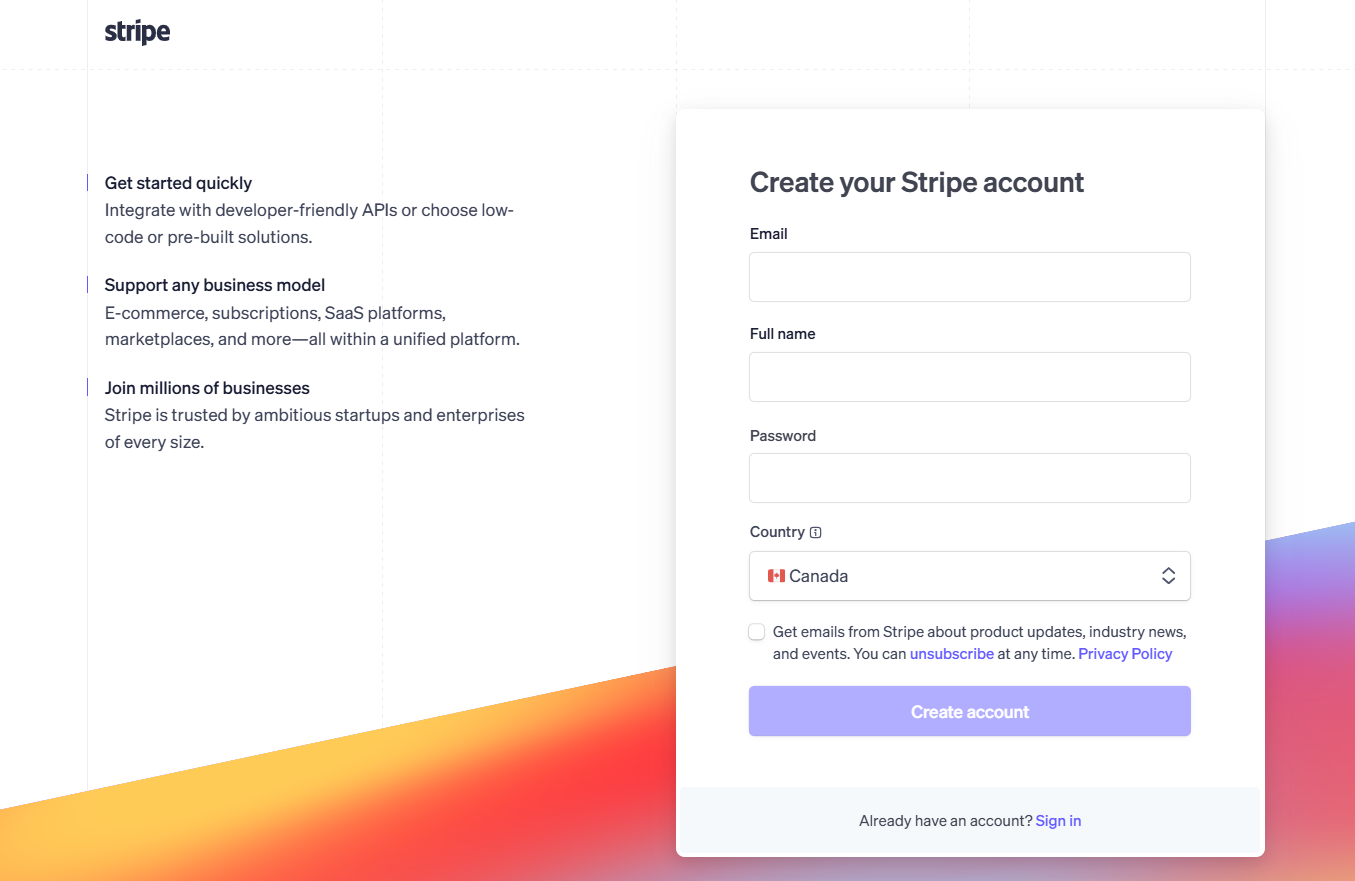
2. Create your account: Once you've filled out the form, click Create account to proceed.
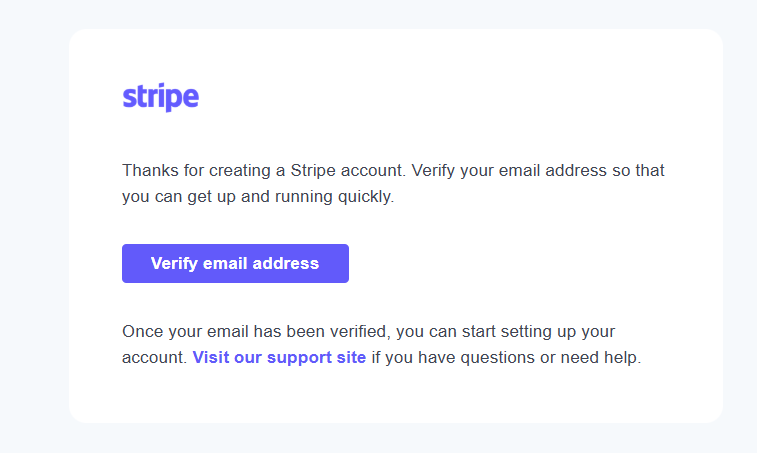
3. Verify your email: Check your inbox for a confirmation email from Stripe and click Verify email address to complete the verification process.
4. Set up your business profile: To start accepting payments immediately, provide the required business information in your Stripe profile. Alternatively, you can explore Stripe’s features to find the best setup for your needs.
Note
The setup process takes approximately 5–10 minutes, depending on the information you need to provide.


Linking your Stripe account to Shoplazza
Once your Stripe account is set up, follow these steps to connect it to your Shoplazza store.
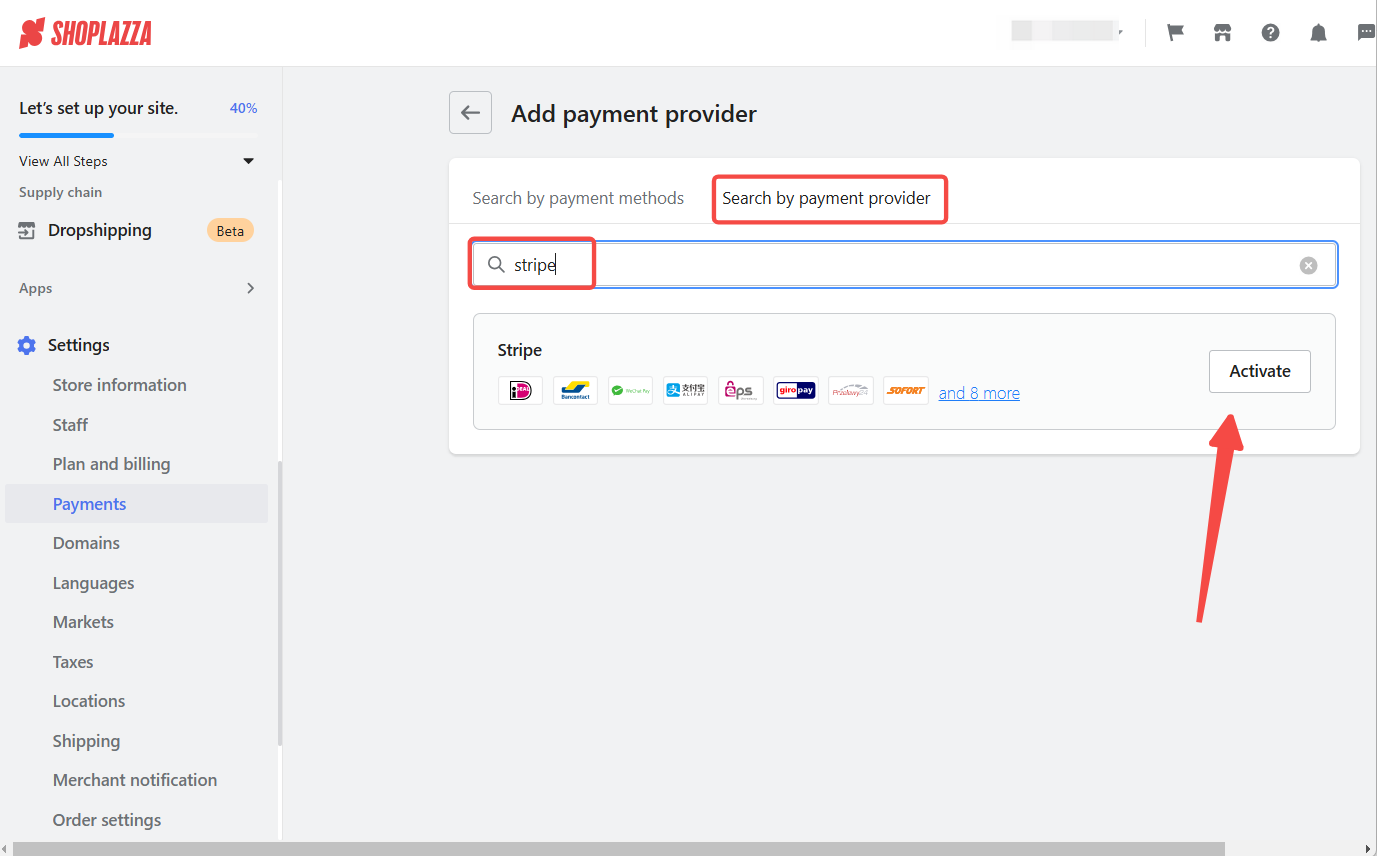
1. Access your Shoplazza admin: Log in to your Shoplazza admin, then go to Settings > Payments and click Add payment provider.

2. Search for Stripe: Under Search by payment provider, type Stripe, then select it and click Activate.
3. Link your Stripe account: On the Stripe settings page, find the Account Information section and click Link.

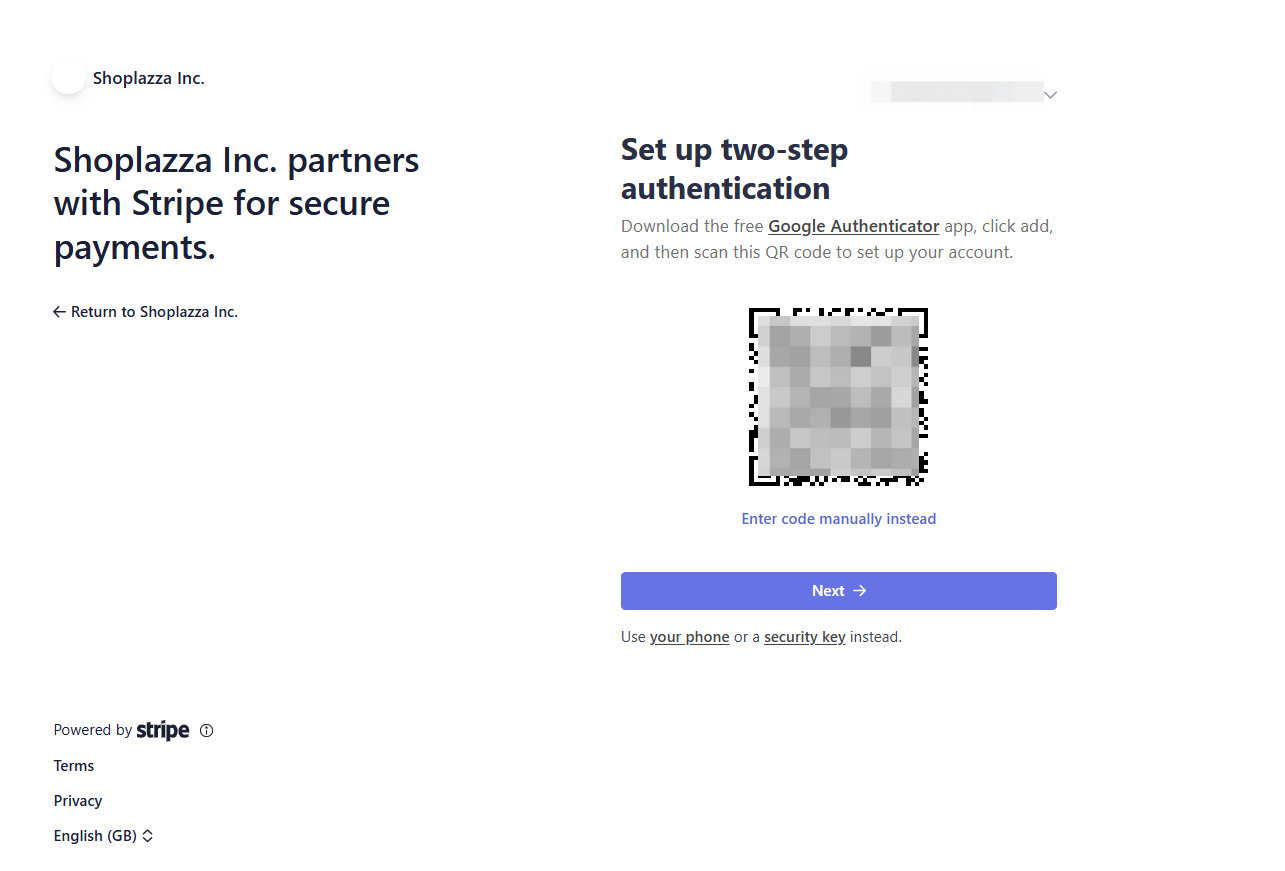
4. Complete authentication: To finalize the connection, you’ll need to verify your identity using Google Authenticator or manually enter a verification code provided by Stripe.
Note
If you don't have a Google Authenticator app, you can download it from the App Store (iOS) or Google Play (Android) to generate the required verification code.
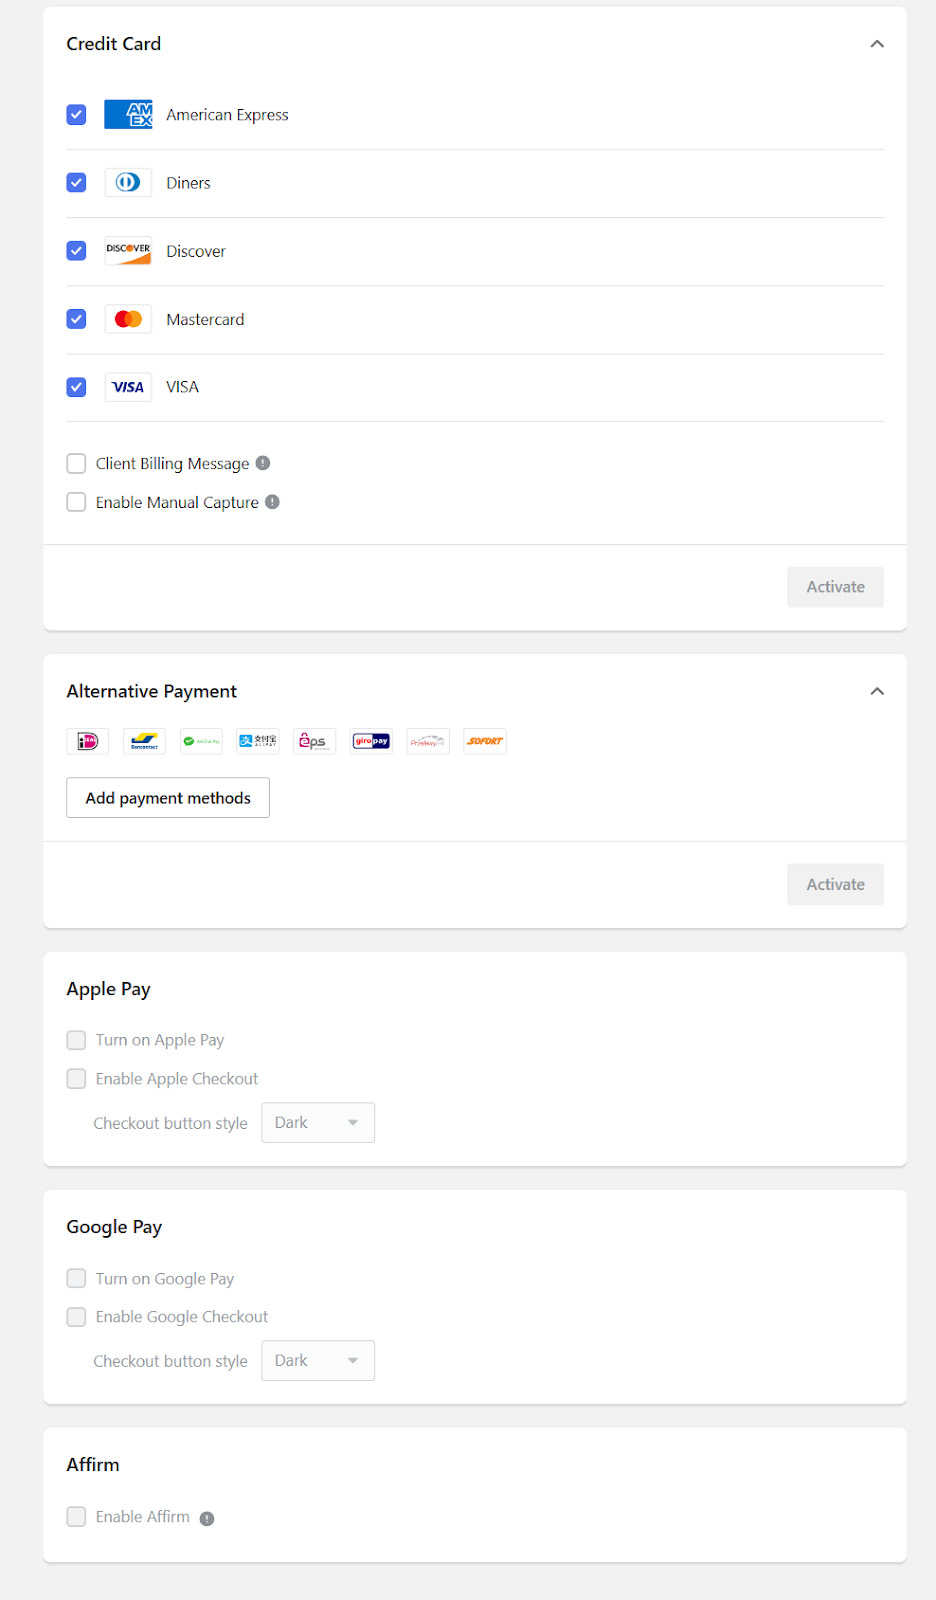
5. Configure your payment methods: Once successfully connected, you can enable or disable the payment methods that Stripe supports directly from your Shoplazza admin. This includes:
- Credit cards (Visa, Mastercard, American Express, etc.)
- Alternative payment methods (iDEAL, Bancontact, etc.)
- Digital wallets (Apple Pay, Google Pay)
Note
You can customize the checkout button style for Apple Pay and Google Pay to match your store's design.
After completing these steps, Stripe will be successfully integrated with your Shoplazza store, allowing you to accept payments from customers worldwide. If you encounter any issues or need assistance, Stripe’s support team is available to help.


Comments
Please sign in to leave a comment.