
Setting up an IP whitelist in dLocal is an important security measure that ensures only authorized IP addresses can access your dLocal account. By restricting access to specific IPs, you can:
- Prevent unauthorized transactions
- Enhance payment security
- Ensure seamless payment collection
Once configured, your store’s IP will be linked to your dLocal account, and you won’t need to re-add it when using other dLocal payment methods.
IP Whitelisting process
Follow these steps to enable IP whitelisting in your dLocal admin:
1. Retrieve Store IP: Contact our online customer support to obtain the IP address.
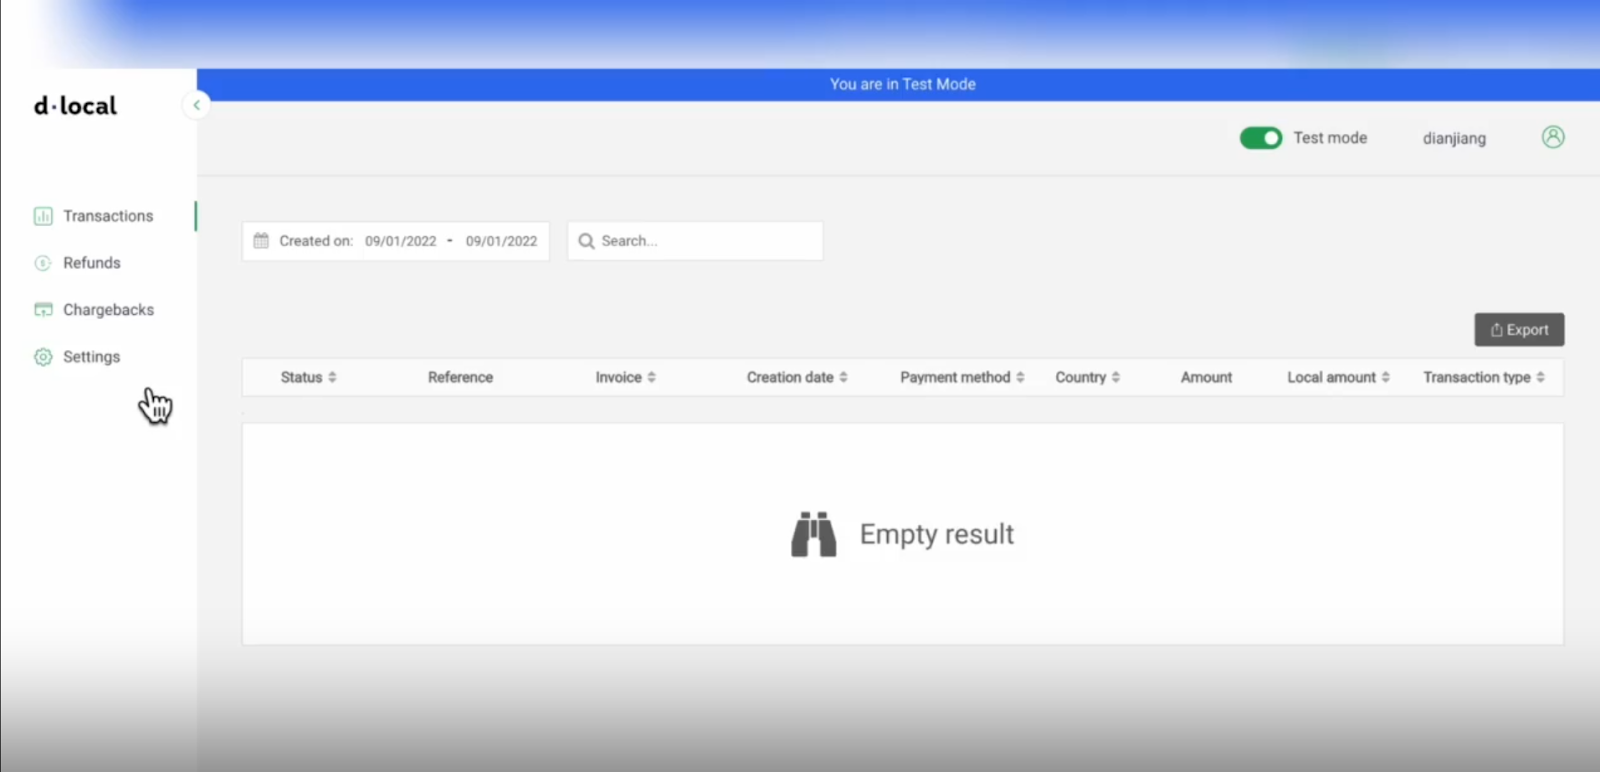
2. Access dLocal admin: Log in to your dLocal Merchant Dashboard using your account credentials.
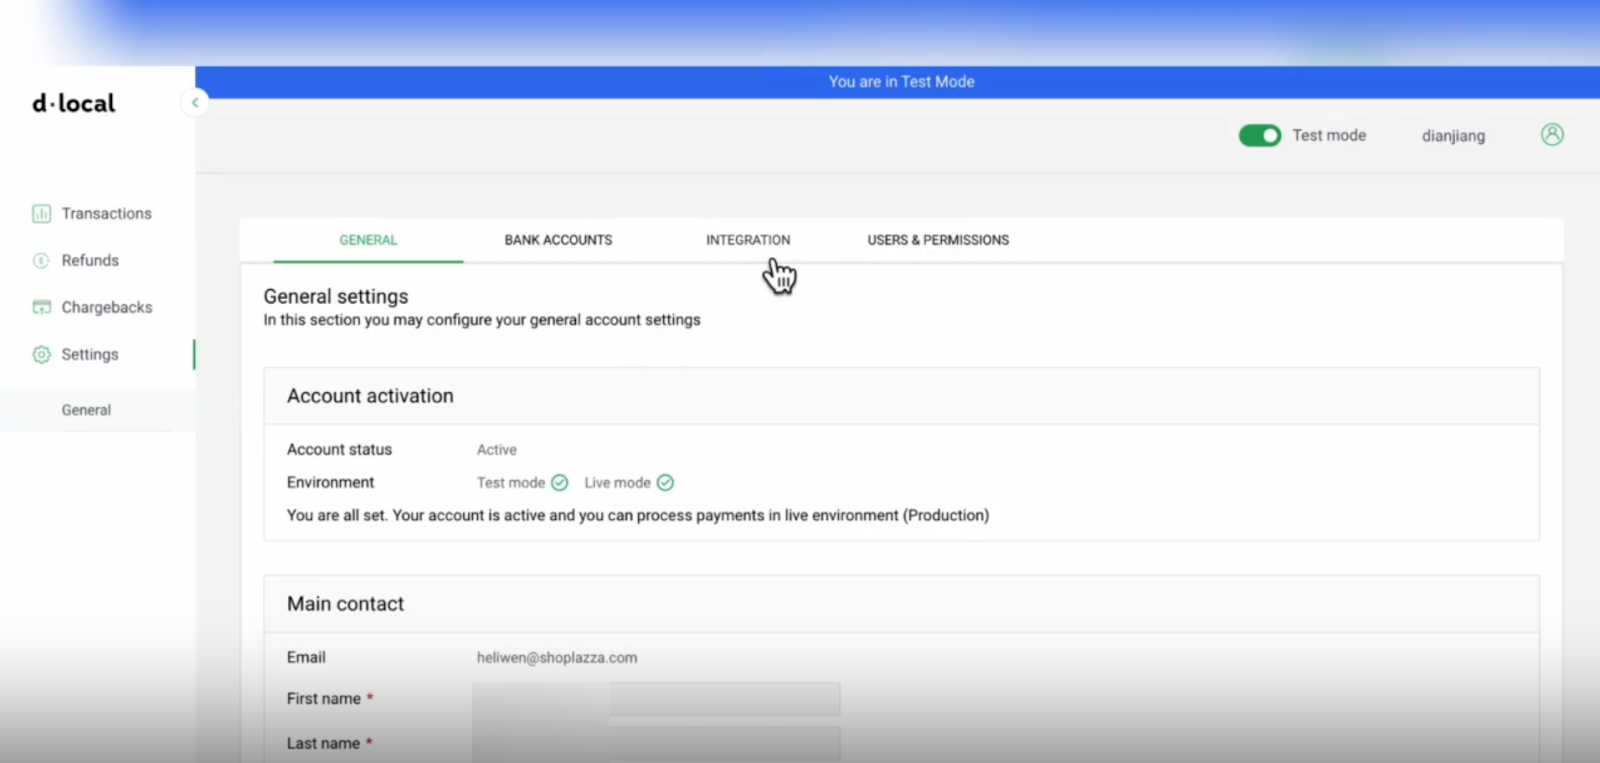
3. Integration Settings: Navigate to Settings Integration within your dLocal admin.
4. IP Whitelist Entry: Locate the IP whitelist section and enter your store's IP address in the designated column. Click Add to confirm.
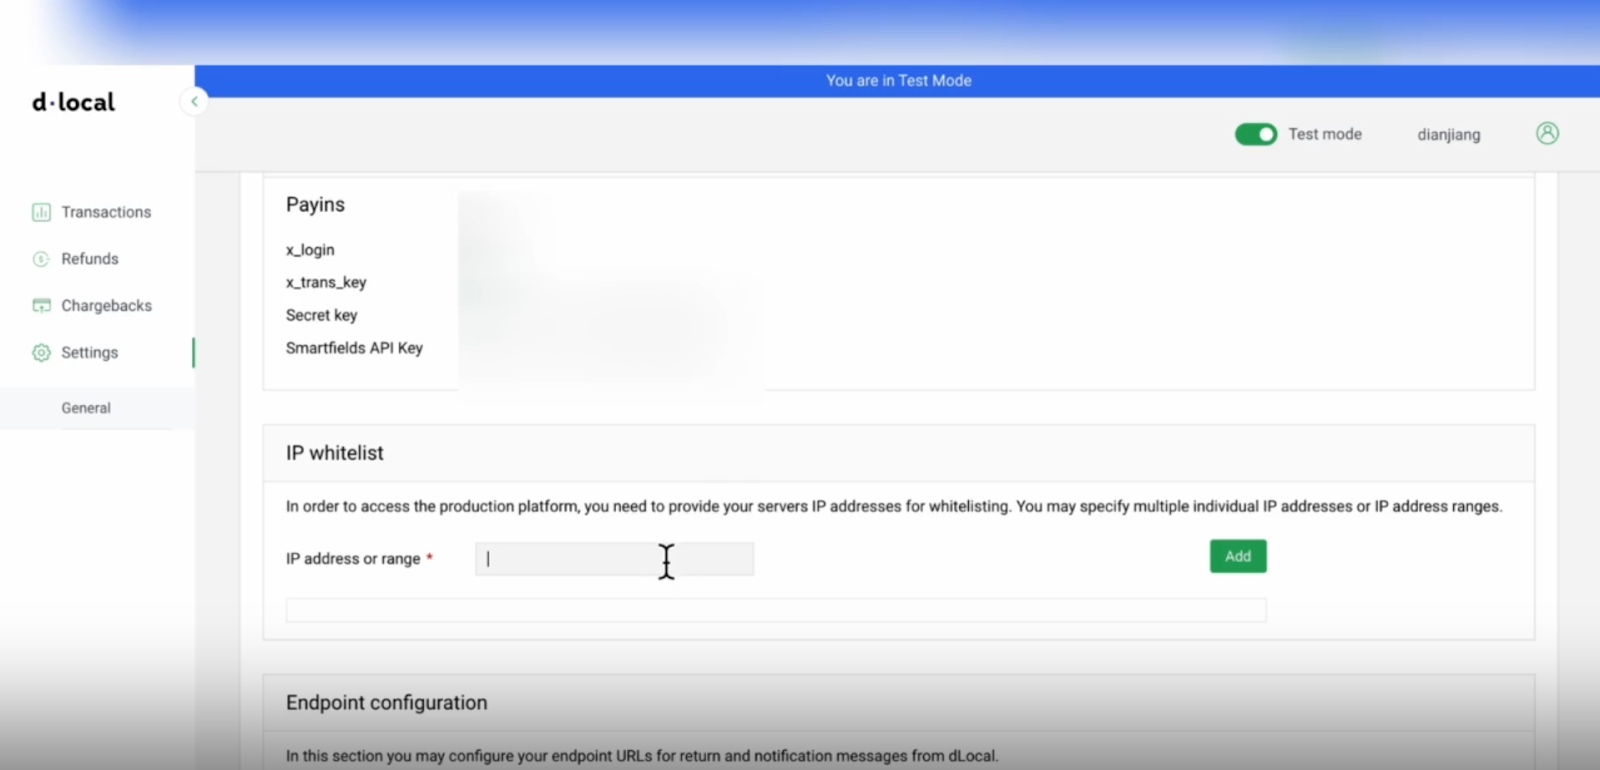
5. Confirm IP whitelist activation: Once added, your store’s IP will appear in the whitelist table under Service. The Is Active column should show a green indicator, indicating that the IP is successfully whitelisted.

Note
You only need to add your store’s IP address once. If you integrate other dLocal payment methods later, you do not need to re-enter the IP.
By completing this setup, you can securely manage payment collection in your Shoplazza store while protecting your transactions.


Comments
Please sign in to leave a comment.