
The size chart can be displayed in multiple locations on the product detail page at the same time. It can be placed to the right or below the product options section, embedded at the top of the product description, or all three locations can be enabled simultaneously. This article explains how to configure the display position of the size chart.
Navigation Path
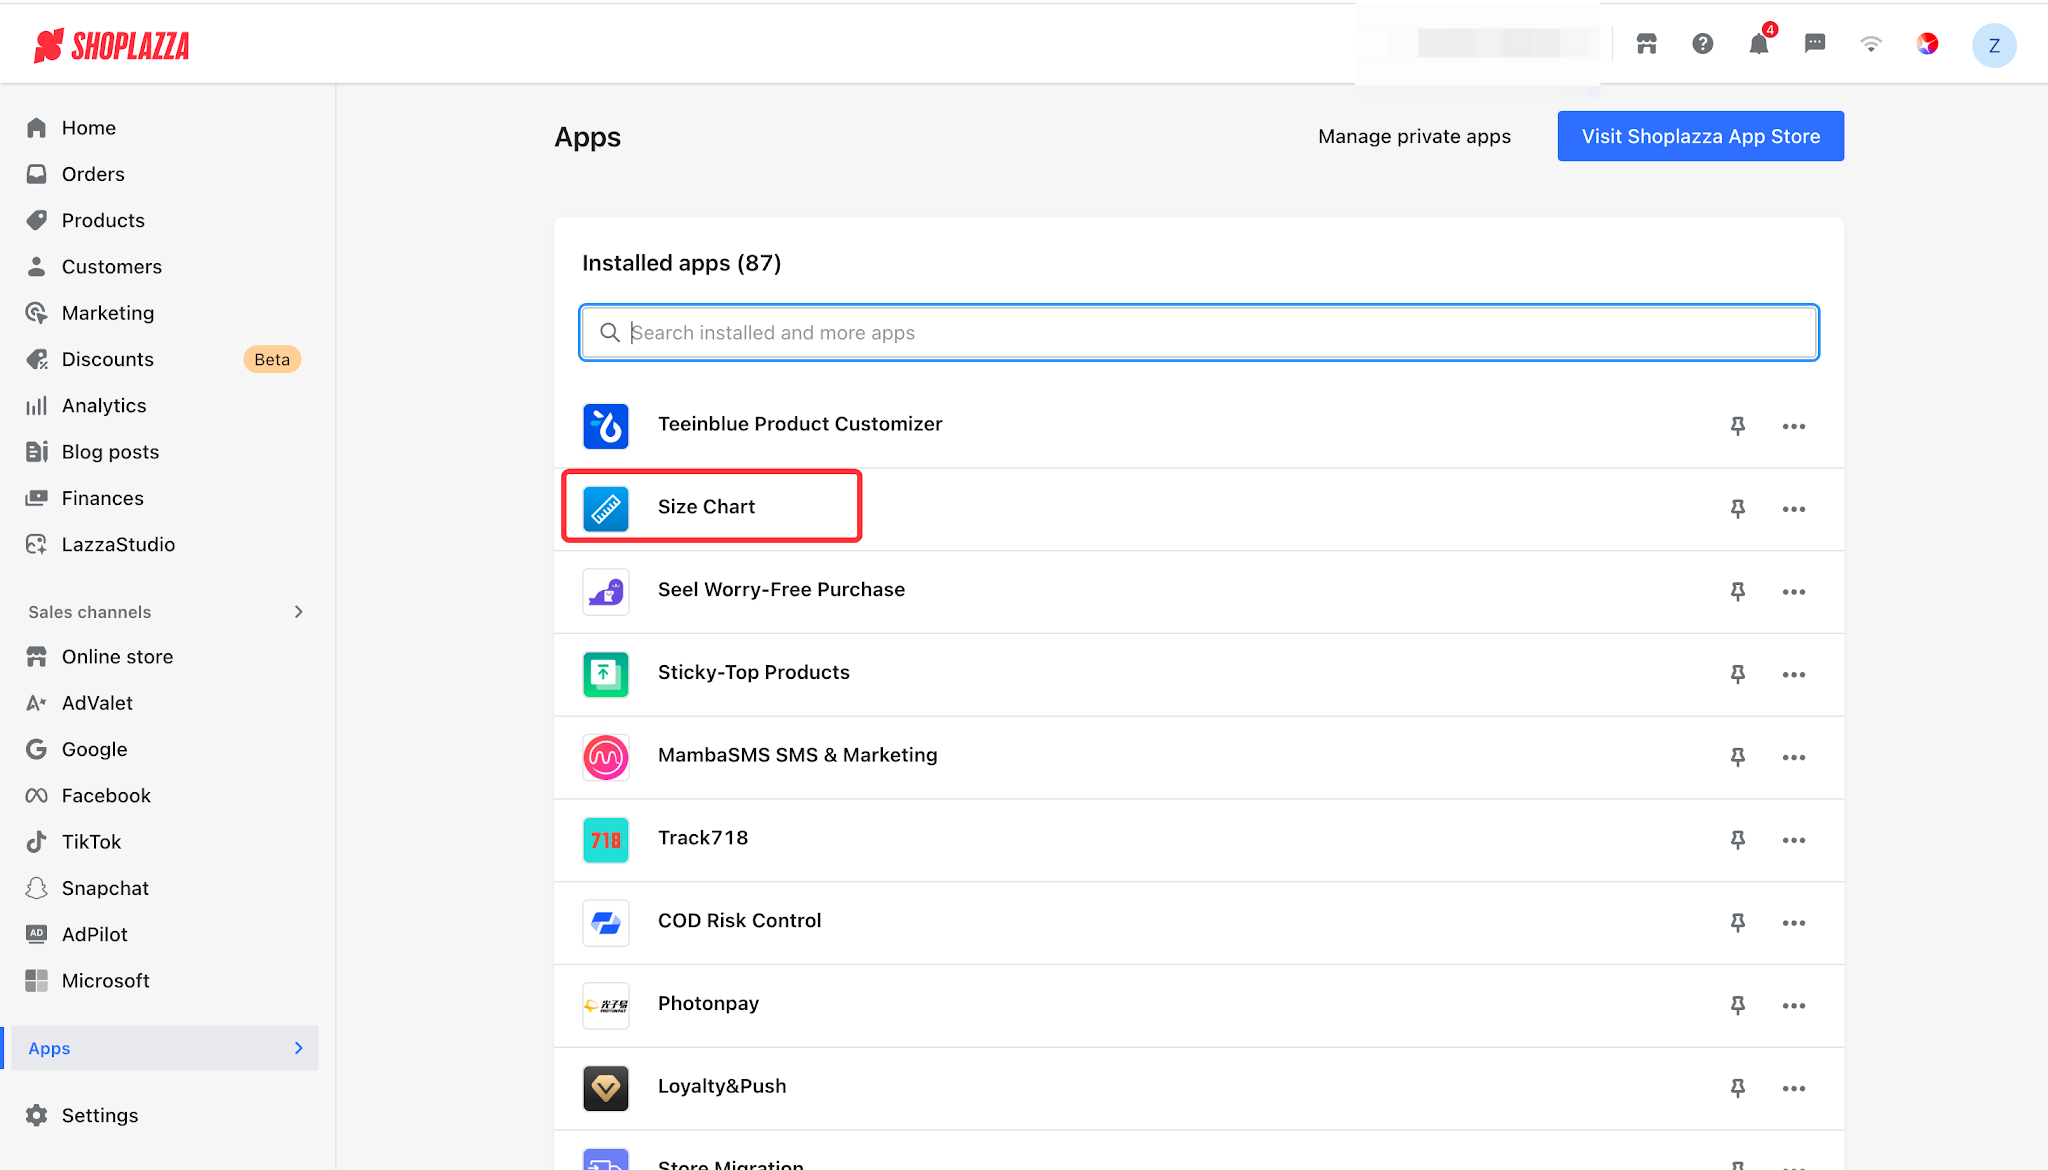
1. Log in to your Shoplazza Admin, then click the Size Guide plugin under Apps.
2. In the plugin, select an existing Size Guide and enter the editing page. Find the Display Position section in the left panel.
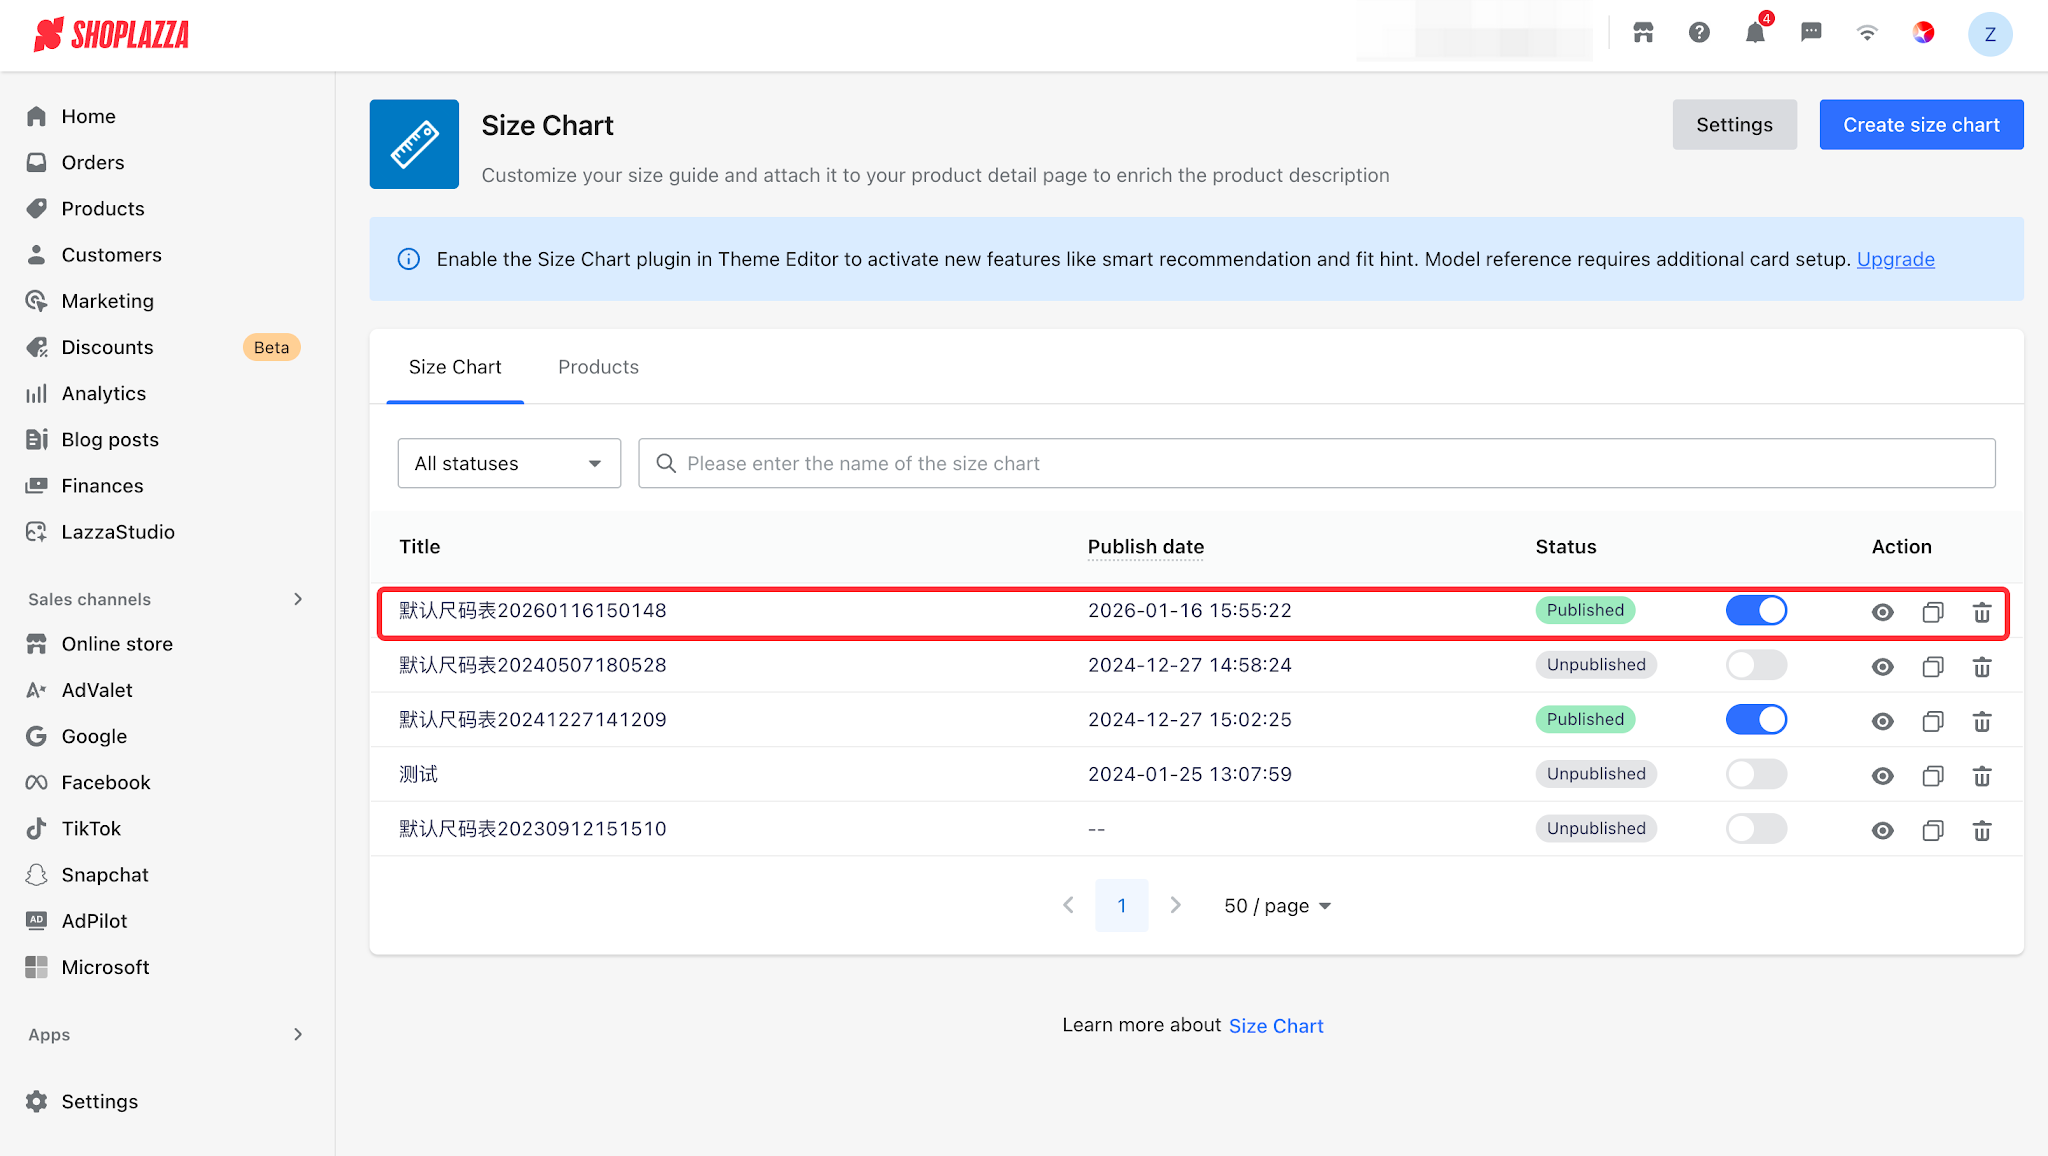
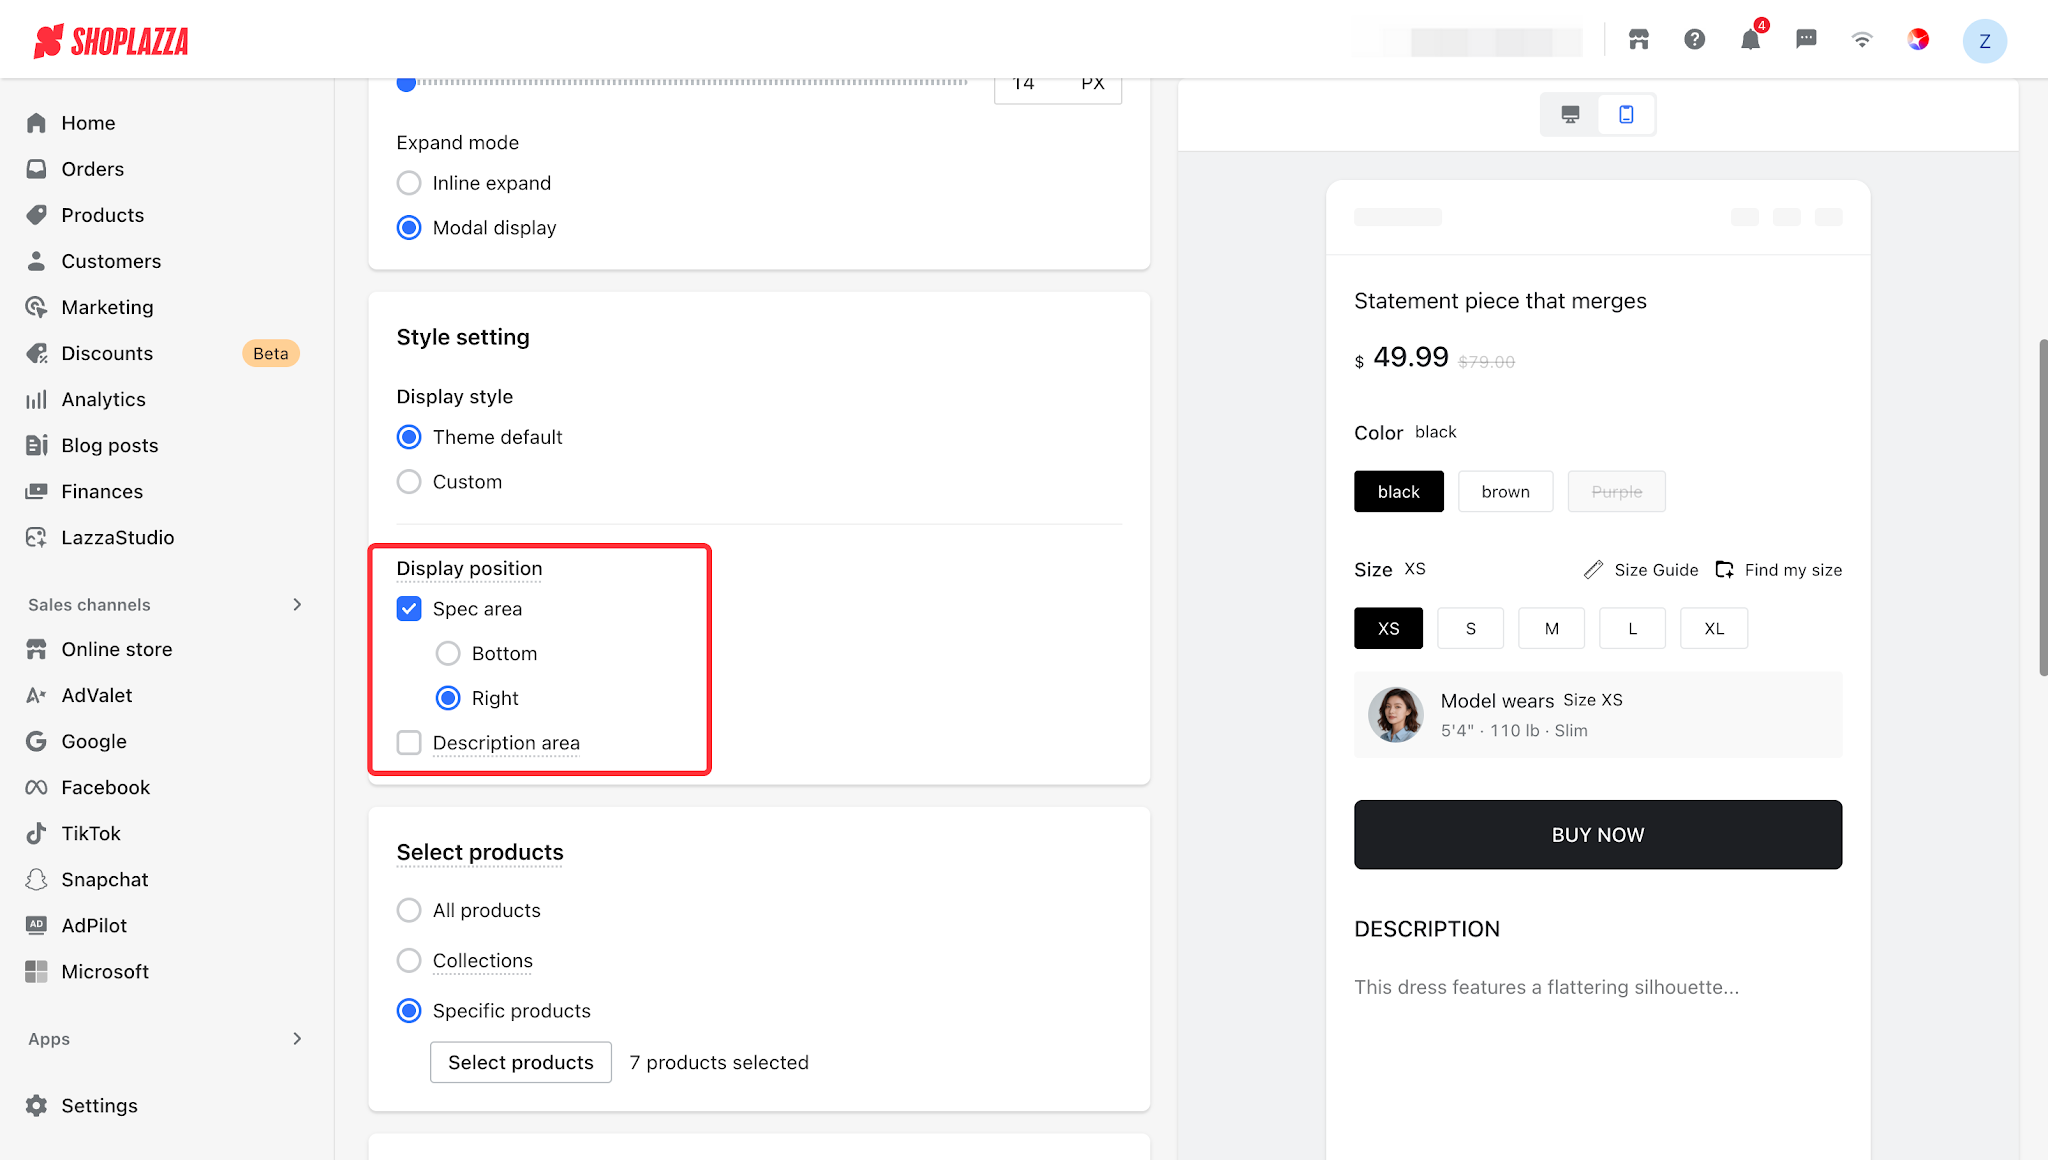
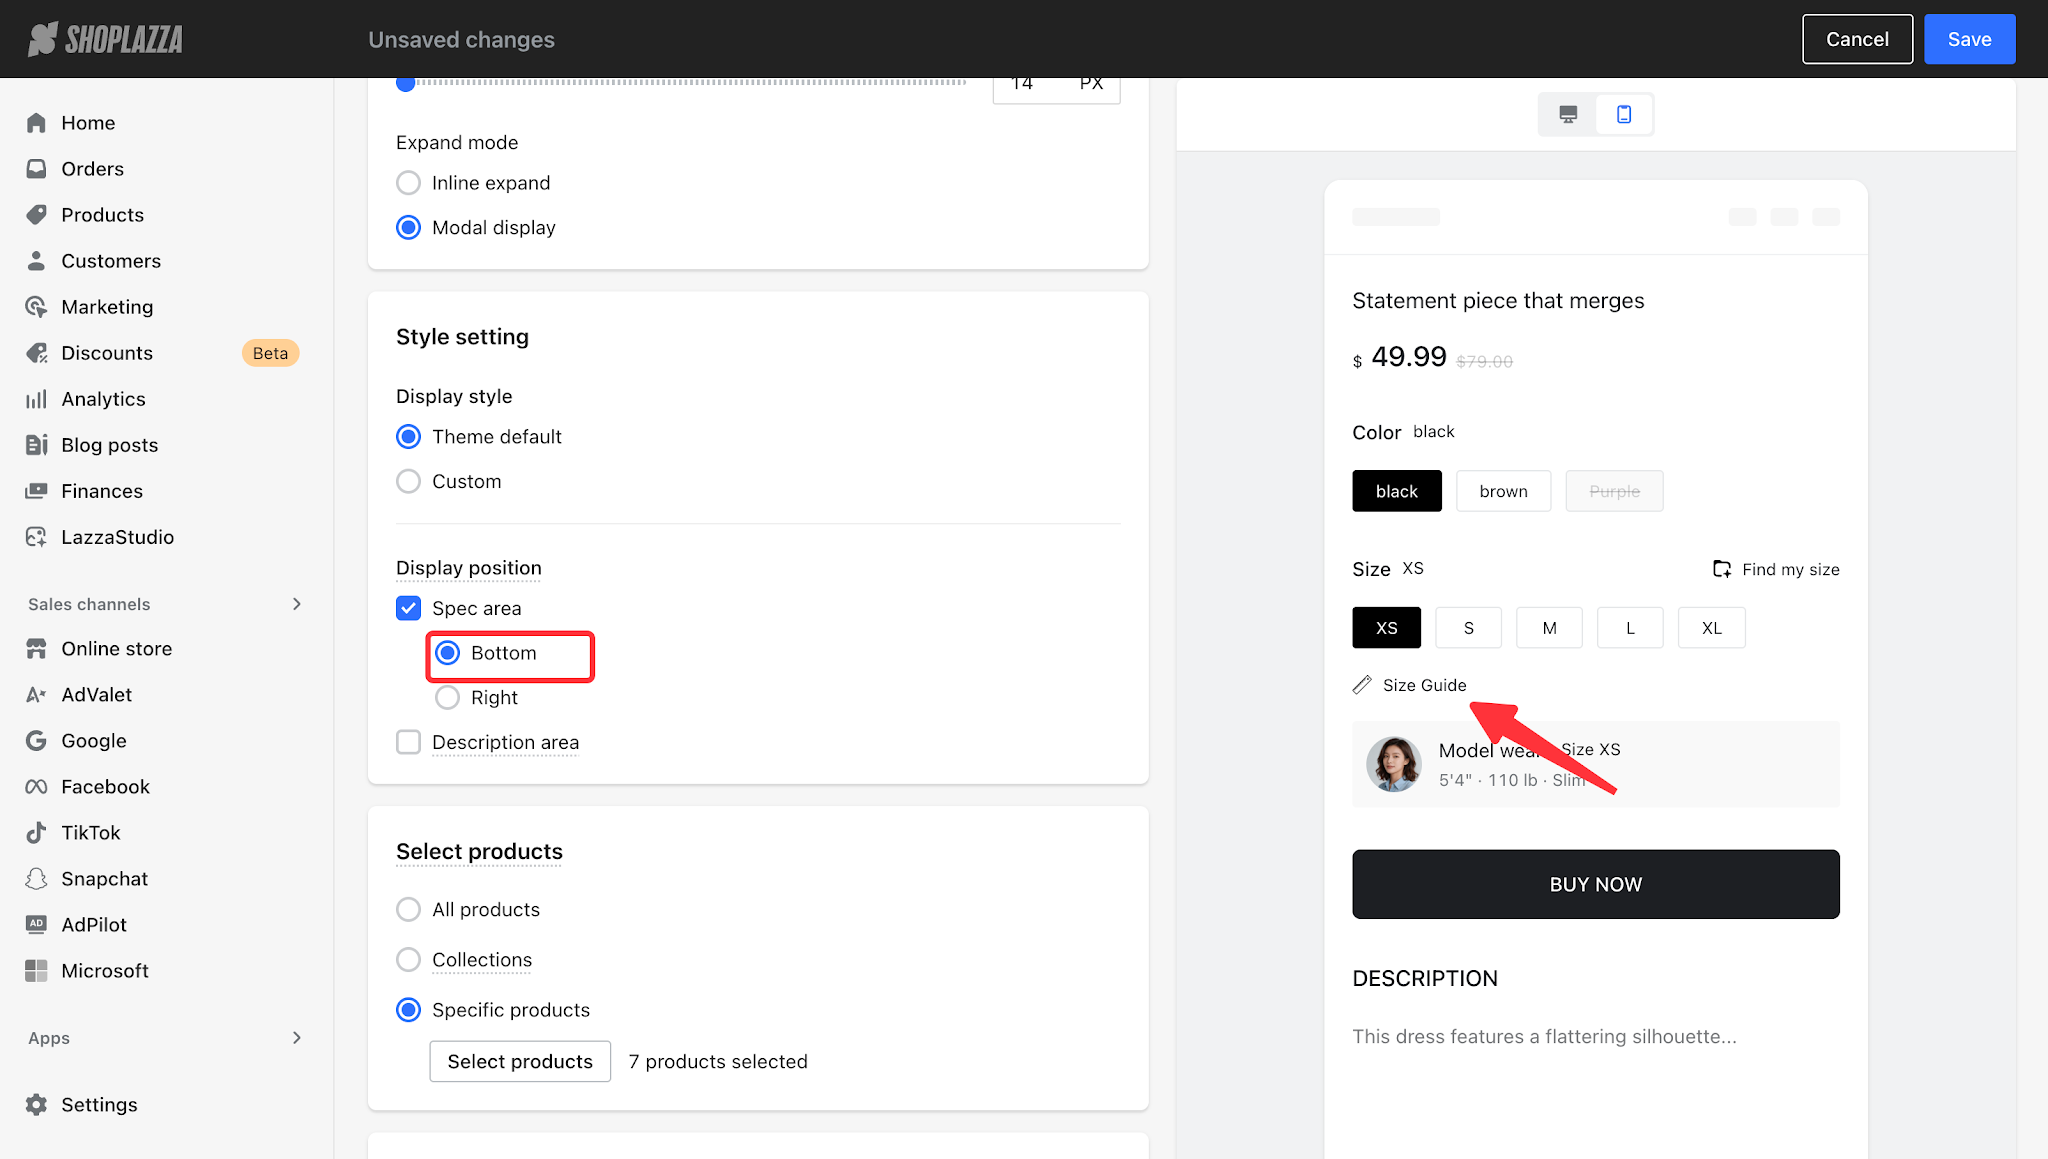
3. Configure Display in Spec Area: Select the position of the Size Guide entry within the product options area:
Note
- The two positions can be configured simultaneously. For example, you can display the Size Guide entry to the right of the product options while also embedding the Size Guide content at the top of the product description, allowing customers to access it from either location.
- Whether the Size Guide is displayed in the product options area depends on whether the system's trigger keywords match the product. The display in the product description is not subject to trigger keyword matching and will take effect once configured.
- Make sure your Size Guide is updated to the latest version to use the latest features.
- Right (default): The Size Guide entry is displayed to the right of the size options.
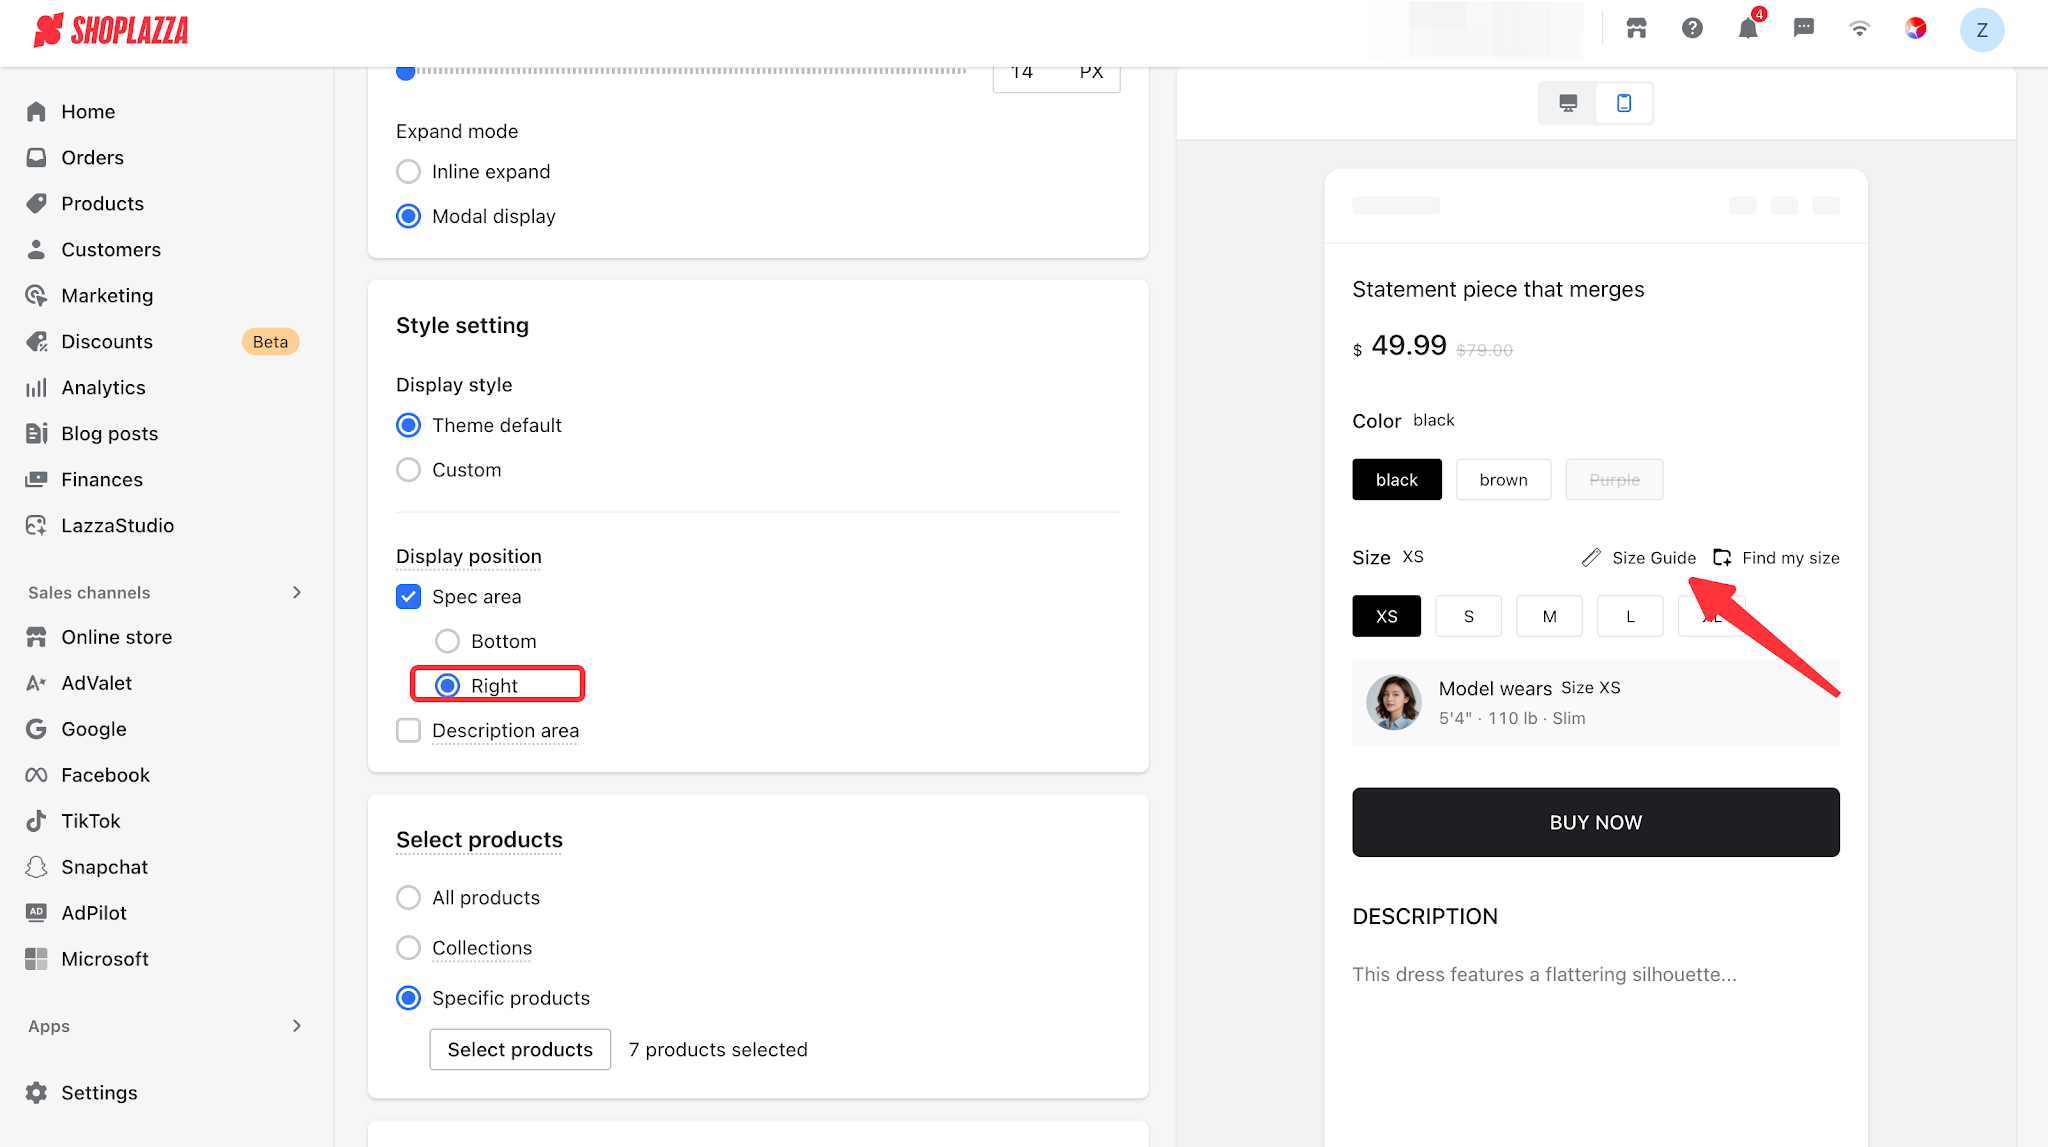
- Bottom: The Size Guide entry is displayed below the size options.
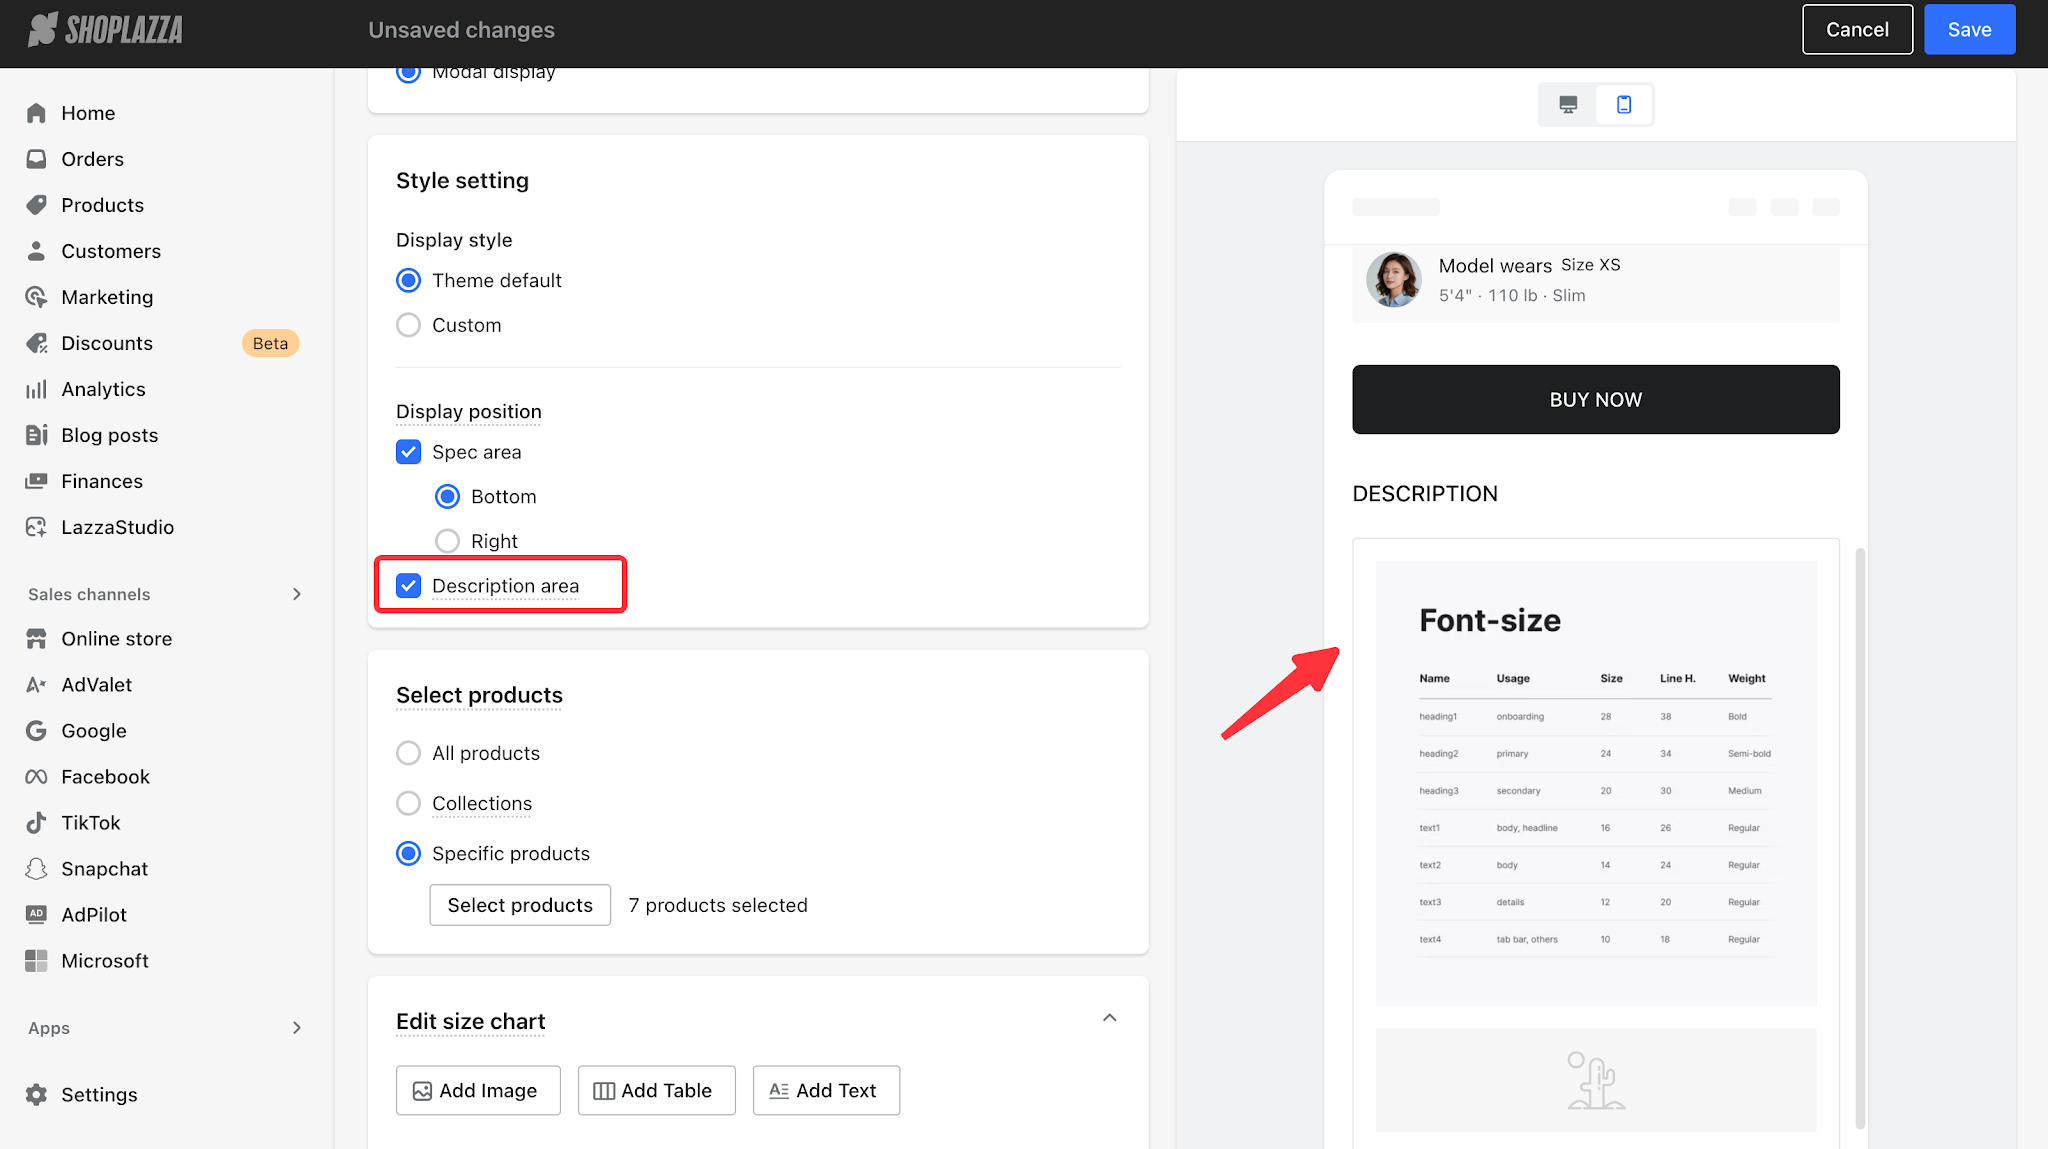
4. Configure Display in Description Area: When enabled, the Size Guide content will be directly embedded at the top of the product description. This setting is disabled by default.
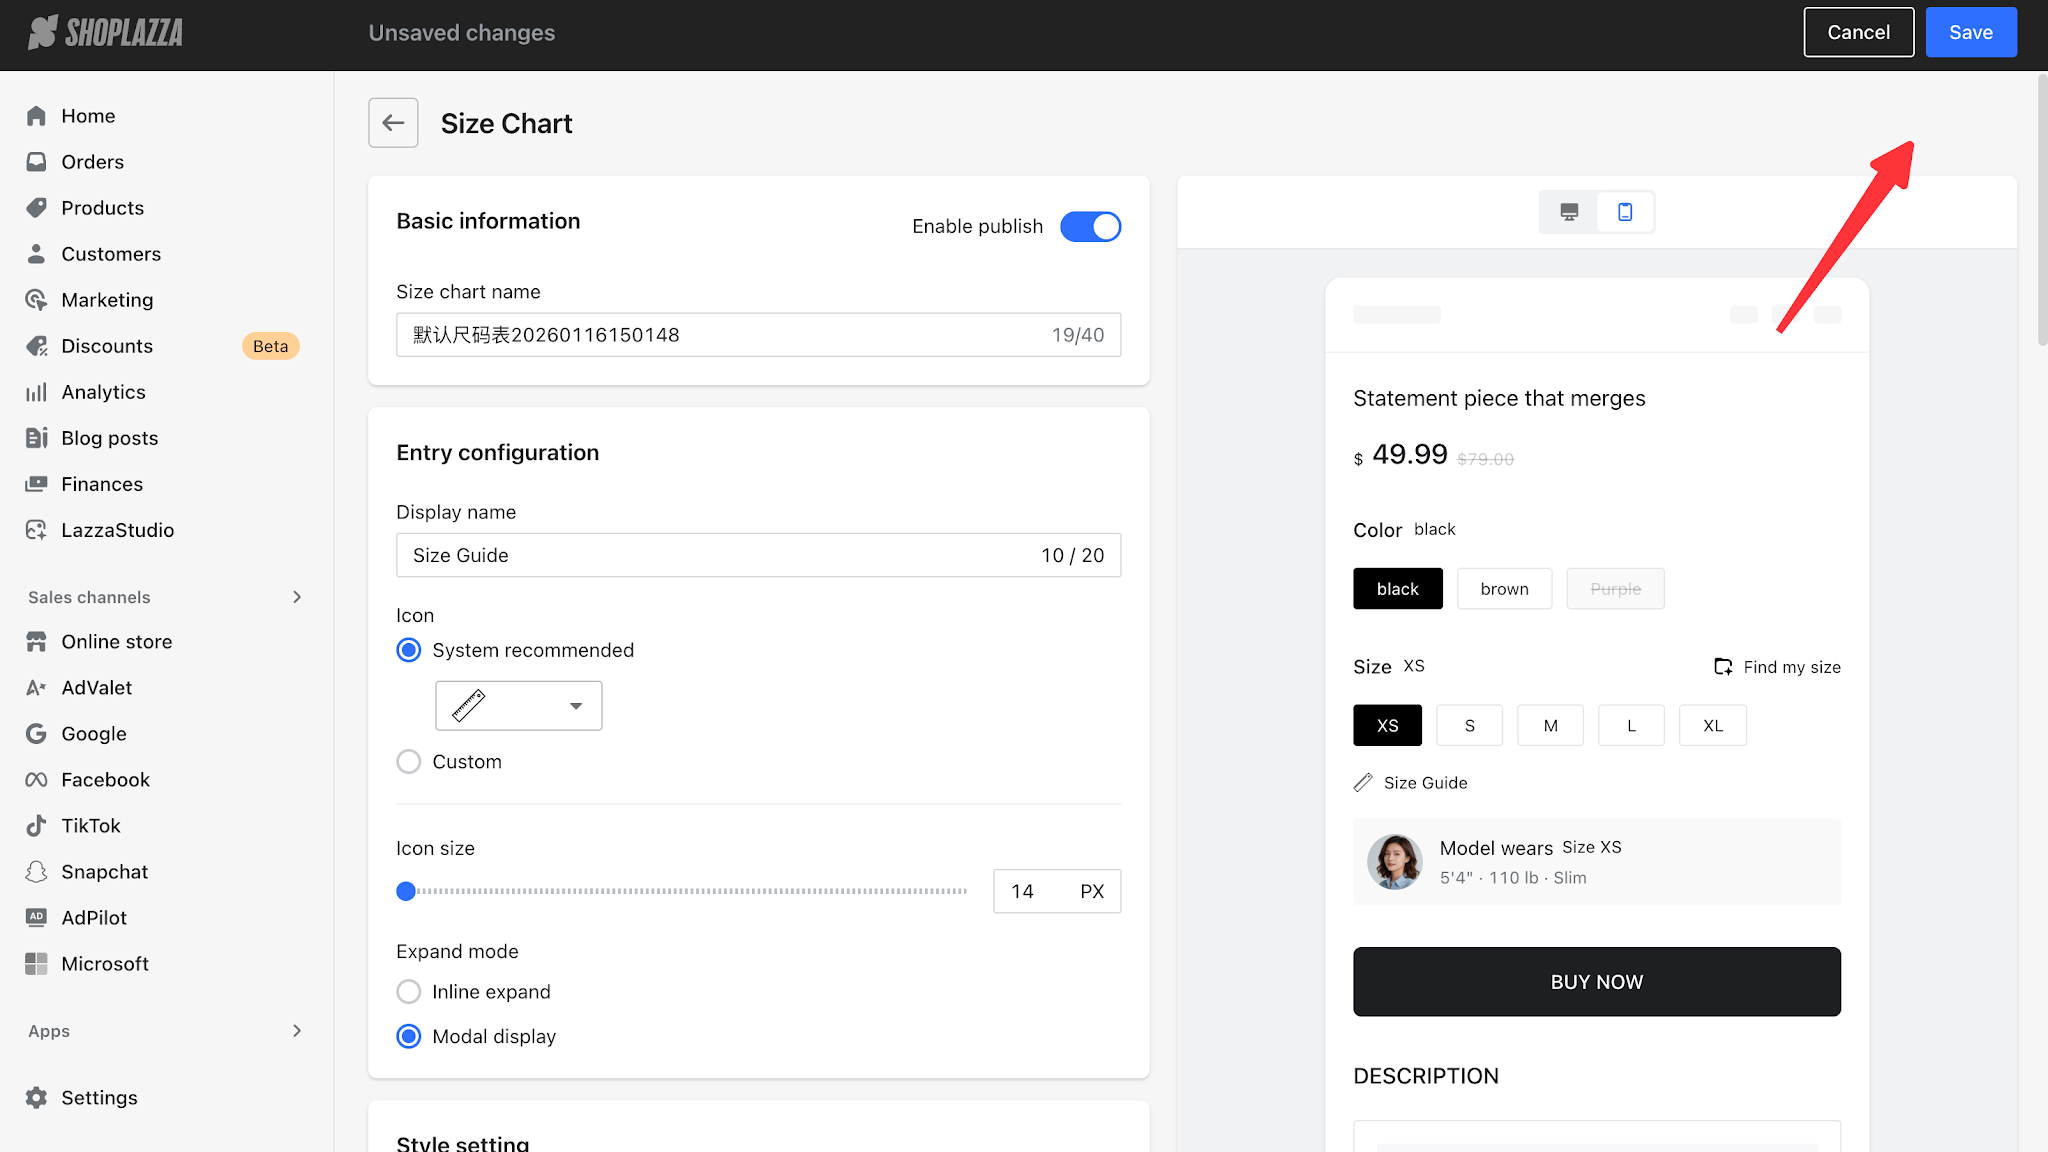
5. The preview area on the right will update in real time to reflect your selected display position. Once confirmed, click Save in the top-right corner.


Comments
Please sign in to leave a comment.